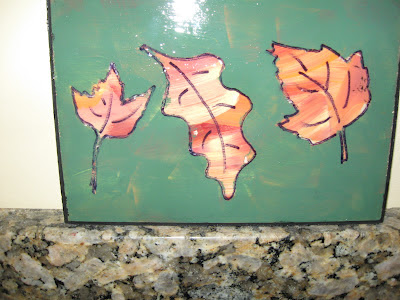
Here’s an easy craft and it has a little bit of a folksy feel to it. This is a terrific project to involve the kids in.

You will need:
– Wood plaque (available at craft stores and Walmart)
– Acrylic paint in fall colors (I used yellow, maroon, orange and green – black for the edge)
– Gloss top coat
– Contact paper
– Black permanent marker
– Varnish or clear topcoat
Here is the video tutorial:
Directions:
1. Paint the plaque with a blend of the maroon, yellow and orange acrylic paint. Put all colors on the brush at the same time and paint so they blend together. Put it aside to dry.
2. You will need contact paper, which can be purchased in the aisle where the shelf liners are located.
Either draw leaves freehand, or print some off the internet and trace them onto the contact paper with a permanent marker.
3. Cut out the leaves.
4. Arrange the leaves how you want them on the plaque and then peel off the backing and stick the clear part onto the plaque. Make sure to rub the edges down well. Some paint will likely still seep under the edge anyway.
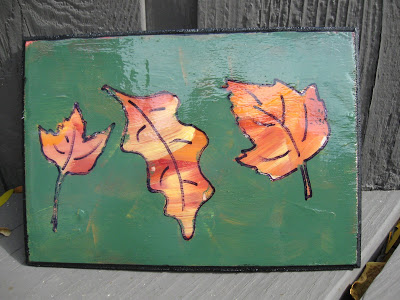
5. Paint the top, contrasting color (I used a dark green), over the entire plaque. Put aside to dry.
6. When dry, carefully peel off the contact paper to reveal the colors below.
7. Paint edges black.
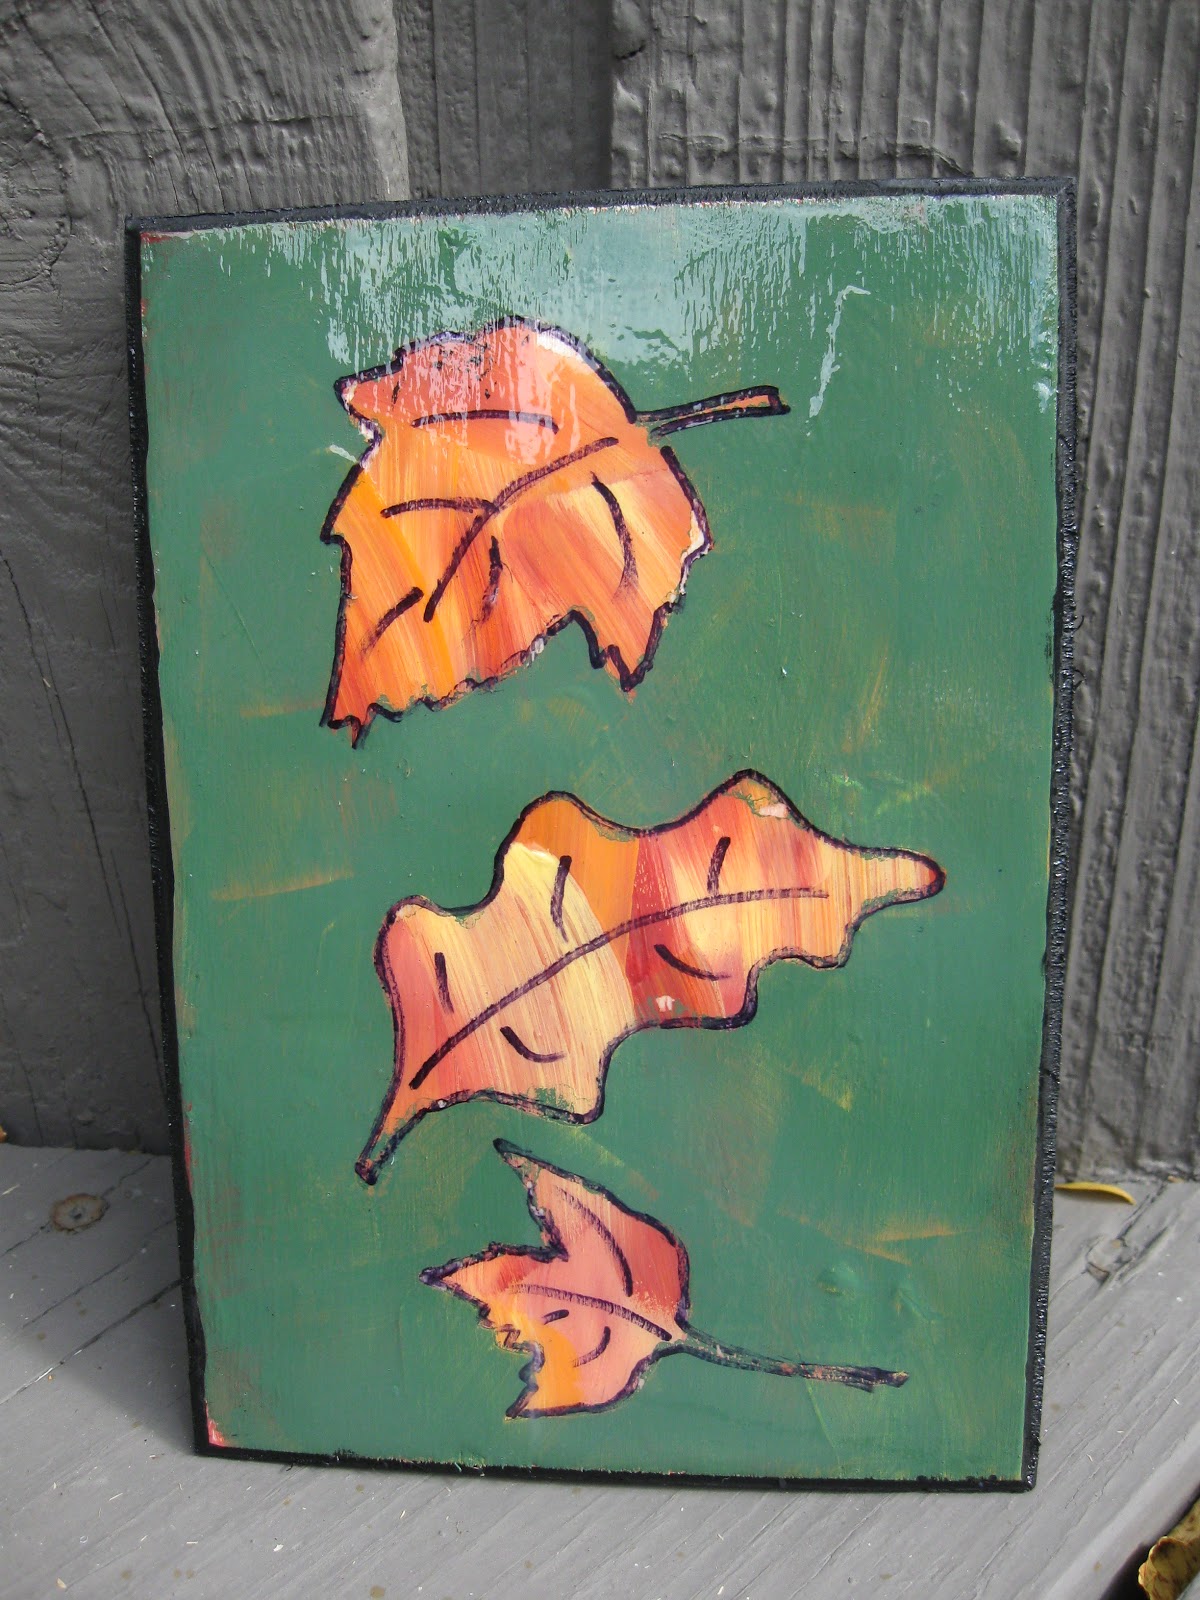
8. With black marker, trace the edges of the leaves and draw in the veining.
9. Paint a protective coat over the entire plaque.
10. Hang up and enjoy! It would make a really cute grouping because the plaques are somewhat small.
Thanks for stopping by!
Happy Crafting!!
Mona