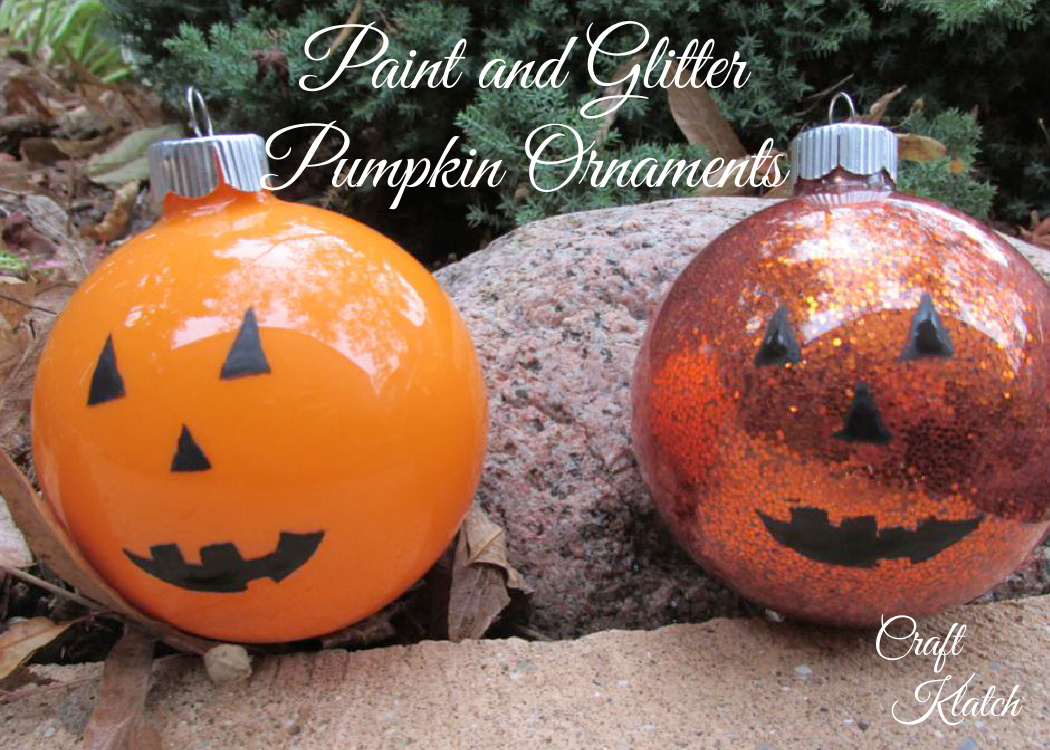
Learn how to make Paint and Glitter Pumpkin Ornaments! It’s an easy Halloween craft tutorial!
Here are two versions of pumpkin ornaments and I’ll show you how to make both!

*This blog uses affiliate links. As an Amazon Associate, I earn from qualifying purchases.
You will need:
- Clear glass ornaments: https://amzn.to/2xKiXhy
- Orange glitter: https://amzn.to/2JrV9We
- Orange acrylic paint: https://amzn.to/2xGh6dH
- Black acrylic paint: https://amzn.to/2XYrsEd
- Floor wax – I used Mop and Glo, but any would work: https://amzn.to/2xKFN8N
- Contact paper: https://amzn.to/2JuQt1W
Here is the video tutorial:
Directions:
Paint Pumpkin Ornament
1. Take the cap off of the ornament.
2. Take the orange acrylic paint and squirt some into the the ornament. Move the ornament around, making the paint cover the entire inside of the ornament.
3. Put the ornament on a cup, with the hole pointing down, allowing the excess paint to drain out of the ornament.
4. Allow it to dry.
5. Replace cap.
6. Take your contact paper and draw a jack o lantern face that would fit onto the ornament.
7. Cut it out with a craft knife.
8. Peel off the paper backing and stick it onto the ornament. Make sure to burnish (rub) the edges down, so paint won’t get underneath.
9. Take a stencil brush and dip into black acrylic paint. Remove most of the paint on a paper towel and then tap it onto the openings of the stencil you created. When it is solid enough, carefully remove the stencil and set the ornament aside to dry.
That’s it for the first one! The second one is even easier!!
Glitter Pumpkin Ornament
1. Take the cap off of the ornament.
2. Squirt some floor wax into the ornament and swirl it around. Make sure the entire inside is coated with the floor wax.
3. Pour out any excess floor wax.
4. Immediately pour glitter into the ornament and shake it around. Make sure it is all covered.
5. Replace the cap.
6. Stencil the face the same as above.
That’s it! Easy Peasy!
Now go hang them around the house, or wire them to a wreath!
Thanks for stopping by! Remember: Life’s too short not to shimmer, so grab your glue gun and your glitter!™ Stay safe!
Mona
