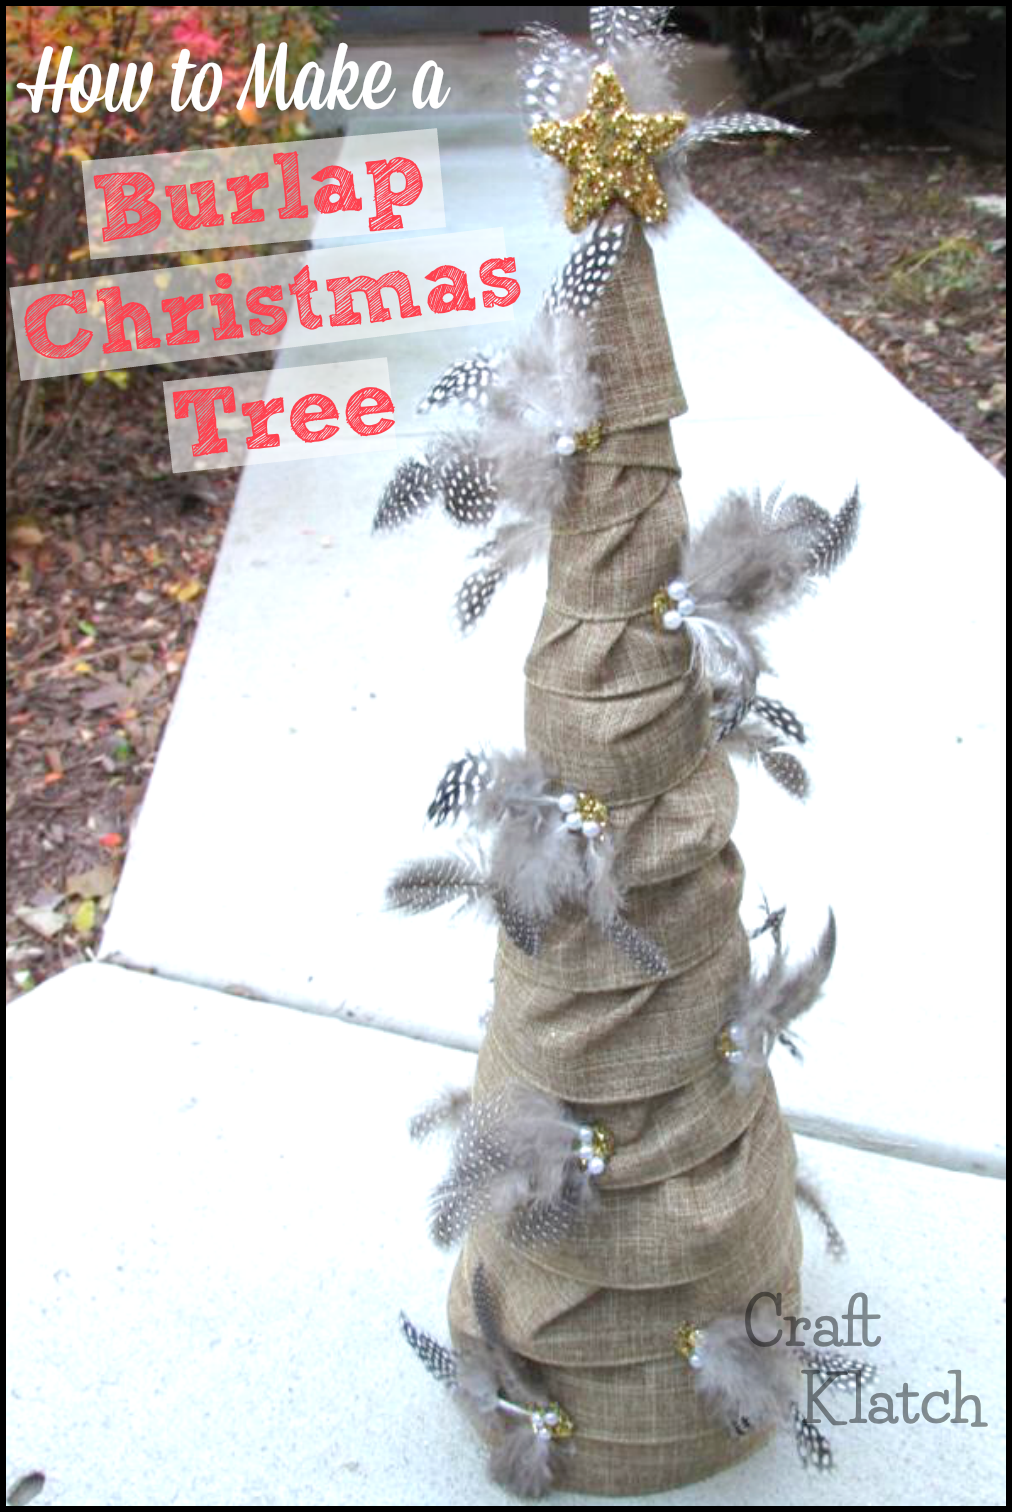
I found this beautiful burlap-ish ribbon and decided to make a tree!

You will need:
The links below help support this channel, as I may earn a small commission at no extra cost to you.
– A cone (see below how to make a cone for cheap!)
– Burlap ribbon: https://amzn.to/2Z6YgfE
– Feathers – the feathers I used are from Moonlight Feather and are Guinea Hen feathers
– Gold glitter: https://amzn.to/2Zdg97X
– Hot glue: https://amzn.to/2Hfj8qn
– Faux pearl beads: https://amzn.to/2KKpP5Z
– Small unfinished wood star: https://amzn.to/2Z5TrDA
Here is the video tutorial:
Directions:
1. Starting at the bottom, add some hot glue and start the end of the ribbon by gluing it at the end or just below the end of the cone.
2. Work your way around the cone, tacking the ribbon with glue periodically as you go. If you are using a wide ribbon with wire like I did, then you will need to hold each tack until it cools.
3. Keep going until the top. At the top, wind it just beyond the tip and glue. Cut a small piece of the ribbon and put it around the top and glue in place. That should neatly finish off the top.
4. Take your feathers and insert one per faux pearl.
5. Working on parchment paper, put a dab of hot glue. Place the pearls, with the feathers attached, into the glue and arrange as you want. Quickly sprinkle gold glitter. Allow to cool.
6. When cool, they should peel right off of the parchment paper. Hot glue them to the tree.
7. Take the unfinished wood star and put a thin layer of hot glue on it and sprinkle with gold glitter.
8. Glue it with some additional feathers to the top of the tree.

That’s it! Now you have a rustic and natural tree.
Thanks for stopping by and Happy Crafting!
Mona