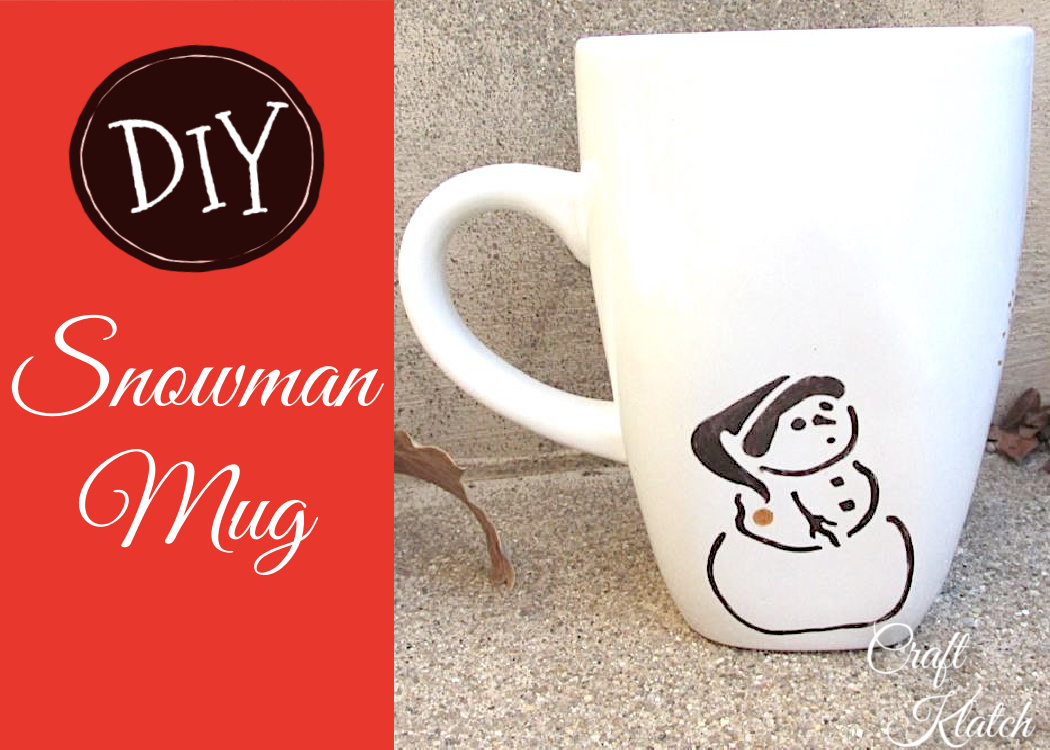
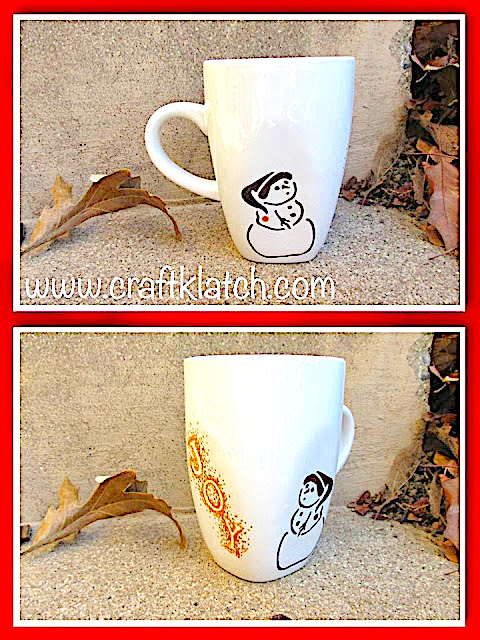
Learn how to make a Snowman Hot Chocolate Mug! It’s a great and easy holiday gift, with an inexpensive Dollar Tree mug! Hot chocolate and hot toddy season is upon us!
Supplies Needed for the Snowman Hot Chocolate Mug
*This blog uses affiliate links. As an Amazon Associate I earn from qualifying purchases.
- Mug
- Sharpie Markers
- Other possible markers
- Letter stickers
- Snowman stencil (I couldn’t find the exact one)
- Other Fun Snowman stencil
Snowman Hot Chocolate Mug Video Tutorial
Here is the video tutorial, so you can see exactly how I made it!
Be sure to Follow Me on Instagram!
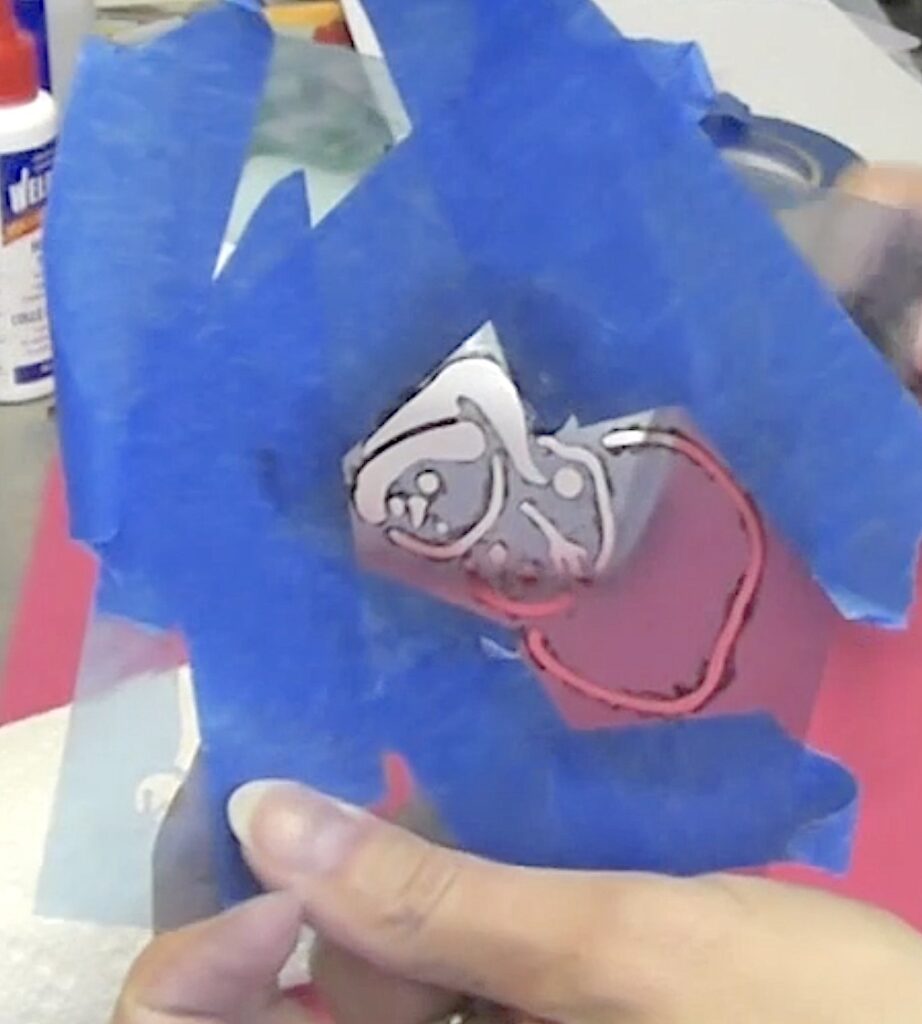
I had a stencil, from way back when, with a snow family on it. I wanted to isolate the one snowman, for the hot chocolate mug, so I used tape to block off the other snowmen.
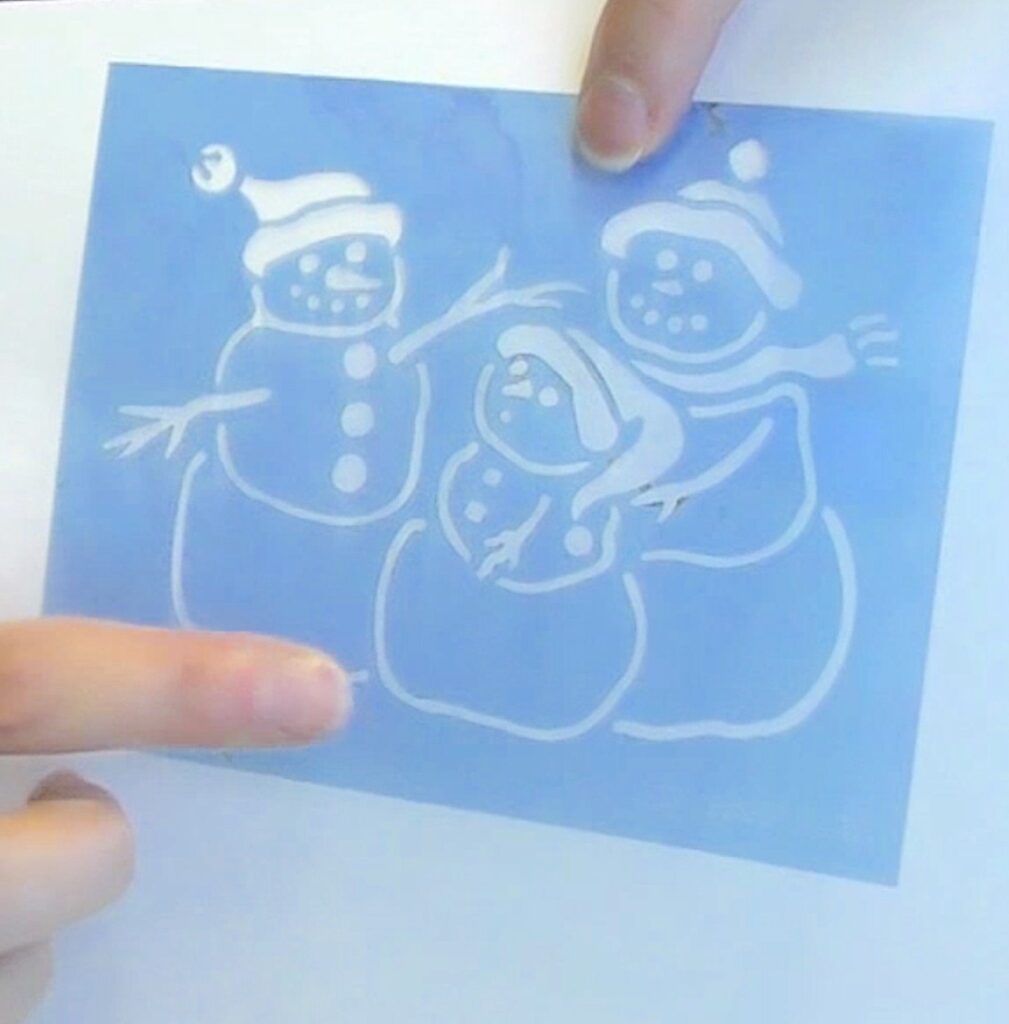
However, if you have a stencil with just a single snow person, you won’t need to isolate anything.
Snowman Hot Chocolate Mug Directions
Step 1
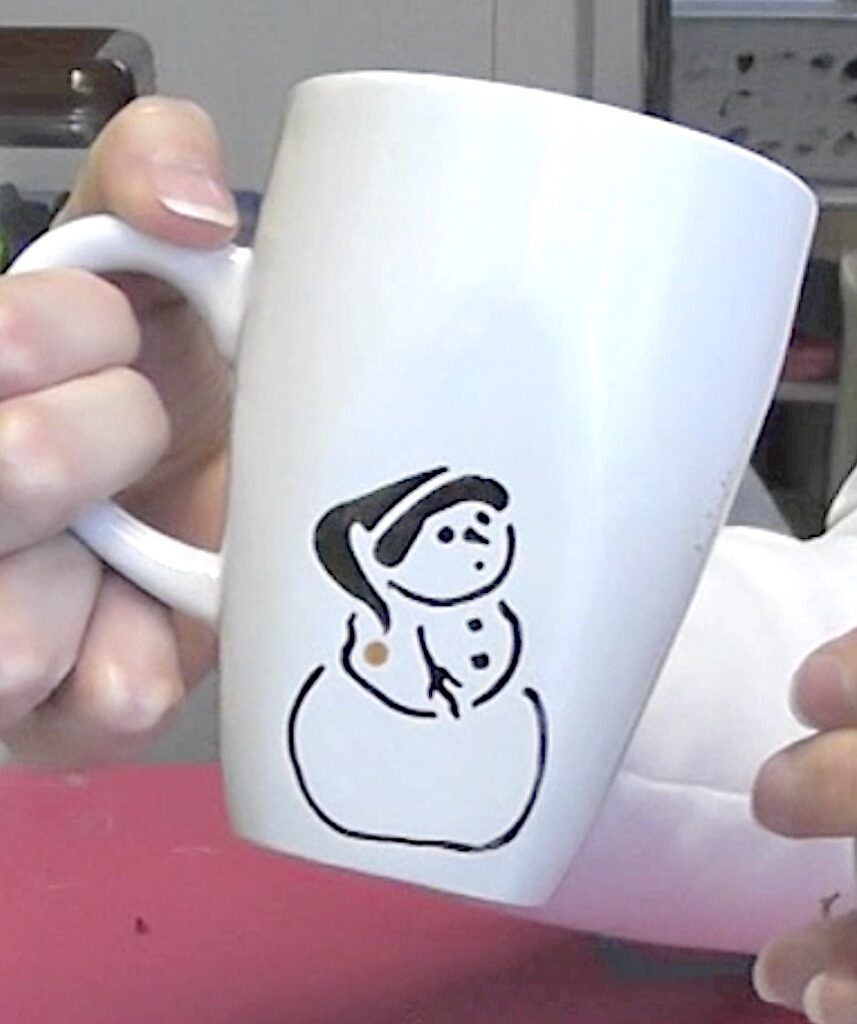
Place your stencil on the side of the mug. It’s best to use a little tape to help keep it in place.
Step 2
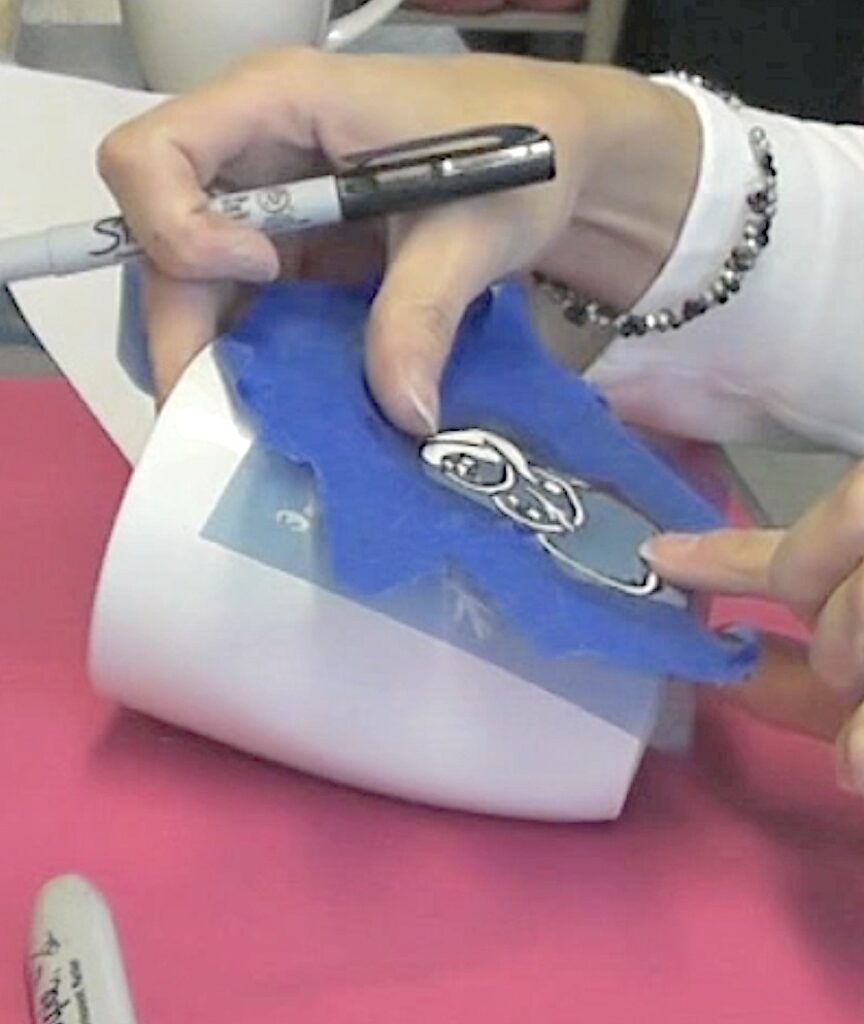
Using a thin black Sharpie marker, trace and fill in the outline. Remember, you are working on a non-porous surface, so be careful not to smudge it.

*TIP: If you do smudge it, take some rubbing alcohol and it will wipe off and you can start over.
Step 3
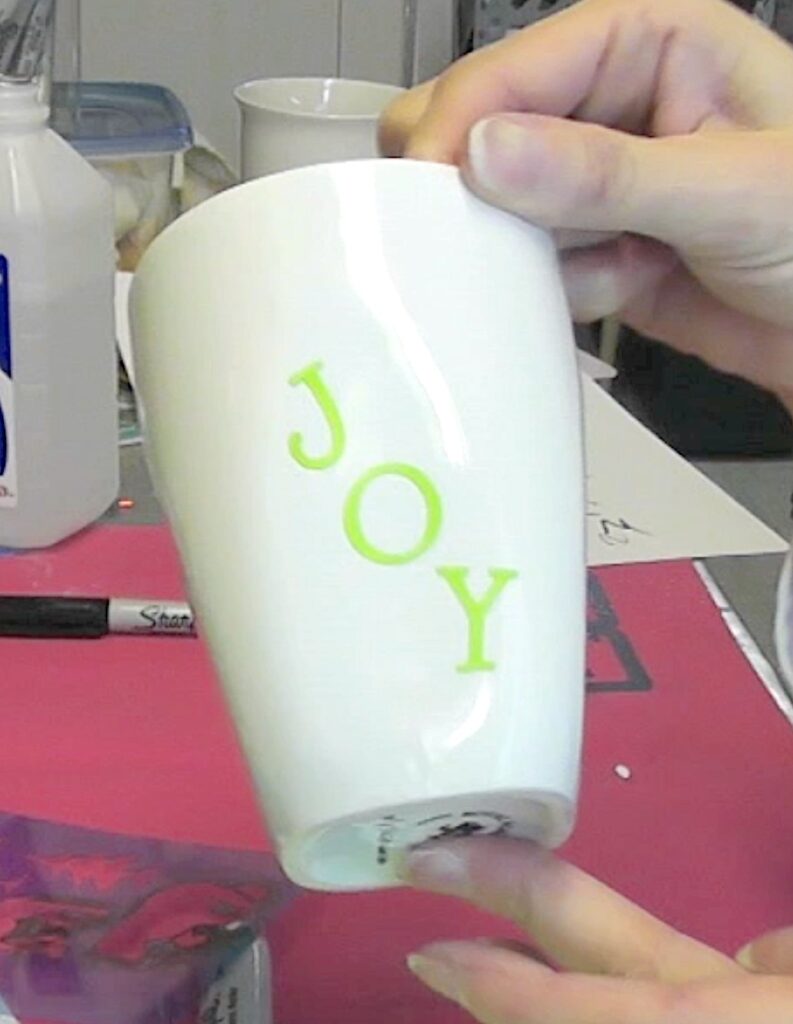
For the lettering, put your letter stickers on the mug. I chose to do JOY.
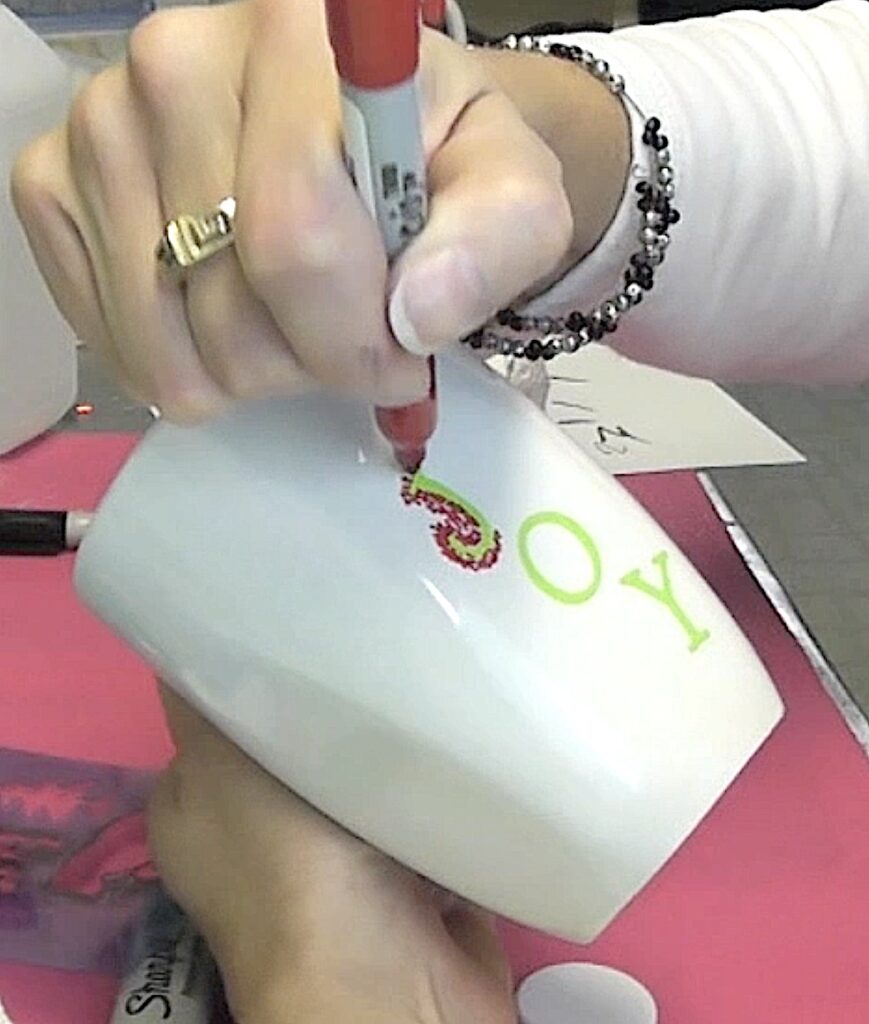
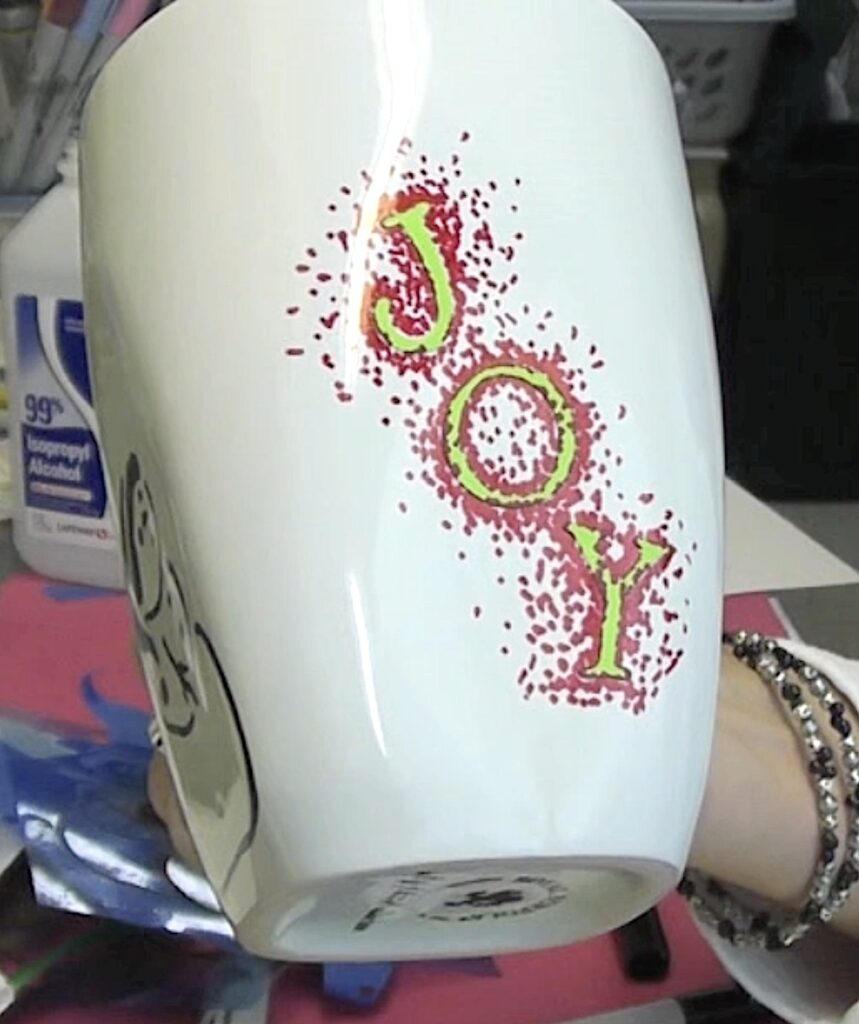
Step 4
With a thicker Sharpie, do simple dots around the lettering. Let it dry and remove the stickers.
Step 5
Place mug into a cold oven, on a baking sheet. Turn oven to 425 degrees and once it hits 425 degrees, leave it at that temperature for 30 minutes.Then, turn the oven off and let the mug completely cool in the oven. Then, remove it!
TIP: It is better to hand wash these mugs. They may not withstand the dishwasher, but I have not tried. I have hand washed them 6-7 times already and the color has not faded.
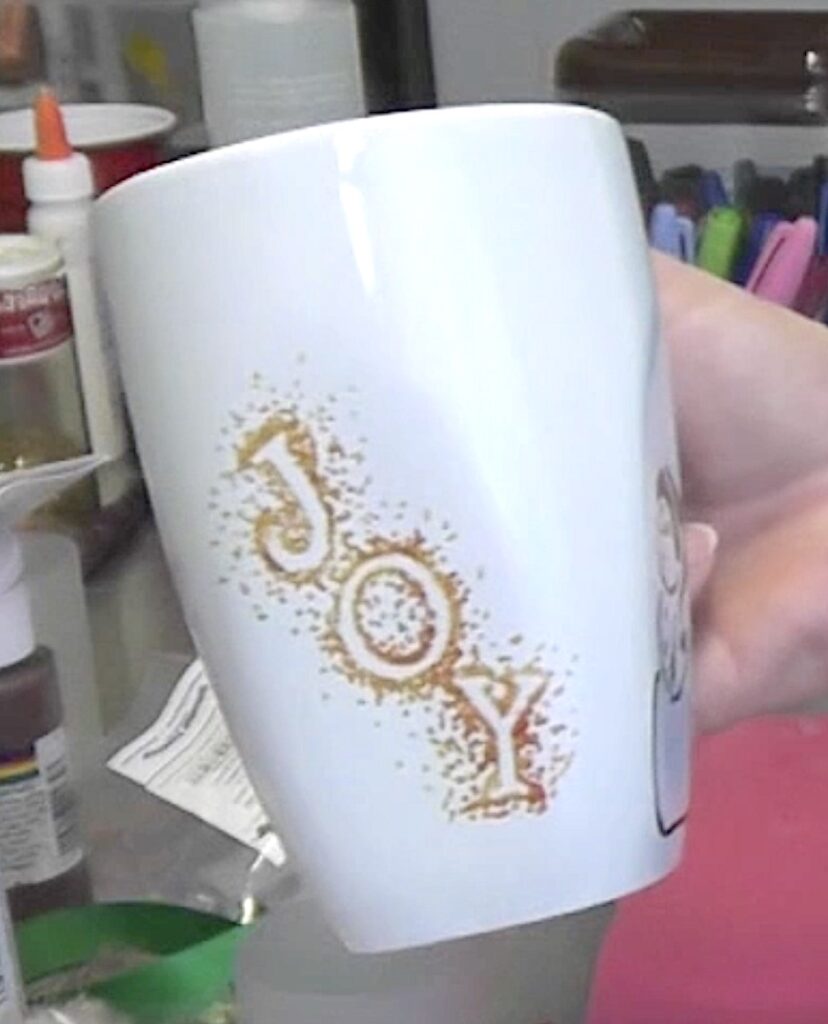
Another Tip: Realize that some Sharpie colors will fade or change color. The black stayed a strong black. I did the JOY lettering in red and it turned to a rusty brown.
If you watch the video I made another mug, with my name and Craft Klatch on it, with different colors, to see how they would turn out. Watch the video to see the results.
Be sure to PIN IT for later!
Have fun with it! I’d LOVE to see what you make! Be sure to share it over on my Craft Klatch Facebook Group! It’s Free! ❤️
Other Fun Dollar Tree Christmas Crafts
If you enjoy making affordable Christmas gifts, I have other Dollar Tree projects you will love!
- Star Candy Dish
- Easy Snowman Votive Craft
- Glitter and Pearls Candle Holder
- Dollar Store Candle Makeover
- Rustic Snowman Christmas Ornament
Hot Chocolate Mugs and Other AMAZING Hot Cocoa Stuff!!!
I had NO idea that there were so many cool and amazing hot chocolate gift ideas! I never saw the hot chocolate bombs until this year but was told they were already popular last year! Here are some things I think you will love, from mugs to hot cocoa bombs!

Remember: Life’s too short not to shimmer, so grab your glue gun and your glitter!™ Stay safe!
Mona
nervous about putting it in oven
That's why you put it in a cold oven, let it heat up and then let is completely cool in the oven. Then you don't have to worry. Remember when it was made, it was fired in a hot kiln.