You can click right HERE! For easy reference, click on the Tutorials tab above.
Also, I created an Amazon store link, with items that I use in my crafts, just click on the
Products I Use above!
Products I Use above!

You will need:
(All products needed for this project are available through Amazon. For your convenience, I have linked them in the Products I Use tab above):
– Easy Cast Resin
– Blue glitter
– Blue sliver glitter
– Golf Leaf
– Silicone heart mold
– Red glitter
– Blue transparent pigment dye
– Paperweight mold
– Mold Release
Here is the video tutorial:
Directions:
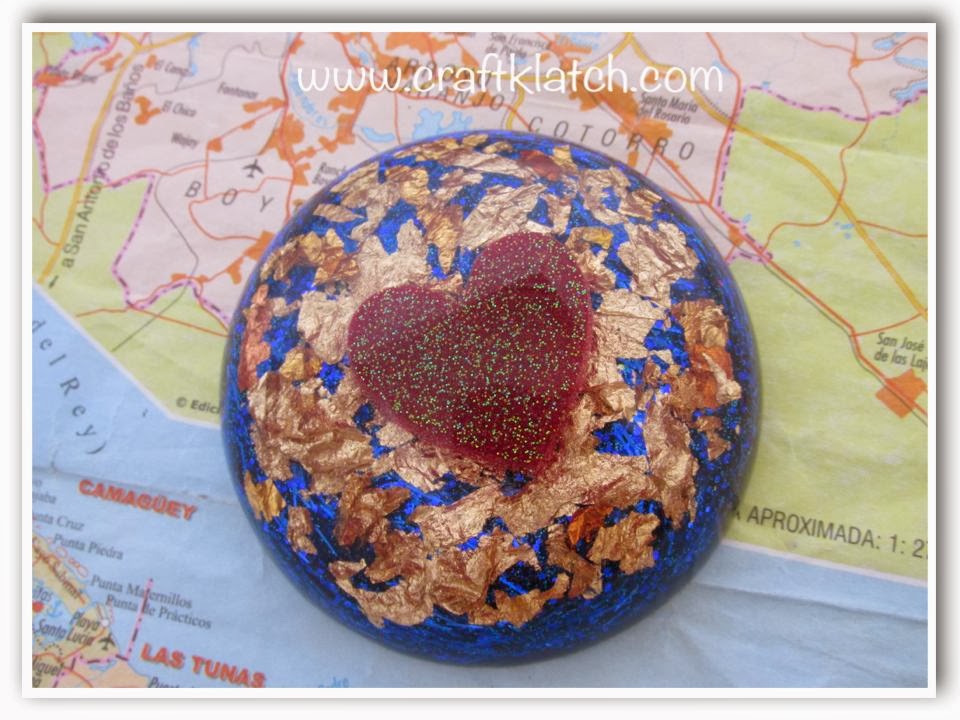
1. Mix resin, according to the package directions. Mix in fine red glitter and pour into heart mold.
2. Allow to cure for 12 hours before unmolding.
3. Apply mold release to paperweight mold and allow to dry. This is optional, but will allow it to release more easily when finished.
4. Prepare more resin. You only need a small amount to put in the paperweight mold. Pour into mold and place the heart into the clear resin. Do your best to center it.
5. Allow to cure.
6. Prepare more resin and pour into the paperweight mold. Take flakes of gold leaf and drop them into the clear resin.
7. Allow to cure for 12 hours.
8. Prepare more resin and mix in dark blue glitter and sliver glitter and pour into the mold. Allow to cure.
9. Prepare more resin and add blue transparent pigment. This should be your last pour.
10. Allow to cure and then unmold. TIP: If you are having a hard time unmolding the paperweight, put it in the freezer for about 10 minutes and it pops out pretty easily!
That’s it! Now you have a stunning paperweight, as a gift or for yourself!!
Thanks for stopping by and Happy Crafting!!
Mona