To stay up on the latest, be sure to
SUBSCRIBE to my YouTube Channel!
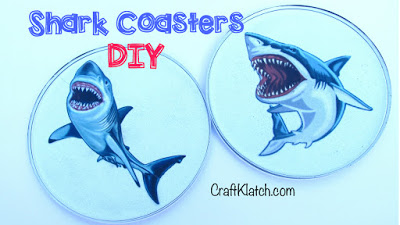
It’s Shark Week, so I simply must make more shark coasters!!

You will need:
– Resin (Easy Cast or Envirotex Lite)
Here is the video tutorial:
Directions:
1. Print out your images on the transparency film. If you don’t have a laser printer, you can take an image to the copy store and have them copy it to the transparency film.
2. Cut it out just slightly smaller than the size of the mold.
3. Prepare your resin, according to the package directions.
4. I made three ounces, so each coaster was one and a half ounces.
5. Add three of four drops of pigment and mix well.
6. Pour half into two molds.
7. Slide in your images.
8. With a stir stick, press down on the images until all the bubbles are released from underneath.
9. Pop bubbles as necessary.
10. Allow to cure a minimum of 12 hours before unmolding.
That’s it! Thanks for stopping by! Stay safe and Happy Crafting!
Mona


love all your video's