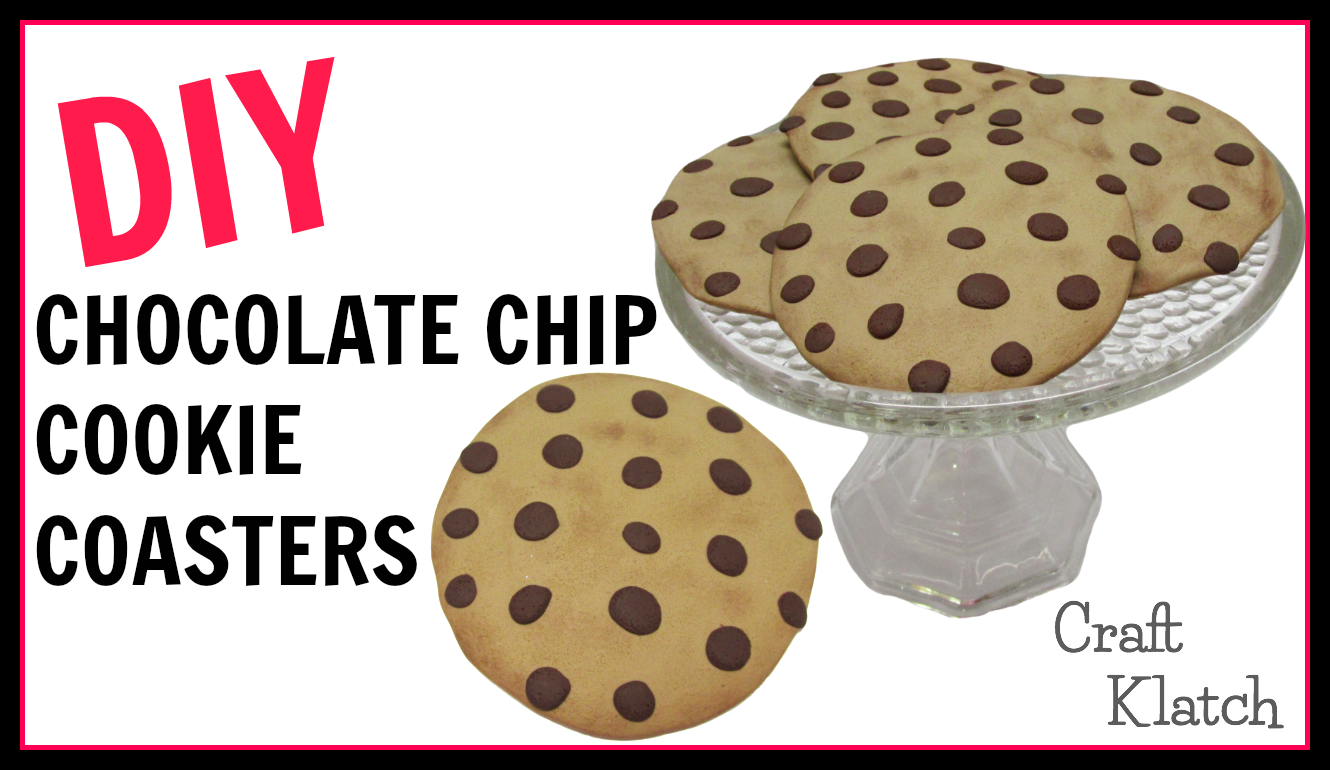
Make chocolate chip cookie coasters to wow your friends and family! It’s simple with some polymer clay!

You will need:
– Polymer clay (latte): http://amzn.to/2lY2geX
– Polymer clay (burnt umber): http://amzn.to/2mWTMUI
– Pastels: http://amzn.to/2npYXKw
– Stencil brush: http://amzn.to/2n76BfF
Here is the video tutorial:
Directions:
1. Use a half of a package of clay per cookie. Break off half of the package of the latte or similar color and condition it. Conditioning it means all you have to do is squish it and squeeze it in your hand until it gets warm and easy to mold.
2. Once you have it molded, you can squish it into a cookie shape. I work on parchment paper. You want to have the cookies be somewhat flat, so a cup can sit on it, without falling over or sliding off.
3. Take some of the dark brown polymer clay and roll small pieces into little balls and squish them down onto the cookie. Those are the chocolate chips. You want them to be pretty flat, so they don’t make a cup or glass sit uneven on your coaster.
4. Once you have the chocolate chips in place, you can use an old toothbrush or paint brush to create a texture on the cookies, which also removes your finger prints.
5. Scrap a small amount of pastels in a blue and a rust color into a little cup. Then, take a dry paint brush, dip it into the pastels and give the cookie a baked look.
6. Do the same with as many cookies as you want to make. Then, bake them according to the directions on your clay package.
That’s it! Once they have cooled, you can start using them!
Thanks for stopping by! Remember: Life’s too short not to shimmer, so grab your glue gun and your glitter!® Stay safe!
Remember to share your coaster creations on my Facebook page, or on Instagram and Twitter @craftklatch. Be sure to tag me and use the hashtag #AnotherCoasterFriday!
Mona