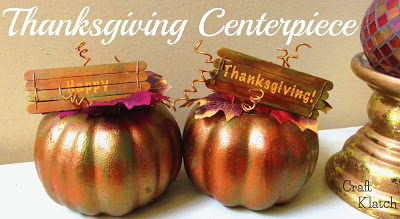
Looking for a beautiful and inexpensive centerpiece for Thanksgiving? With a little makeover of Dollar Tree pumpkins, you can make your Thanksgiving table extra festive!
Here is the video tutorial, so you can see exactly how I made them:
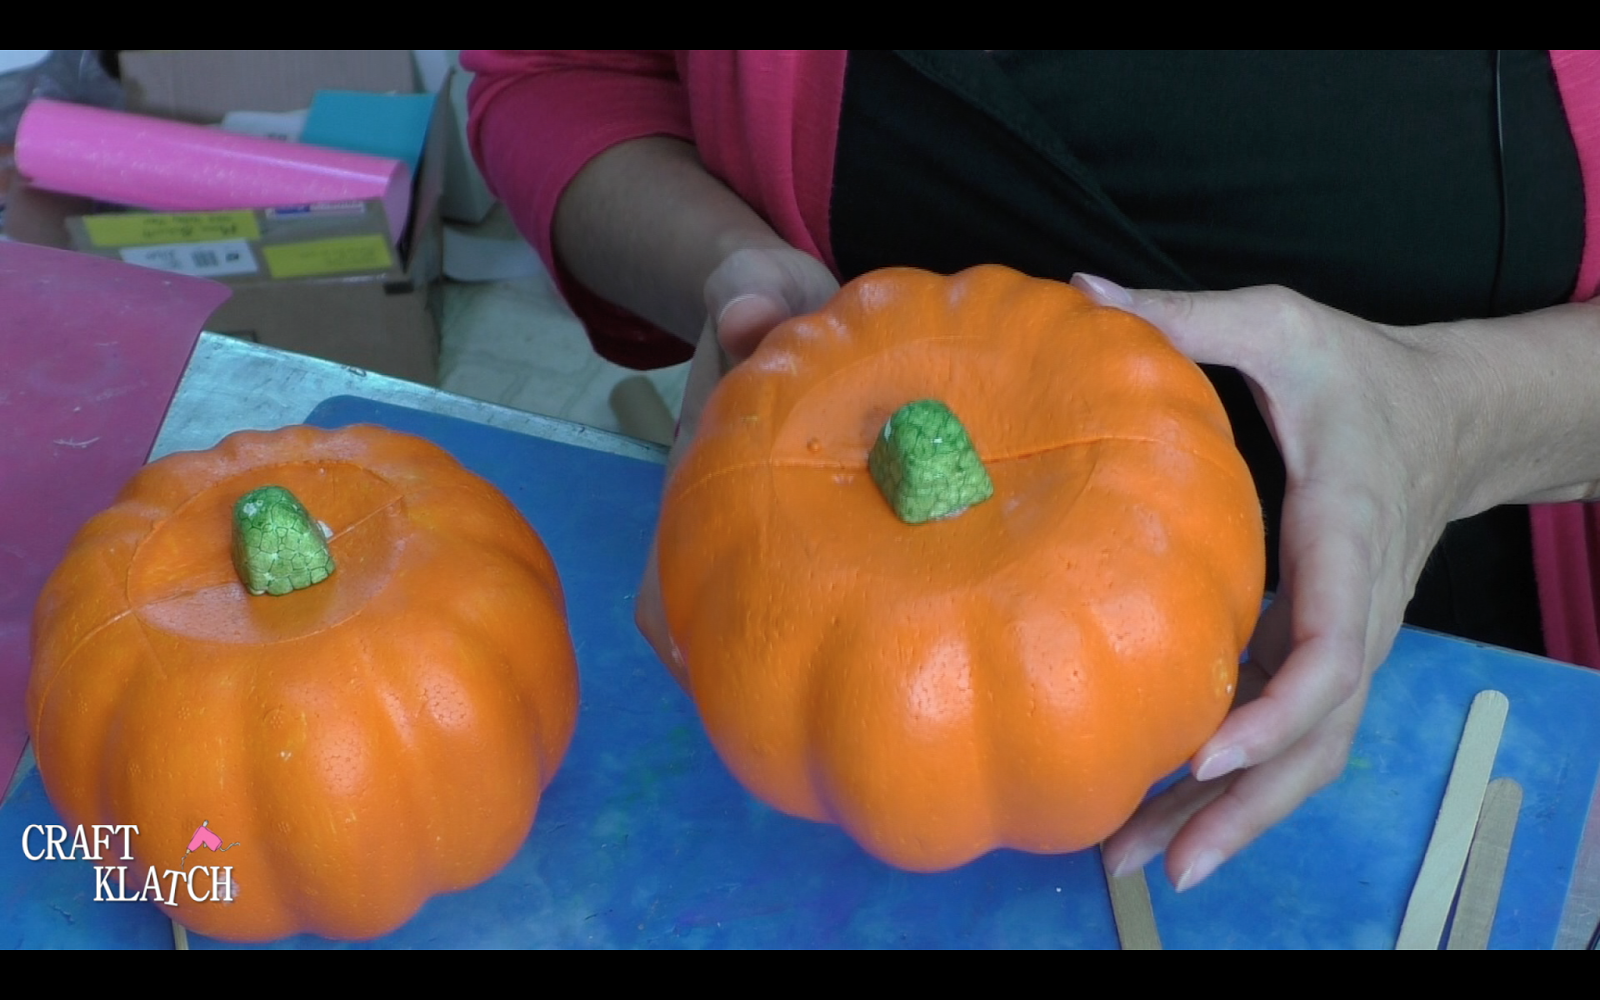
Carvable pumpkins: http://amzn.to/2z8lftH
Popsicle sticks: http://amzn.to/2zQFitD
Paint in copper, gold and metallic green:
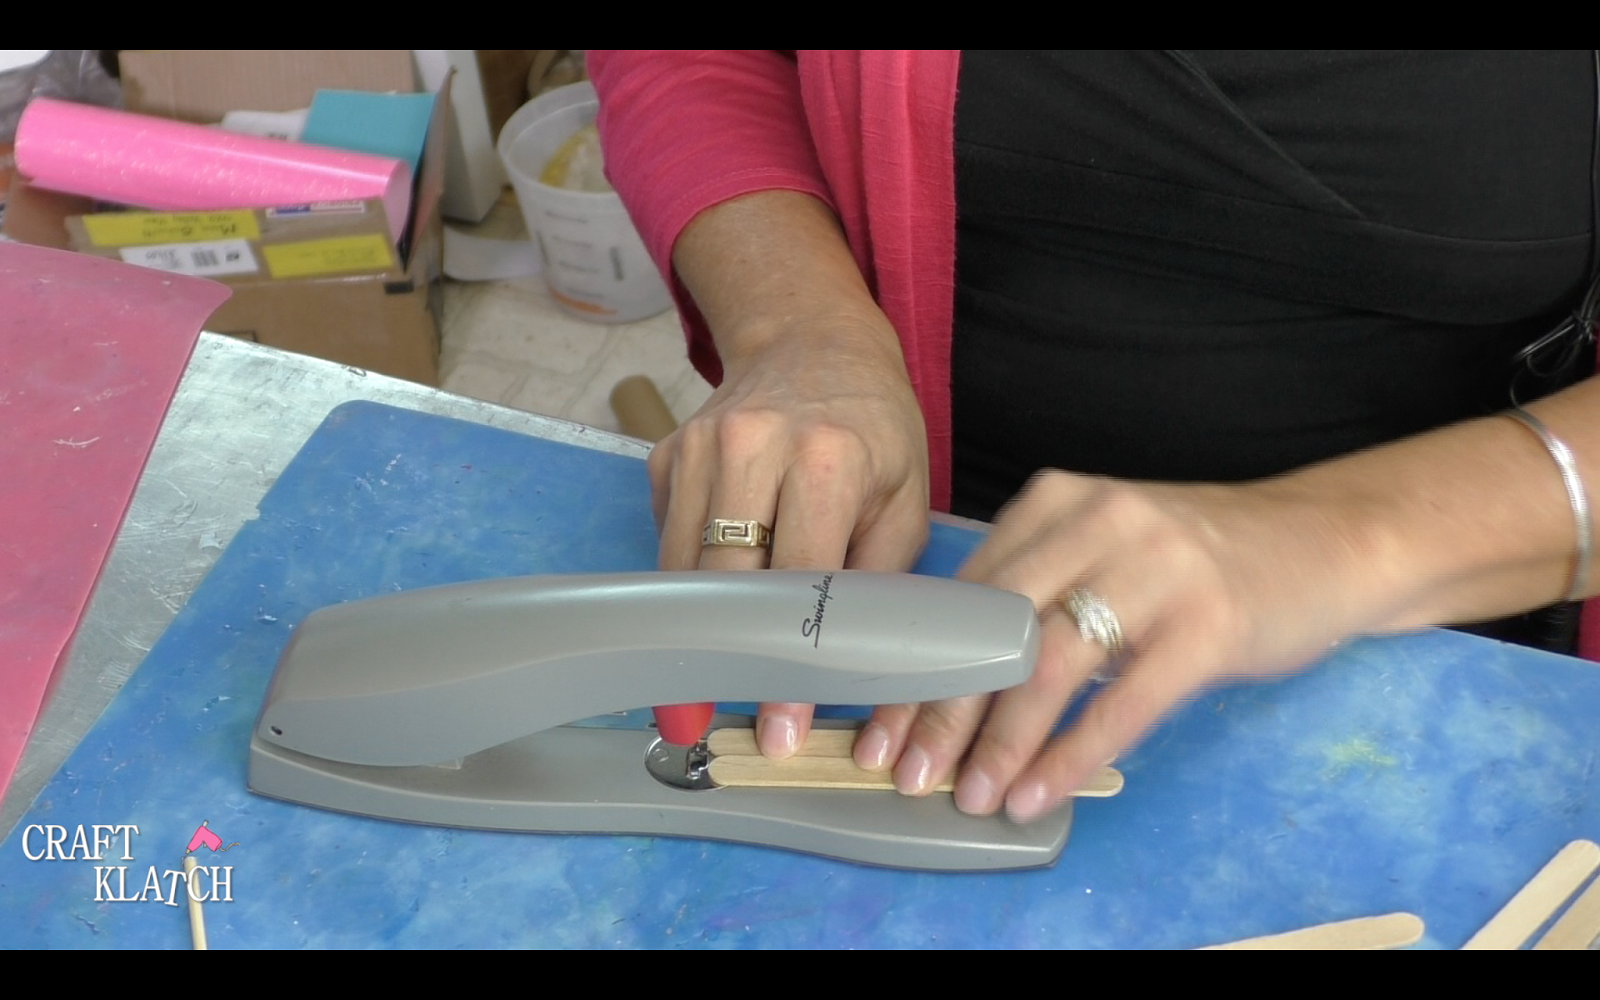
Stapler
Wire: http://shrsl.com/lmo7
Letter stencil or cutting machine: http://shrsl.com/lmoe
Vinyl: http://shrsl.com/lmol
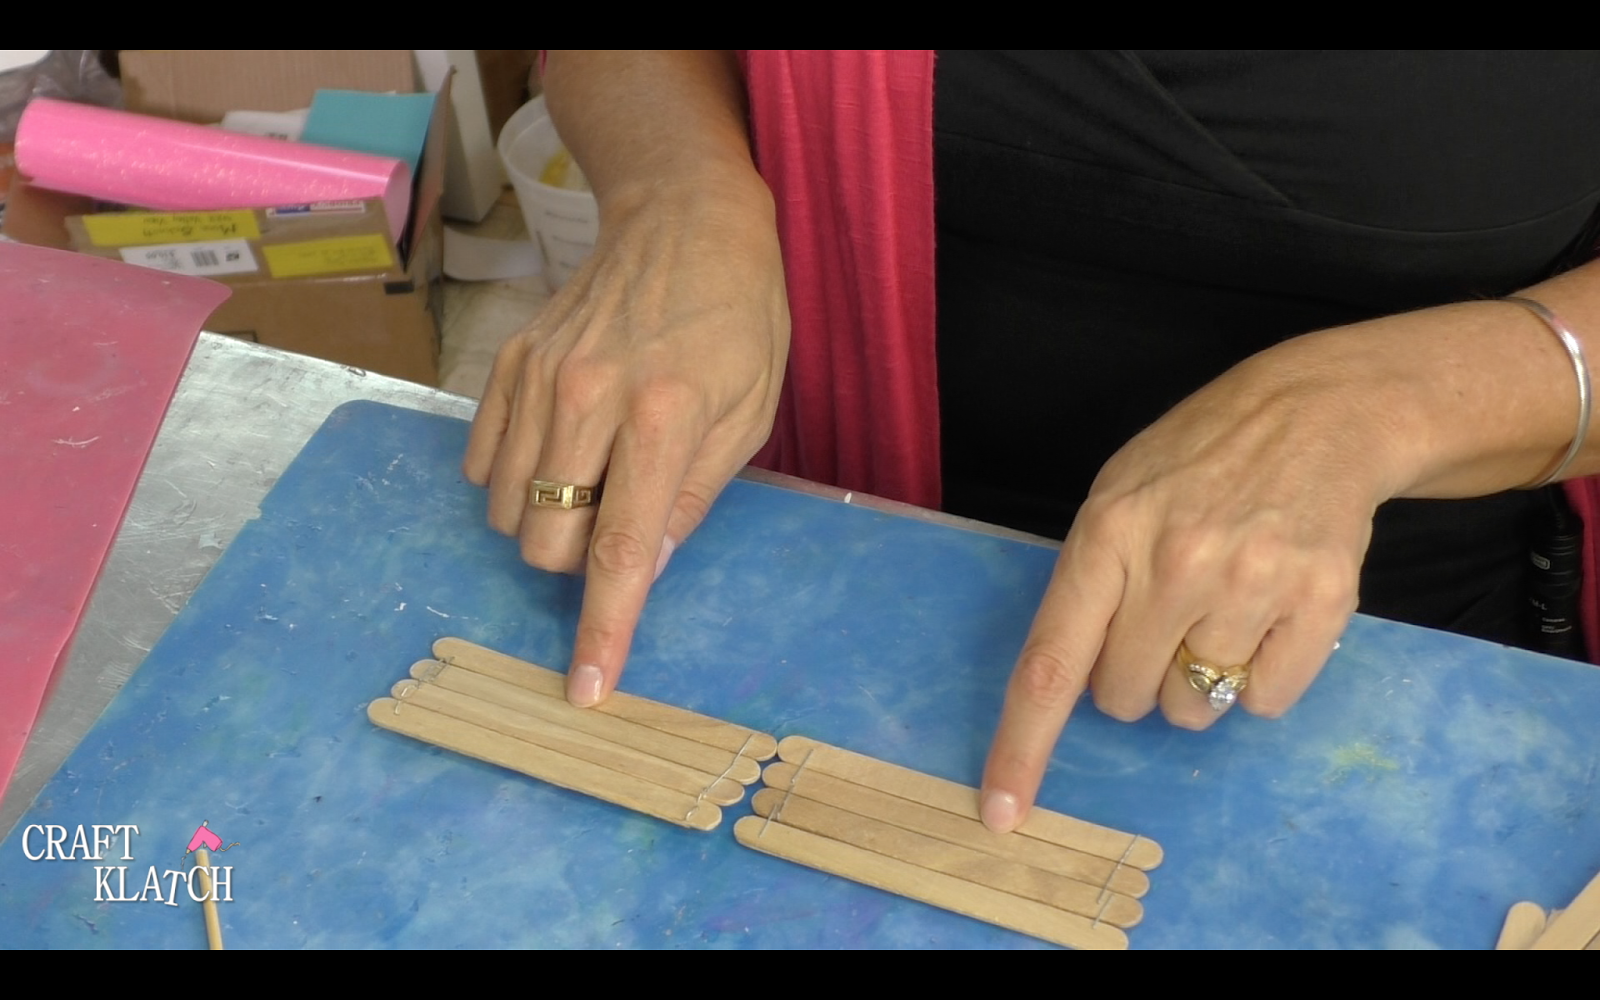
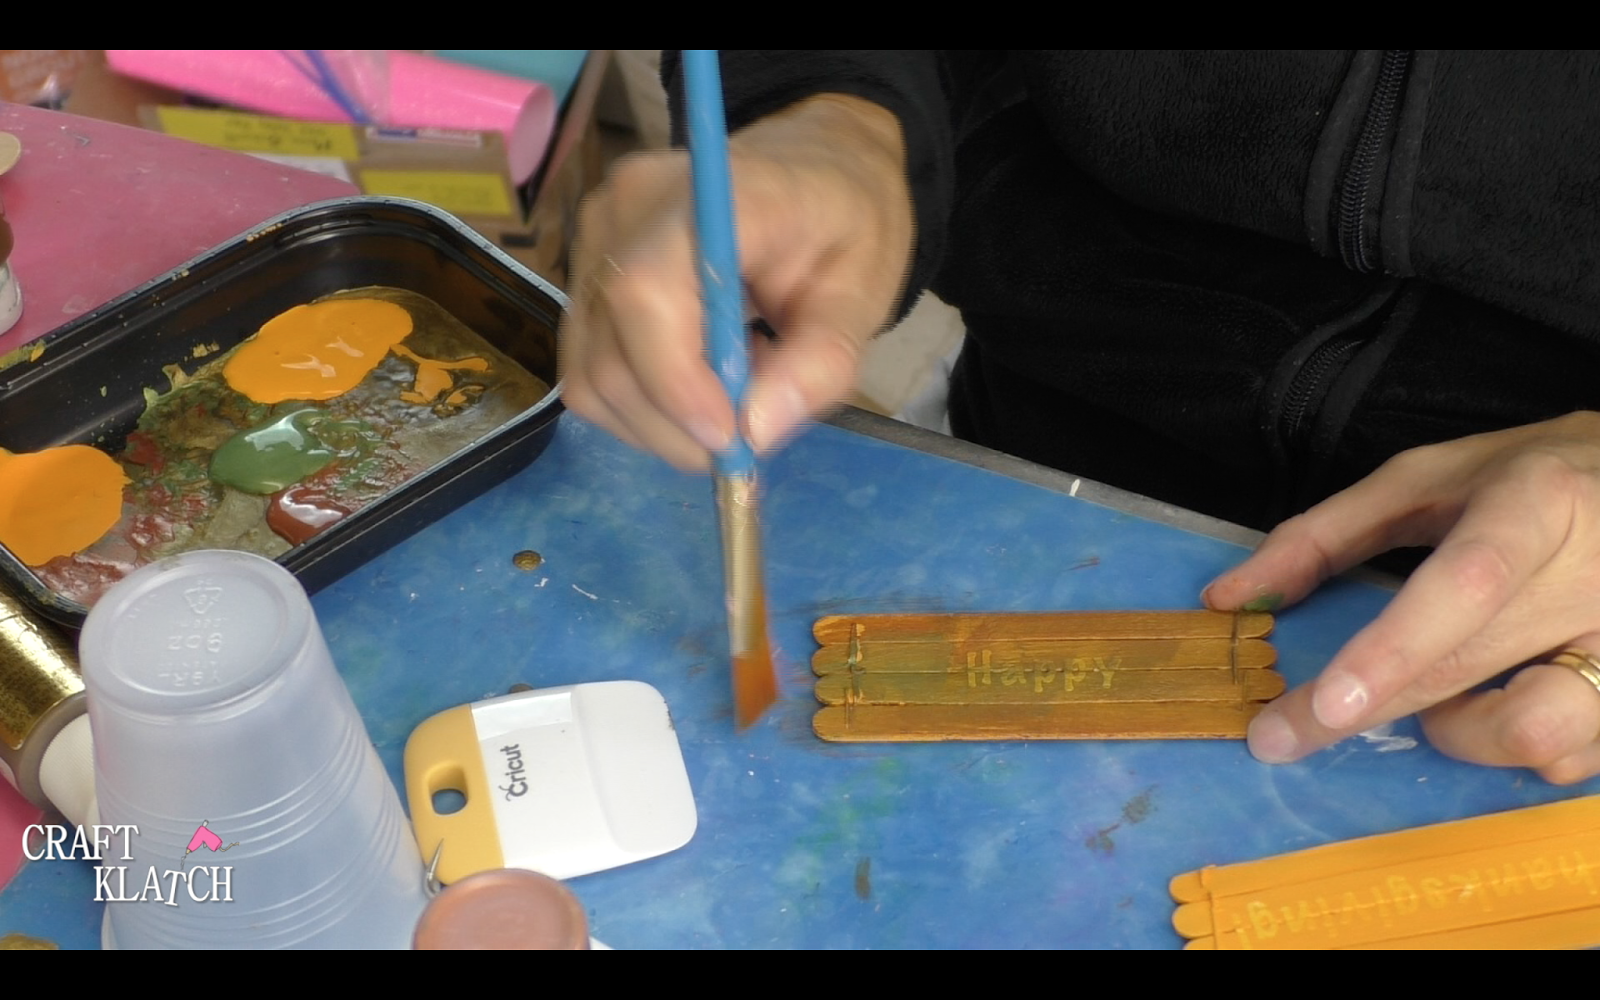
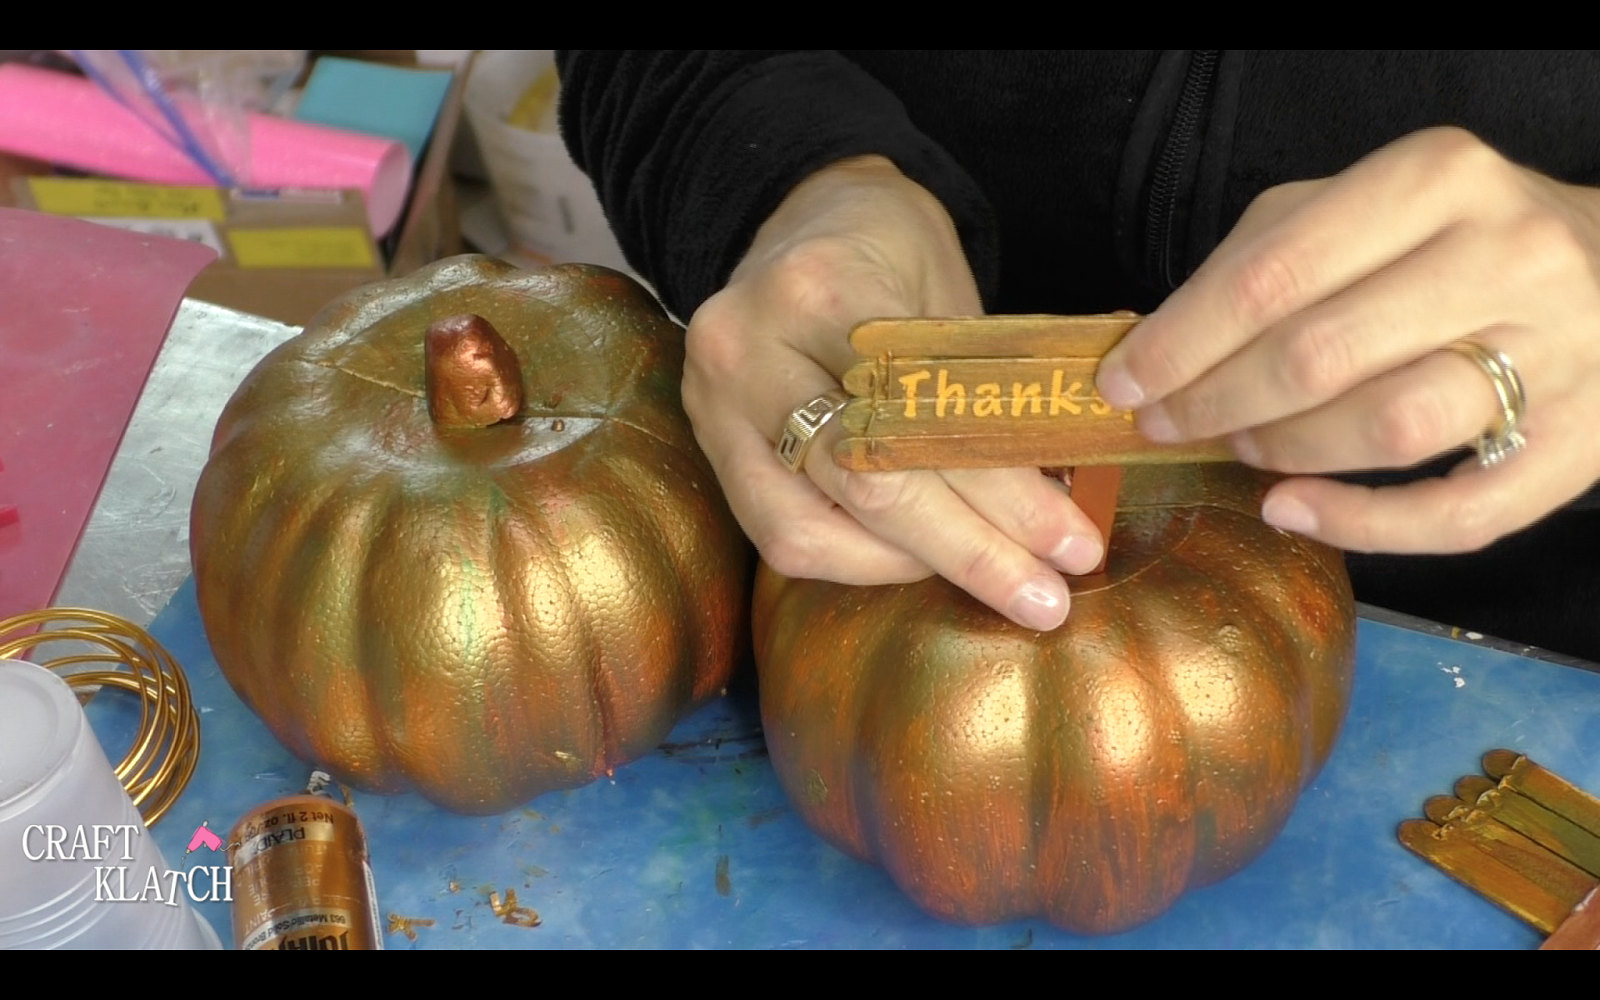
2. You will also need popsicle sticks, to make the signs. I stapled four popsicle sticks together.
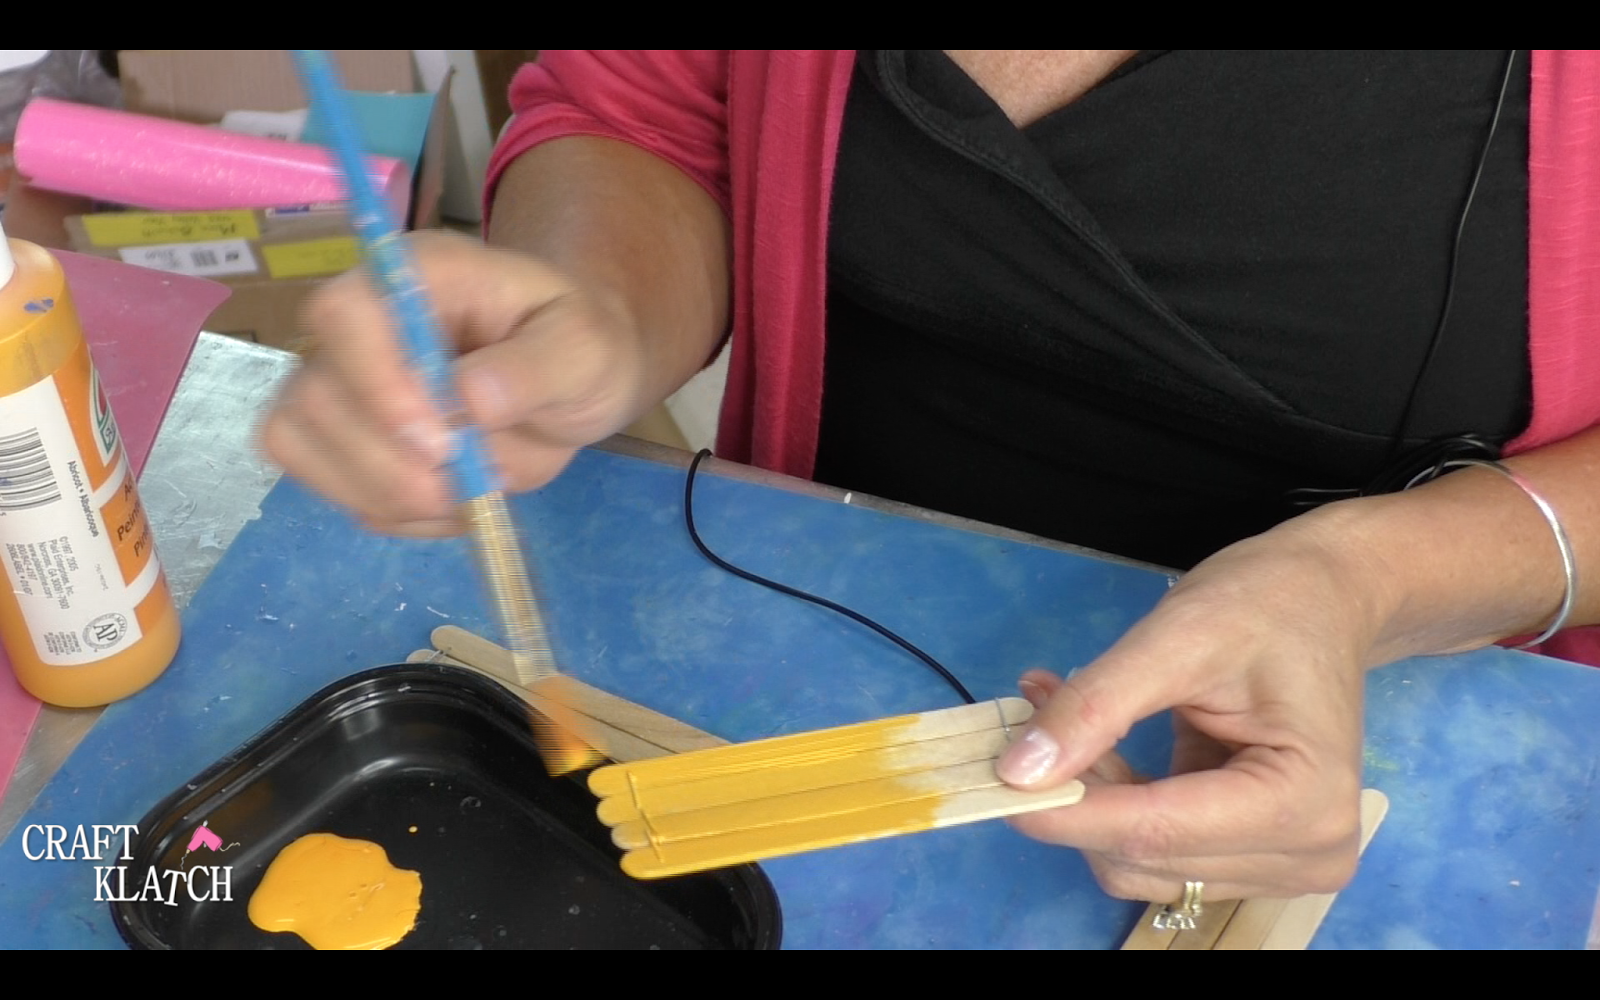
3. I painted them orange.
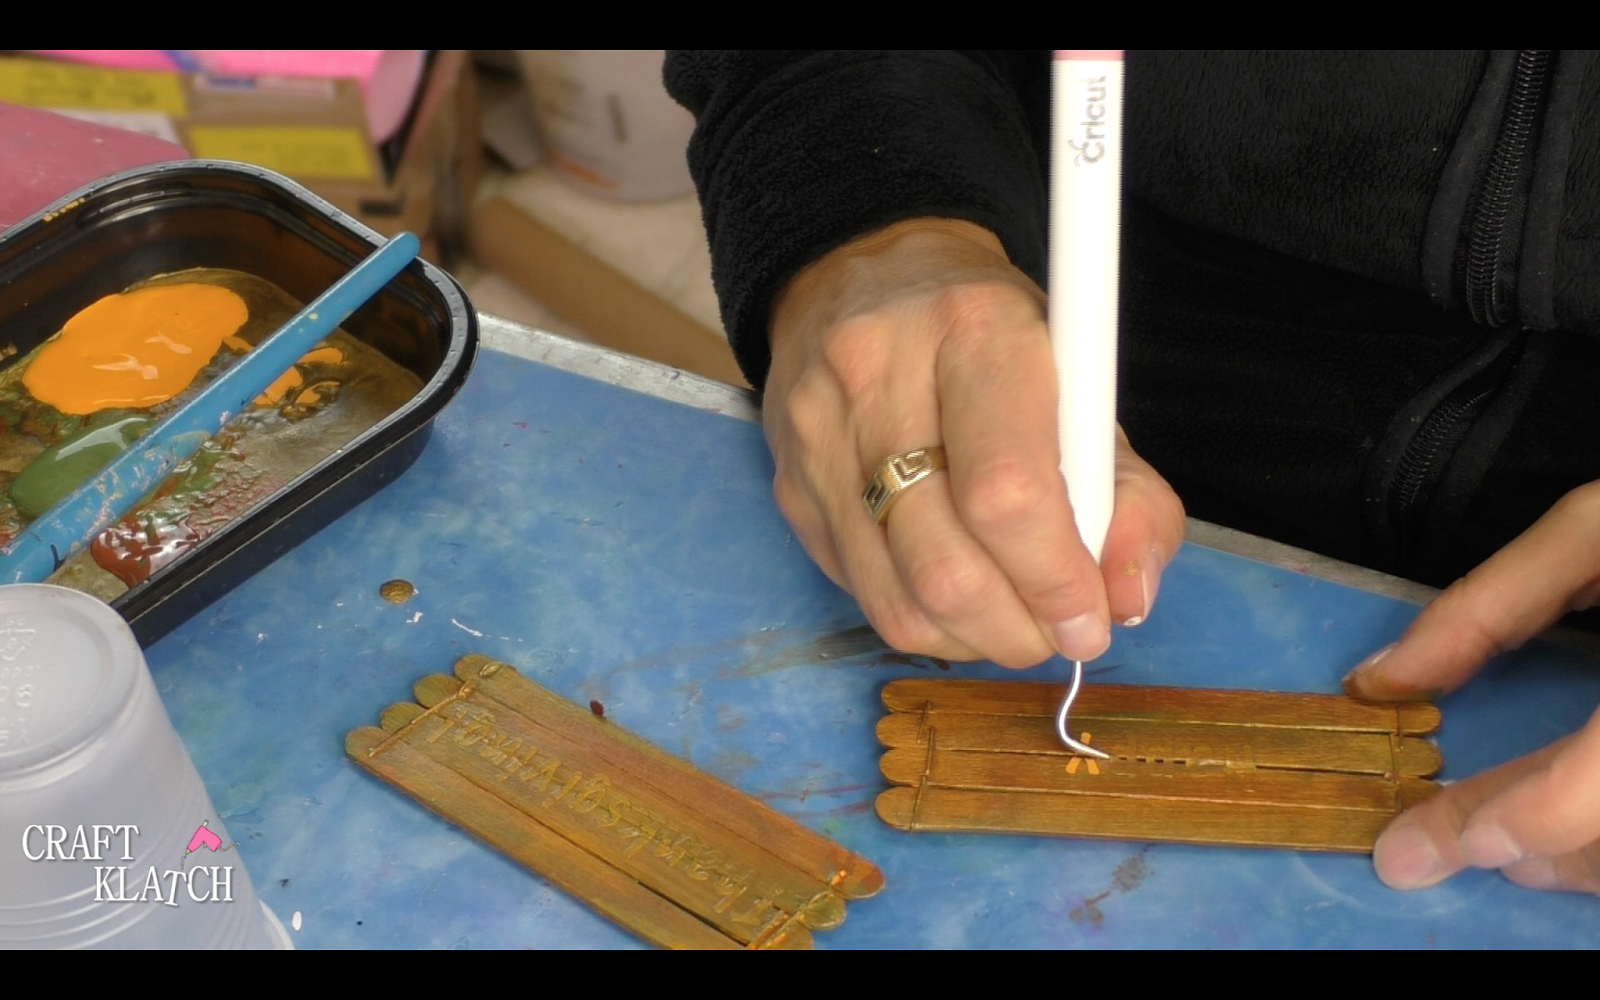
4. I used my Cricut to cut out Happy Thanksgiving. I used transfer tape to add it to the ***If you don’t have a cutting machine, you can finish all of the painting and stencil on the letters at the end.
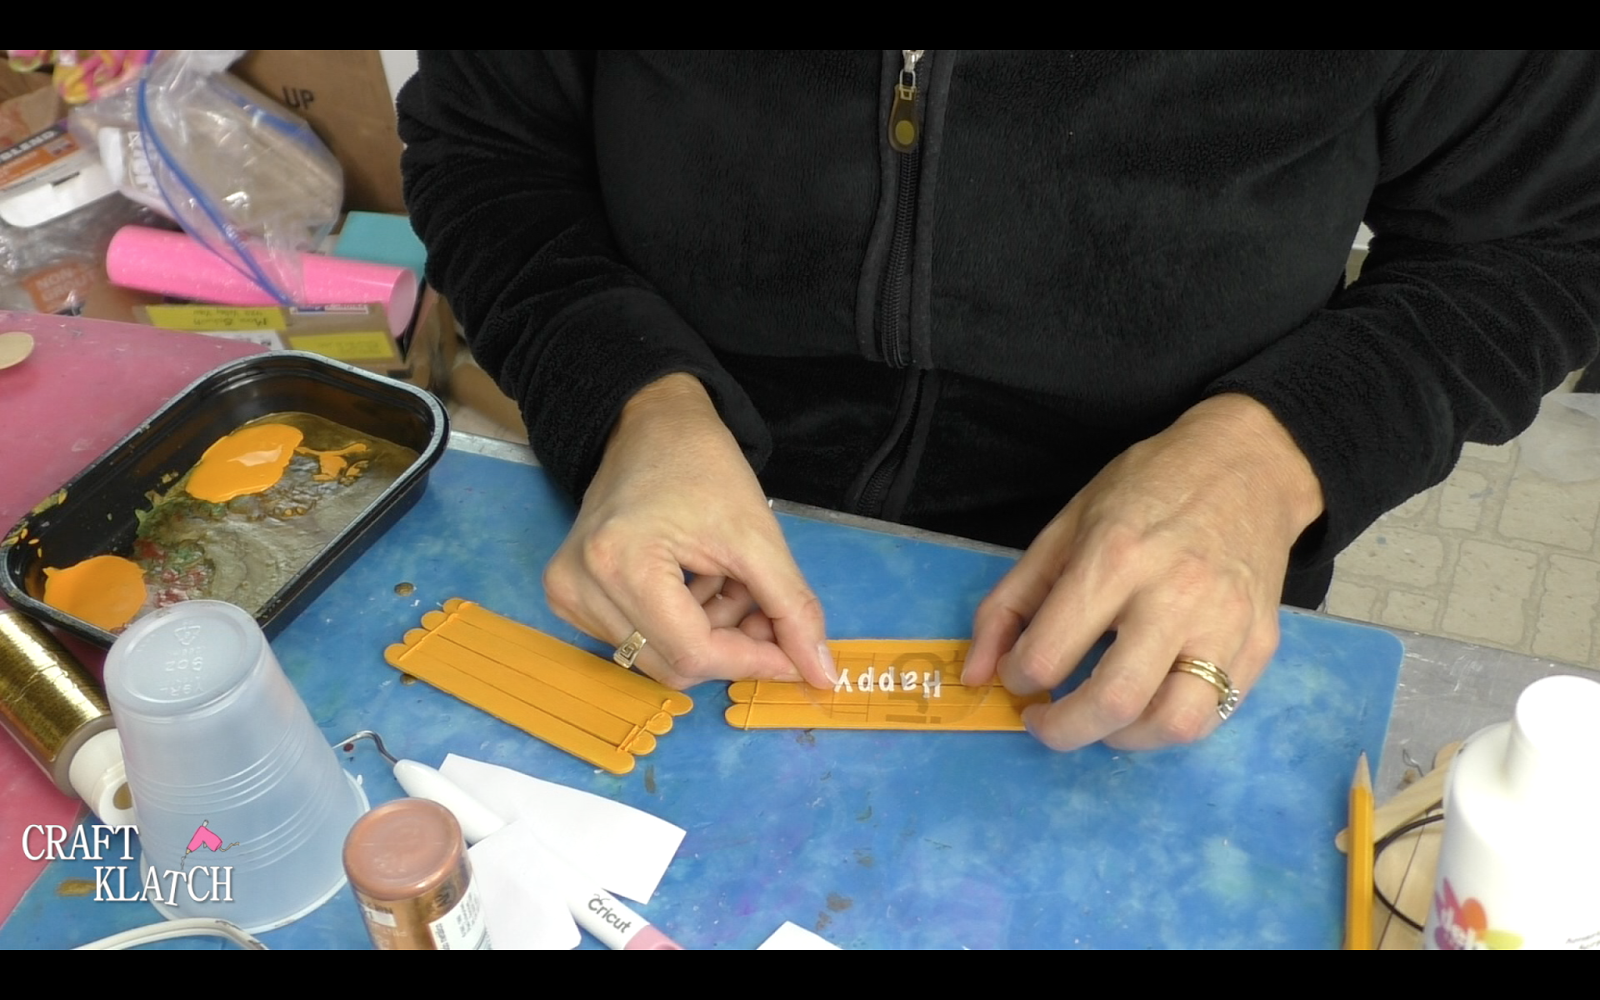
5. Paint over the vinyl with the orange color again!
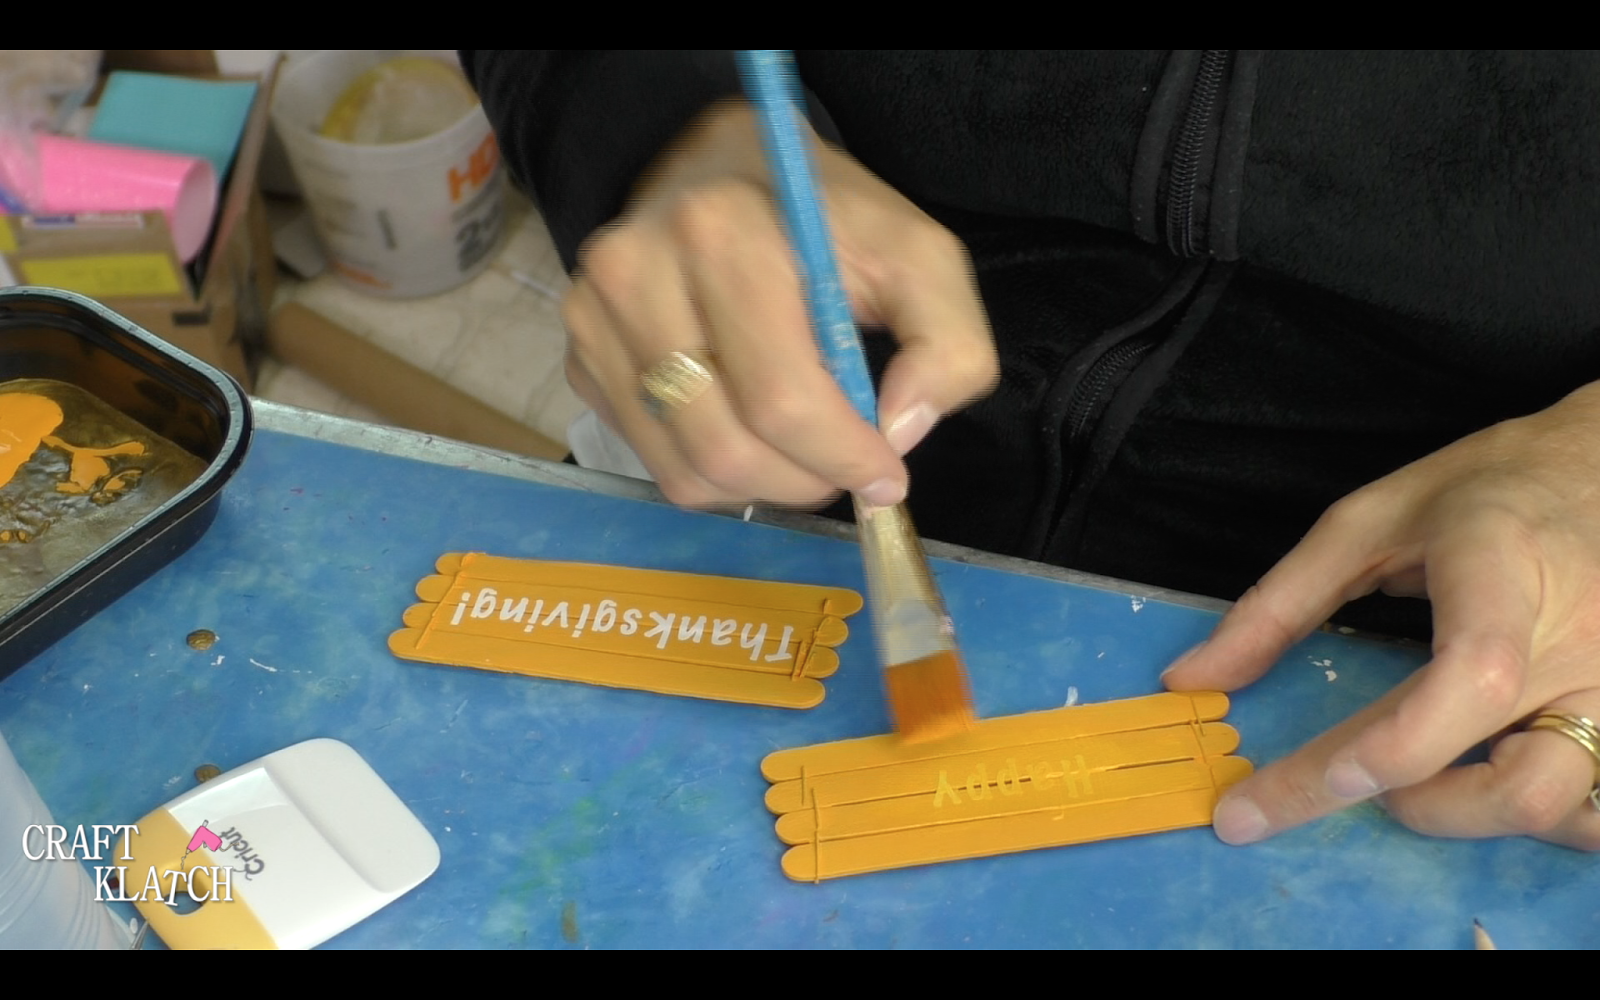
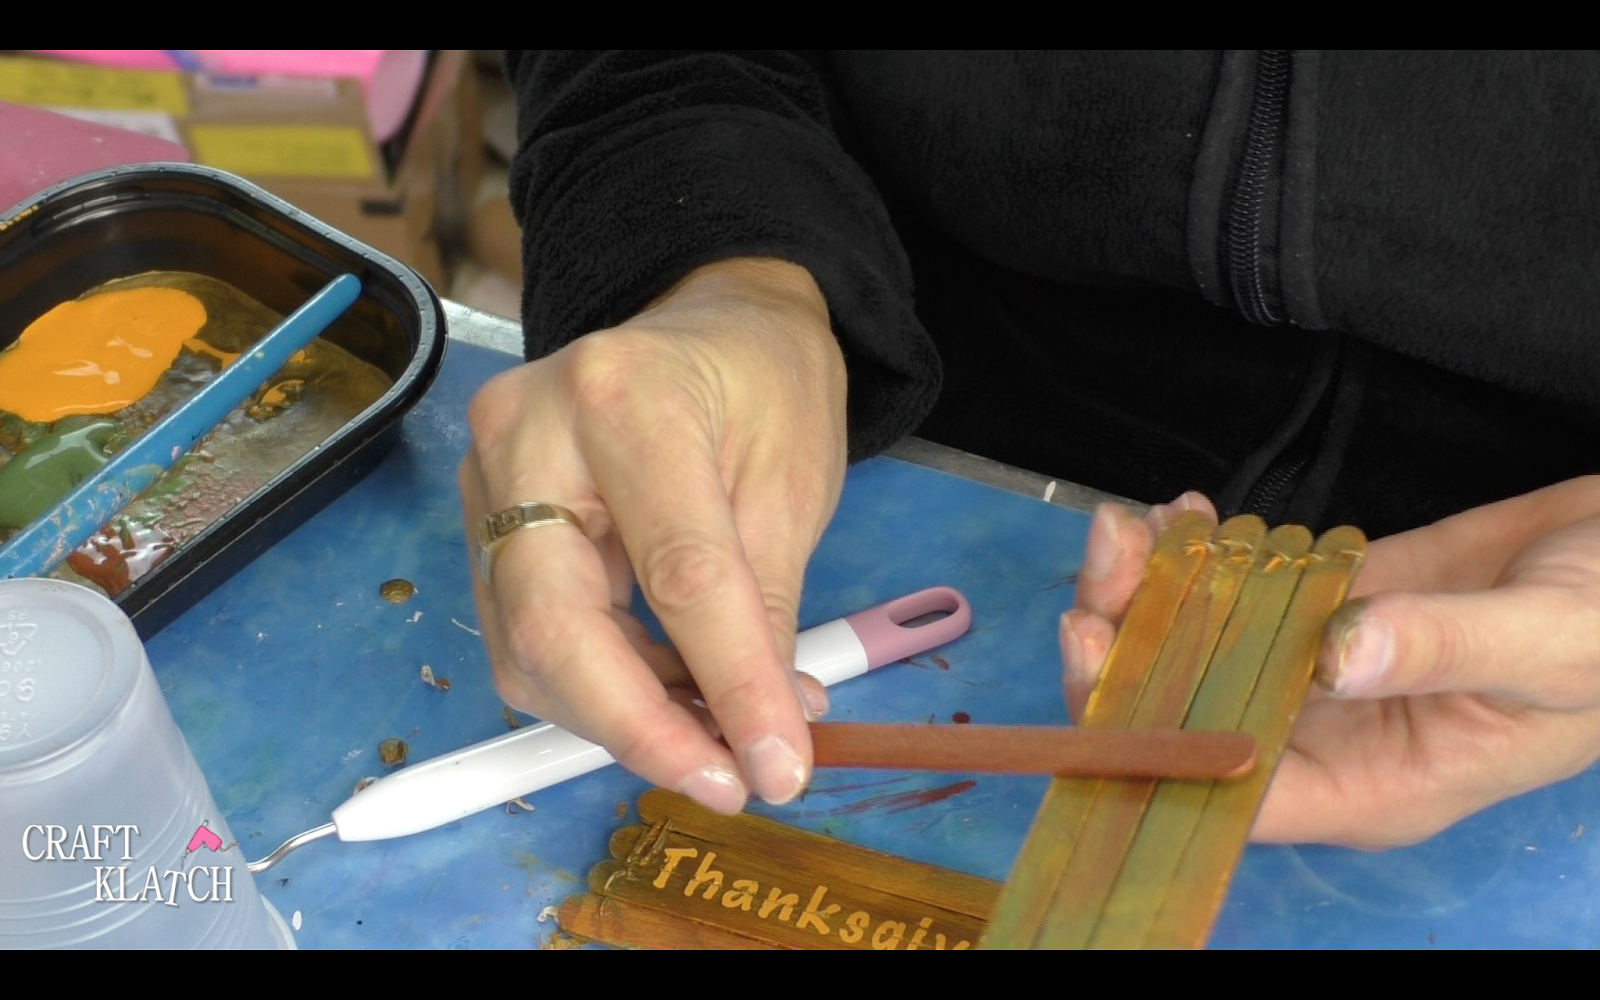
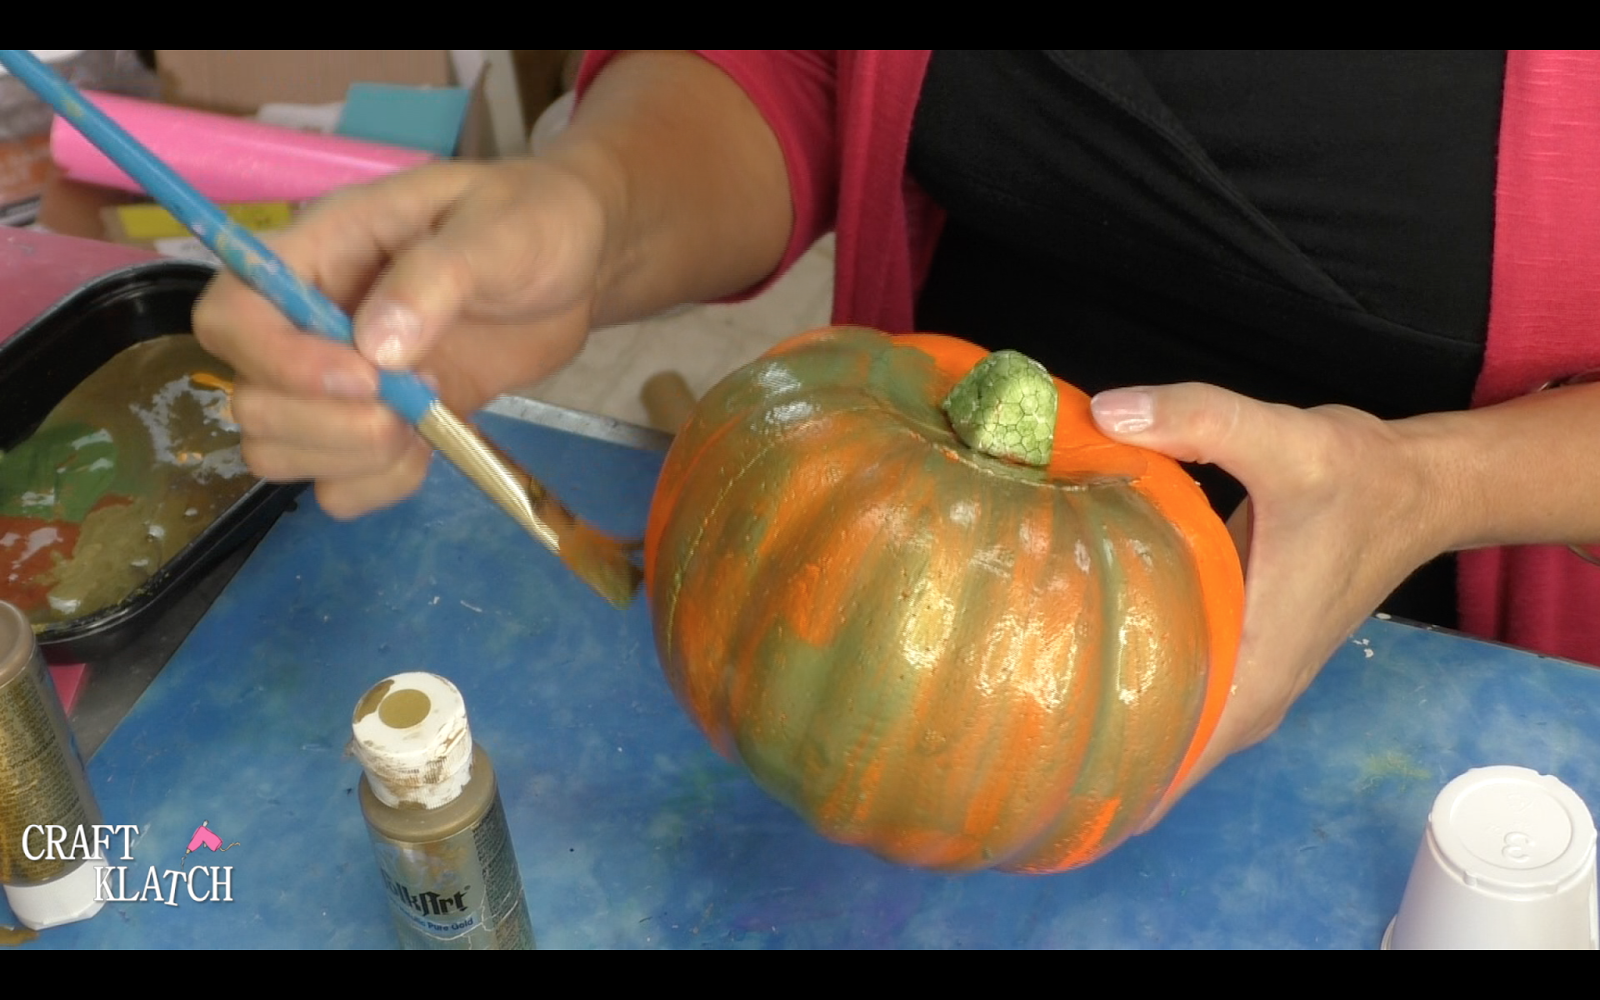
6. Once dry, paint over it with the same colors that you painted the pumpkin.
7. Once dry, peel off the vinyl to expose the orange.

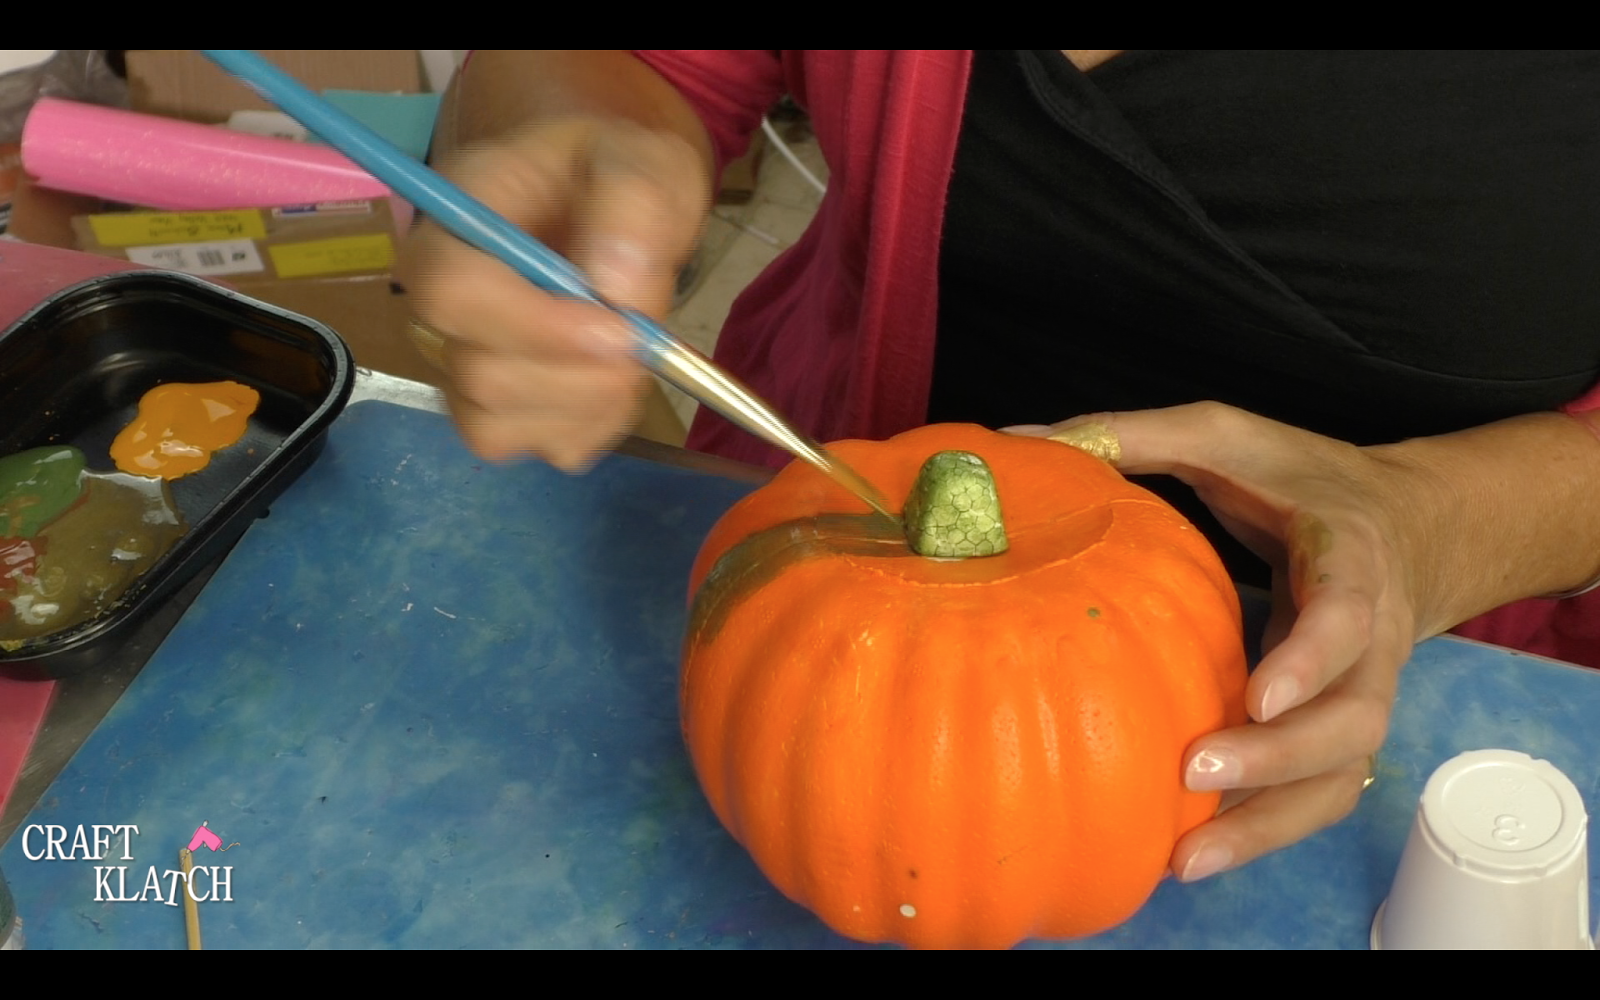
9. Paint the pumpkins with the metallic gold, copper and green. It may take two coats.
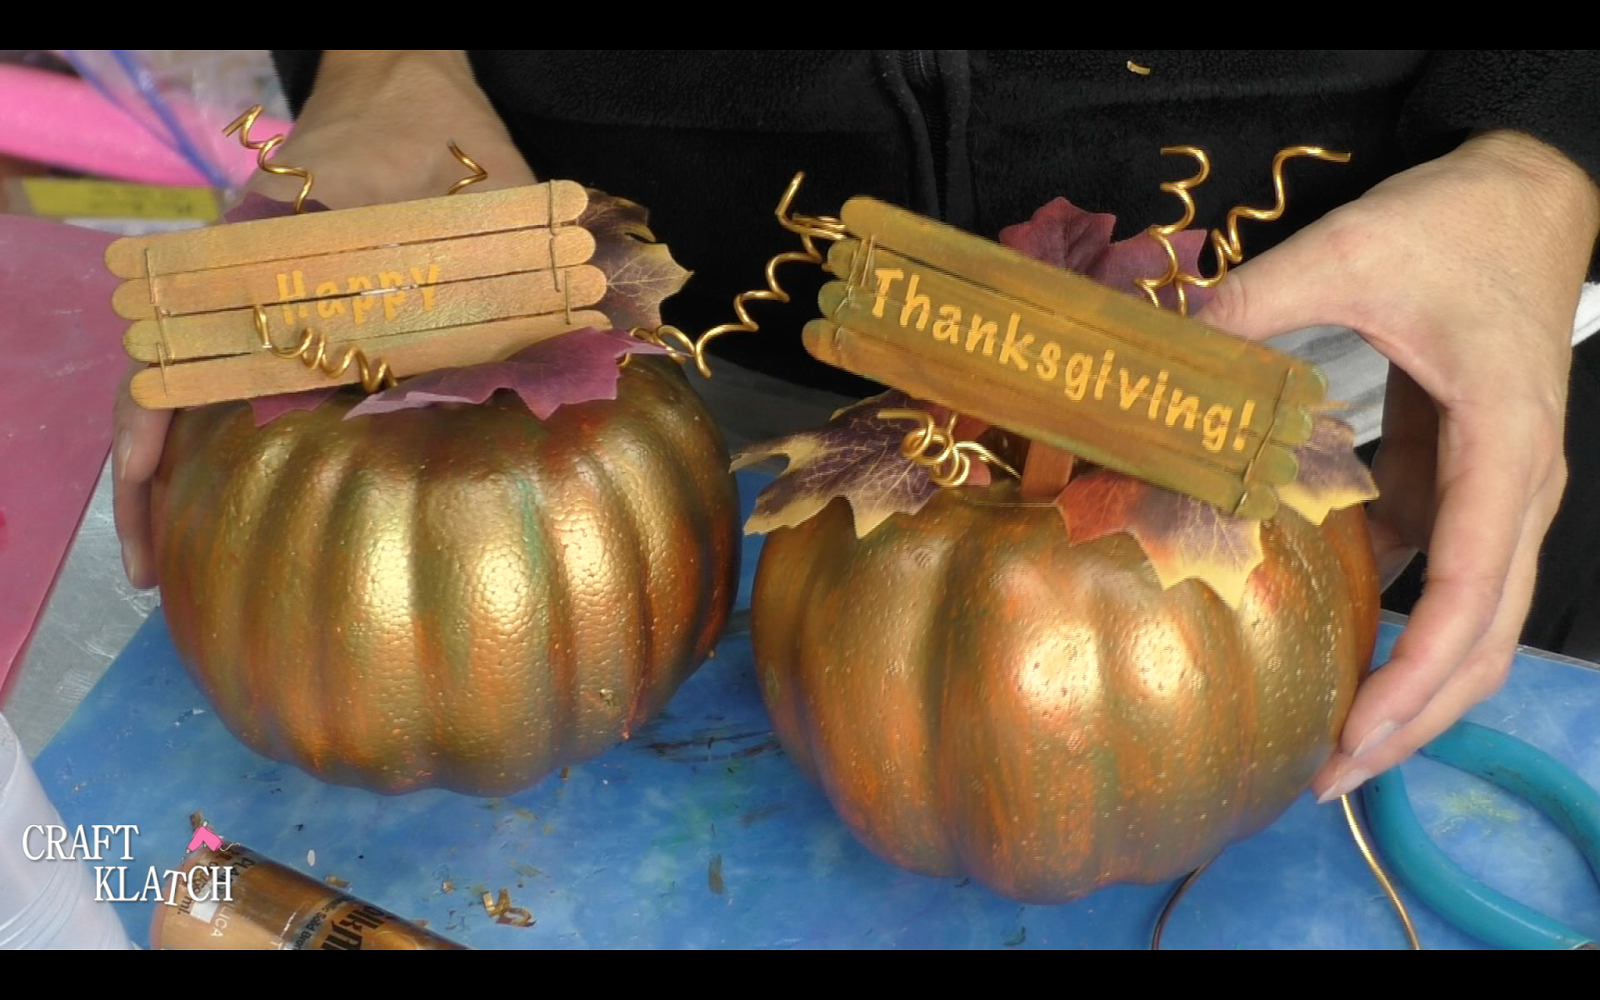
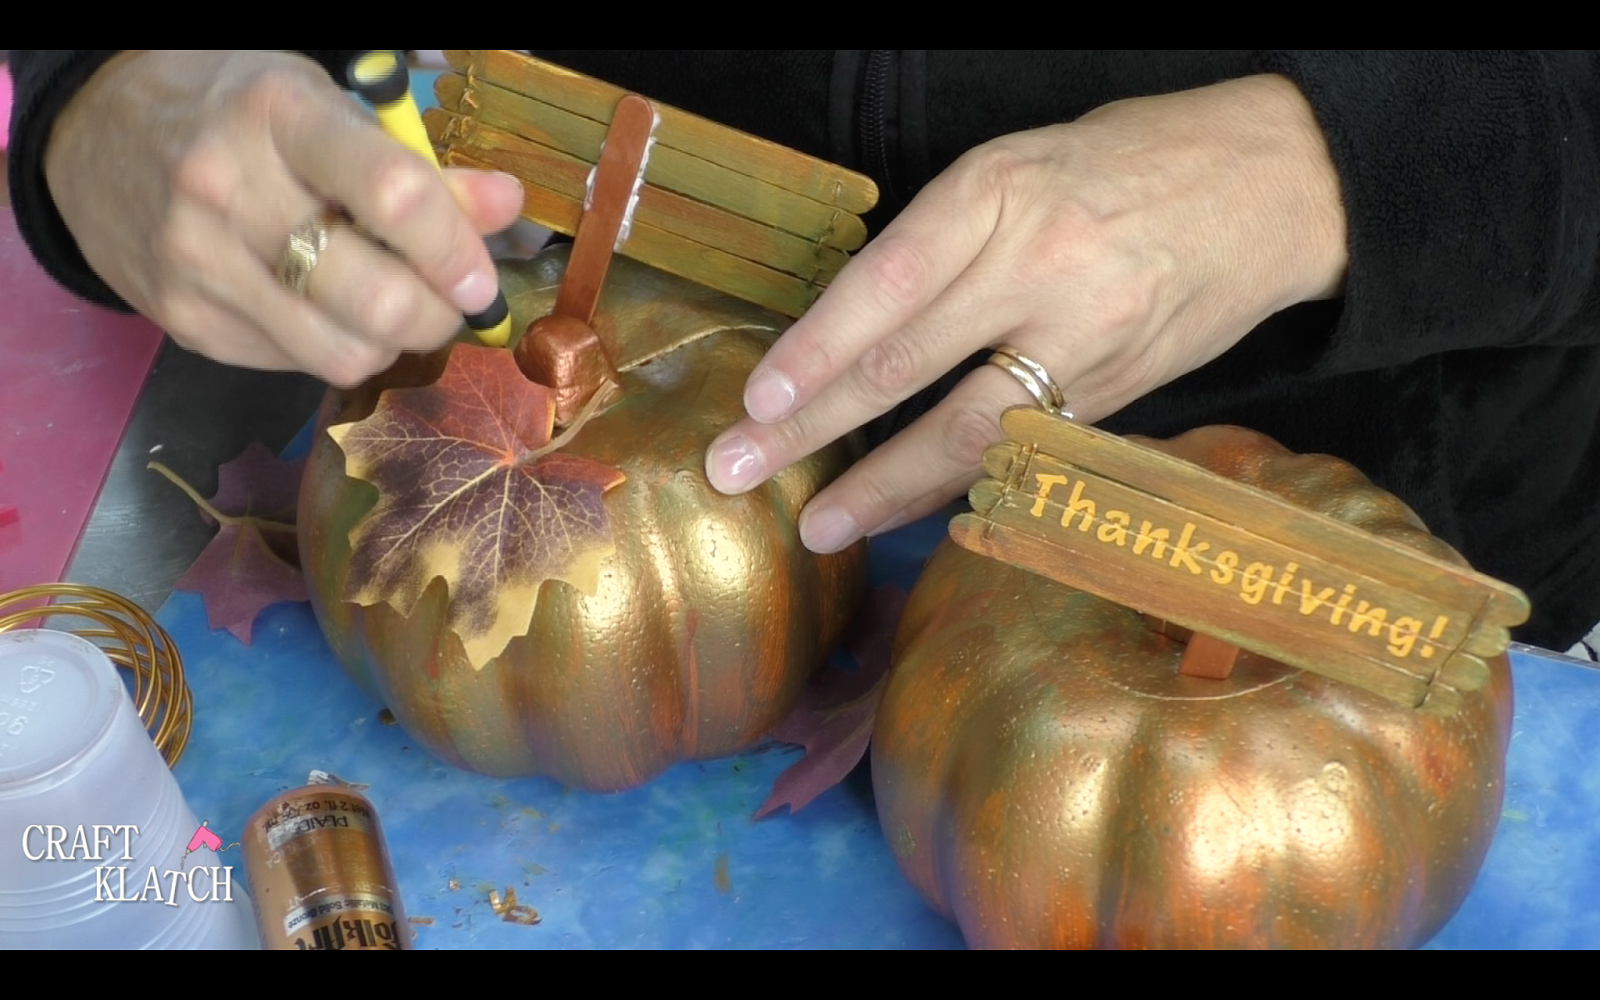
10. Once dry, insert the signs into the pumpkins.
11. Trim some fake fall leaves from a stem.

The stems are kind of thin, so you will want to make a hole with a think screwdriver, or an ice pick. Then, you can insert the leaf.
12. Using wire, you can twist it around a paint brush to make swirls.
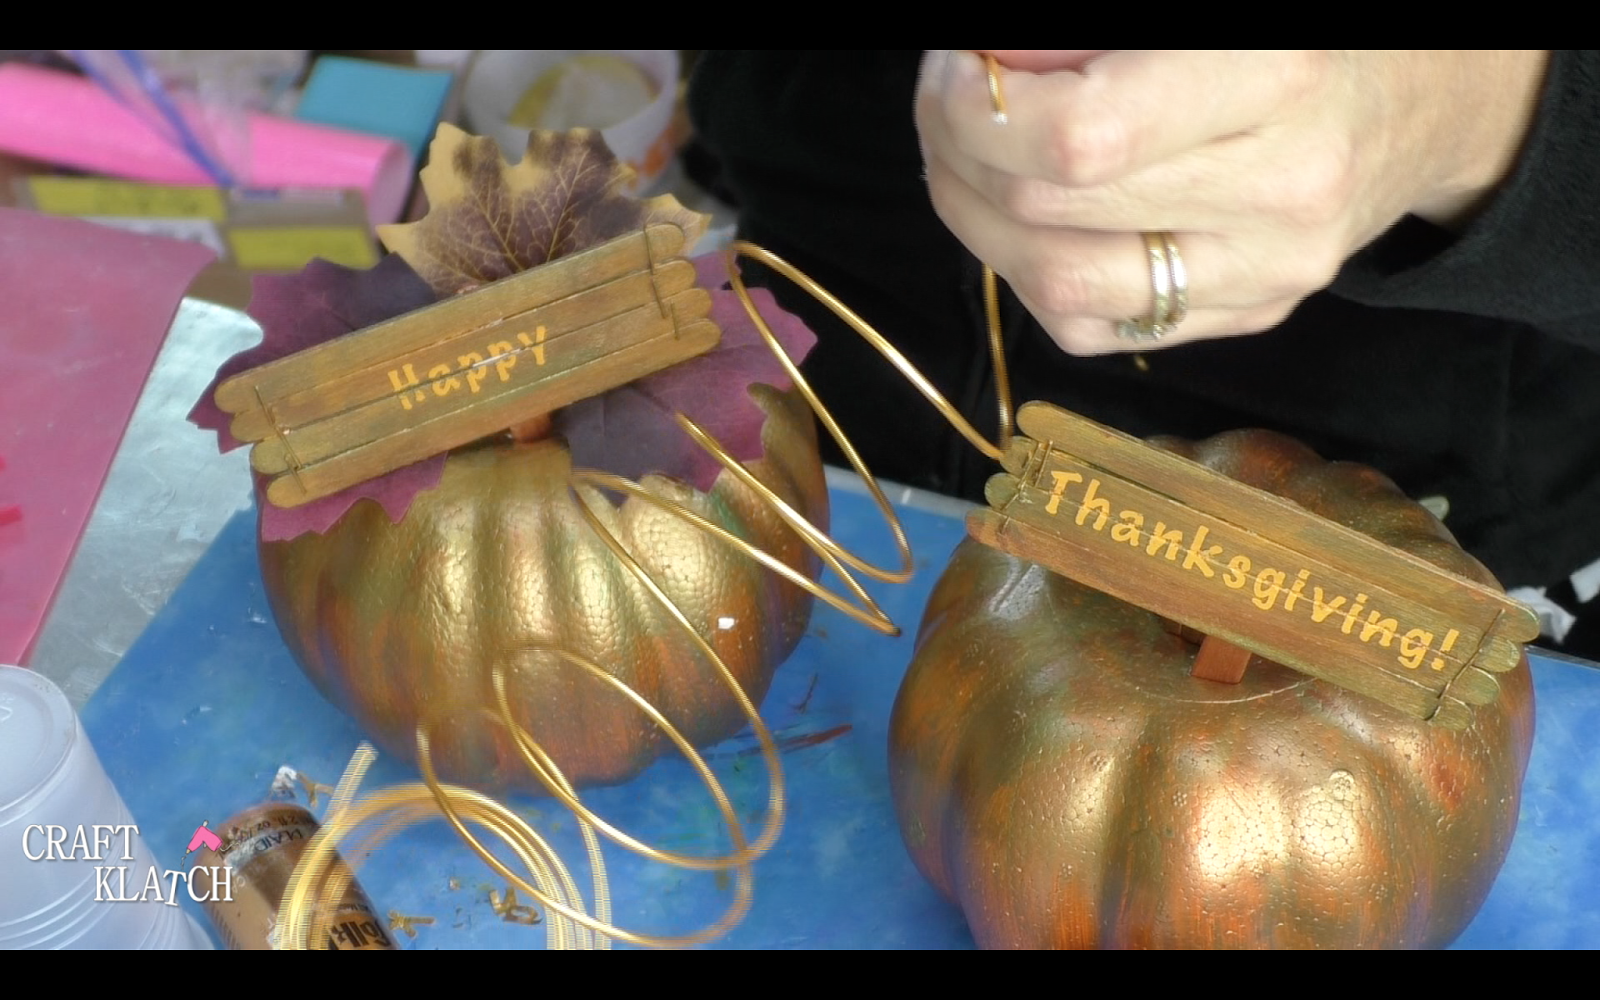
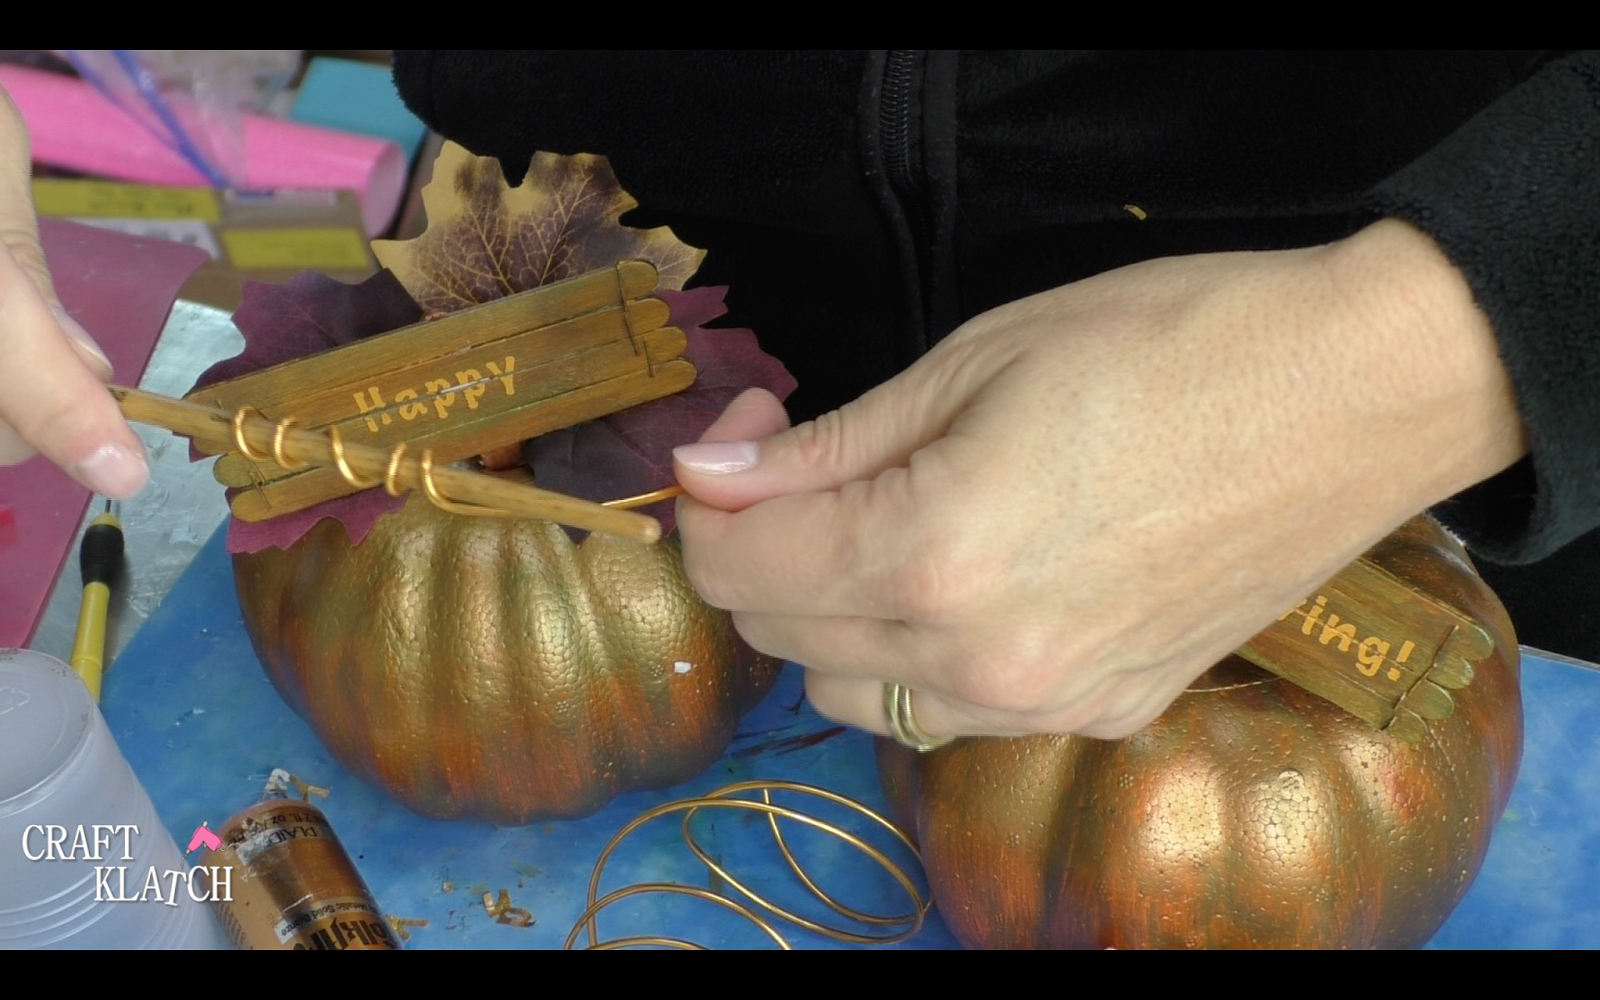
13. Insert them into the pumpkins.