I was at a bridal shower for my nephew and is bride to be. It was beautifully decorated with purple metallic confetti hearts strewn on the tables. As the party was ending, I was talking to my aunt. While I was distracted, my nieces, nephew and cousins thought it would be funny to collect all of the confetti from the 7 or 8 tables and pour them into my small purse. I had no idea this was going on and it all sunk right to the bottom of my purse. I don’t often dive down to the bottom of my purse, so imagine my surprise when a week or so later, I found all of this confetti. I was paying for something at Michaels and I pulled out my wallet and a stray confetti heart came flying out. I decided to give it back to them in the form of a wedding gift.
Here is a quickie video tutorial, so you can see exactly how I made them:
You will need:
This is what I found when I emptied my purse:


Directions:
1. I mixed four ounces of resin.


4. I used a lighter to pop the bubbles and let it cure a minimum of 12 hours.

5. Once cured, I removed it from the mold.

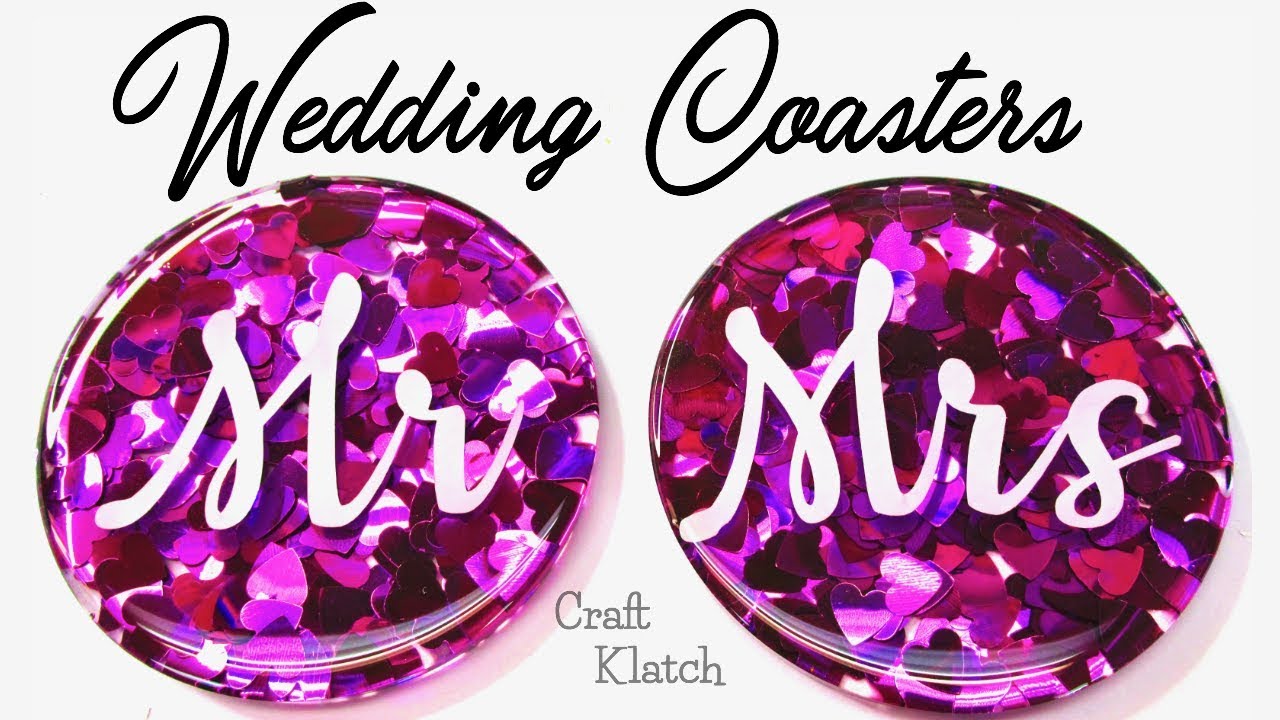
6. I cut Mr and Mrs out of vinyl, with my Cricut.

7. Then I placed them onto the coasters.

8. I mixed one more ounce of resin and poured it on the coasters. Be careful not to pour too fast because you don’t want it to spill over the sides.


9. Use a lighter to pop the bubbles and let it cure a minimum of 12 hours before handling.

Now you have some really beautiful coasters that are perfect to give to the bride and groom!

Here’s the back:

Thanks for stopping by! Remember: Life’s too short not to shimmer, so grab your glue gun and your glitter!™ Stay safe!
Mona