With the weather changing and leaves starting to turn, fall is definitely in the air. I thought it would be fun to make a simple resin coaster, but one that felt like fall.
If you have ever wondered how to make a resin coaster or how to make wood and resin coasters, you have come to the right place! Using wood with resin can be a little tricky.
Once, I set a coaster on fire because I did not seal the wood beforehand. Lesson learned!
Let’s get started on making a twig and resin coaster! It’s a great DIY using natural materials and it can get you started with your fall home decor!
If you want another example of a coaster made with wood, you can check out my Beauty of Nature Coaster. I added a lot of natural materials to the resin, sanded it down, and then added another layer of resin. I liked the technique so much that I made a table version in my Glam Resin Table Makeover.
Be sure to read to the end, where I answer some frequently asked questions!
Video Tutorial on How to Make Wood and Resin Coasters
Here is a quick video tutorial, so you can see exactly how I made them:
Materials to Make a Resin Coaster
*This blog uses affiliate links. As an Amazon Associate I earn from qualifying purchases.
You will need:
- Round mold: http://amzn.to/2FcRd7J
- Square mold: https://amzn.to/2pshcS8
- Twigs: Go collect them outside and cut or break them down (It’s a great opportunity to get a little fresh air!)
- Varnish: https://amzn.to/2O1dLQ0
- Resin
- When deciding on which resin to use for your coasters, you need to keep in mind whether you want it just for cold cups or for hot ones as well.
- If only for cold drinks, you can be flexible and use whatever brand you like:
- If you want it to work for both hot and cold drinks, you need to look for a heat-resistant resin, like these:
- FX Poxy ~ According to the manufacturer, this one is heat resistant to 500° F.
- Stone Coat
Directions
1. I cut a bunch of twigs and sized them to fit into my mold(s). You can use any thickness you want, but keep in mind that the thicker the twig, the more resin you will need to fully cover it and get an even surface.
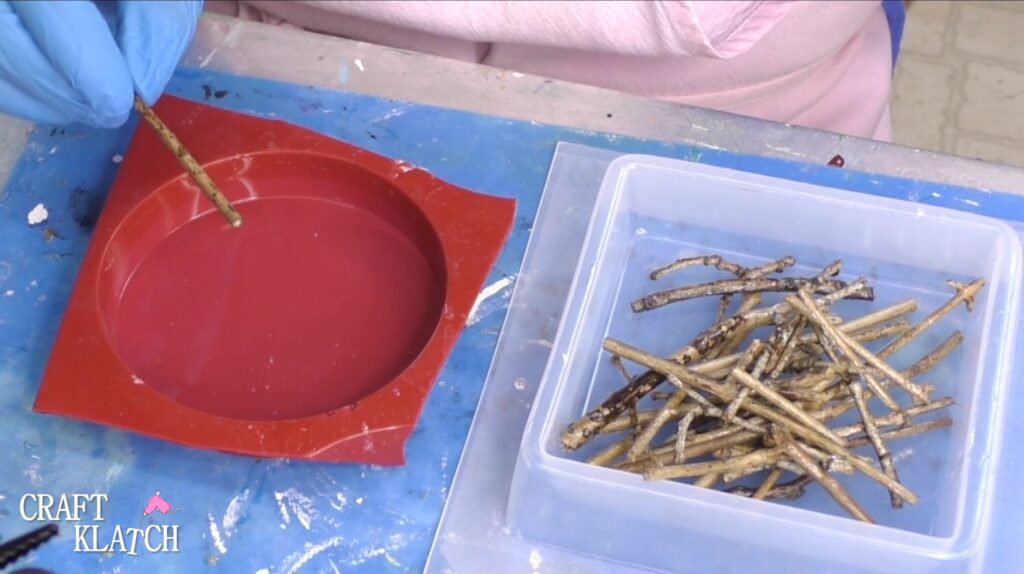
I used a round and a square mold, but keep an eye out for fun molds, like these:

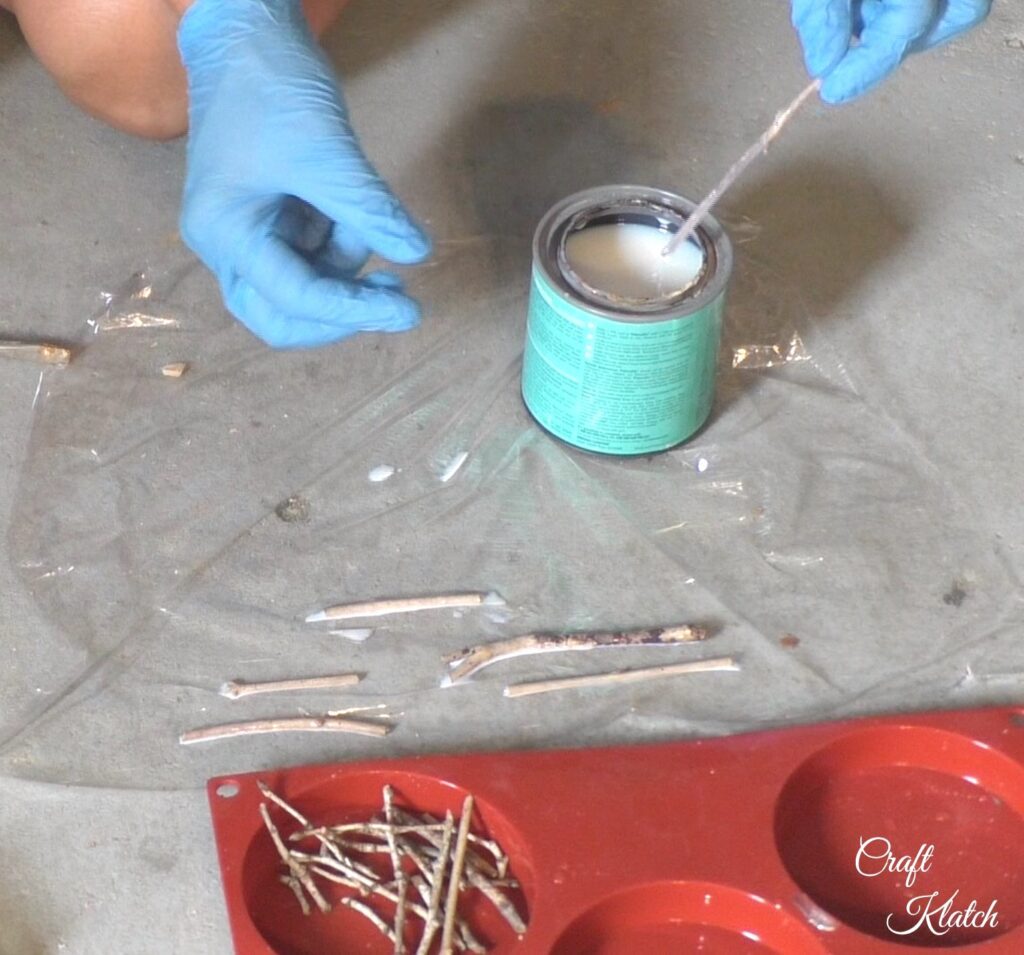
2. I dipped the twigs into varnish, to seal them and then laid them down on plastic wrap, to dry. I let them drain a little and moved them to a second piece for final drying.
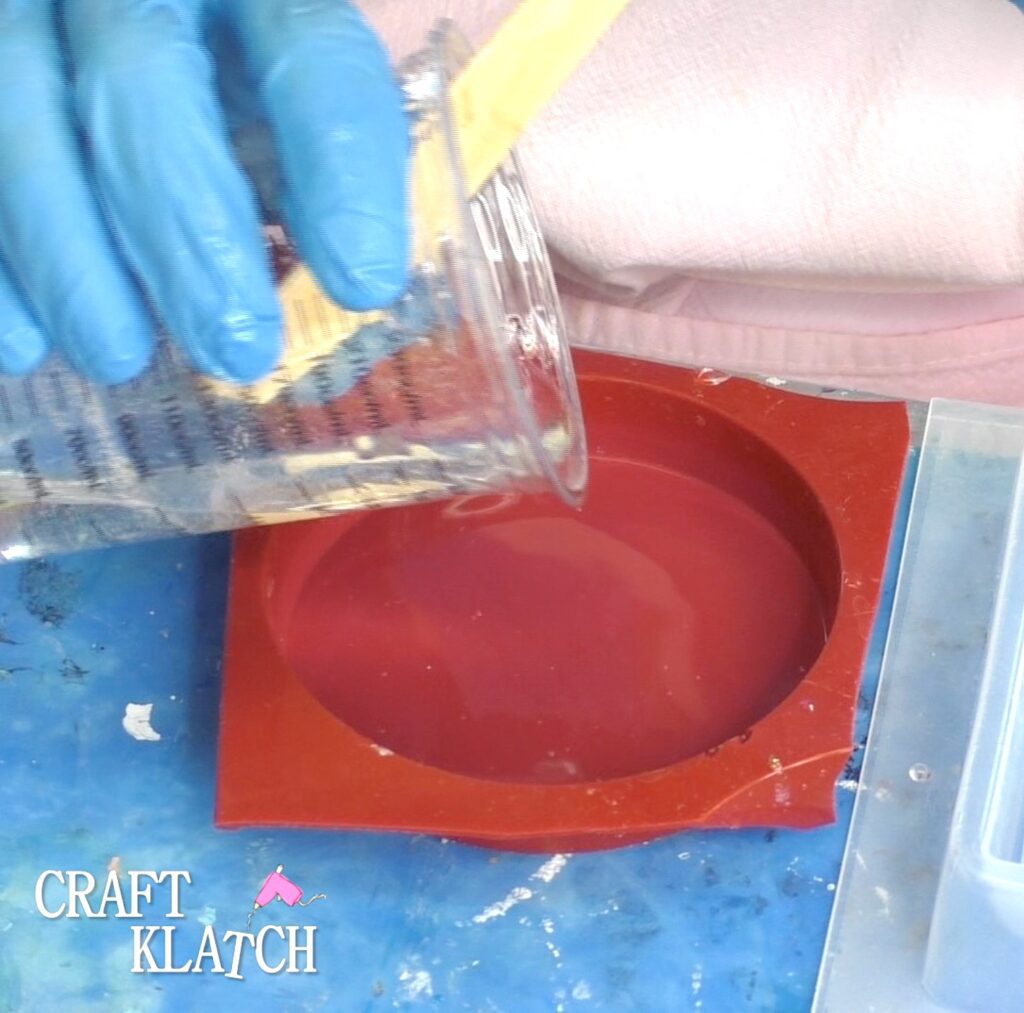
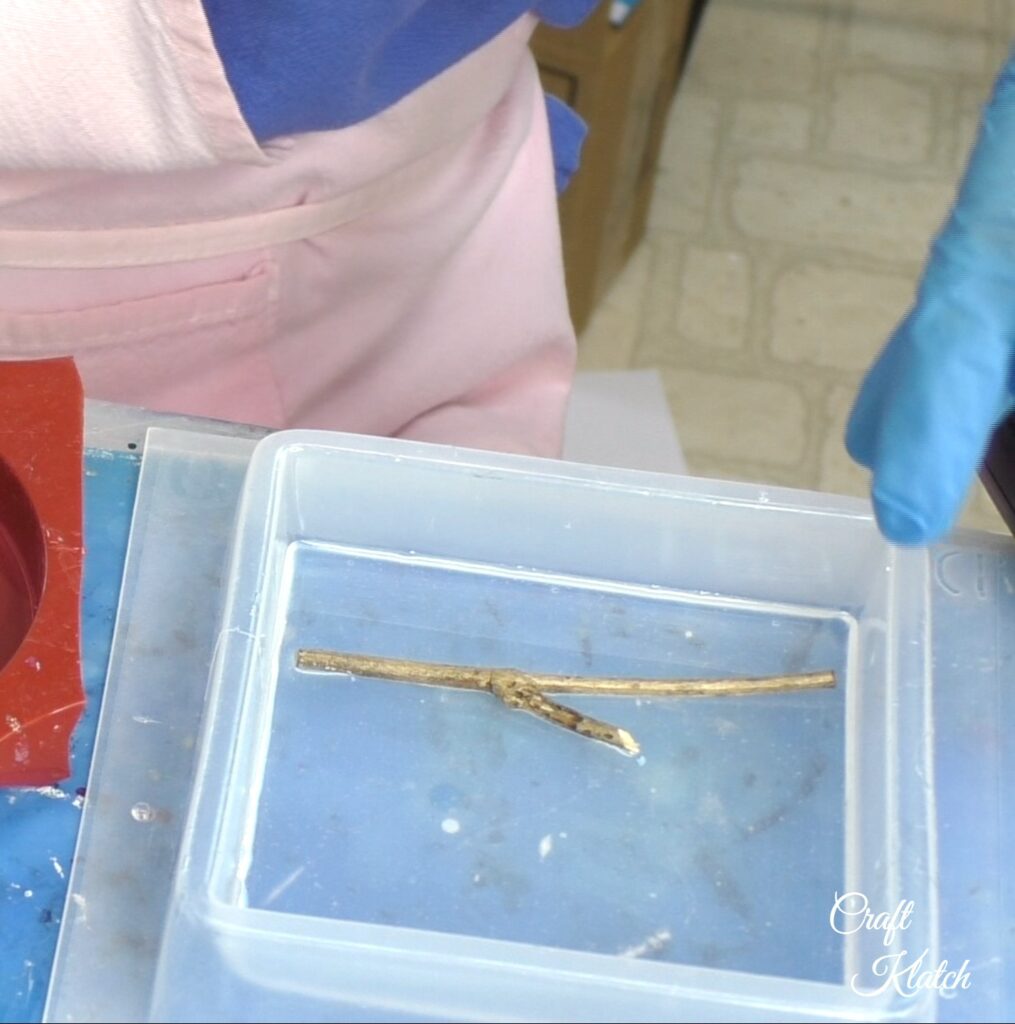
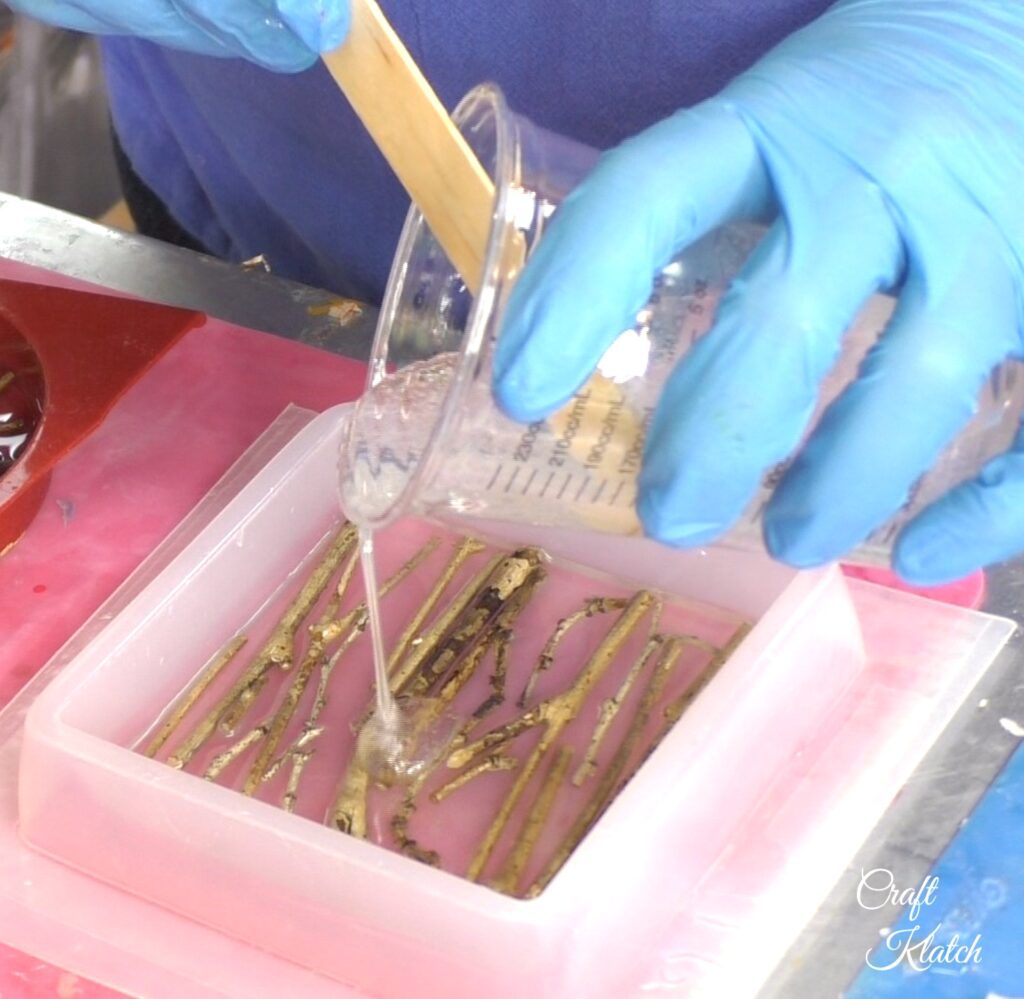
3. I mixed my resin – the amount will depend on the size of your mold and how many you are making. Each mold should have approximately one ounce for the first pour.
4. I used my lighter to pop the bubbles.
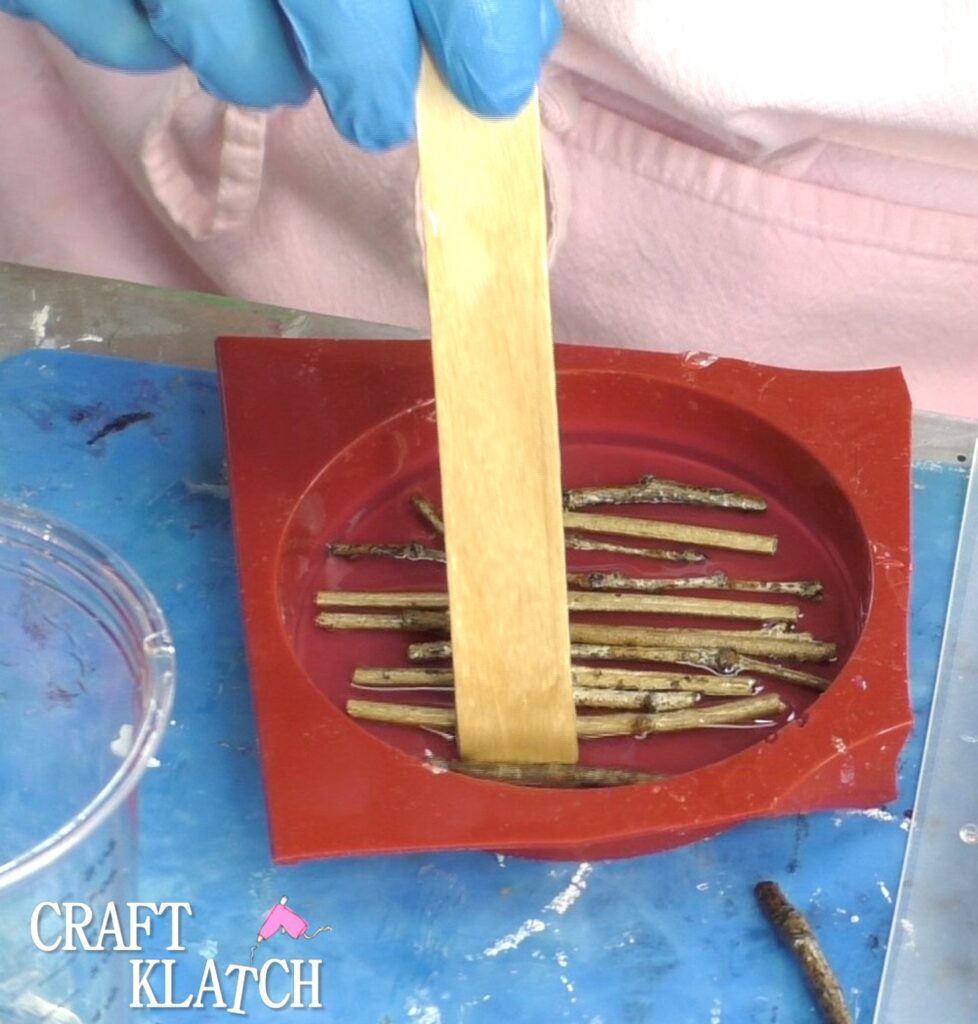
5. I then placed the twigs into the resin.
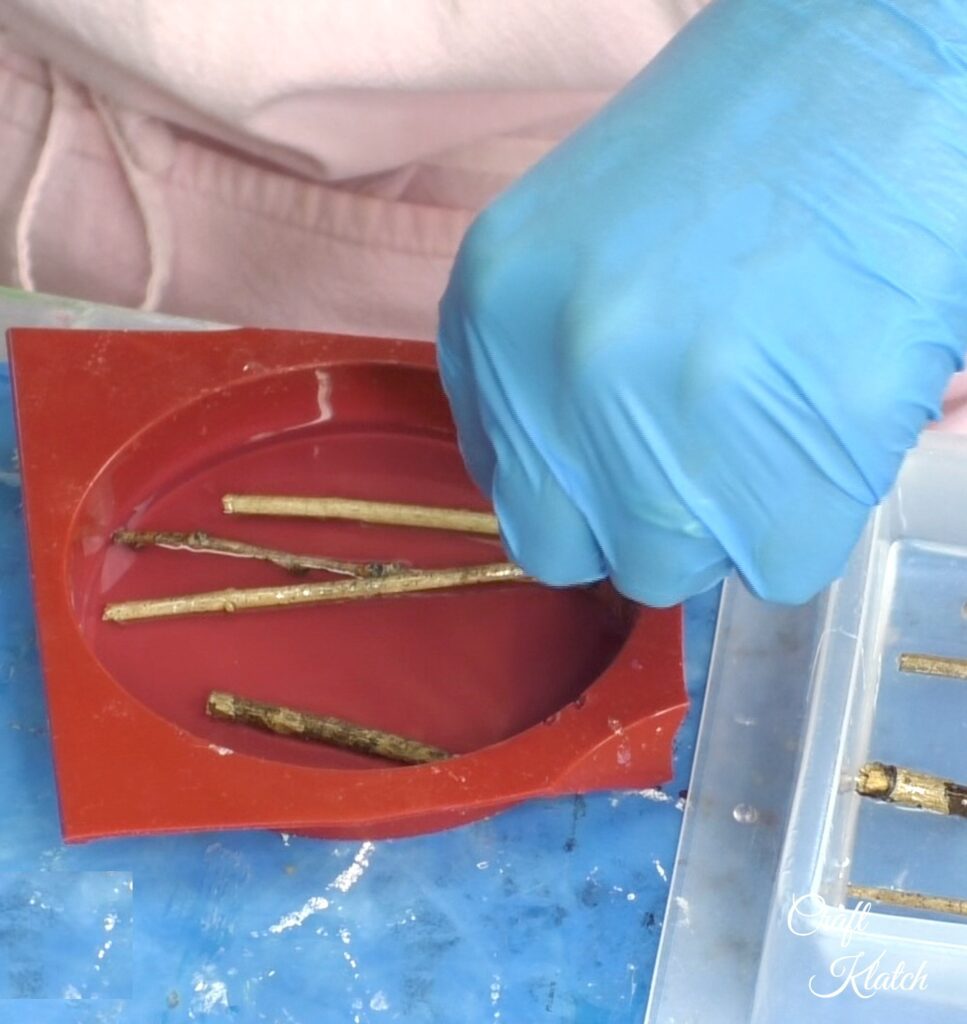
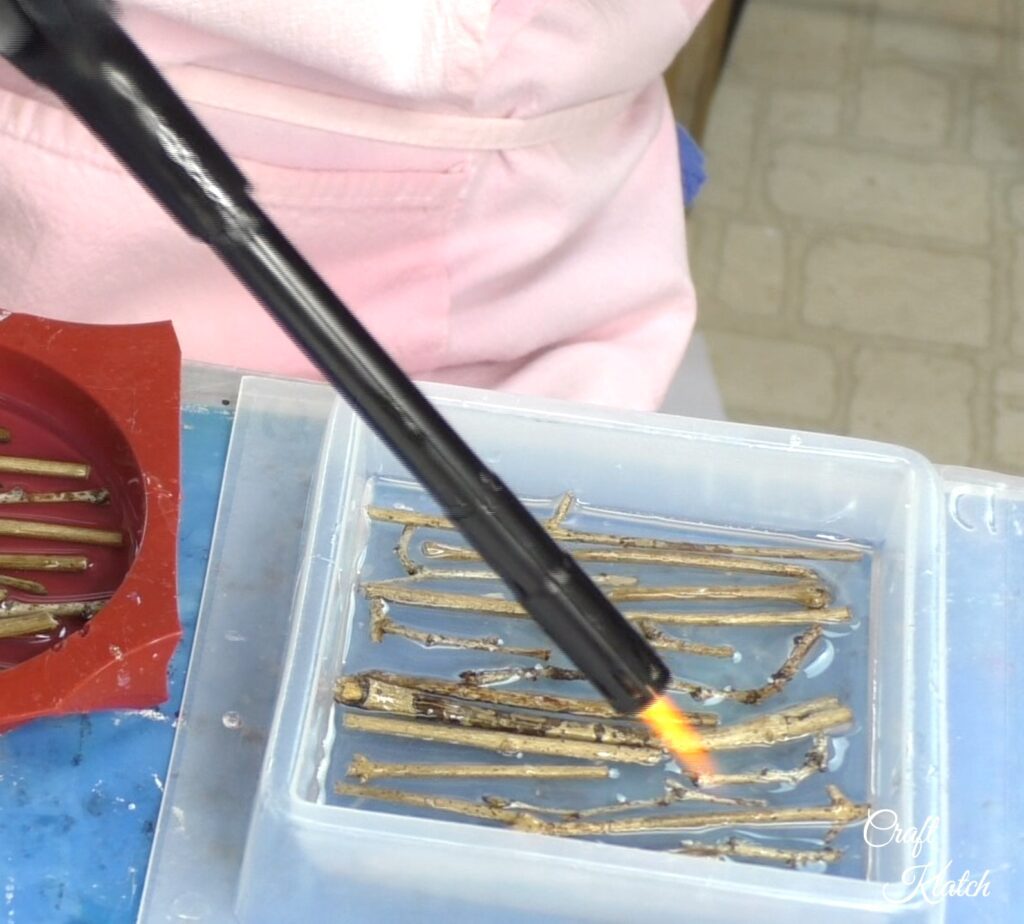
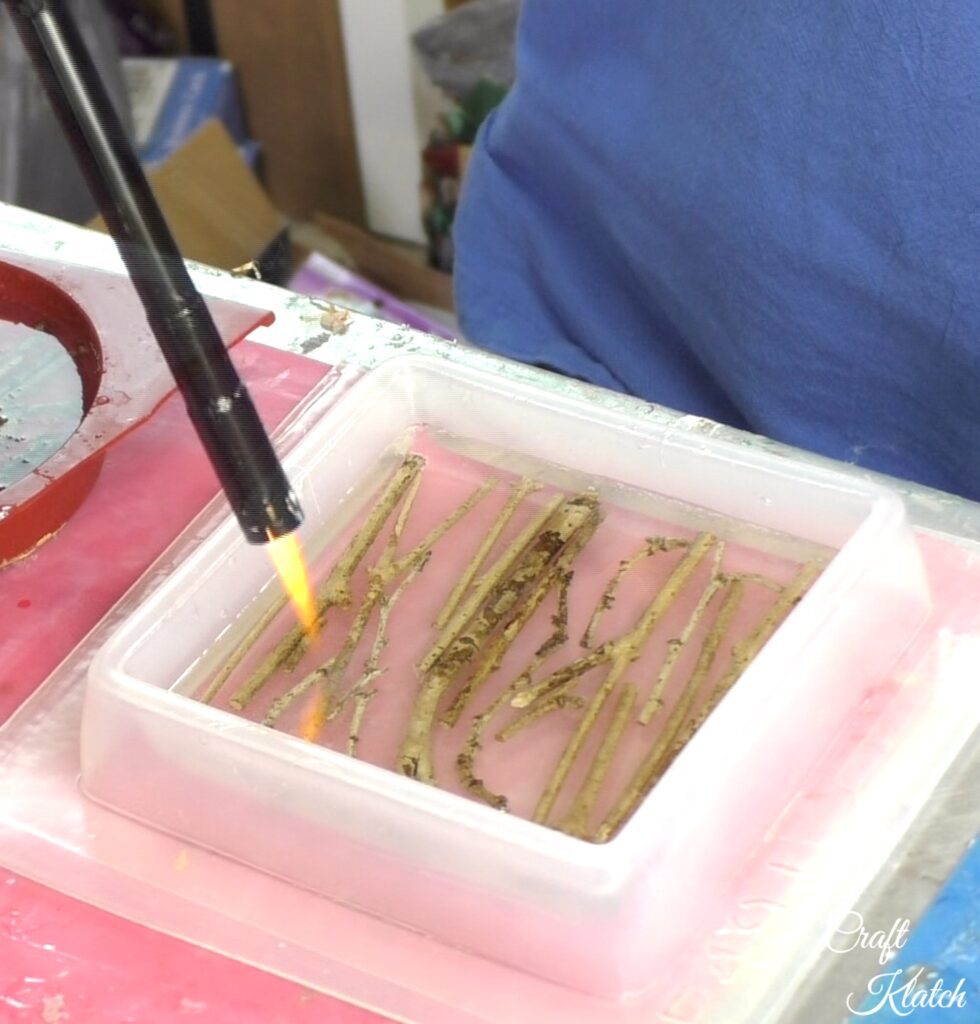
6. I used my lighter to pop the bubbles. I cannot stress enough that you need to move quickly because you do not want to light the twigs on fire.
7. You can let it fully cure, or let it cure enough, so that the twigs won’t move. I then mixed more resin – enough to cover the twigs.
8. I used my lighter to pop the bubbles. Since the twigs are under a layer of resin, you should not have to worry about igniting them.
9. Once cured, I removed them from the molds.
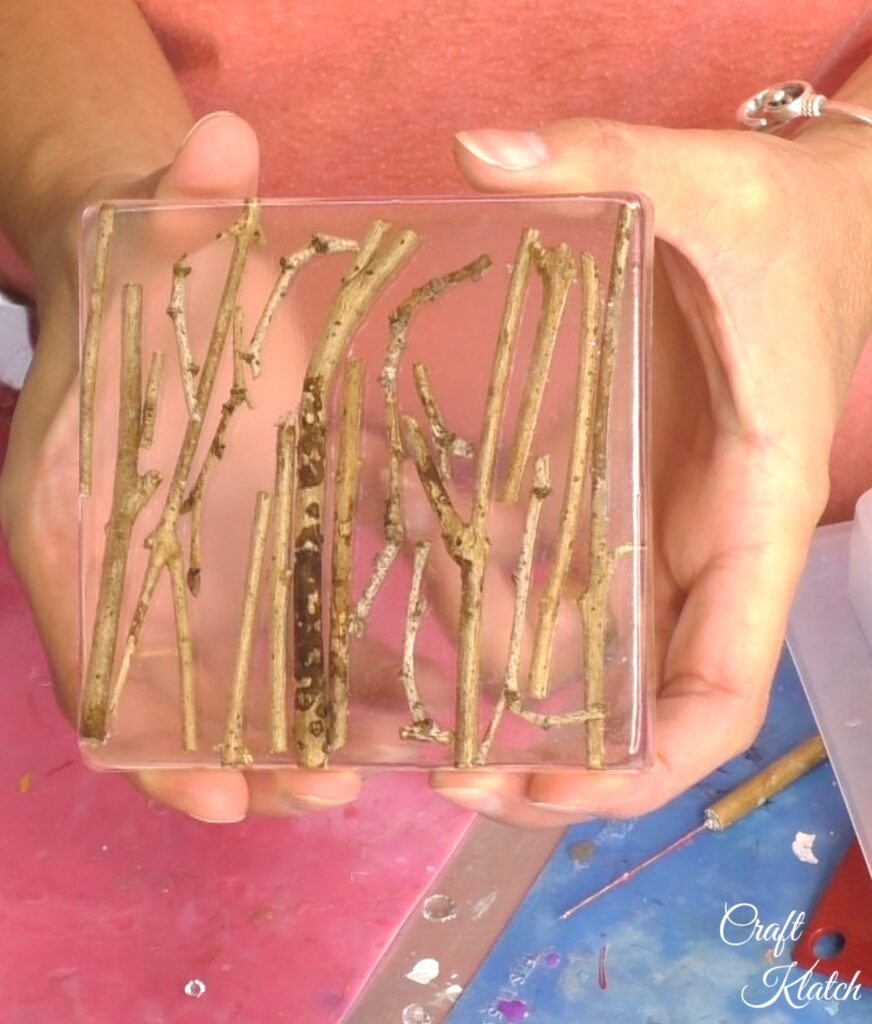
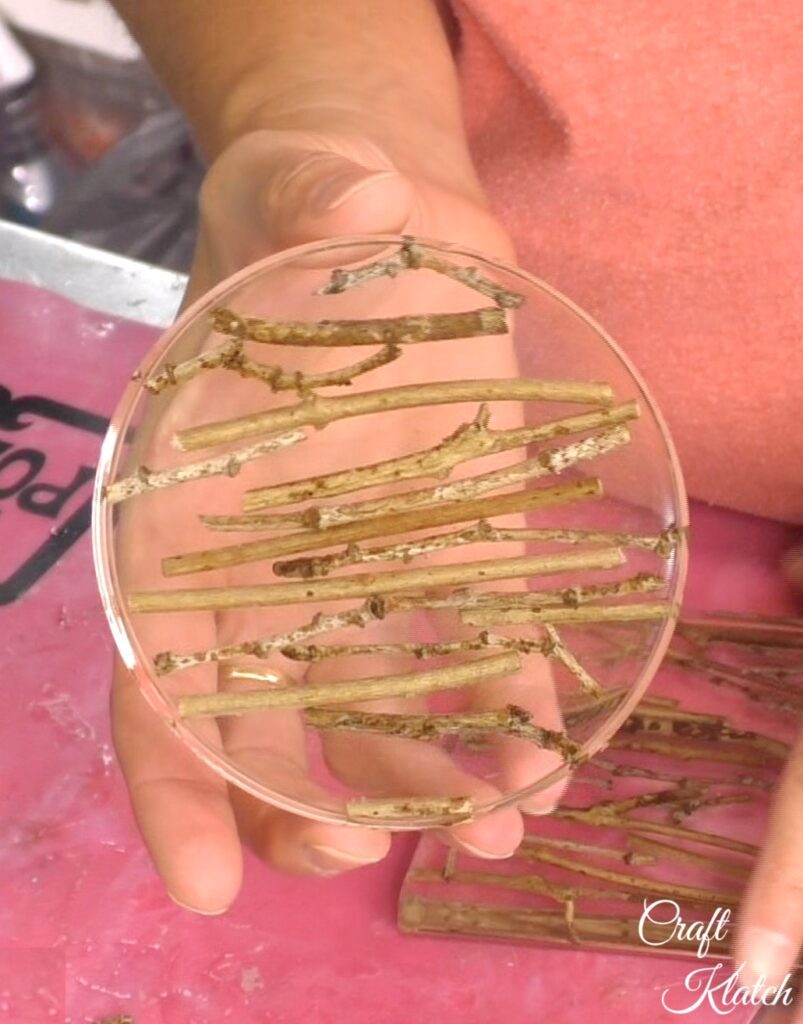
That’s it! I love the simple and natural look of these resin coasters!
FAQ and Tips for Making Wood and Resin Coasters
How much resin do I need to make a coaster?
How much resin you need to make a coaster will vary. It will depend on what type of coaster you are making. Therefore, let’s specifically use this project as an example. When you are making a project like this, you will need to put a one-ounce layer of resin down first. There are two reasons for doing this.
The first is you want to make sure the twigs are going to be completely embedded in resin. If you don’t put the layer of resin down first, some areas that are right up against the mold might never get properly covered.
The second is because wood likes to float. When you lay the twigs down in the resin and the resin partially or fully hardens, it will prevent the twigs from floating. When you pour your second layer, you can be confident they will remain in place.
Therefore, for this coaster, you need one ounce of resin for the first pour. Then, depending on how thick your twigs are, you will need a minimum of one ounce and potentially two. Once you work with resin for a while, you will begin to get a good idea about how much resin you will need. The least amount of resin you would need for a coaster would be one ounce. Resin coasters do not need to be thick to be effective.
How do you make resin and wood coasters? How do you prepare wood for resin?
The answers to these questions overlap, so I’ll hit them both at once.
If you noticed in Step 2, I dipped the twigs into the can of varnish. I dipped them in varnish to seal them. Wood is very fibrous and porous. When you add raw wood to resin, it will expel air into the resin and it will take the form of a bubble or many tiny bubbles (I love that song!).
Once the resin has cured, it’s really hard and sometimes impossible to get rid of bubbles. In the best effort to avoid that, I sealed the wood first. I did get some small bubbles and I think it was because one of the ends of a twig may not have been completely sealed. When the wood is properly sealed you eliminate that problem.
The twig coasters I made are an example of wood and resin coasters, but the same basic rules apply if you are using any type of wood with the resin and any type of design. You want to make sure the wood is sealed before applying the resin.
Another example of a wood and resin coaster is my Wood and Resin Tree Coasters. It is a totally different look, but I needed to seal that wood before adding the resin too!
Tip For Working With Wood and Resin
You will be popping bubbles on any coaster you make. Even though the wood is sealed, you will still have the regular bubbles that come along with working with resin. Here is the important thing to remember: If you are using a lighter to pop the bubbles, be quick and careful when you run a flame over the wood!
I once set a coaster on fire because I didn’t think things through and did not properly seal everything before running the flame over it. My bad.
What resin should I use for coasters?
Good question. I have a number of different resins listed above. Which resin you ultimately end up using is up to you. I use epoxy resin. There are different types and you might want to research which best fits your needs.
The cost might be a factor.
No VOCs or being UV resistant might be factors.
A big factor for me, when I am using resin for a coaster, is that it is heat resistant. Resins all have a temperature they can withstand. If you are using a coaster for a cold drink, it becomes less of a factor. When you are using a resin coaster for hot tea or coffee, it might stick to the cup.
Again, if you are just beginning to experiment with resin and/or you are on a budget, you need to decide which qualities are most important to you.
I hope that answers most of your questions regarding this topic. You can make great things, you just need to jump in and try!
Thanks for stopping by! Remember: Life’s too short not to shimmer, so grab your glue gun and your glitter!™ Stay safe!
Mona
Here are molds and these stands that are inexpensive and the PERFECT way to display your new masterpiece!
Hi, i know this is late but, could u kinda coach me through the process of mixing the resin. Im very confused but i really want to do this for my grandmother. Her sister passed away and i wanted to take twigs from her favorite tree just so she can always have something she loved with her!
I entered a previous comment but also, in your supply list u listed diffrent resins and easy cast. Did u use this or did u just use the resin kit with hardener as u listed in the description.