
– Optional glass stones: https://shrsl.com/2b4bx

Directions:
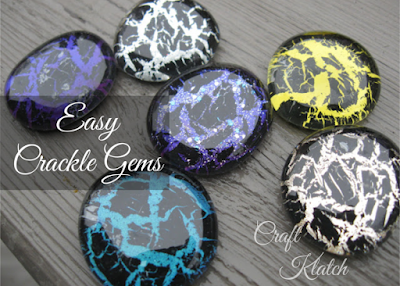
1. One the flat side of the stone, put a layer of the clear topcoat and allow to dry.

2. Put on a layer of the crackle polish and allow to dry. While it is drying, it will begin to crack.


3. Paint on a layer of glitter polish, or go right to the color of your choice and allow to dry.

4. Follow up with the topcoat to protect the finish.
What do you do with these stones? I say, what DON’T you do with these stones!
Here are a few ideas:
– make a pendant
– make a ring
– make a bunch and mosaic something
– put them in a bowl for decoration
– attach it to a clasp/button on a purse
– make this a project at a young girls birthday party – they will EAT IT UP!
Where do the ideas end? How would you use these stones? I’d love it if you shared in the comments below!


Thanks for stopping by! Remember: Life’s too short not to shimmer, so grab your glue gun and your glitter!™ Stay safe!
Mona
Be sure to Share and PIN IT!


I love this idea! Very nice.
Thank you Marisa-
I wish I had thought of it!!
Very cool, the same can be done with coins, dripping the nail polish on (thick), and dripping another colour on top of that, then using a toothpick to 'swirl' the second colour around a bit