
The links below contain affiliate links. They support this channel and blog, at no additional cost to you.
Easy Cast: http://amzn.to/2yjYmBC
Art Resin: http://amzn.to/2yk9X3z
Clear Cast: http://amzn.to/2z4rxGw
FX Poxy: http://amzn.to/2AF3Pkk ~ According to the manufacturer, this one is heat resistant to 500 degrees F and is UV resistant.
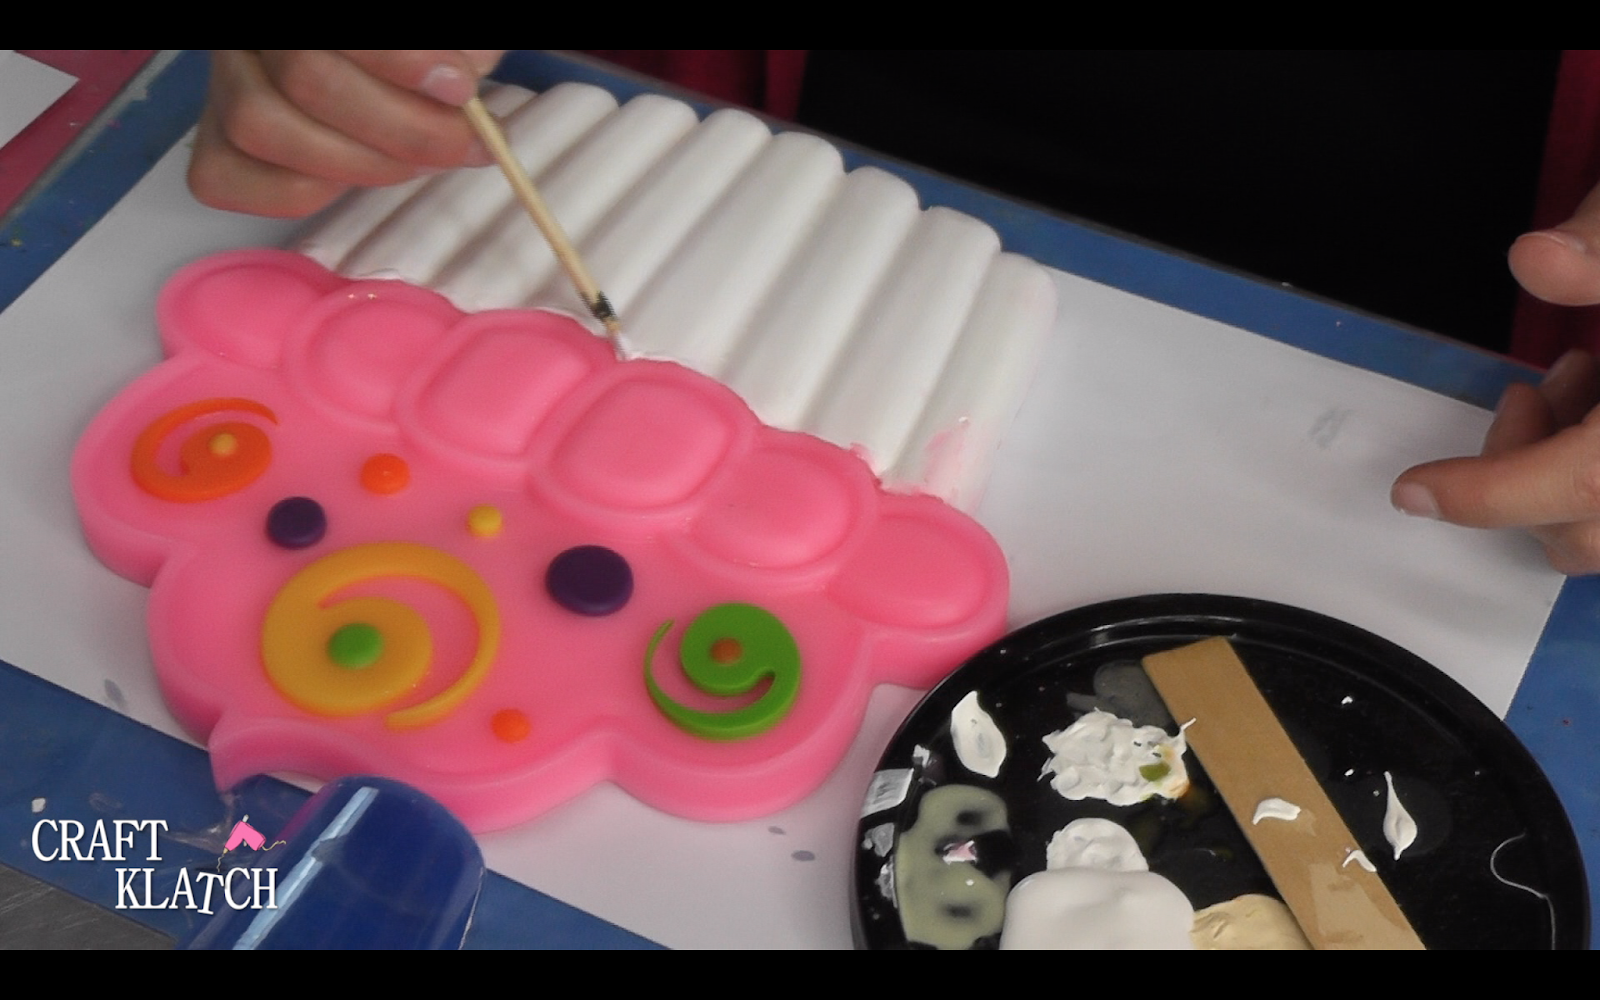
1. With acrylic paint, paint the cupcake base. I did it with white, but you can do any color. Remember, acrylic paint does not want to stick to silicone. If it separates, don’t worry. Let it dry and paint it again! It might take 2-4 coats. Allow to dry.

2. Mix small amount of resin with pigment colors for the sprinkles and drip them into the sprinkle parts of the mold.


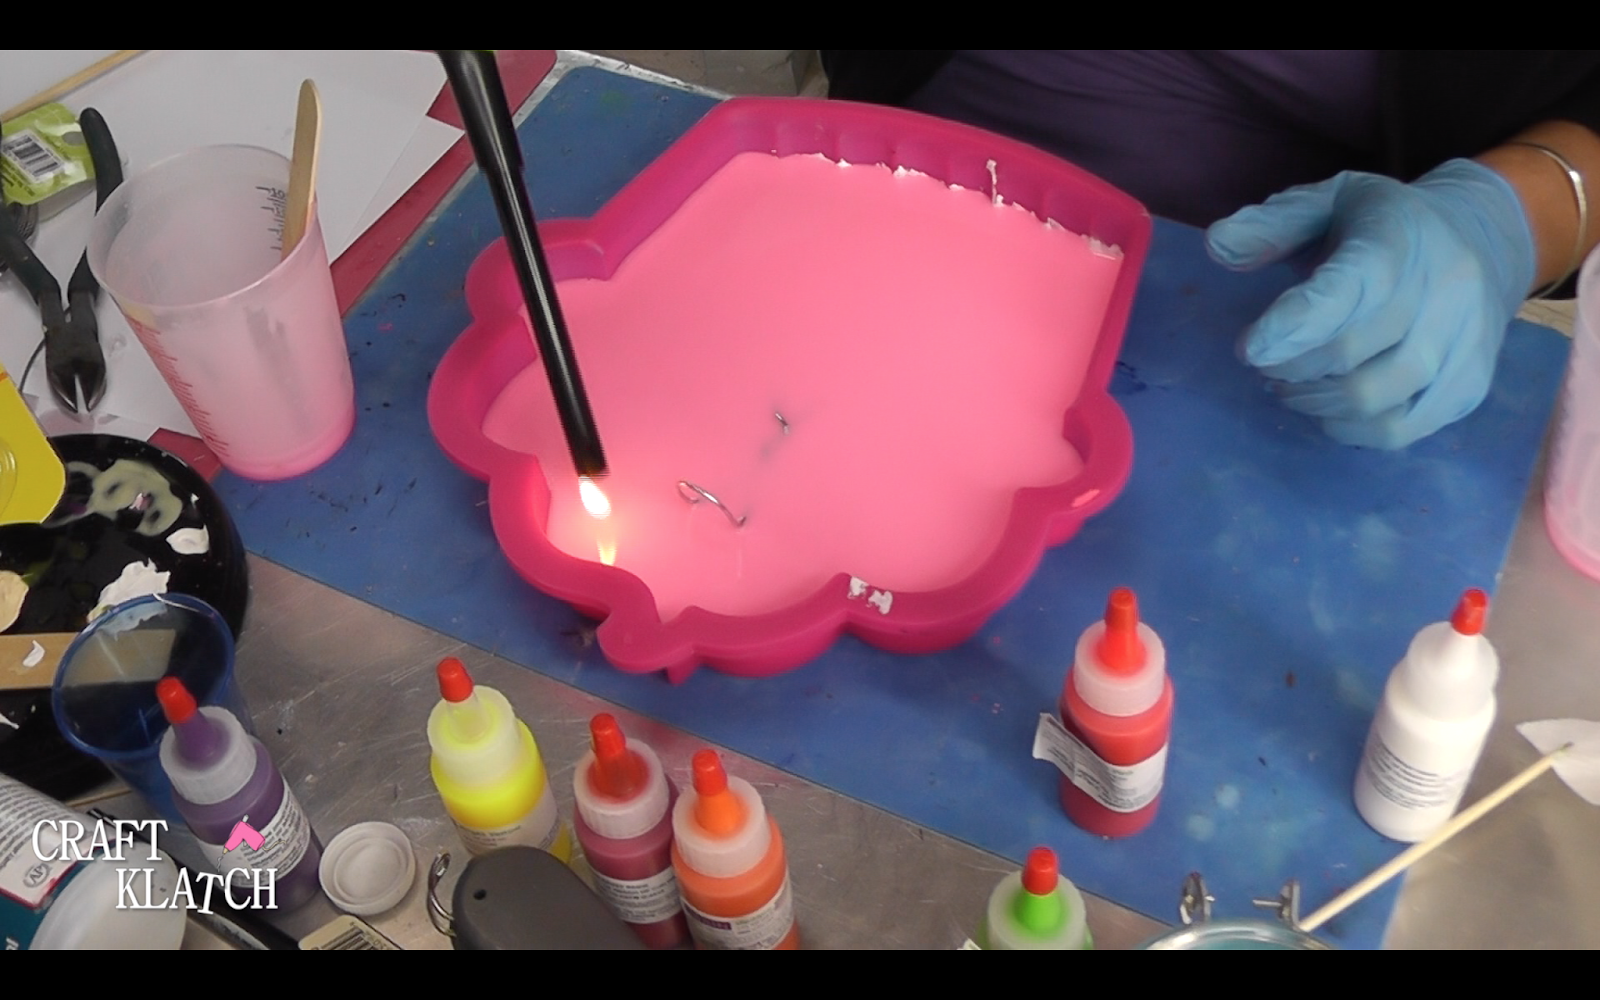
3. Use lighter to pop bubbles and let it cure for 12 hours.

4. Mix small amount of resin and color with pigment, for the swirls. Add to mold, pop bubbles and allow to cure 12 hours.

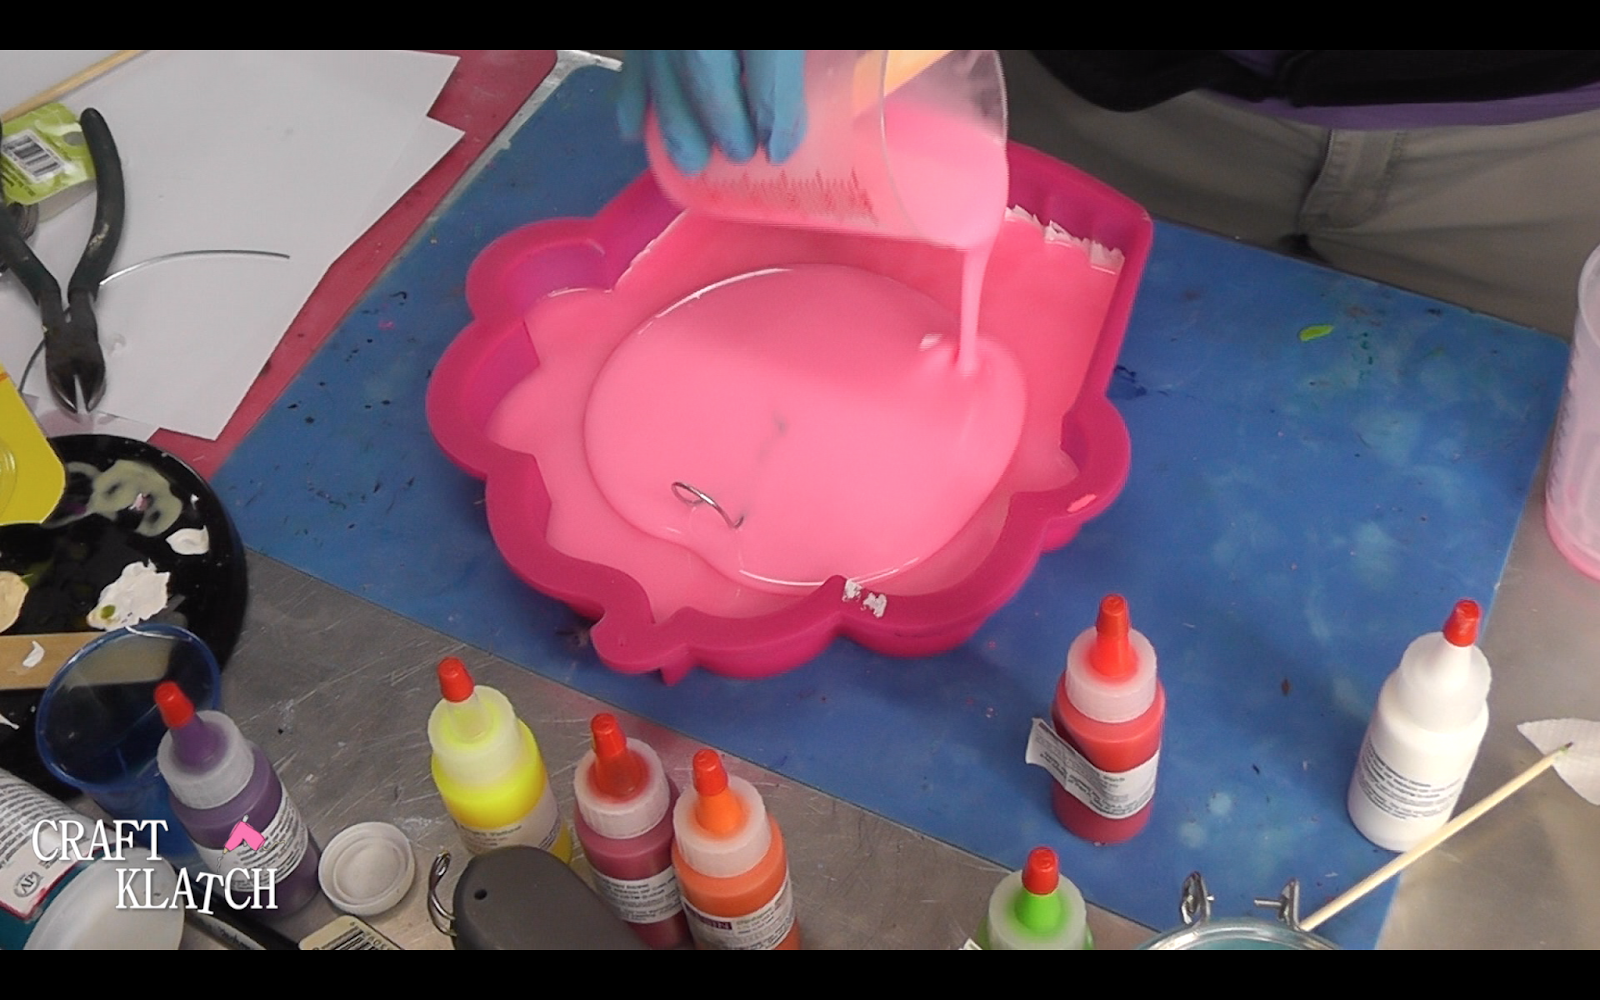
5. Mix six ounces of resin and color with pigment, add to mold. I did two separate batches because I didn’t know how much was needed. I poured the first batch in the mold and then mixed a second batch. It wasn’t a perfect match so I mixed them together in the mold and you could not tell.


6. If you want it to stand, you are done once it has cured. You can put it into a plate stand or lean it against the wall on a shelf. However, if you want to hang it, once cured, cut a piece of wire, create a loop, bend it a little and glue it to the back of the cupcake.


7. Once the glue has dried, mix more resin and use the pigment to make it pink (I did six more ounces). Pour into the mold and allow to cure.
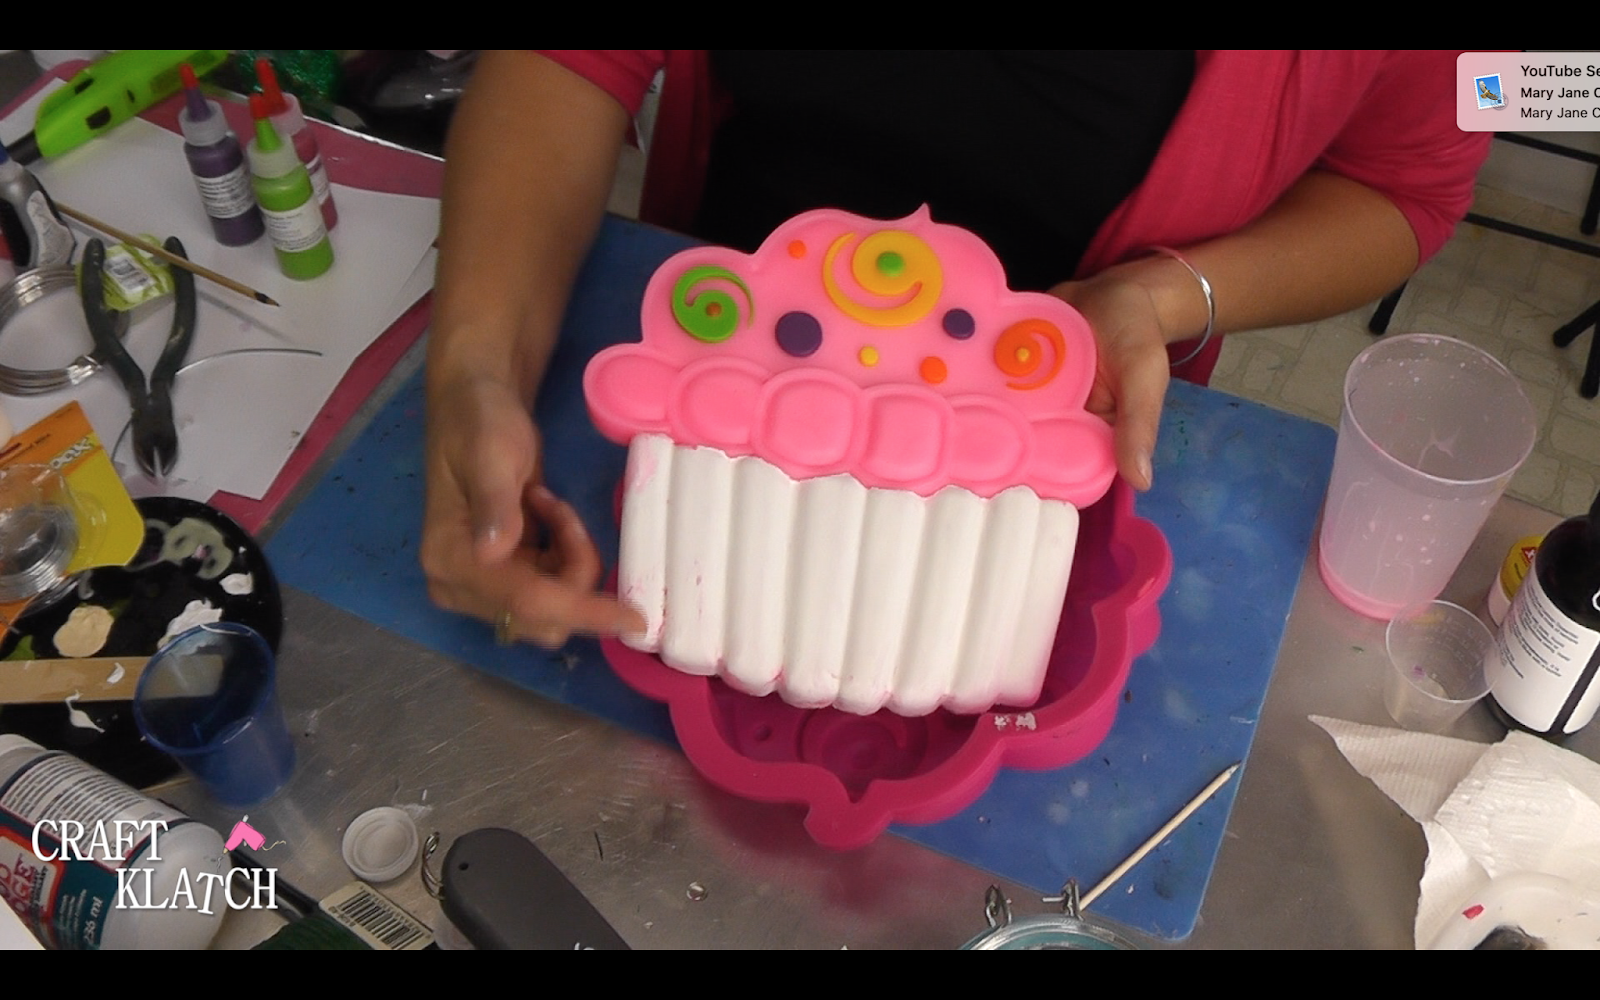
8. Once cured, you can unmold it and hang it on the wall!
9. I felt like I wasn’t neat enough with the top edge of the base, so to cover it up and improve it even more, I reached for the glitter!! I love glitter!! Add glue (make sure it dries clear), wherever you want the glitter accents. Sprinkle on glitter and shake off excess. Let it dry!


That’s it! Thanks for stopping by! Remember: Life’s too short not to shimmer, so grab your glue gun and your glitter!™ Stay safe!
Mona