
You will need:
Coaster mold: http://amzn.to/1QIAtoK
Resin: http://amzn.to/1QIAxF5
White Pigment: http://amzn.to/1nPQ4tD
Super Gloss Mod Podge: http://amzn.to/1nPQ9gL
Directions:
1. Mix one ounce of resin, according to the package directions and mix in a little bit of the white pigment. Be sure it is mixed well.
2. Pour into the coaster mold.
3. Take your lighter an pop the bubbles. Allow to cure a minimum of 12 hours.
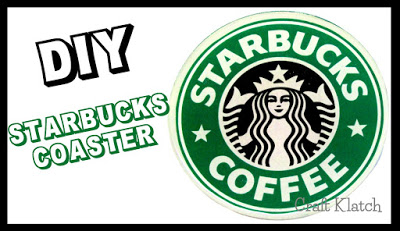
4. Print out the Starbucks logo on to cardstock. I use a laser printer. If you use an inkjet, do some research about using Mod Podge on inkjet prints.
5. Apply Mod Podge to the coaster and to the back of the logo.
6. Place the logo into the coaster mold.
7. Add Mod Podge to the top of the coaster.
8. Put some Mod Podge on your finger and rub the logo down onto the resin.
9. Make sure you have applied everywhere and then let it dry. Apply two more coats of the Mod Podge and let it dry COMPLETELY before moving on. If you don’t let it dry completely, you will forever have a cloudy film.
10. Mix one ounce of resin and pour over the logo.
11. Pop bubbles with your lighter and allow to cure a minimum of 12 hours before unmolding.
That’s it! Now you have a great coffee coaster! Thanks for stopping by! Happy Crafting and stay safe!
Mona
Hi Mona, I love watching your coaster videos and was wondering if you sell them? I would really like to buy from u, your work is great. Please let me know. Thank you
Kacy