I’m a believer in making crafts for pet lovers because I too am a pet lover.
If you love your pets as much as I do, you probably like making stuff to honor them. I have two kitties and I happened upon these paw cutouts and thought it was the perfect opportunity to make some pet crafts!
I know there is always the debate as to whether you are a dog person or a cat person. Why can’t you just be an animal lover? One doesn’t have to be better or worse than the other.
I don’t get it.
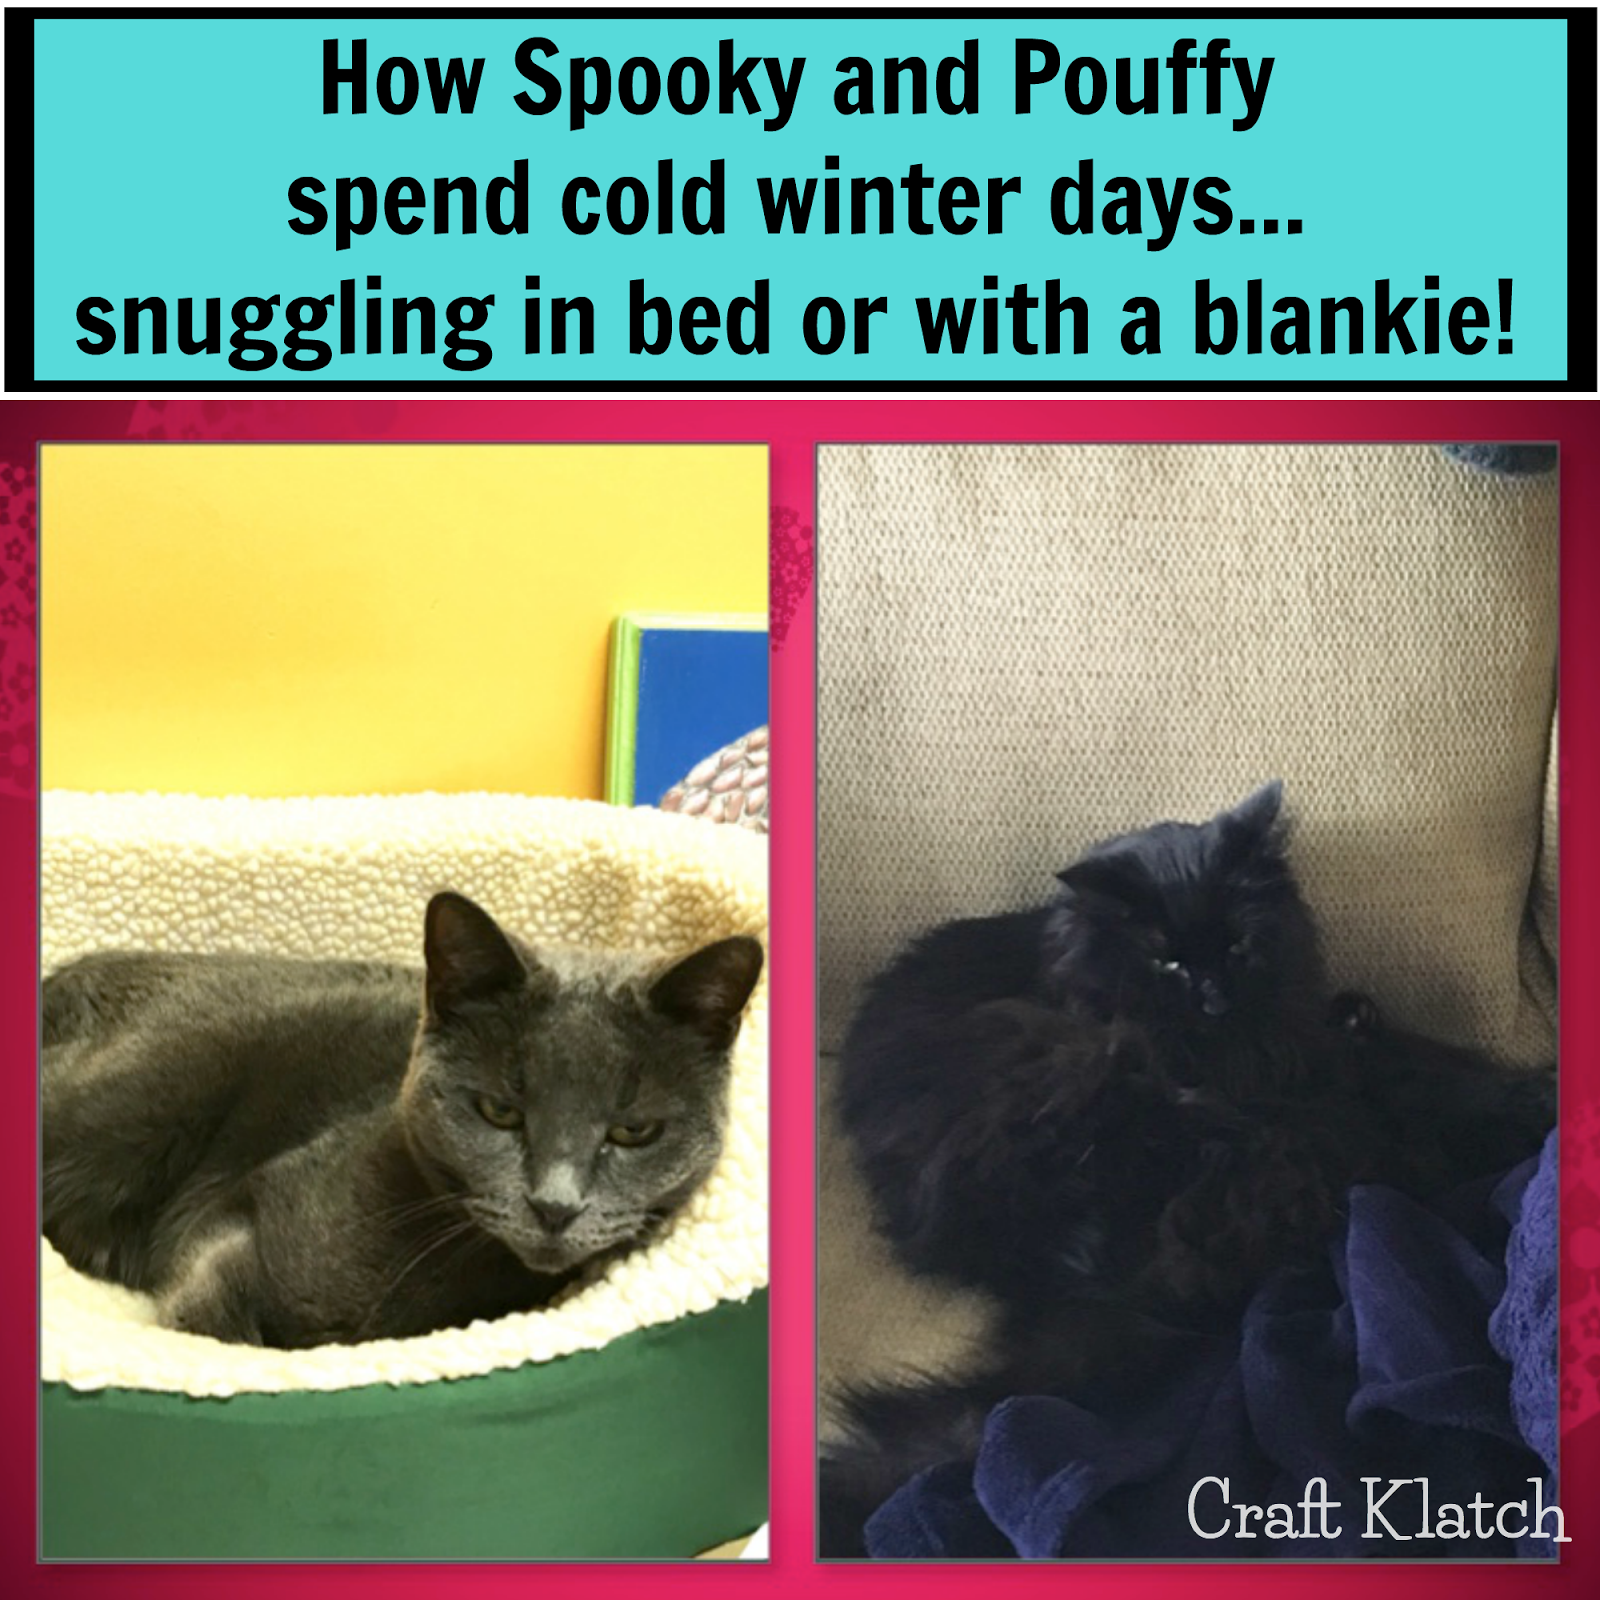
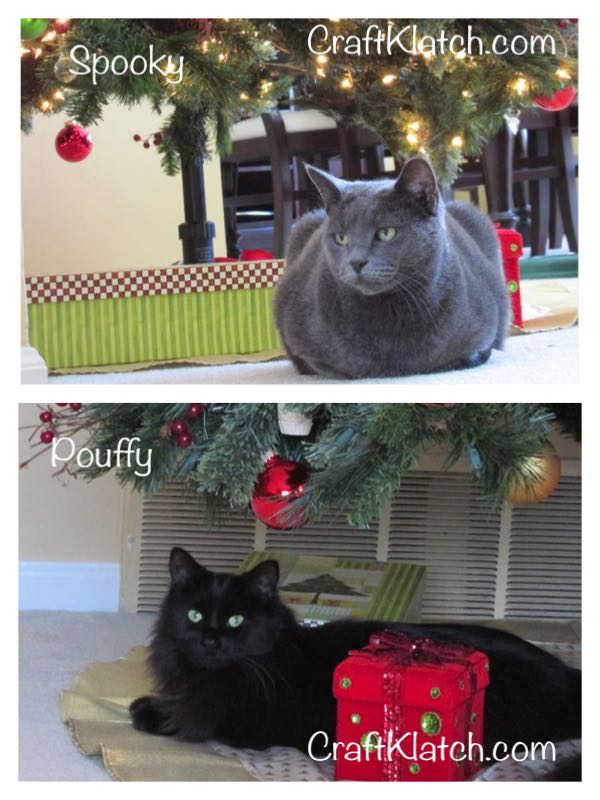
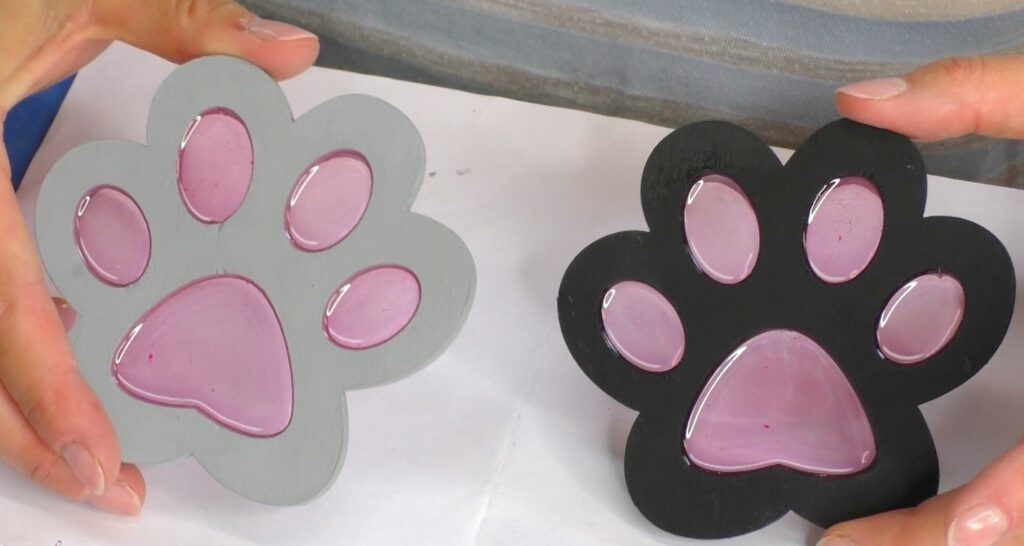
I thought I’d honor both my cats, Spooky (the gray one) and Pouffy (the black one)
Aren’t they cute?!?!
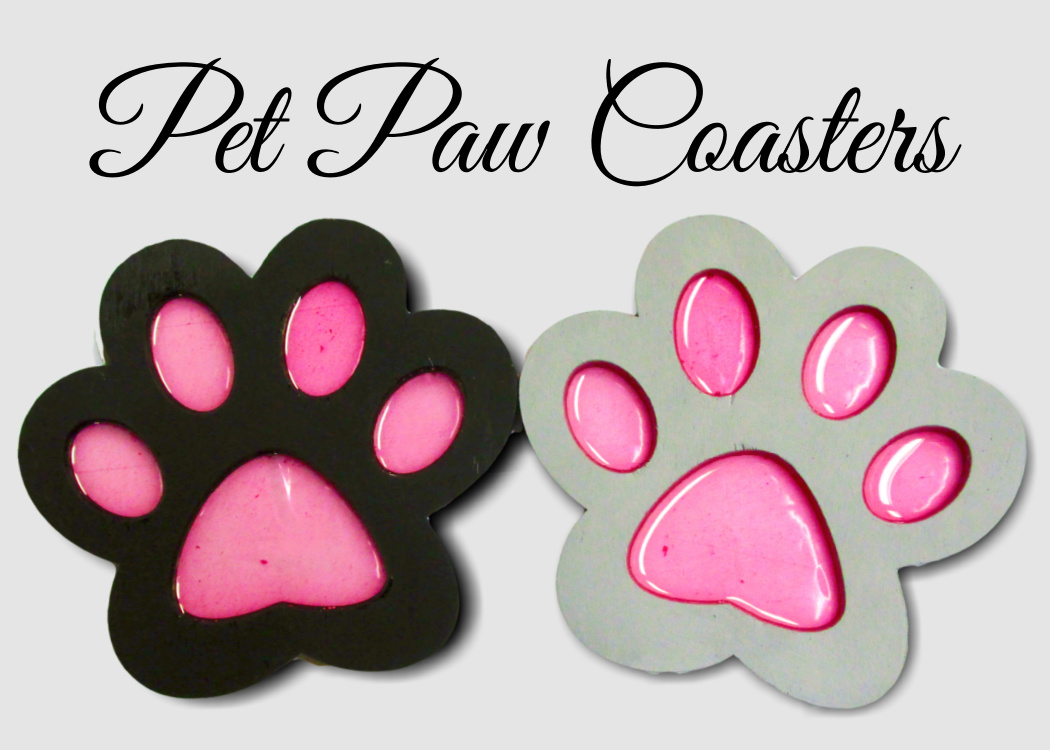
Check out the video for pet paw coasters – definitely crafts for pet lovers!
HERE is a short video so you can see exactly how I made them!
Materials you will need:
*Disclosure: This blog uses affiliate links from Amazon and other retailers. I earn a small amount from qualifying purchases at no additional cost to you.
- Resin
- When deciding on which resin to use for your coasters, you need to keep in mind whether you want it just for cold cups or for hot ones as well.
- If only for cold drinks, you can be flexible and use whatever brand you like:
- If you want it to work for both hot and cold drinks, you need to look for a heat-resistant resin, like these:
- FX Poxy ~ According to the manufacturer, this one is heat resistant to 500° F.
- Stone Coat
Directions for the Pet Paw Crafts for Pet Lovers
Step 1
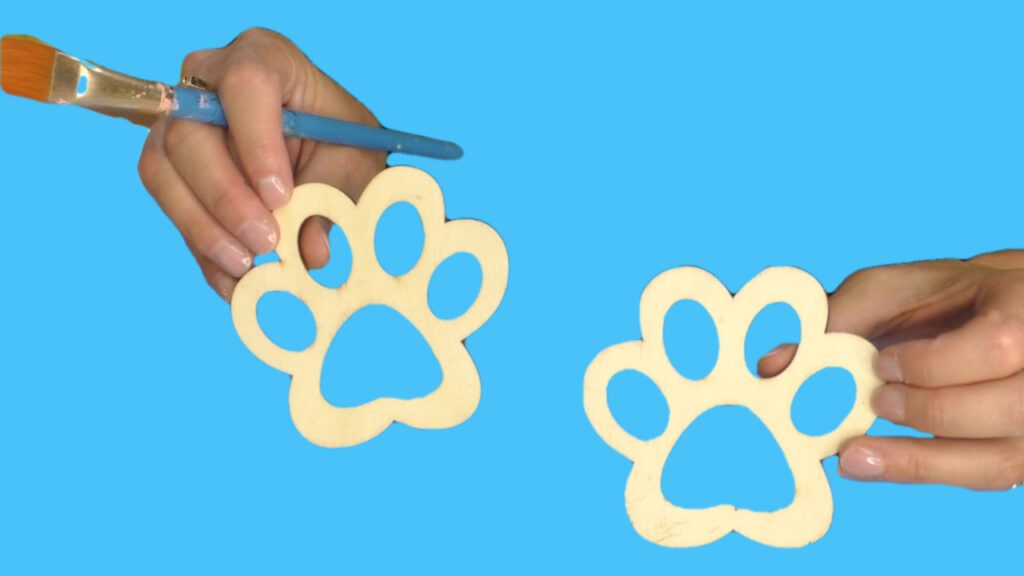
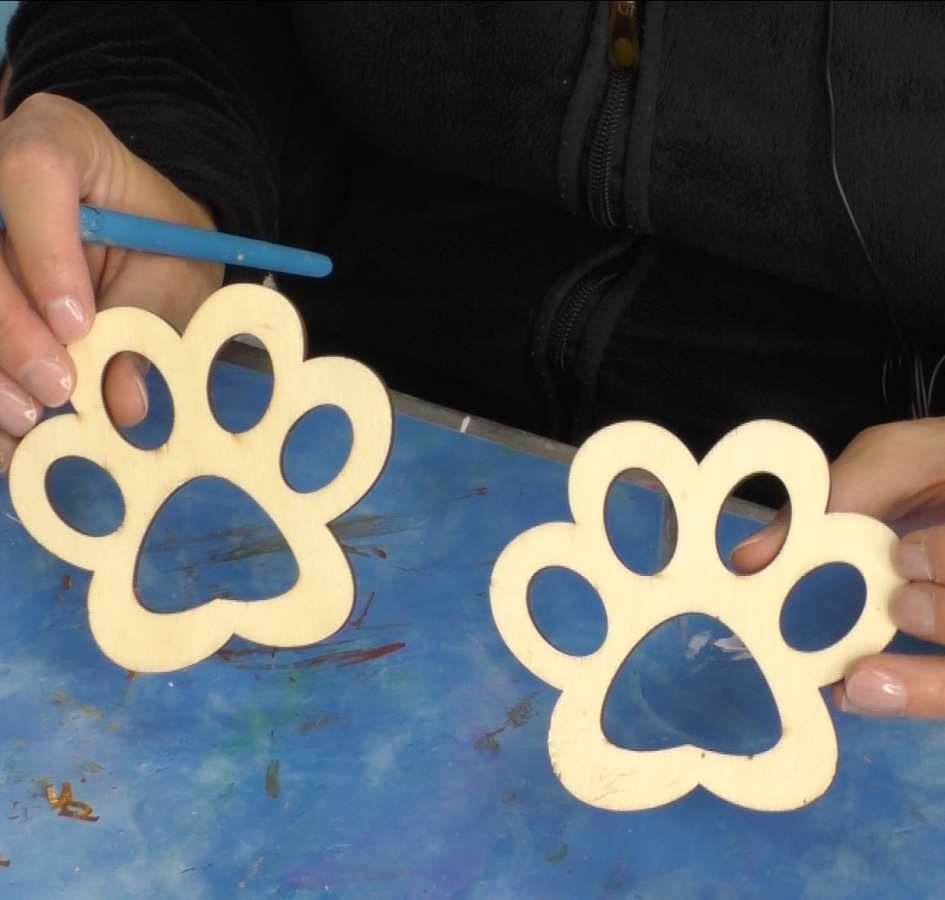
I found these pet paw cutouts and thought they were so cute!
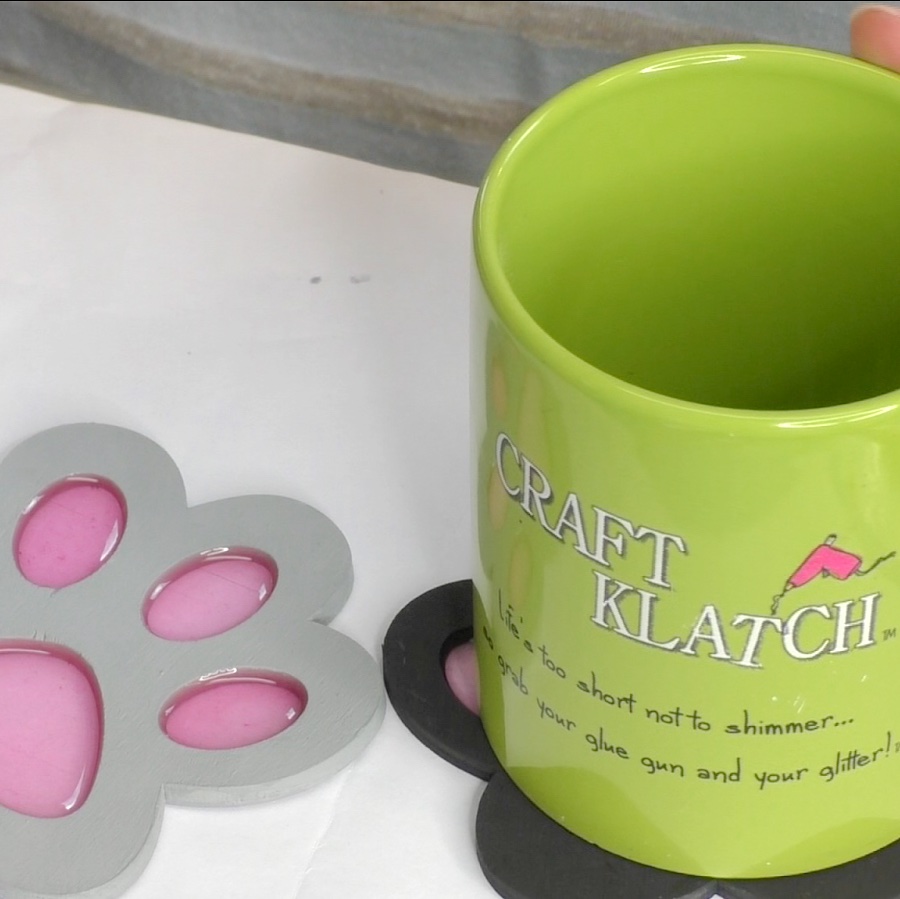
Don’t you think they would make the cutest coasters?
They were originally meant to be ornaments but I removed the string and staple.
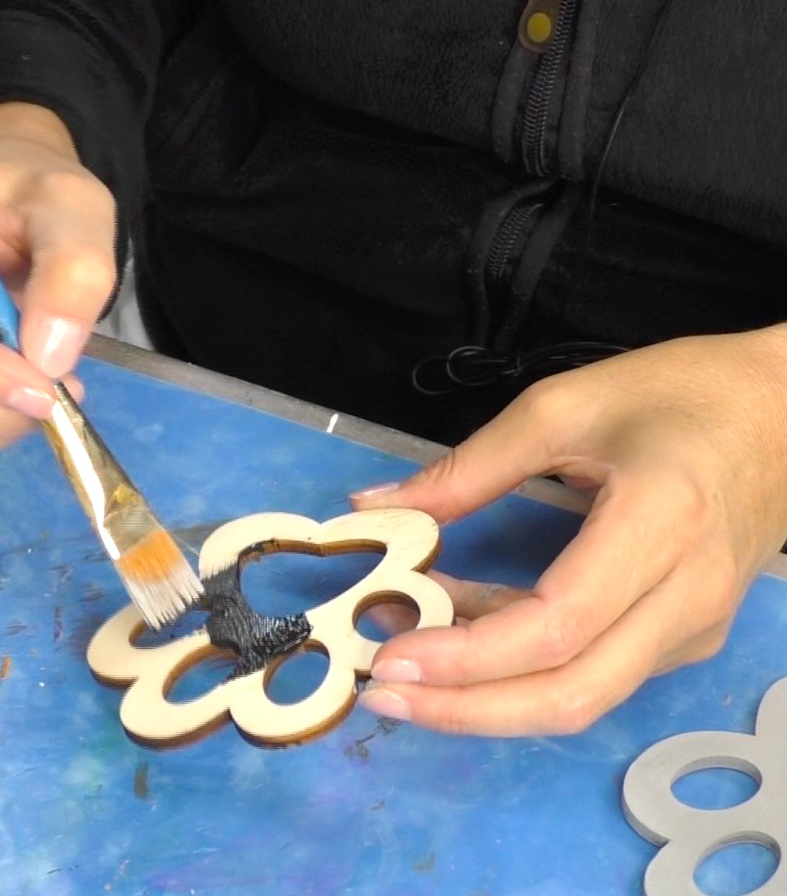
Step 2
I painted one gray for Spooky and one black for Pouffy.
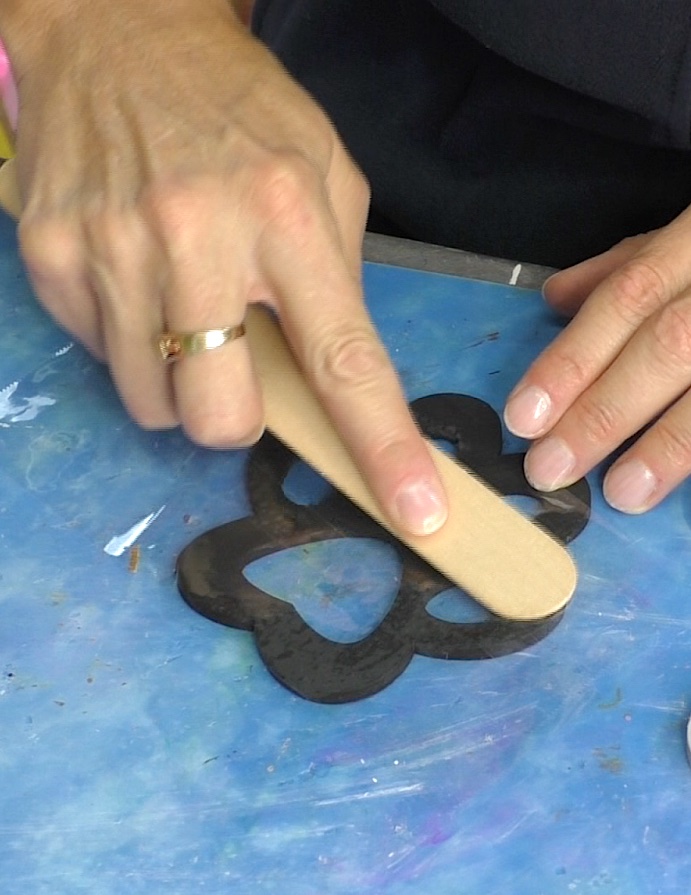
Step 3
I put clear packing tape on the backs of the paws and burnished it down with a stir stick.
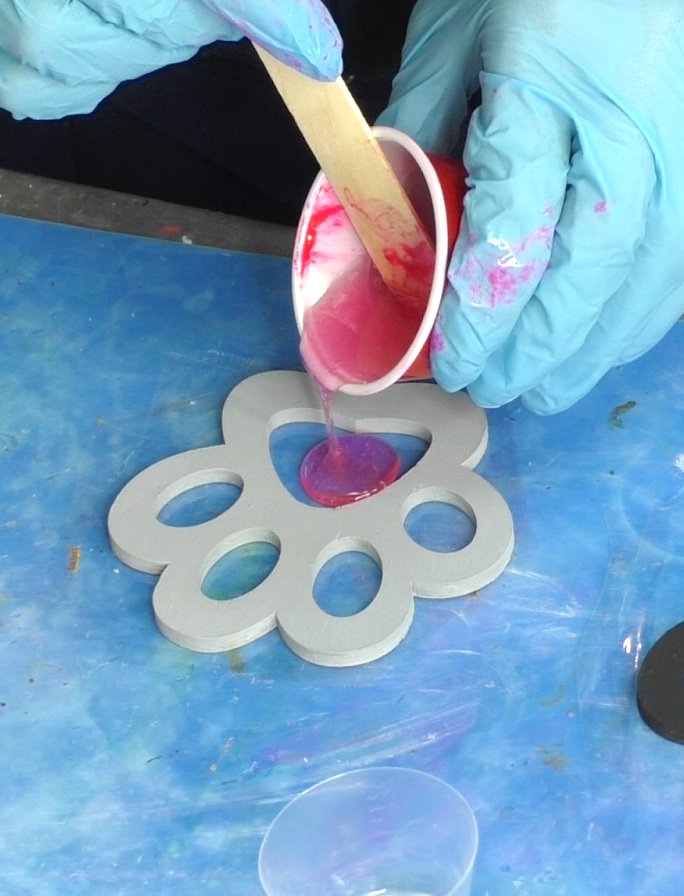
Step 4
I mixed an ounce of resin and added the pigment colors – a little bit of magenta and a little bit of red.
Then, I poured it into the openings of the paw prints.
I used a lighter to pop the bubbles and let them cure a minimum of 12 hours.
Step 5
Once the coasters cured, I peeled off the tape.

The diy crafts for pet lovers are basically done!
TIP: to remove the tape is not to pull it straight off but rather pull it ina more parallel direction. That prevents you from pulling any of the resin out.
Now you have two cute coasters!
Other Fun Projects You Will Love!
If you enjoyed this craft, you will love these:
- How to Transfer a Photo to Clay | Crafts for Pet Lovers
- Beach House Doghouse
- Wood, Resin, and Glitter Christmas Ornaments
- Wood and Resin Napkin Rings
- Tree Coasters
- The Ultimate Cat Tree that Looks Like a Tree! (coming soon!)
Fun Pet Coasters!
If you are totally feeling the idea of pet coasters, check out these fun ones too!

Hope you like it! Thanks for stopping by! Remember: Life’s too short not to shimmer, so grab your glue gun and your glitter!™ Stay safe!
Mona
These paw prints are so cute. I never would have considered turning epoxy into something so creative. Have you tried creating other things in this way? I've only had the chance to look around a little, but I am a frequent user of using epoxy from liquidglassepoxyresin.com. I always enjoy doing more with it, which is how I found you. Thank you!!!
It is awesome to see pets getting the respect they deserve. This is a wonderful and very cute idea. I love working with epoxy and hope to make this my next project!