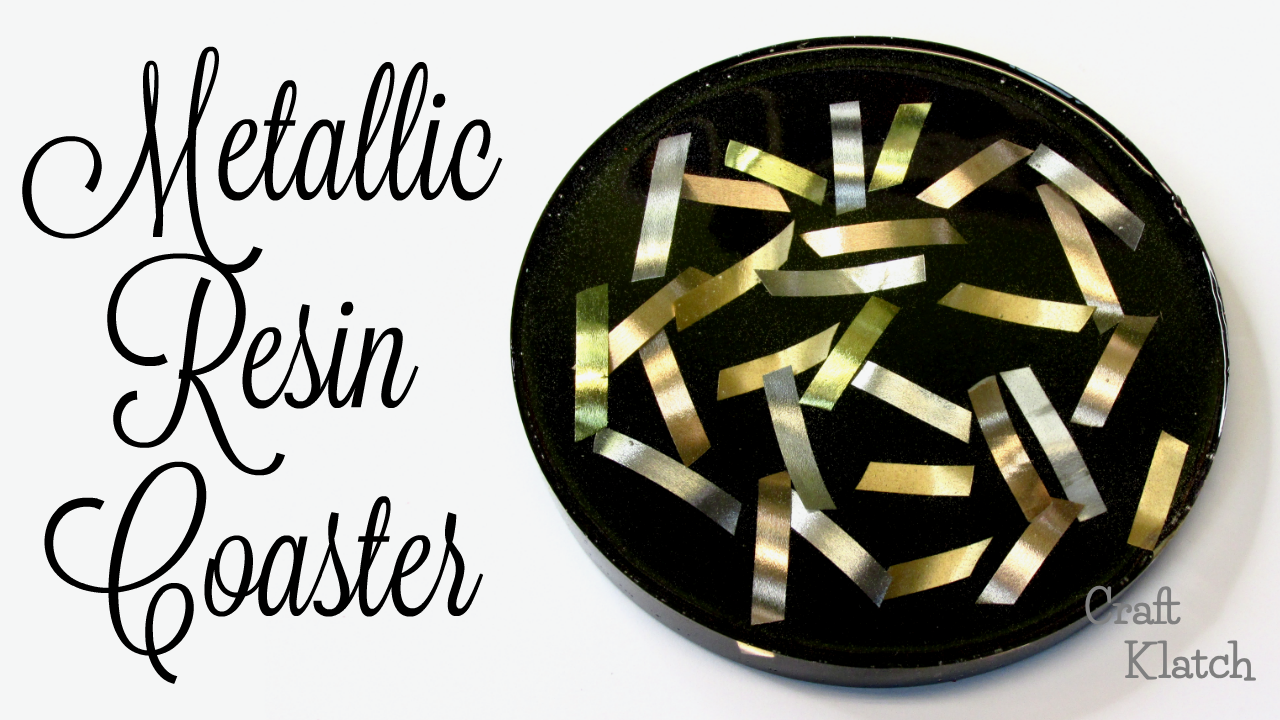
Learn how to make a Metallic Resin Coaster, using ribbons, in this craft tutorial!

You will need:
The links below help support this channel, as I may earn a small commission at no extra cost to you.
Mold: http://amzn.to/2FcRd7J
Black pigment: https://amzn.to/2XkS0N9
Ribbons: https://amzn.to/2tyDbZm
Lighter: https://amzn.to/2NQusts
Resin (use whatever resin brand you like):
Easy Cast: http://amzn.to/2yjYmBC
Art Resin: http://amzn.to/2yk9X3z
Clear Cast: http://amzn.to/2z4rxGw
This is the resin I used for this project:
FX Poxy: http://amzn.to/2AF3Pkk ~ According to the manufacturer, this one is heat resistant to 500 degrees F.
Here is the video tutorial, so you can see exactly how I made it:
Directions:
1. I mixed on ounce of resin.

2. I mixed in black pigment.

3. I poured the resin into the mold.


4. I used my lighter to pop the bubbles.

5. I let it cure for 12 hours, before moving to the next step.

6. I pulled out some metallic ribbon I had on hand.

7. I cut the ribbons into small, random sized pieces.

8. I mixed one ounce of resin and poured it onto the black background.


9. I popped the bubbles with my lighter.

10. I placed the pieces into the resin.

11. I used my stir stick to press the ribbon into the resin.

12. I popped the bubbles with my lighter.

13. I let it cure until I was sure the ribbons would no longer float. Then, I mixed another ounce of resin and poured it onto the coaster.

14. I popped the bubbles with my lighter.

15. Once cured, I removed it from the mold.

That’s it!

Thanks for stopping by! Remember: Life’s too short not to shimmer, so grab your glue gun and your glitter!™ Stay safe.
Mona
