Doily patterns are intricate and beautiful. Though I am not a fan of grandma’s doilies that were all around the house, I am a fan of this updated resin drink coaster with boho style! We are going to give them a modern chic look. You can customize them to match any home decor! It’s an easy resin craft idea! Coasters are easy resin crafts for beginners and experienced resin crafters alike.

Materials list:
Similar Doily mold: https://amzn.to/2Qnzvpu
Stamp pad: https://amzn.to/39zuCkU
Resin pigment: https://amzn.to/36mmimD
Hot glue: https://amzn.to/39Ard5p
Parchment paper (instead of foil): https://amzn.to/35nbW4B
Resin (use whatever resin brand you like):
Easy Cast: http://amzn.to/2yjYmBC
Art Resin: http://amzn.to/2yk9X3z
Clear Cast: http://amzn.to/2z4rxGw
This is the resin I used for this project:
FX Poxy: http://amzn.to/2AF3Pkk ~ According to the manufacturer, this one is heat resistant to 500 degrees F.
Here is the video tutorial, so you can see exactly how I made it:
Directions:
1. I have been eyeing this silicone mold for a while. I finally decided it was time.

2. I used a solvent based ink pad in black.

3. I stamped the mold with the ink pad. This ink will become one with the resin, once the resin has cured.

4. I went back to my coaster roots and put hot glue around the mold. The theory behind this was to keep the resin from running off. Previously, I did it on parchment paper and in the future I would go back to parchment paper.
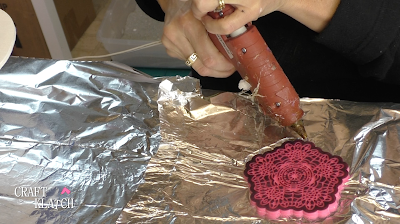
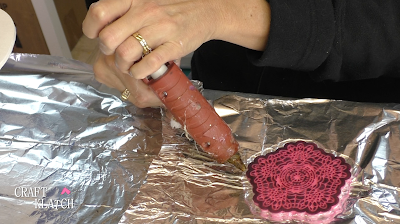
5. I mixed one ounce of resin and added pink pigment. Then a slowly poured it onto the mold.

6. I used my stir stick to move it to the edges.

7. I used my lighter to pop the bubbles and then I let it cure a minimum of 12 hours.

8. Once cured, I pulled it off the foil. The resin does not want to stick to the foil or the glue, but the glue sure wants to stick to the foil. Next time, I would do parchment paper. It took a little more work to get it all off, but nothing major.

9. Then, I pulled to resin off of the mold. ALWAYS EXCITING!!!

10. Here is the stamped side. The contrast is beautiful! The stamped side is matte because the mold had a matte finish.
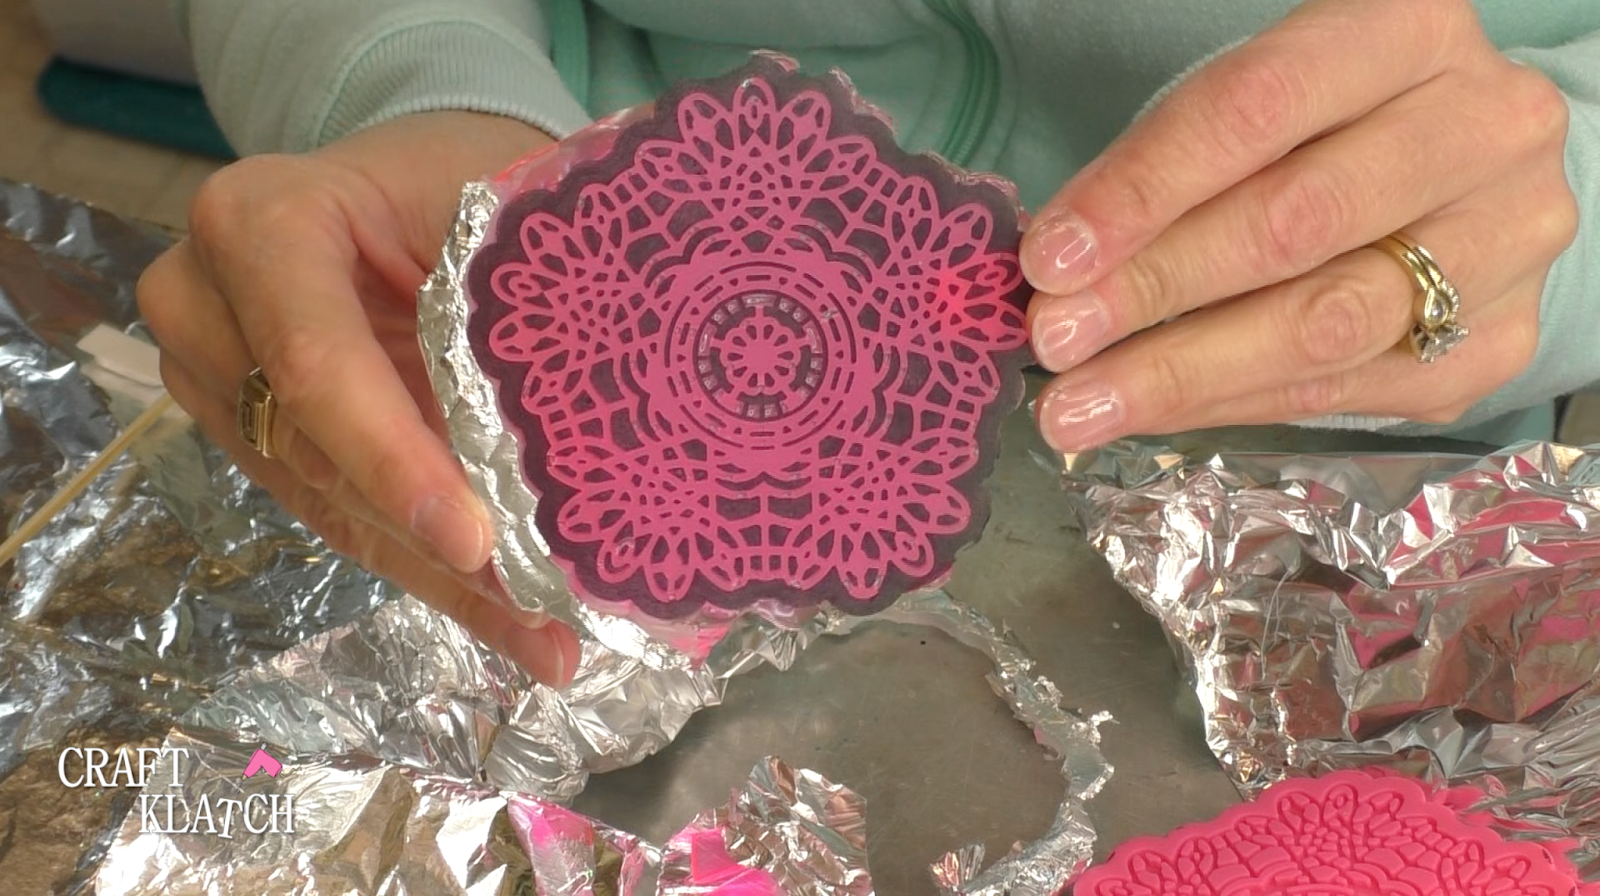
11. Since we are only 12 hours in, the resin has not completely cured. So, I was able to trim the rest off with my scissors.


Here is the matte side.

Here is the shiny side!

And look, it pulled all of the ink right off of the mold!!!

This is the first version, but I am going to do two more! The next one will have glitter incorporated!! Whoohoo! Glitter!!!
Thanks for stopping by! Remember: Life’s too short not to shimmer, so grab your glue gun and your glitter!™ Stay safe!
Mona


