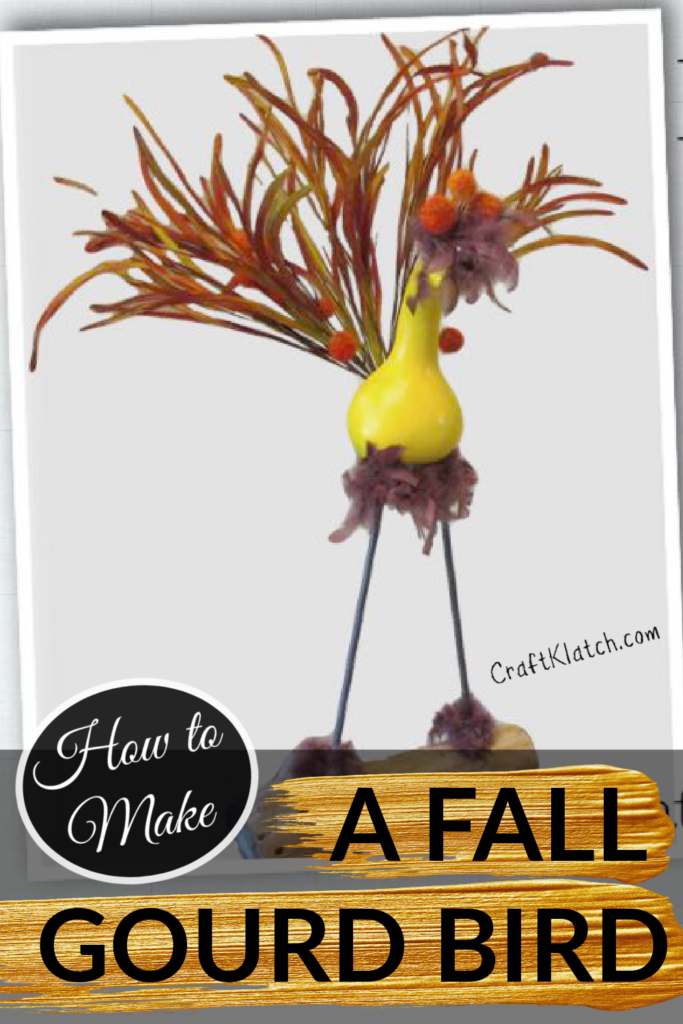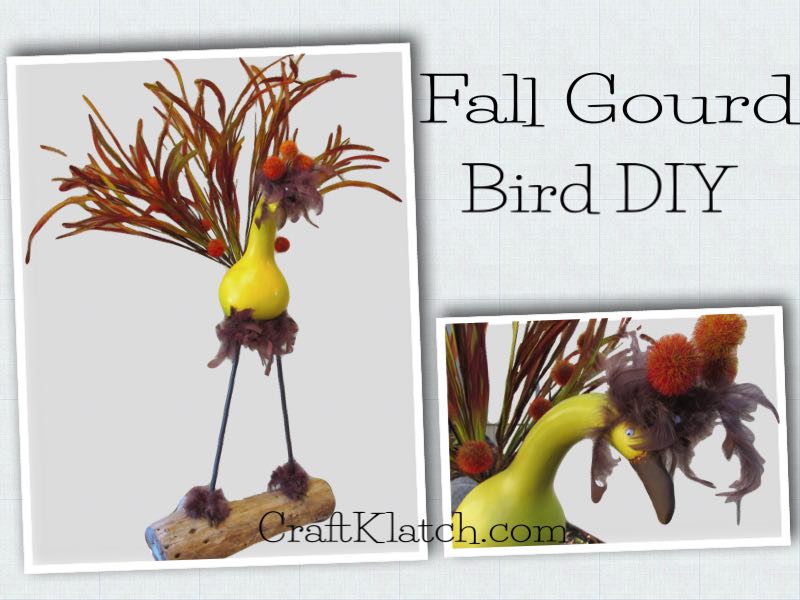
I’ve had three dried gourds sitting in my garage for years. I had always planned on making birds out of them and FINALLY I did!

You will need (affiliate links):-
- Dried and clean gourd: https://amzn.to/2GpueLn
- Wood base: I pulled it off of our firewood pile
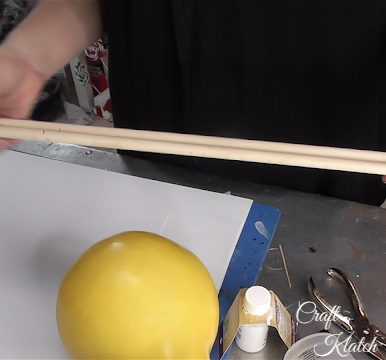
- 2 – 3/8″ dowel rods: https://amzn.to/2QEocLH
- Brown feather boa: https://amzn.to/2QDOOMQ
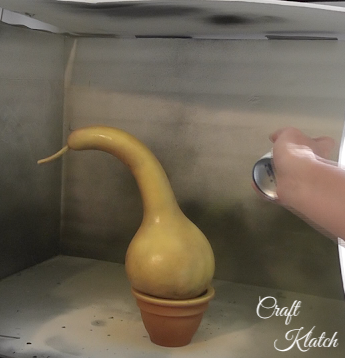
- Yellow spray paint: https://amzn.to/2R5xXSl
- Brown spray paint: https://amzn.to/2LvudVf
- Fall floral grasses and pom poms: Your best bet is to go to the craft store and see what you can find.
- Glue: https://amzn.to/2UWYArF
- Copper glitter: https://amzn.to/2R612gv
- 2 small googly eyes: https://amzn.to/2R5M1ey
- Brown polymer clay: https://amzn.to/2rJil8T
- Hot glue: https://amzn.to/2R4W83p
Here is the video tutorial:
Directions:
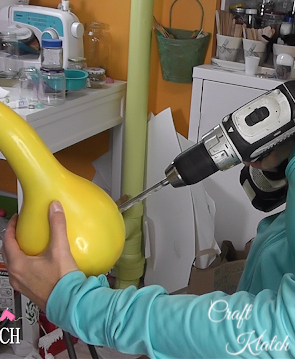
1. Paint gourd yellow and allow to dry.
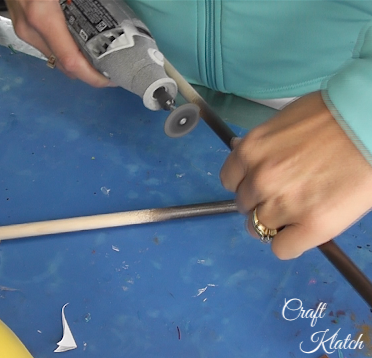
2. Paint dowel rods brown and allow to dry.
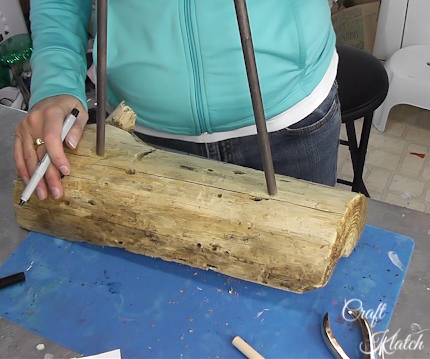
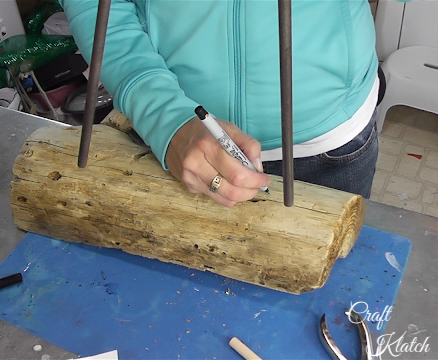
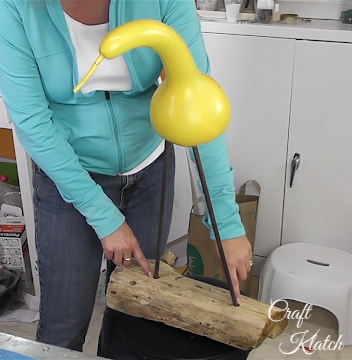
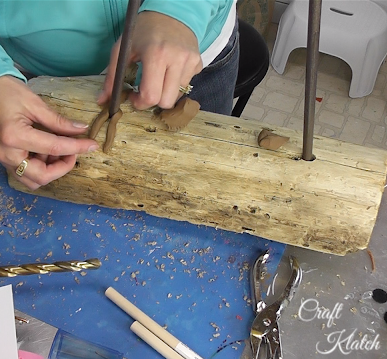
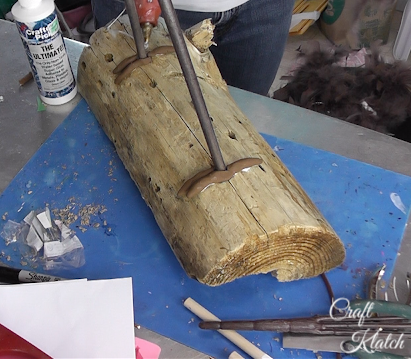
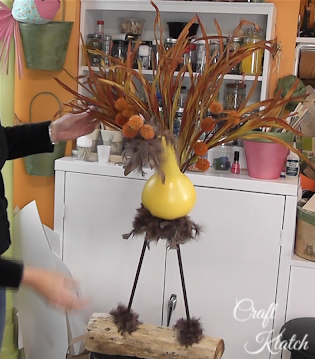
3. Find a piece of wood for the base. I took one from our firewood pile and bleached it, washed it and let it dry.
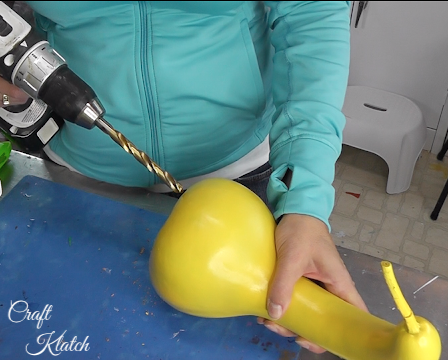
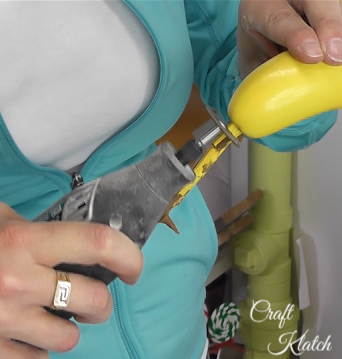
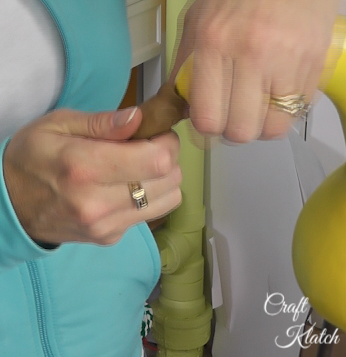
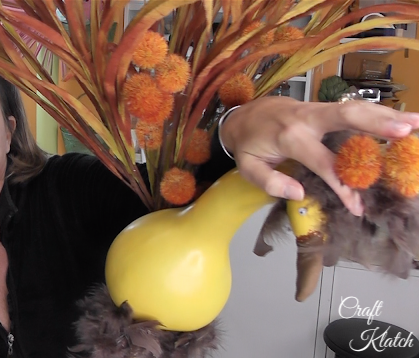
4. Drill holes in the bottom of the gourd for the legs.
5. Cut down the legs to the length you want. Insert the legs and glue into place.
6. Drill holes into the base to insert the legs. Glue them into place.
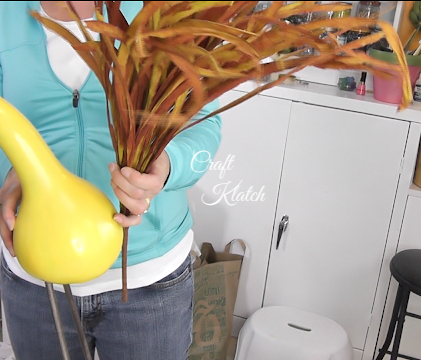
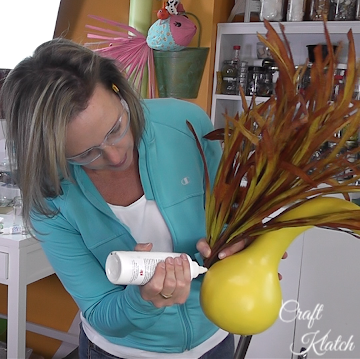
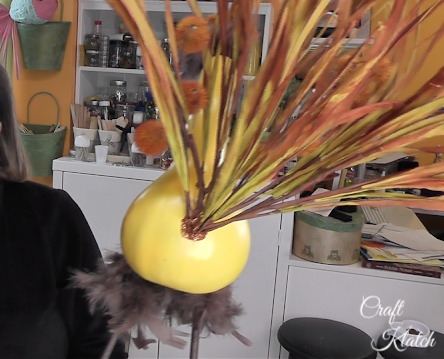
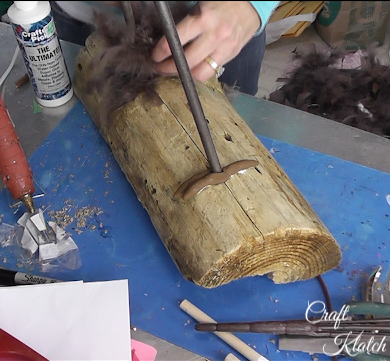
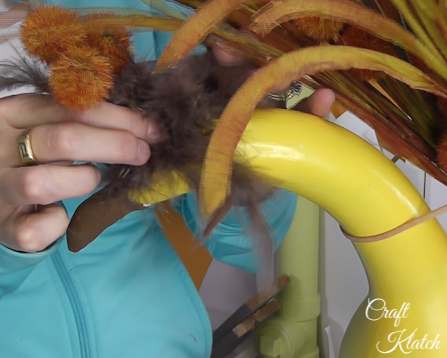
7. Drill a hole into the back, by the butt, so you can insert the floral stems that will be the tail feathers. You may have to bend them, so they stand up properly.
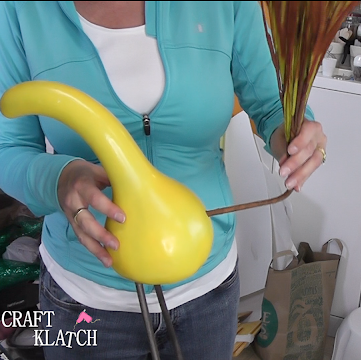
8. Glue them into place and sprinkle with glitter, to cover up any excess glue.
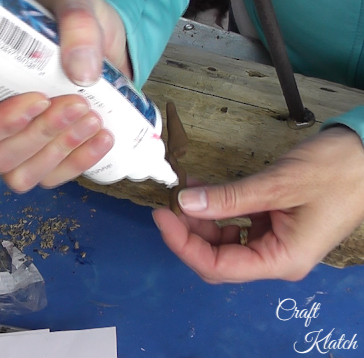
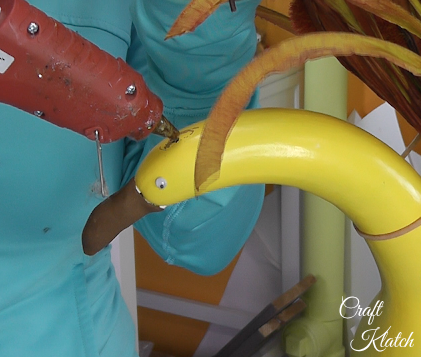
9. Using polymer clay, make feet and a beak. When you are making them, remember that you are going to have to take them off to bake them.
10. Once baked, glue them back into place.
11. Cut the feather boa into smaller pieces that can be wrapped around the ankles and thighs of the bird.
12. Glue on googly eyes. Drill a small hole in the top of the head, so you can add the plume and add the feather boa around that too.
13. Use glue and glitter to cover up any imperfections or excess glue.
That’s it! Now you have an awesome one of a kind decoration! You can customize it for any decor or holiday!
Thanks for stopping by! Remember: Life’s too short not to shimmer, so grab your glue gun and your glitter!™ Stay safe!
Mona