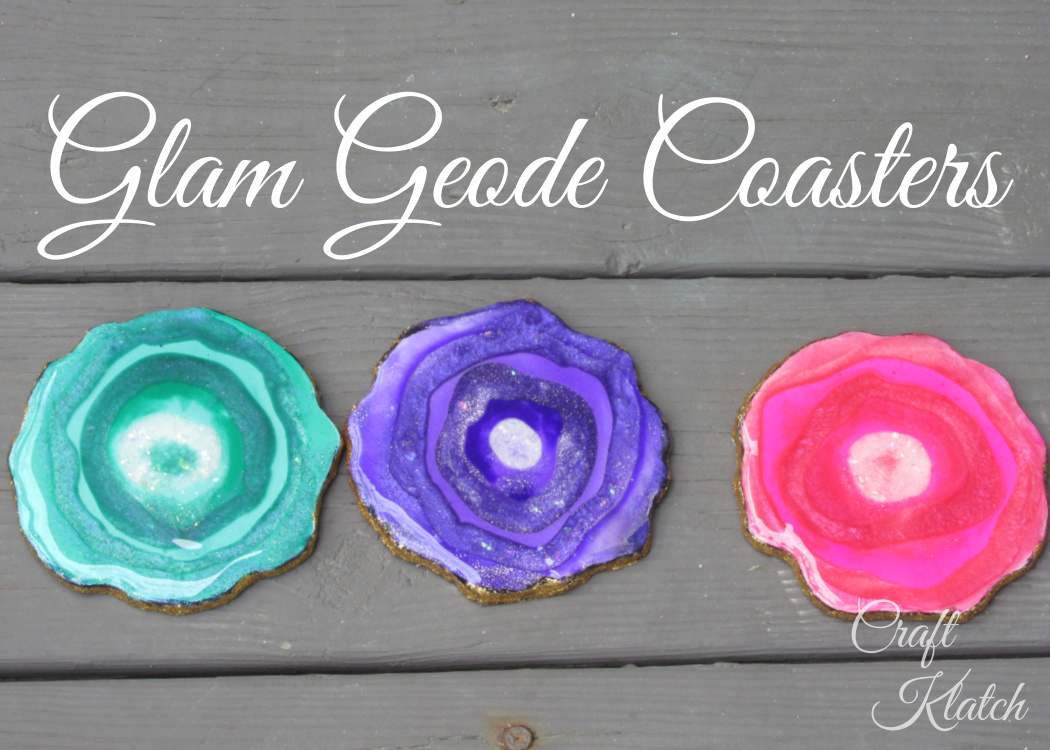
I did another geode coaster experiment. This one was specifically to create a geode look that also had more pronounced color stripes. It worked and they came out with a glam funky flair!
*This blog uses affiliate links. As an Amazon Associate I earn from qualifying purchases.
You will need:
Wood pieces (if you don’t want to cut our own): https://amzn.to/2qJK7Ab
Resin: https://amzn.to/2qBlitf
White pigment: https://amzn.to/2qASOQd
Purple pigment: https://amzn.to/2pPdbbM
Magenta pigment: https://amzn.to/2r2Fh46
Green pigment: https://amzn.to/2pHuTe9
India ink: https://amzn.to/2pOYuVZ
Pigment powder: https://amzn.to/2pP88Iq
White & white acrylic paint: https://amzn.to/2ZhZYsX
Glitters (white, pink, green and purple, gold): https://amzn.to/2Zh678s
Confetti: https://amzn.to/2qJKkn2
Silly Putty: https://amzn.to/2qBlHMr
Mod Podge: https://amzn.to/2r2zqvB
Since I made these, there are SO MANY amazing geode silicone molds available, like these: https://amzn.to/2Zj4mb0
Here is the video tutorial:
Directions:
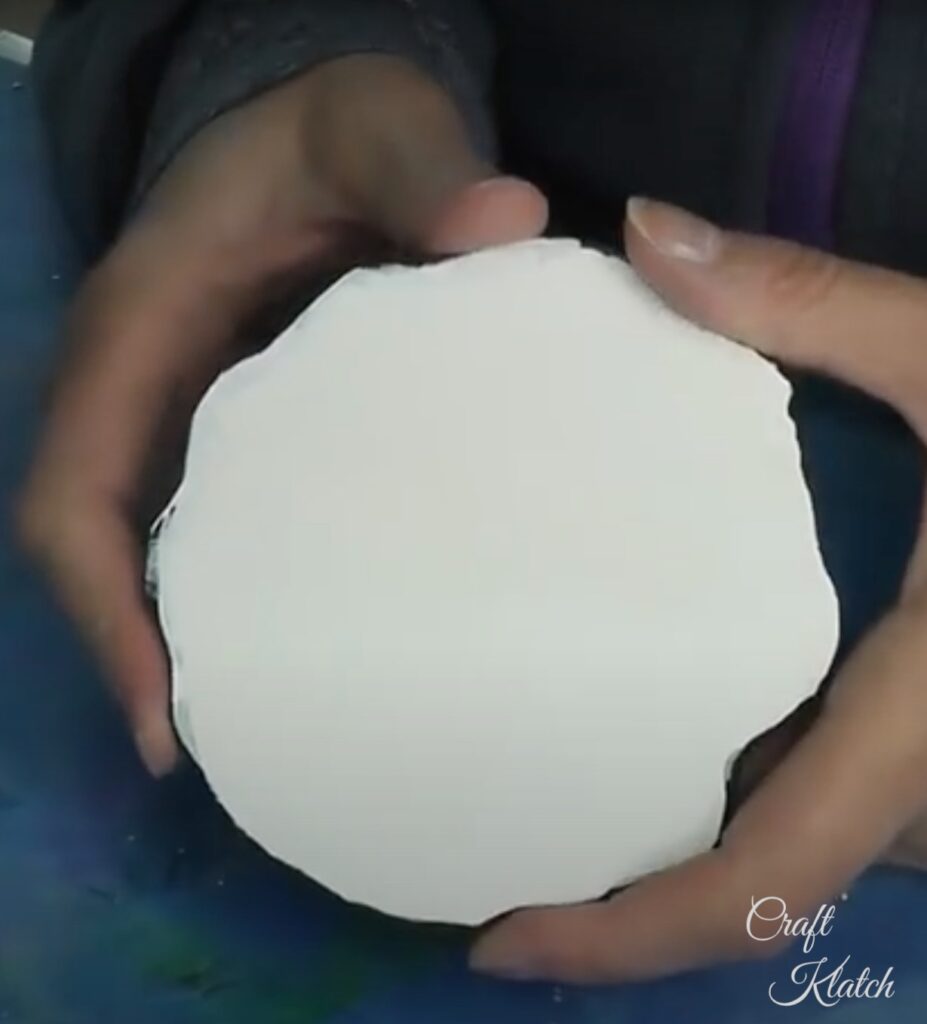
1. You can cut your own wood rounds, or you can buy pre-cut ones, like the one I have listed above. I painted the bottoms and sides black and the tops white.
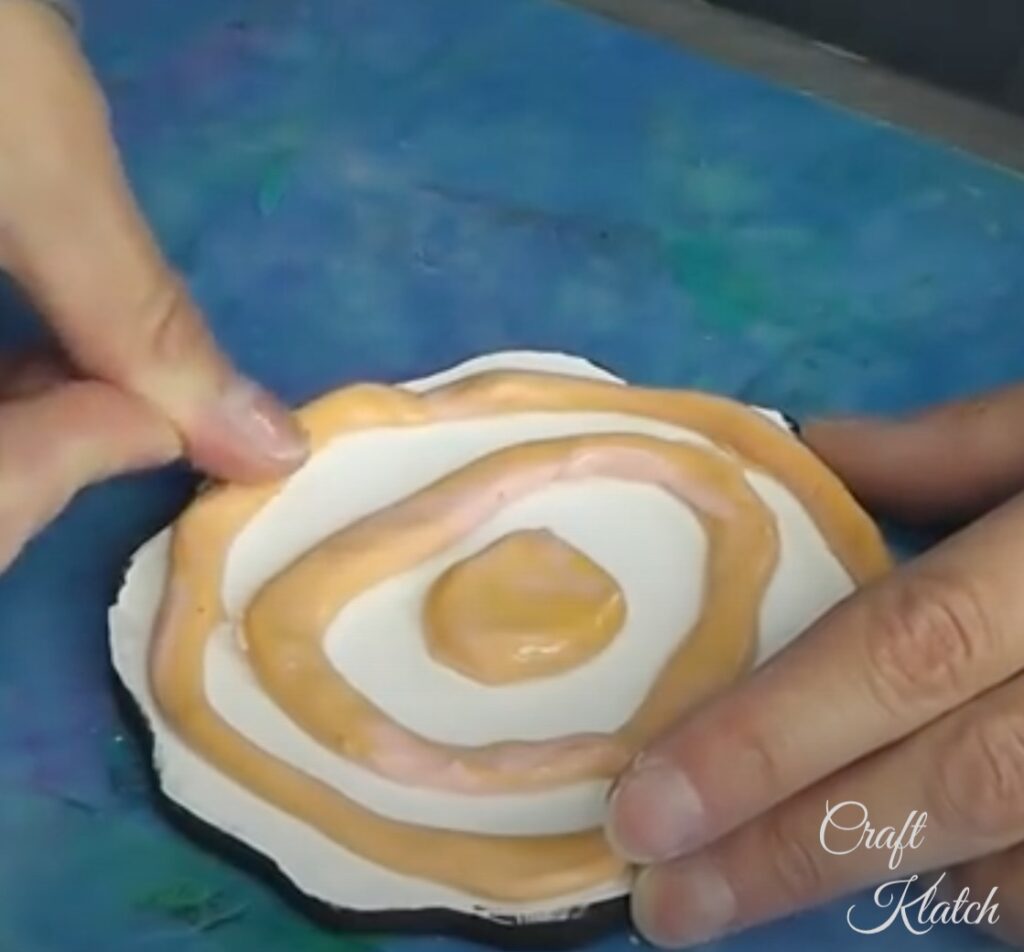
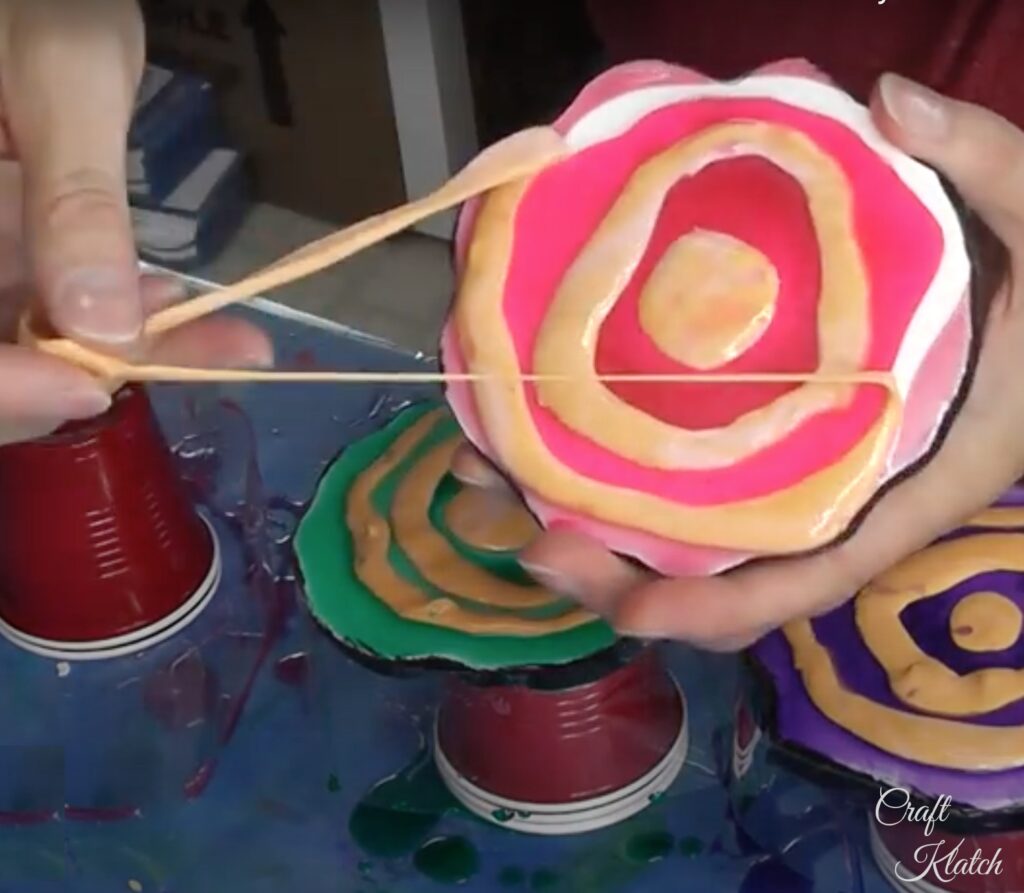
2. Once dry, I took the Silly Putty and created snakes and put them on the wood pieces. I gently pressed it down to make sure it was sealed with the wood.
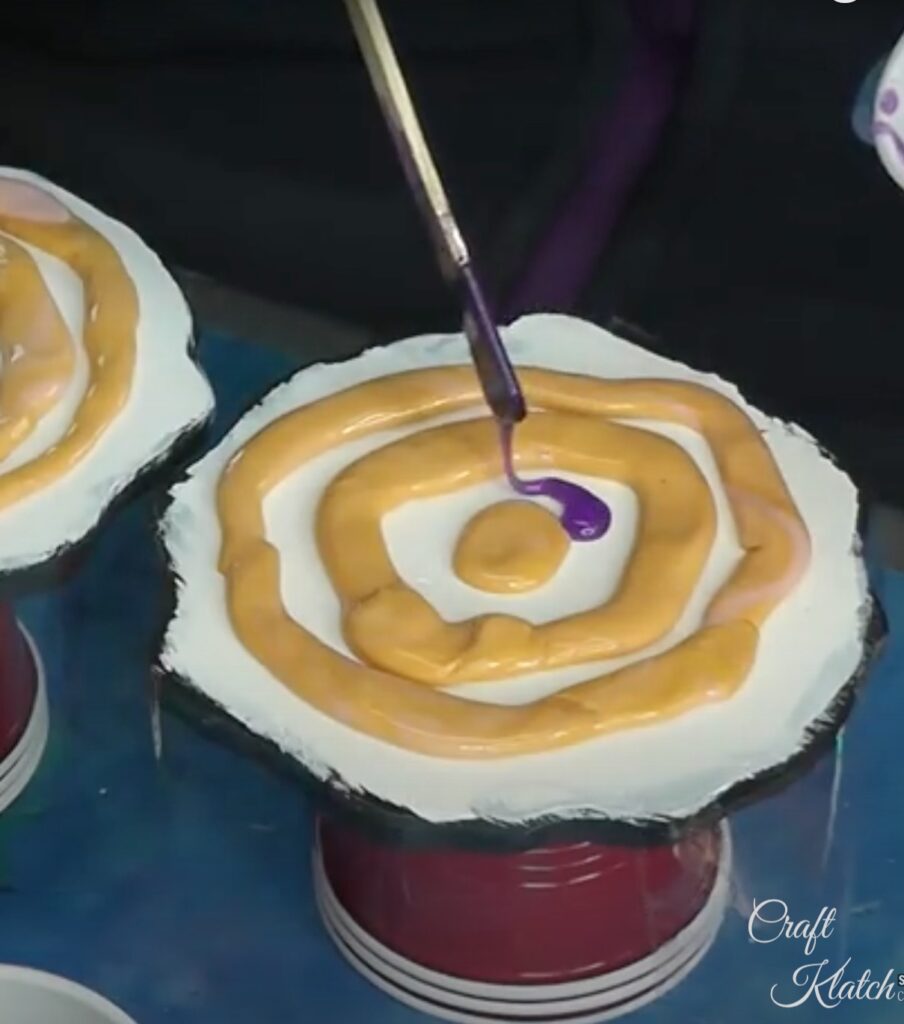
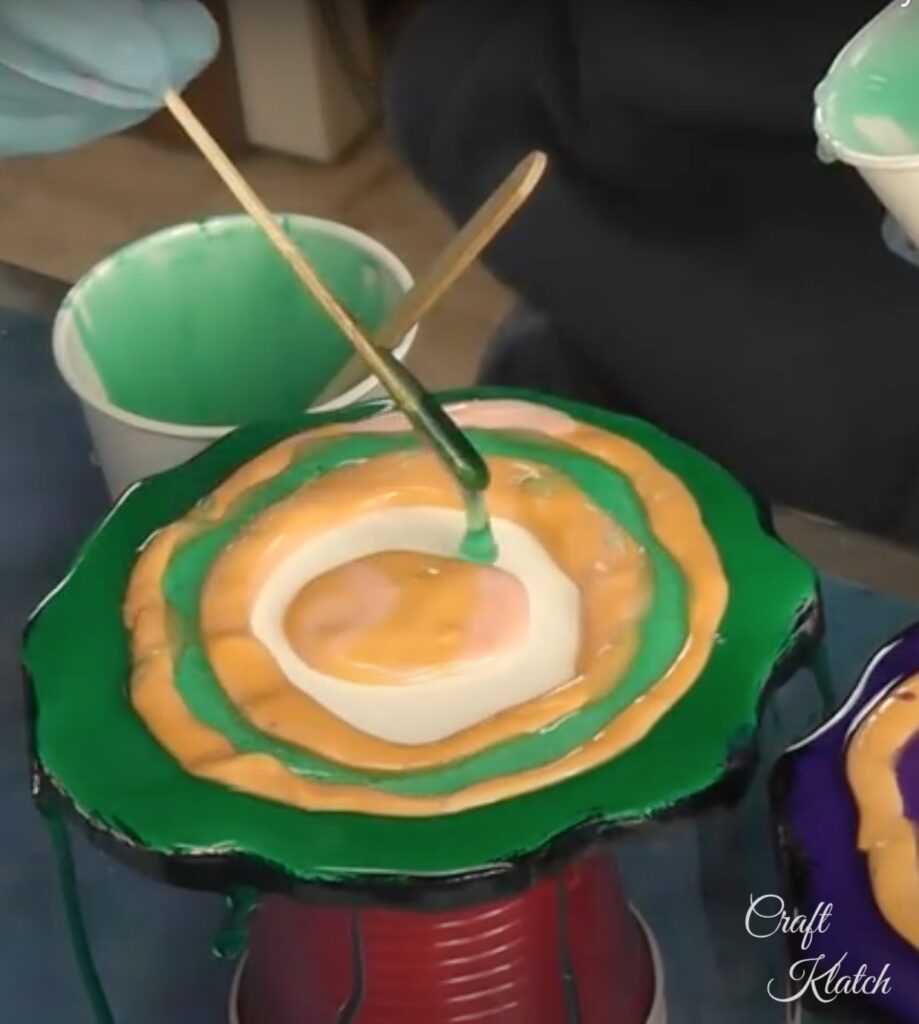
3. I mixed the resin with different colors (be sure to customize them for your taste). Resin Obsession has tons of colors to choose from! I also mixed the middle with white pigment powder and chunky white glitter.
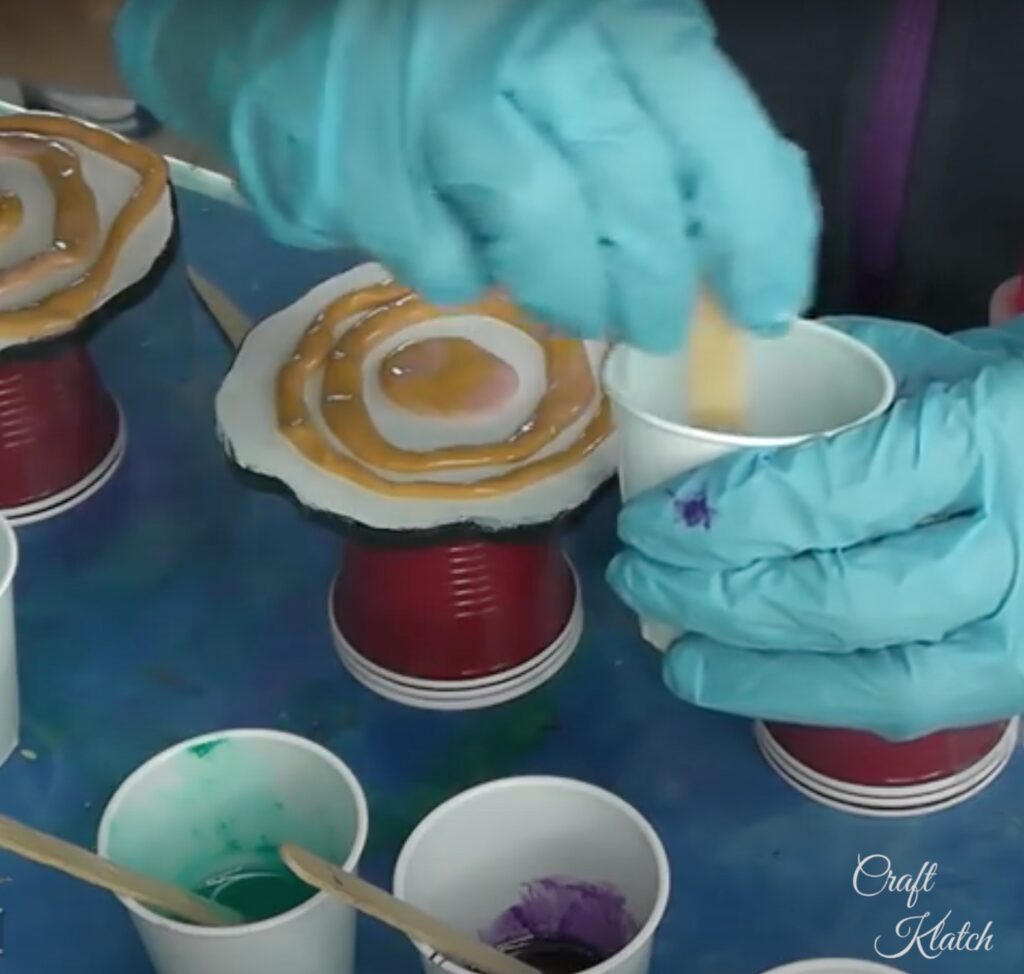
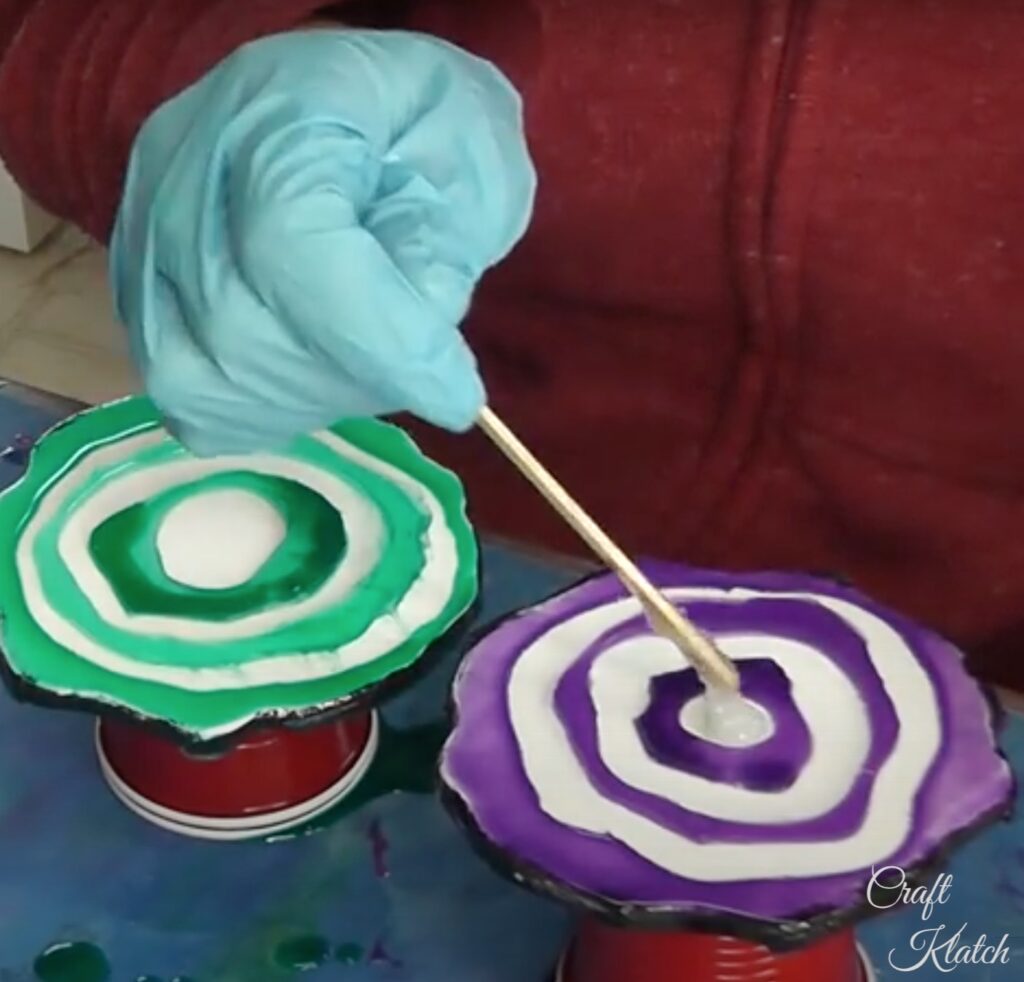
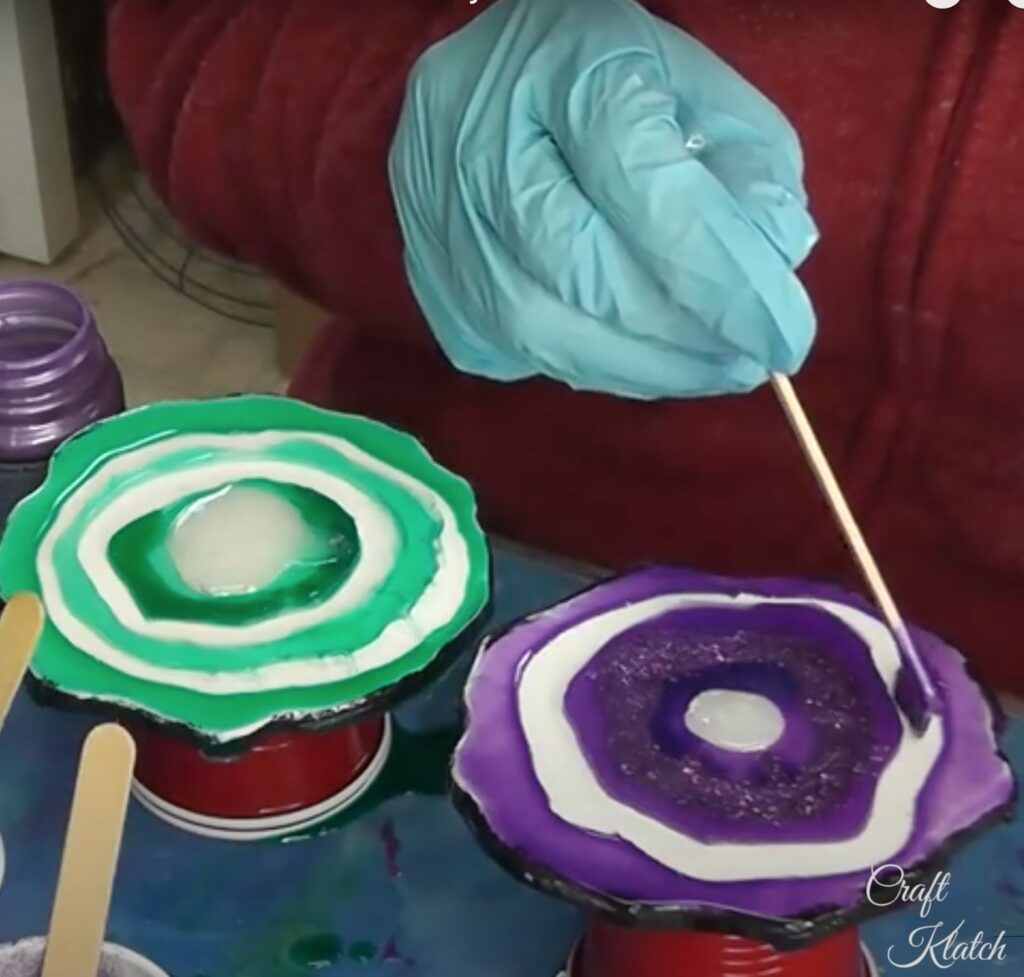
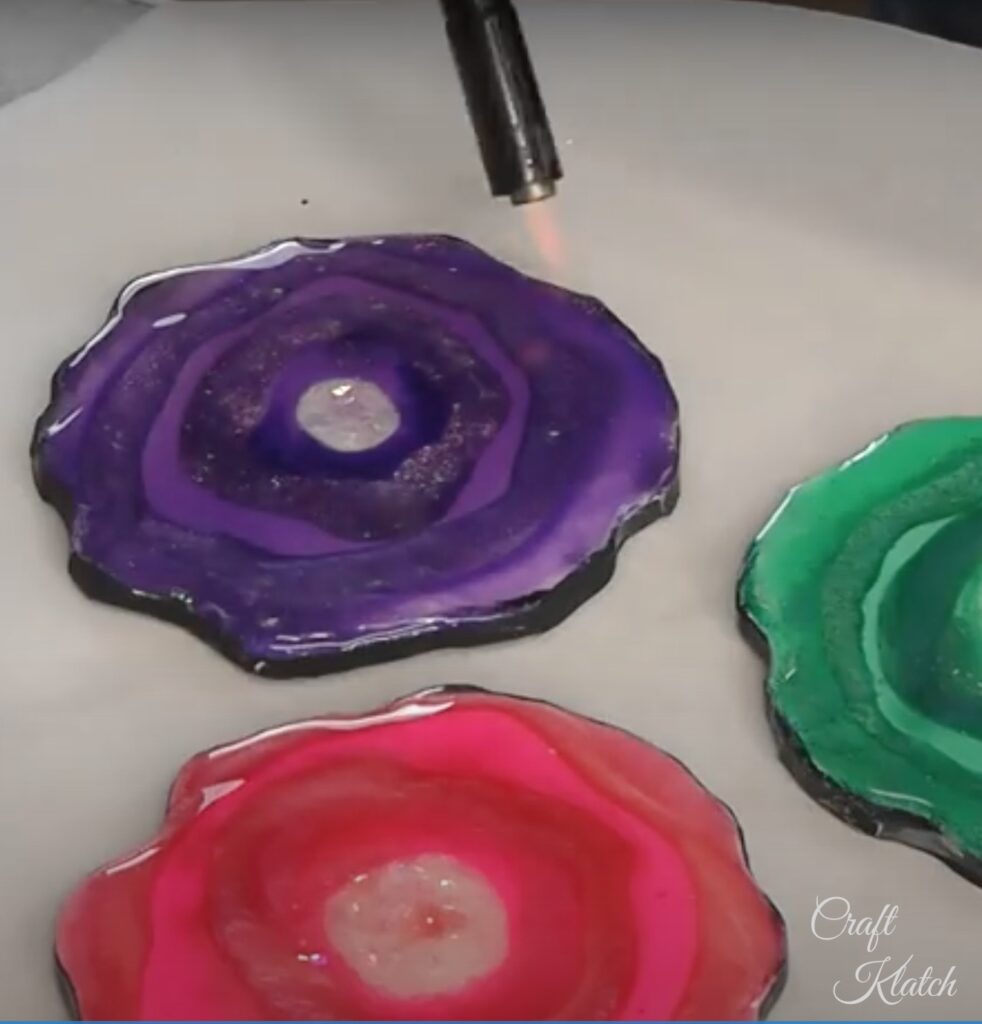
4. I first poured the colors onto the wood. The Silly Putty worked to dam it in place. I used a lighter to pop the bubbles.
5. Once cured, I removed the Silly Putty and mixed more resin. This time I mixed glitter and pigment powders and poured them into the open areas. I popped the bubbles and allowed it to cure.
6. Once cured, I sanded down the pieces, so they were level and the stripes could be seen. I wiped off excess dust.
7. I then mixed a small amount of resin and brushed it onto the pieces, popped the bubbles and let them cure.
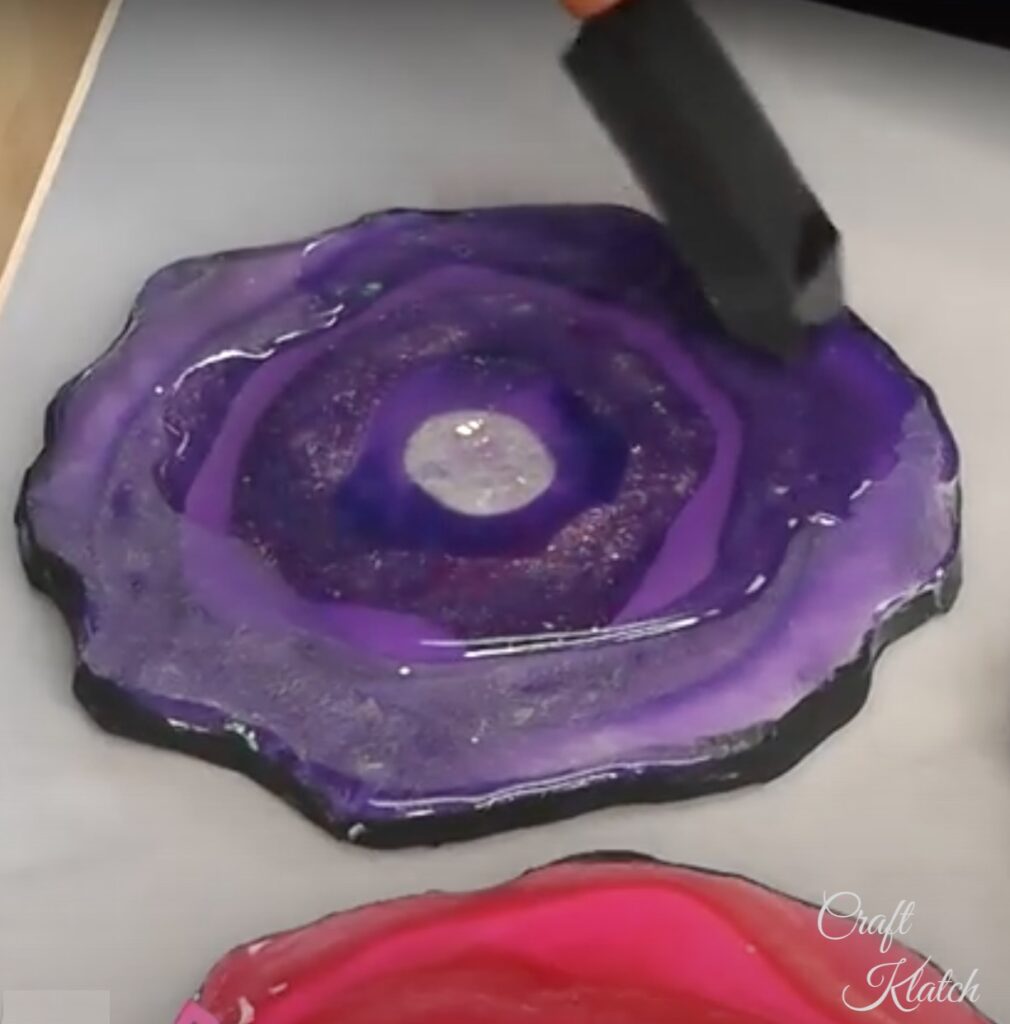
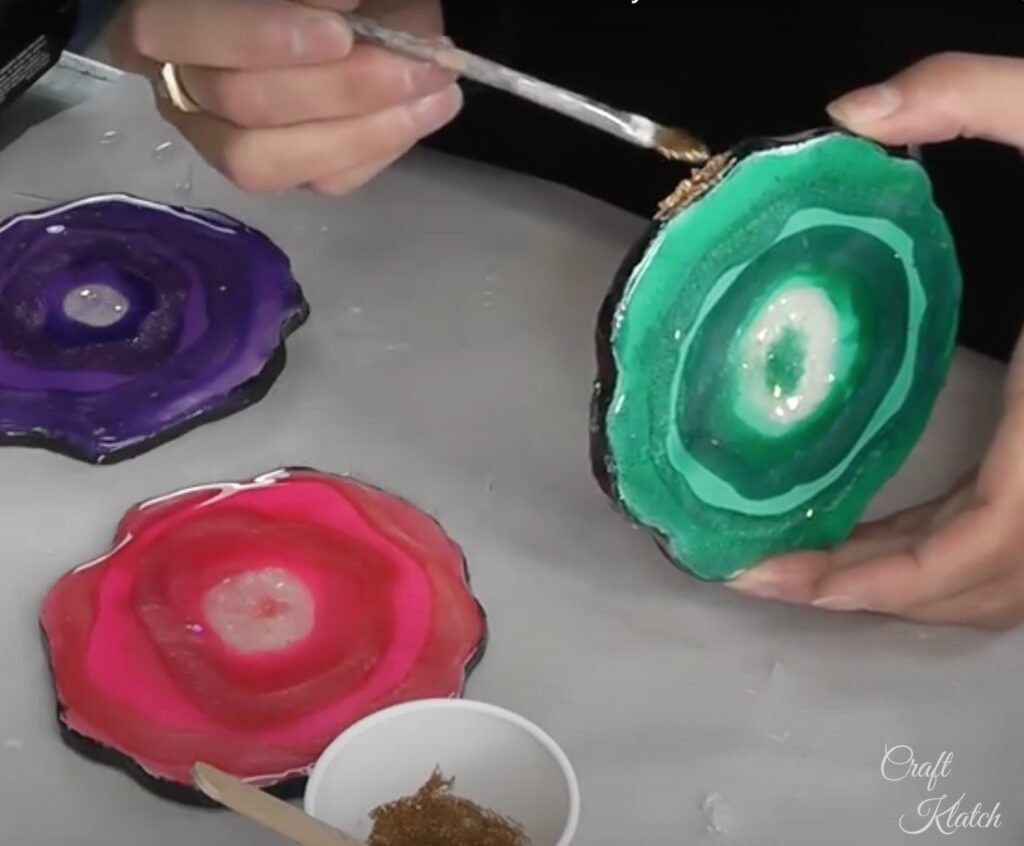
8. Once cured, I mixed Mod Podge and gold glitter and brushed it onto the edges and allowed them to dry.
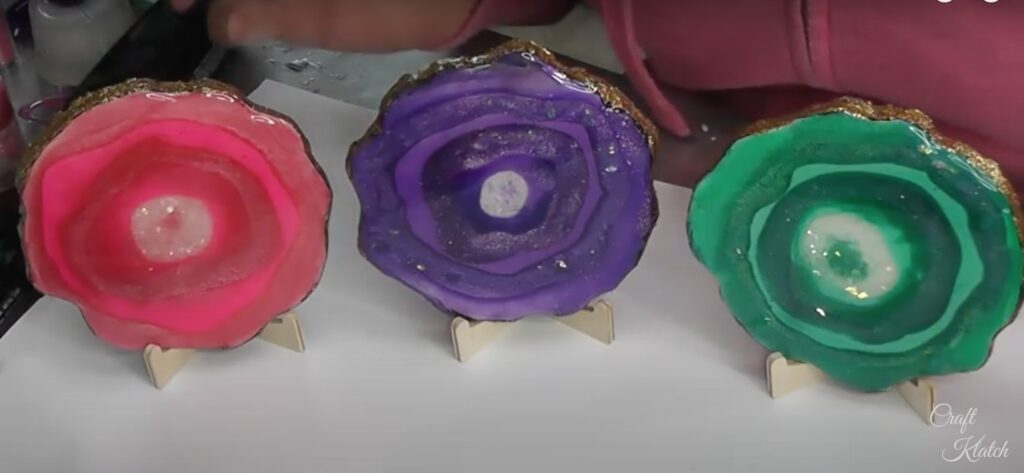
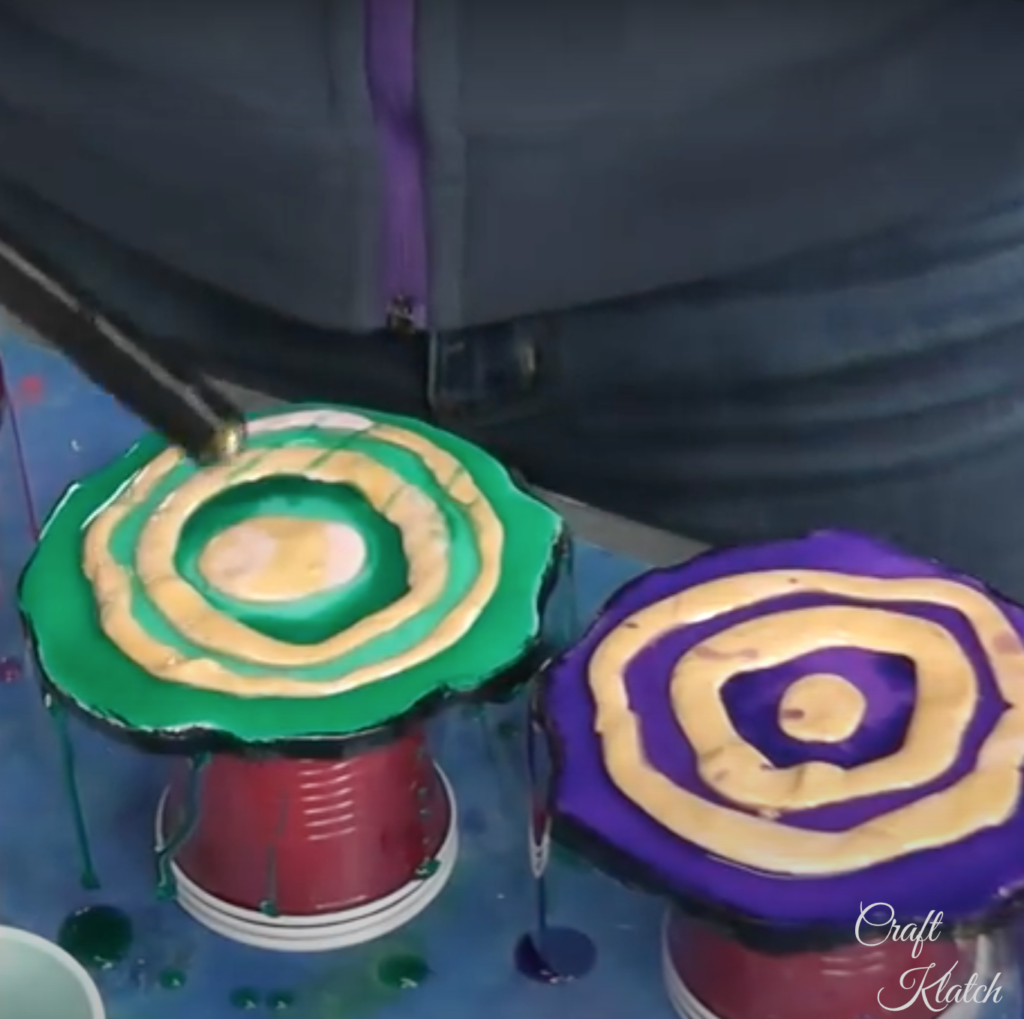
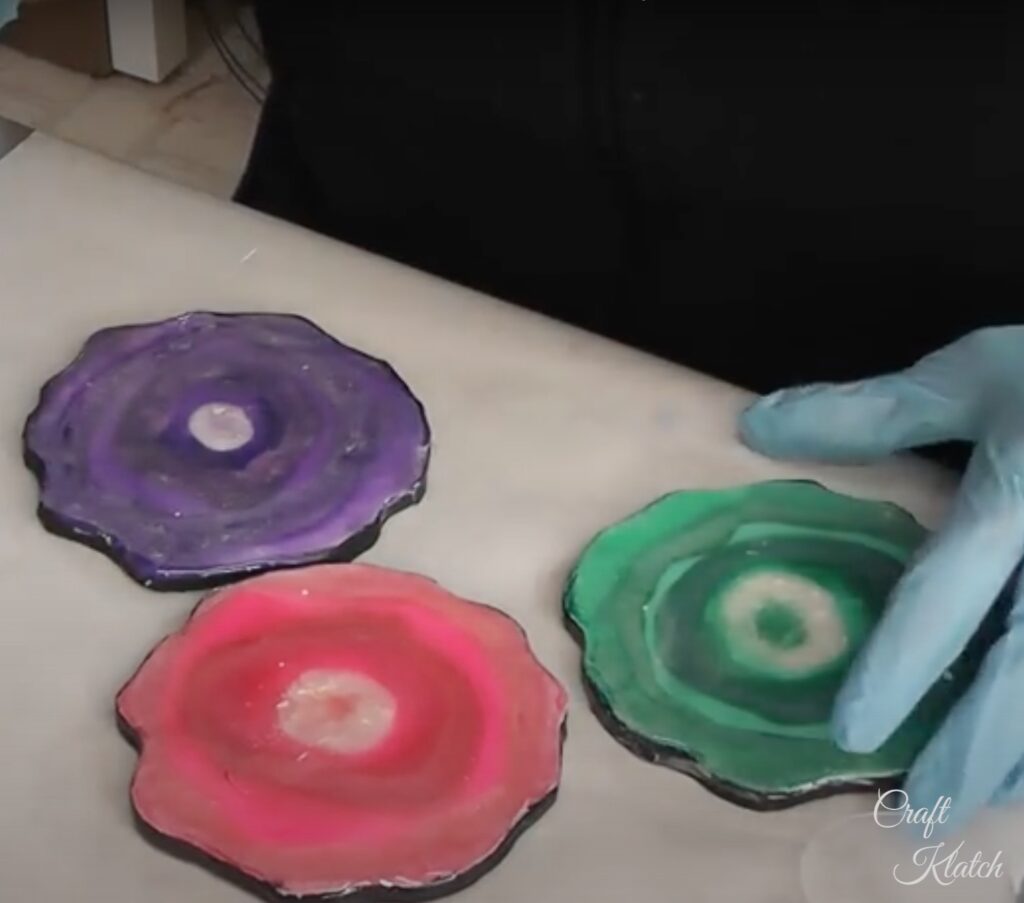
That’s it! Here are two other versions I tried, with very different looks:
You can find my first attempt at a resin geode coaster here at Faux Amethyst Geode Coaster DIY.
Here is my second attempt at How To Make Resin Geode Coasters.
Thanks so much for stopping by! Remember: Life’s too short not to shimmer, so grab your glue gun and your glitter!™ Stay safe!
Mona