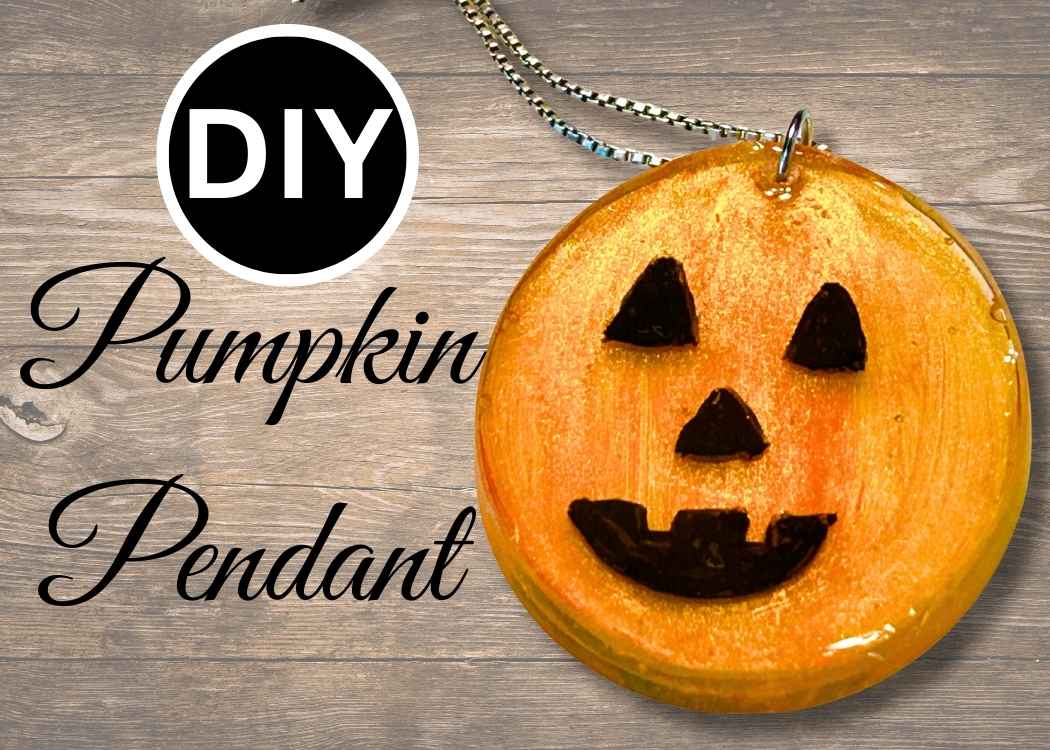
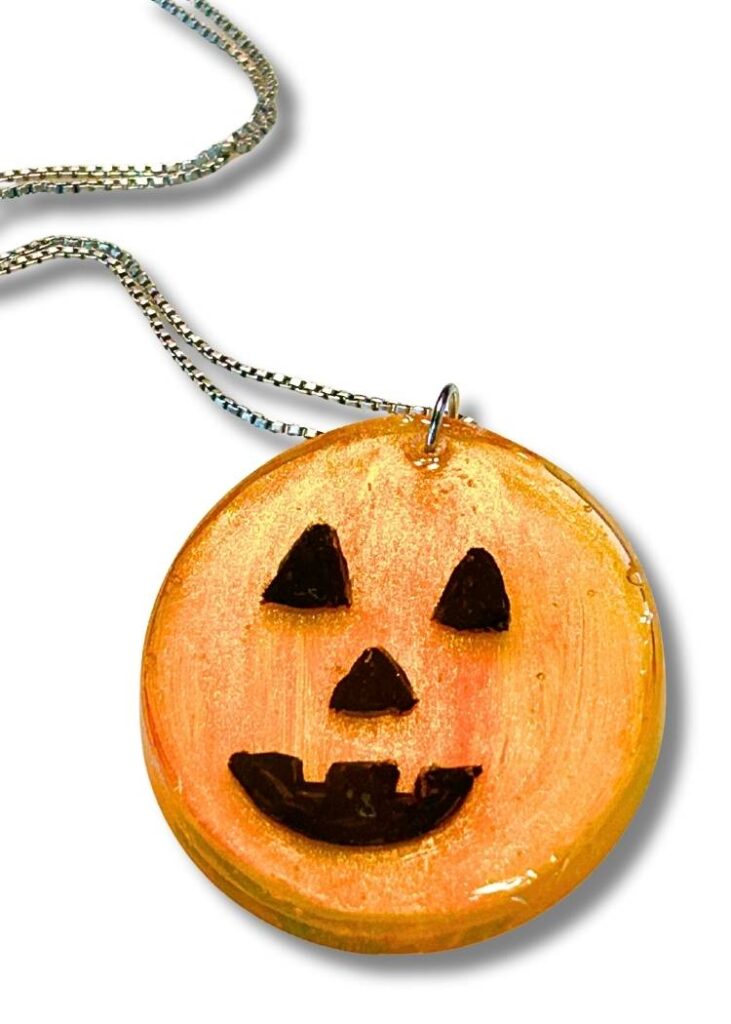
Make a resin pumpkin charm in 5 easy steps! This UV resin jewelry tutorial is quick, fun, and perfect for fall, Halloween, or gift giving!
Fall is one of my favorite times of year to craft – the color, the themes, the excuse to make all the pumpkins!
If you’ve been hanging around here for a while, you know I can’t resist a good jewelry project, and today, it’s a UV resin jewelry project.
This resin pumpkin charm is one of those quick, satisfying crafts that you can knock out in about 15 minutes, but it still looks like something you’d buy in a boutique.
The best part? You can wear it as a necklace, turn it into a keychain, or even make it into a magnet for your fridge. Once you make one, you’ll probably want to make a whole pumpkin patch!
Supplies You Will Need for Your Resin Pumpkin Charm:
*Disclosure: This blog uses affiliate links from Amazon and other retailers. I earn a small amount from qualifying purchases at no additional cost to you.
- UV Resin starter kit (includes resin and lamp)
- Oval silicone pendant mold (jump rings included)
- Orange acrylic paint
- Orange pigment powder
- Small paint brushes
- Necklace chain
- Nitrile gloves (just good practice)
- Black acrylic paint
Step-by-Step Instructions for the Resin Pumpkin Charm
Step 1: Create the Base Layer
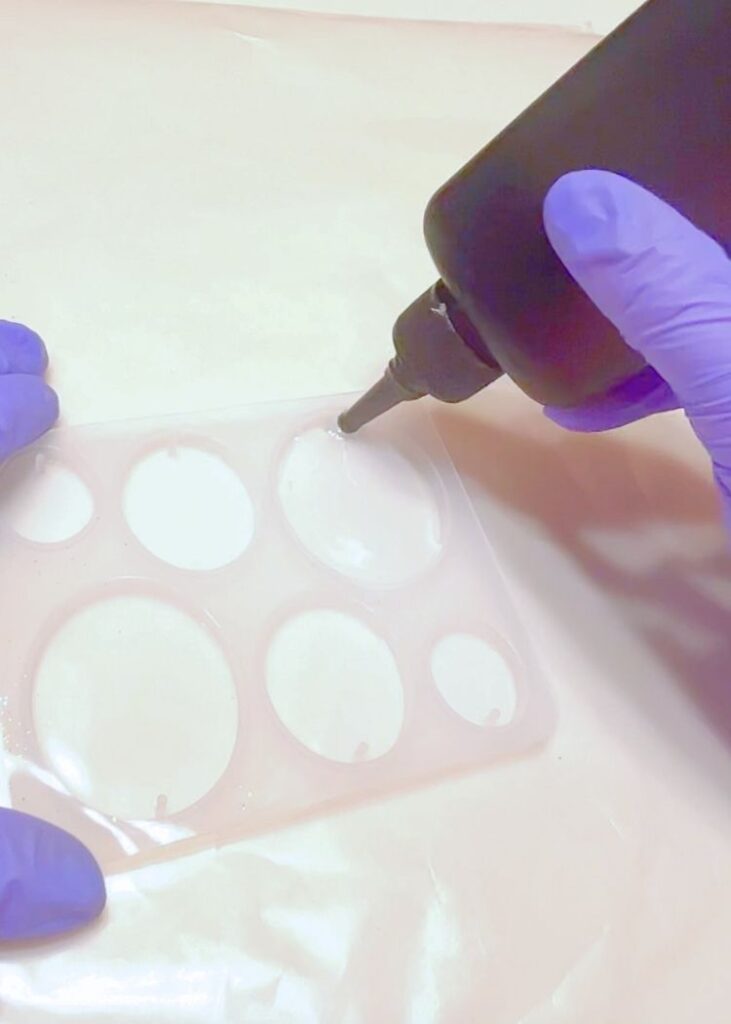
Pour a thin layer of UV resin into the oval silicone pendant mold. Cure it under a UV lamp until hardened. This will be a foundation of your resin pumpkin charm, so make sure it’s smooth and bubble-free.
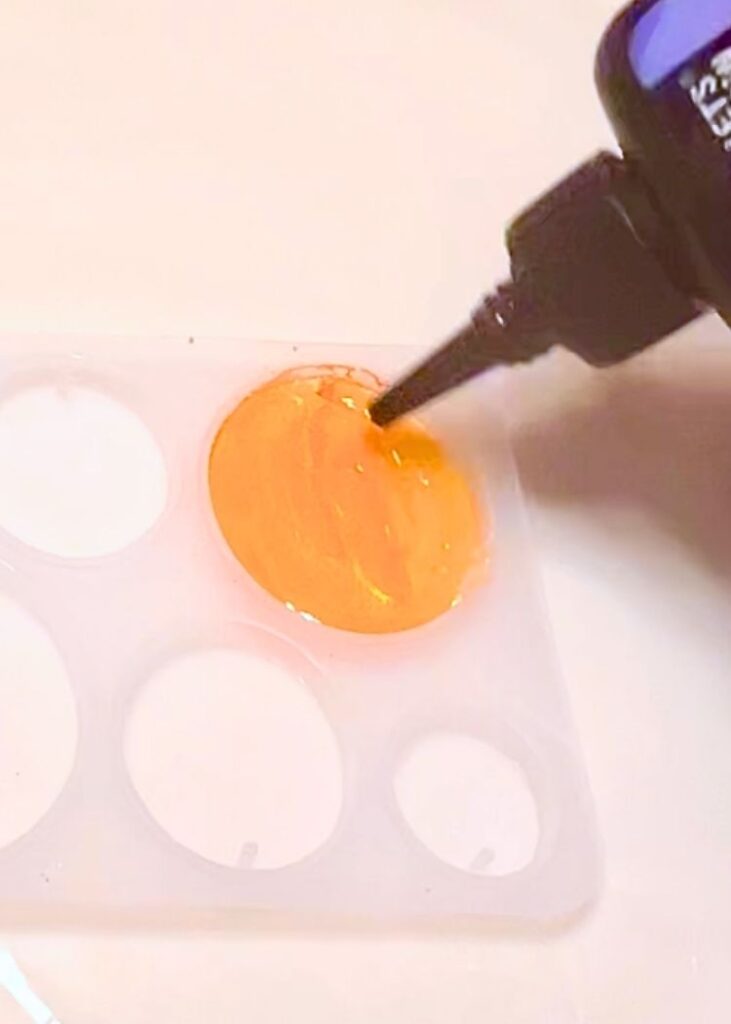
Step 2: Paint and Add Shimmer
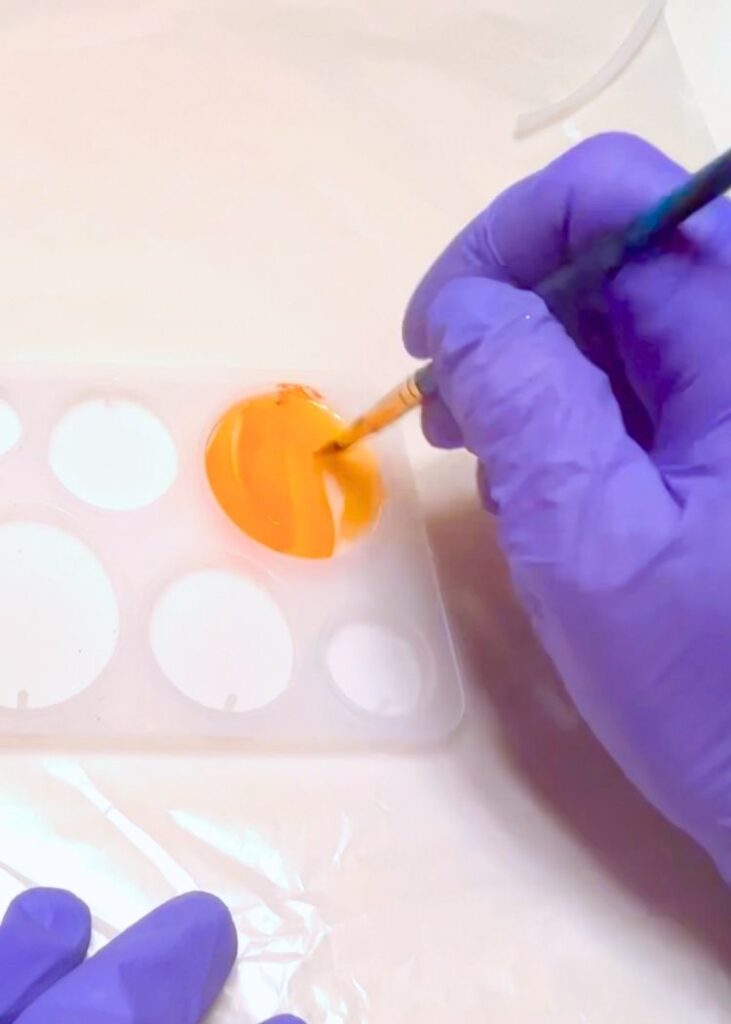
Using orange acrylic paint, cover the cured resin layer. While the paint is still slightly tacky, dust it with orange mica powder to give your pumpkin a subtle shimmer. Let the paint dry completely.
Step 3: Seal with Resin
Add another thin layer of UV resin over the painted surface and cure again. This step seals in the color and shimmer, giving your charm that glossy look.
Step 4: Add the Pumpkin Face
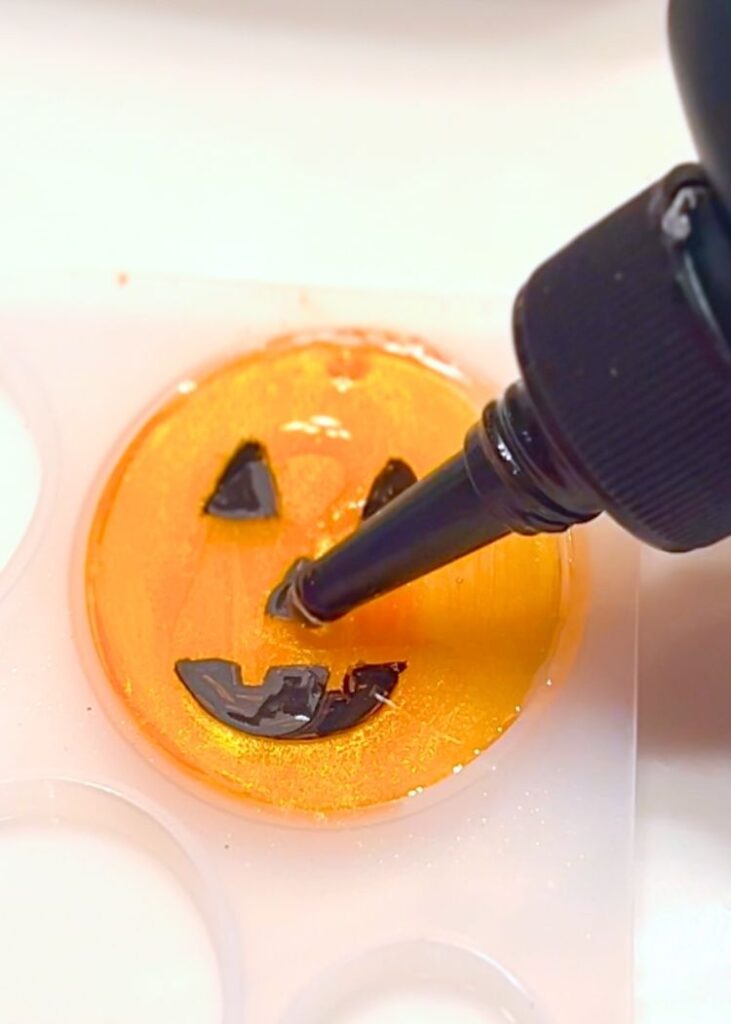
Using black acrylic paint, carefully paint your jack-o’-lantern face onto the charm. Let the paint dry fully before adding the next layer of resin. Once dry, pour another thin layer of UV resin over the top and cure it under the UV light.
Step 5: Finish and Accessorize
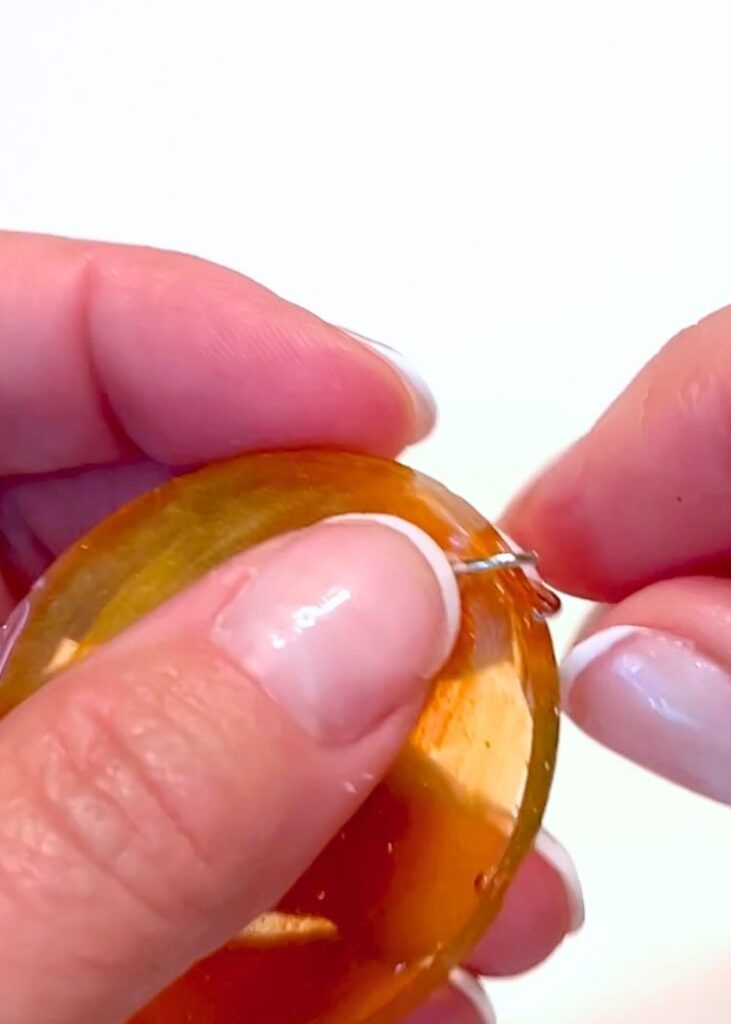
Because the mold has a built-in nub for the hole, there’s no need to drill! Simply attach a jump ring, add a chain, and your UV resin jewelry masterpiece is ready to wear. You can also attach it to a keychain or glue a magnet on the back for festive fridge decor!
Why You Will Love This UV Resin Jewelry Project
This project is beginner-friendly, quick, and versatile. Once you do the basic steps, you’ll see that you can come up with endless variations.
Don’t forget to PIN IT for later AND be sure to follow me while you are there!!
Try different pigment powders, experiment with glitter, or swap the pumpkin face with any number of designs…different seasons…different themes.
Ideas for Using Your Resin Pumpkin Charm
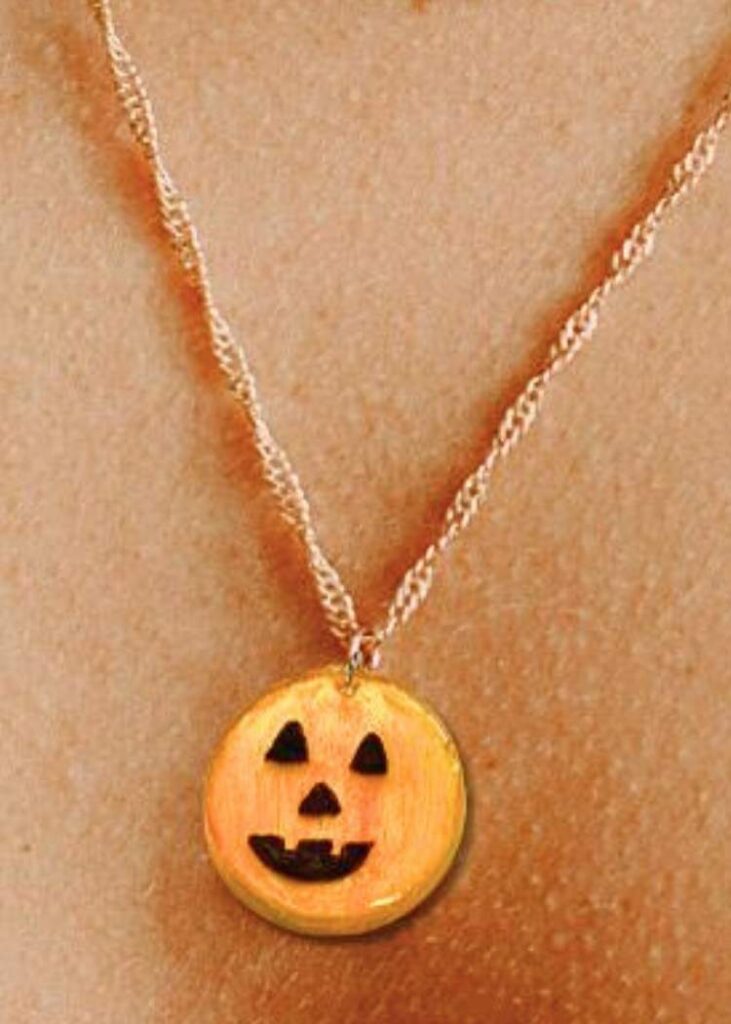
You can use it as a necklace because it’s a perfect fall accessory. Think Halloween party necklace.
It also makes a fun keychain or a magnet, too!
Check Out More Fall Projects
If you love this project, you are going to love these too!
- Fall Scarecrow Ornament
- Pumpkin Patch Coaster
- Paint and Glitter Pumpkin Ornaments
- Halloween String Pumpkin
Thanks for stopping by! Remember: Life’s too short not to shimmer, so grab your glue gun and your glitter!™
Mona
Mona,
Yes there is something worse than stepping on a Lego or acorn. Stepping on a Barbie shoe is the worst.
Oooh! That’s a good one too!