I did this craft realizing that black walnuts might be hard to come by, but hoping it would inspire people to look beyond the obvious and outer appearance of something to find the beauty.

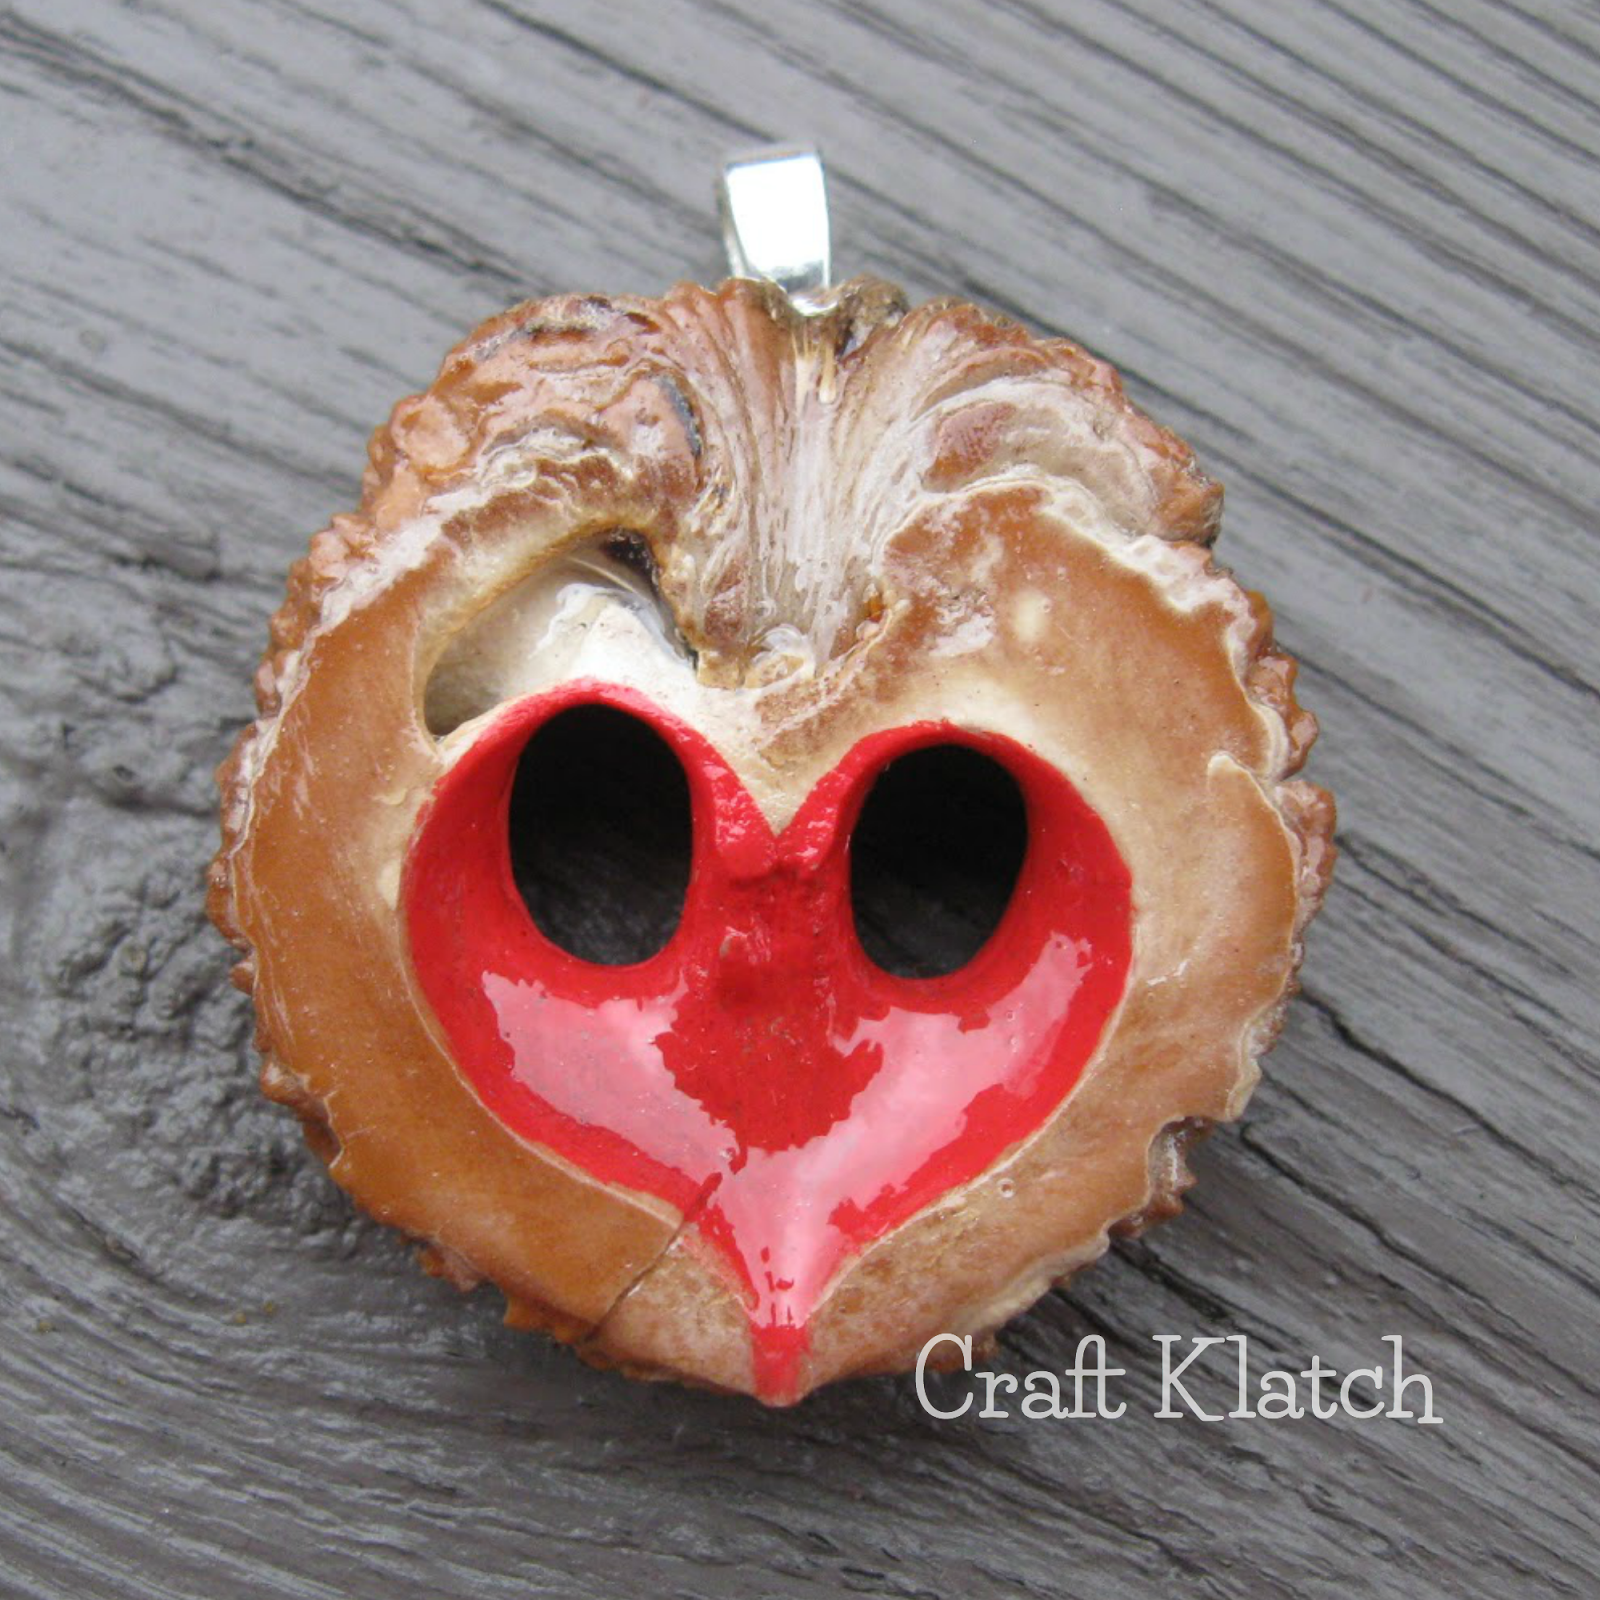
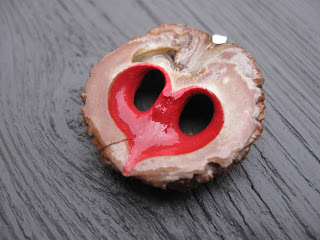
The black walnuts come in these green pods that fall all over the lawn. They eventually rot to these gooey black pods. They are a huge pain to clean, but look how pretty they are when you get to the inside! Who knew!?! I did not! Really, what I was trying to accomplish was to get people to see things in a different way and see the beauty and make something even more beautiful out of it!
You will need:
– Black walnuts
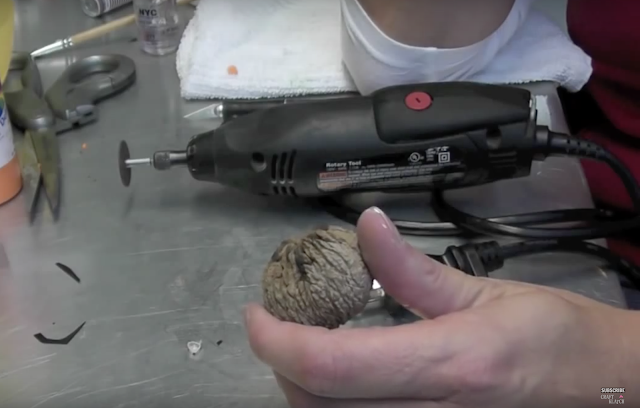
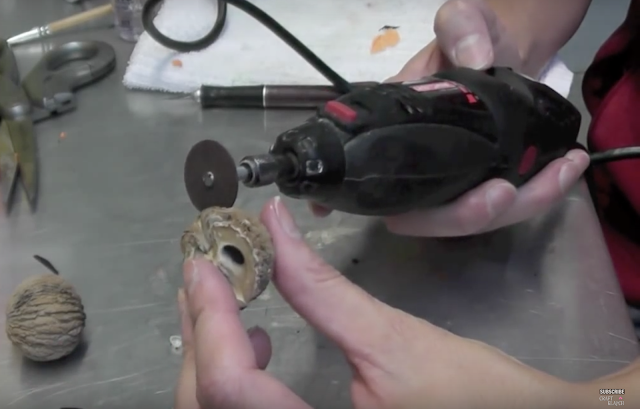
– A way to cut the walnuts – I used a rotary tool
– Safety glasses
– Acrylic paint
– Sealer/varnish – I used Triple Thick
– Jewelry bail
Here is the video tutorial:
Directions:
1. Clean the walnut – there is NO good way to do this. It’s a bit of a process and really MESSY! Use rubber gloves because it will stain….for a long time. First, I step on the pod to get to the nut. Then I drop the nut into some water or straight bleach. Scrub with a wire brush, drop back into bleach for however long you think and wash off bleach. Let them dry naturally, or throw them on a cookie sheet in the oven at 250 degrees until they dry or start to separate.
2. Take a hammer and screwdriver and break apart the nut (down the middle).
3. Remove the meat inside – don’t eat – especially if you had it soaking in bleach!

4. Take rotary tool and cut a slice off of the nut.
5. Take acrylic paint and paint in the heart.


6. Use Triple Thick or some other varnish/sealer to protect the nut and heart.

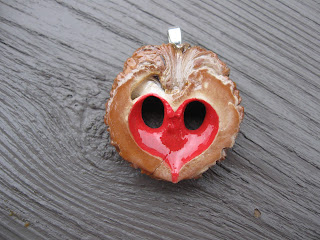
7. Glue on jewelry bail.

Now you have a beautiful and unique necklace! Quite a conversation piece!
Thank you for stopping by and if you have any tips or suggestions on how to better cut and/or clean the walnuts, I’d love to know!
Also, if you do start looking at things differently, let me know what you find!
Happy Crafting!
Mona