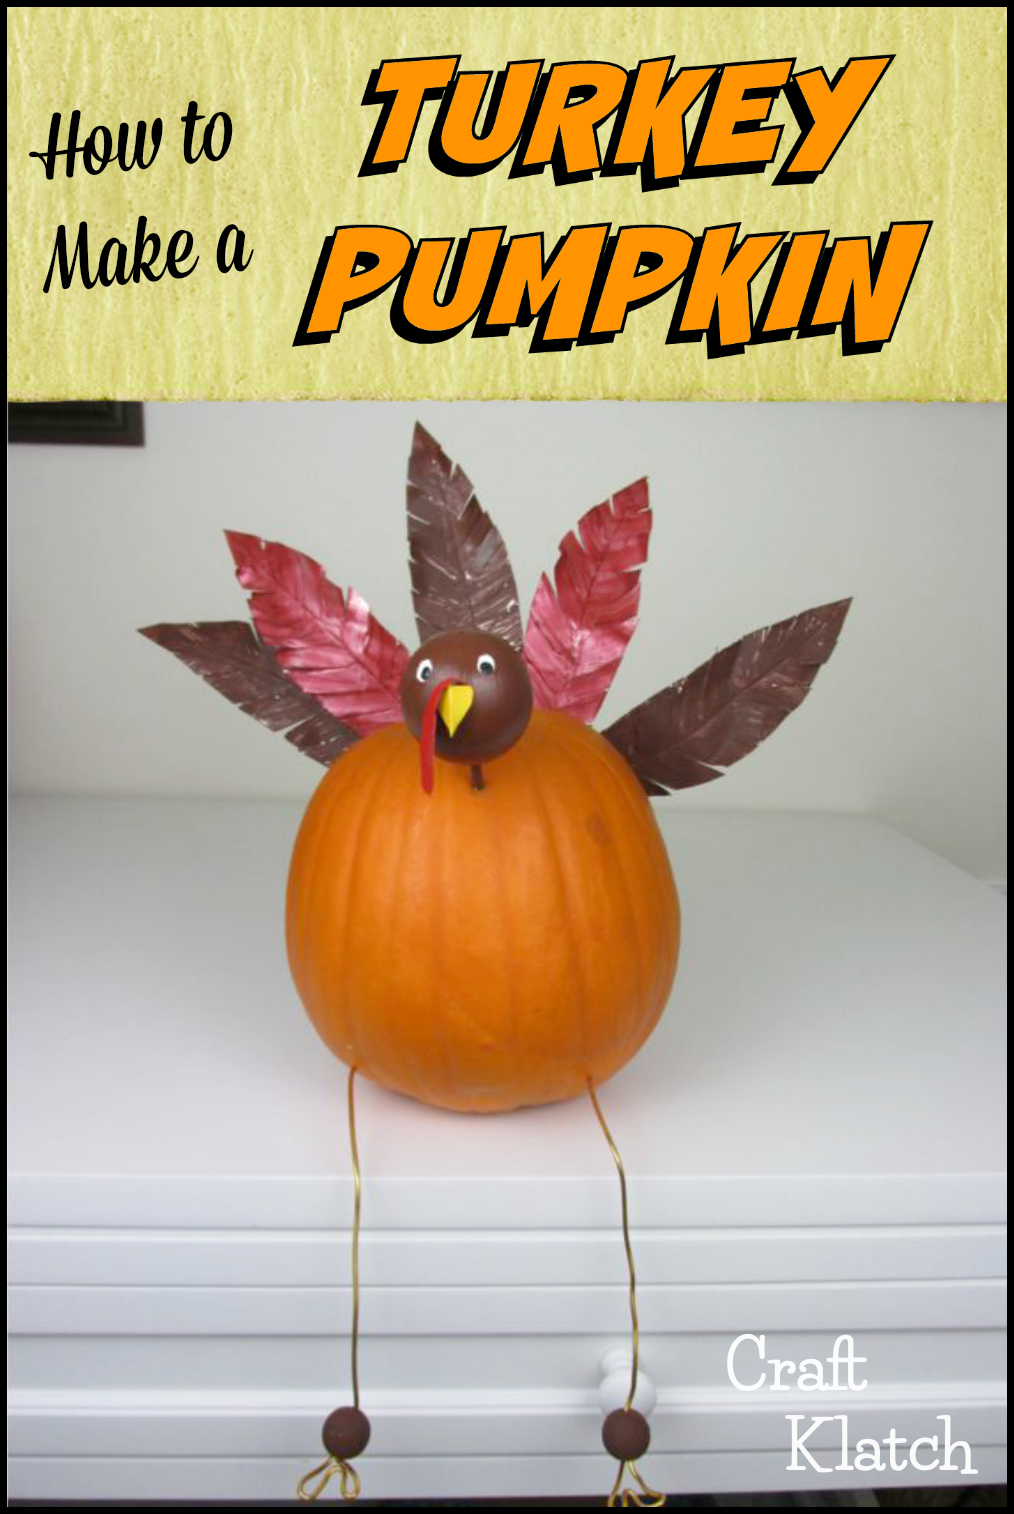
Halloween is over and Christmas is right around the corner, but let’s not forget about Thanksgiving!! Cornstalks, gourds, acorns and all sorts of natural materials are perfect for Thanksgiving! But let’s not forget about the mighty Pumpkin. It’s a perfect decoration to transition from Halloween into Thanksgiving. After all, what’s Thanksgiving dinner without pumpkin pie!?!?!
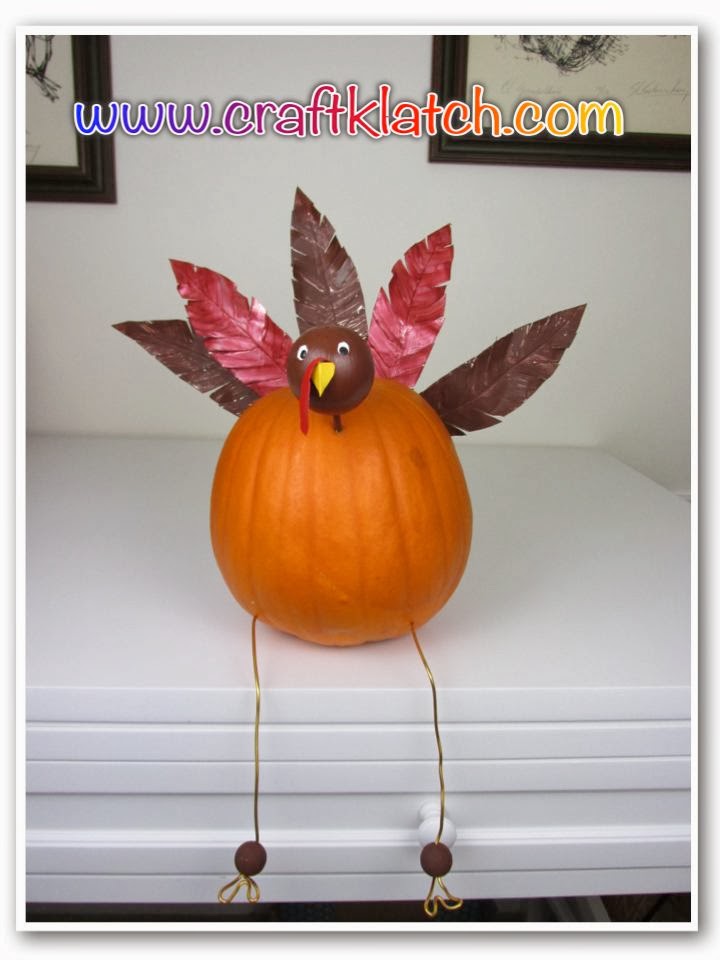
I didn’t turn my pumpkin into a pie, instead I turned him into a TURKEY!
You will need:
The links below help support this channel, as I may earn a small commission at no extra cost to you.
– Pumpkin
– Disposable cookie sheet: https://amzn.to/31QJd6R
– Metal primer: https://amzn.to/2ZimiDP
– Acrylic paint (black, brown, maroon, red and yellow, white): https://amzn.to/2HfvazP
– Wire: https://amzn.to/2ZfPtn5
– Unfinished wood doll head: best deal at craft store
– Skewer stick: https://amzn.to/2KGxLF6
– Two small unfinished wood beads: https://amzn.to/2z99wsH
– Hot glue: https://amzn.to/2Z5o1No
Directions:
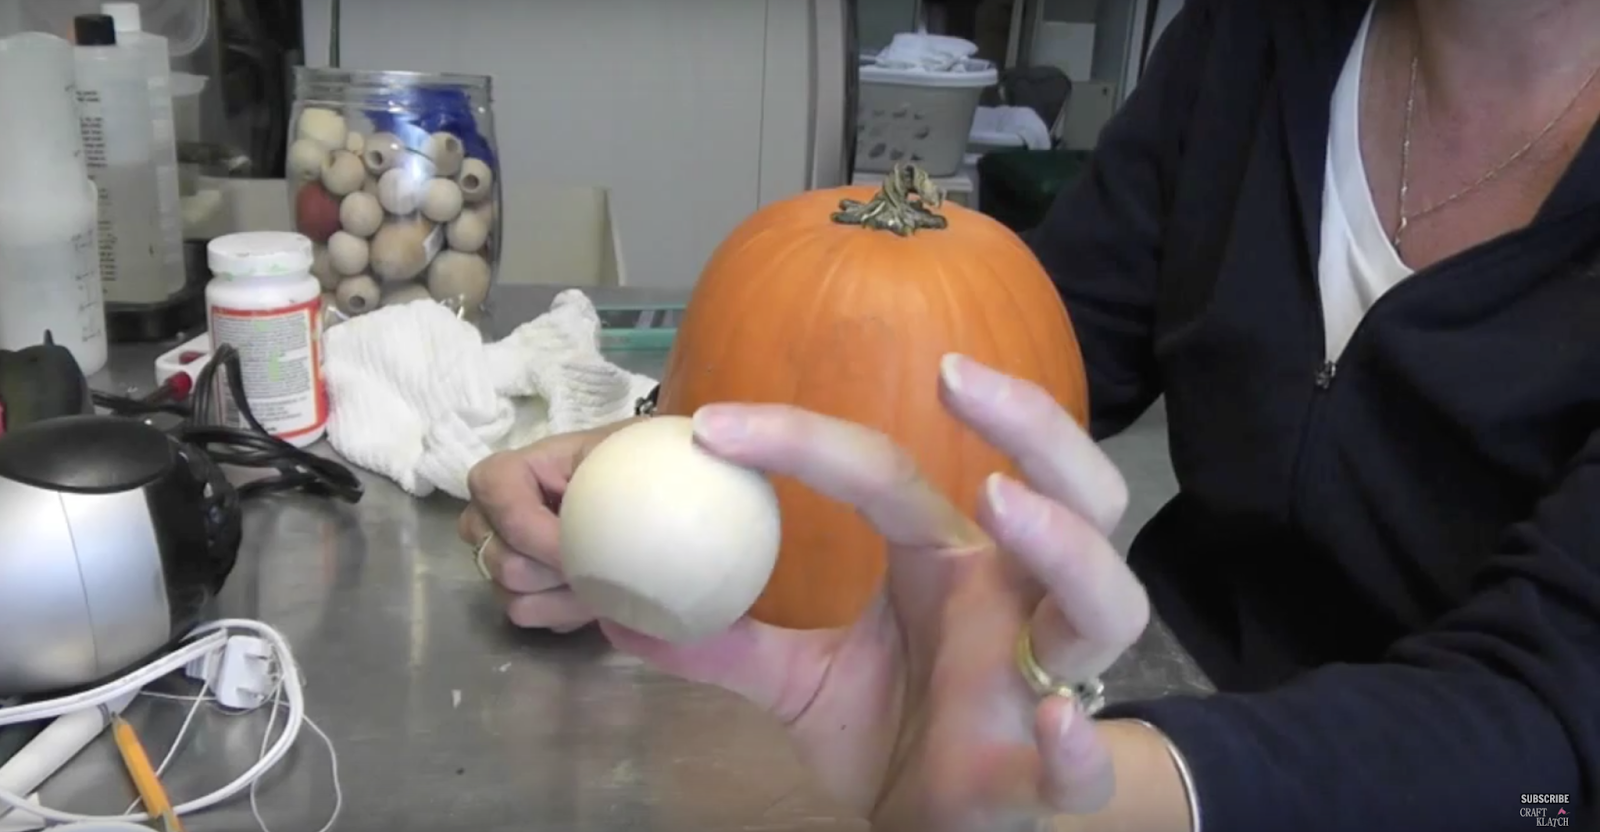
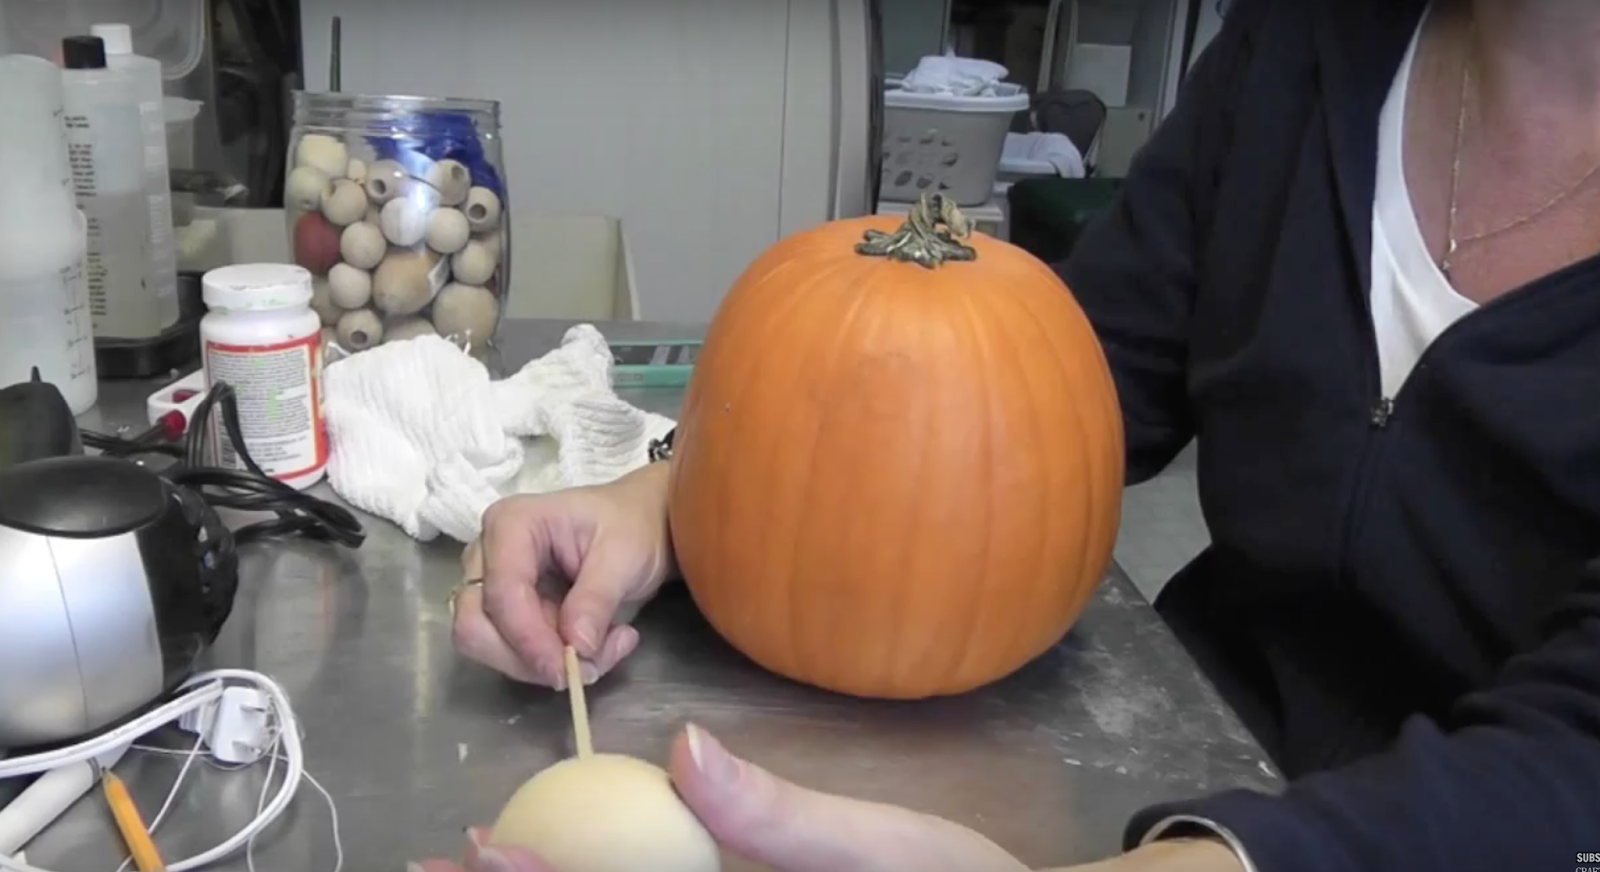
1. Take the wooded doll head and the skewer stick and glue it together. When dry, paint it brown. Paint the two smaller wood beads brown as well.
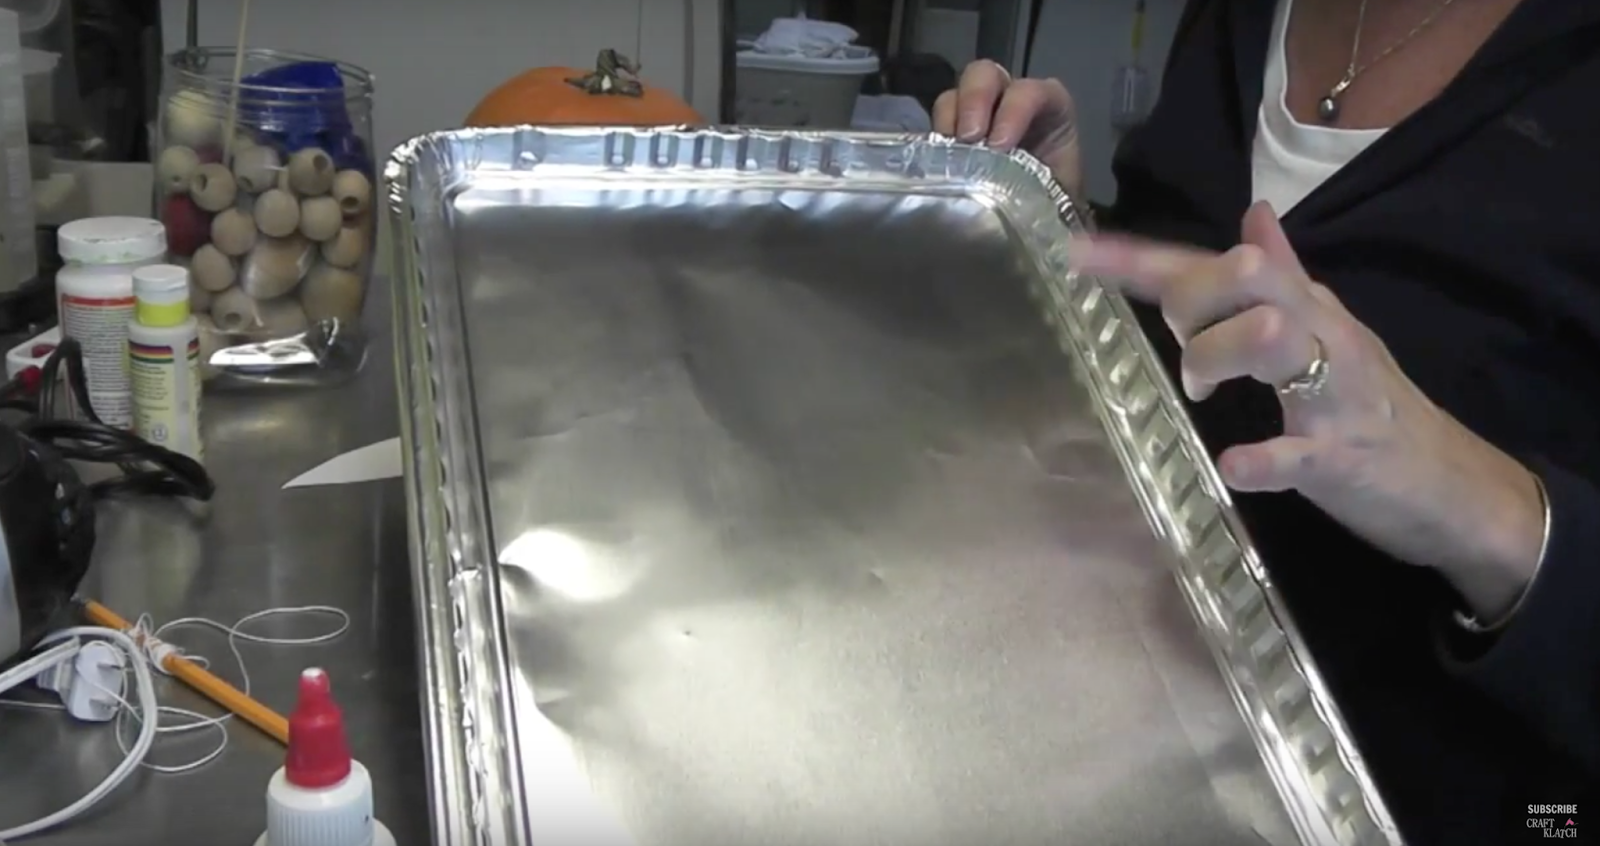
2. Taking the disposable baking sheet, draw five feathers and cut out.
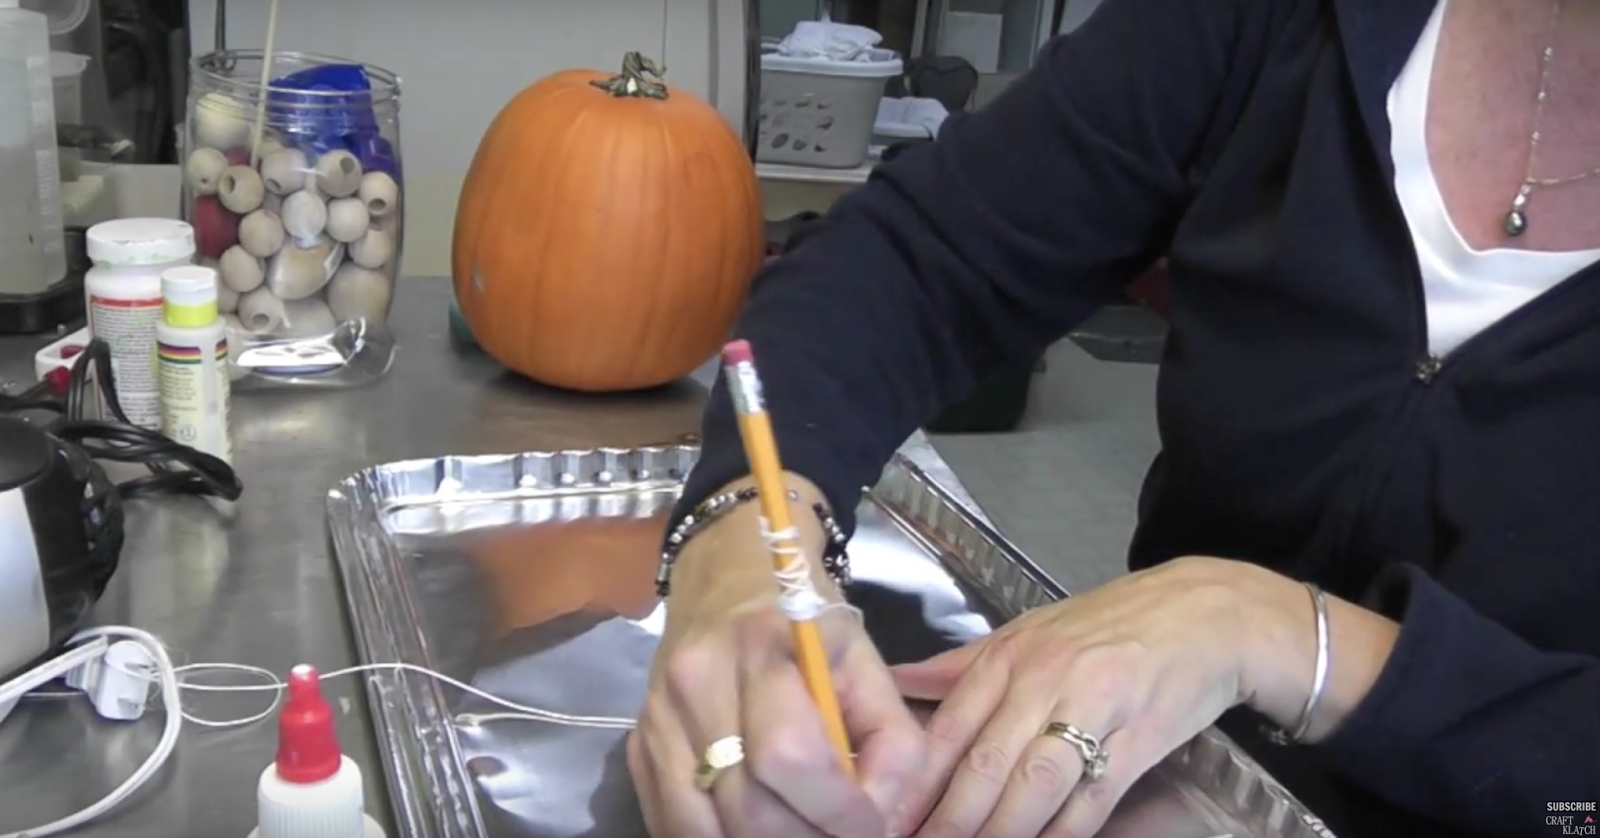
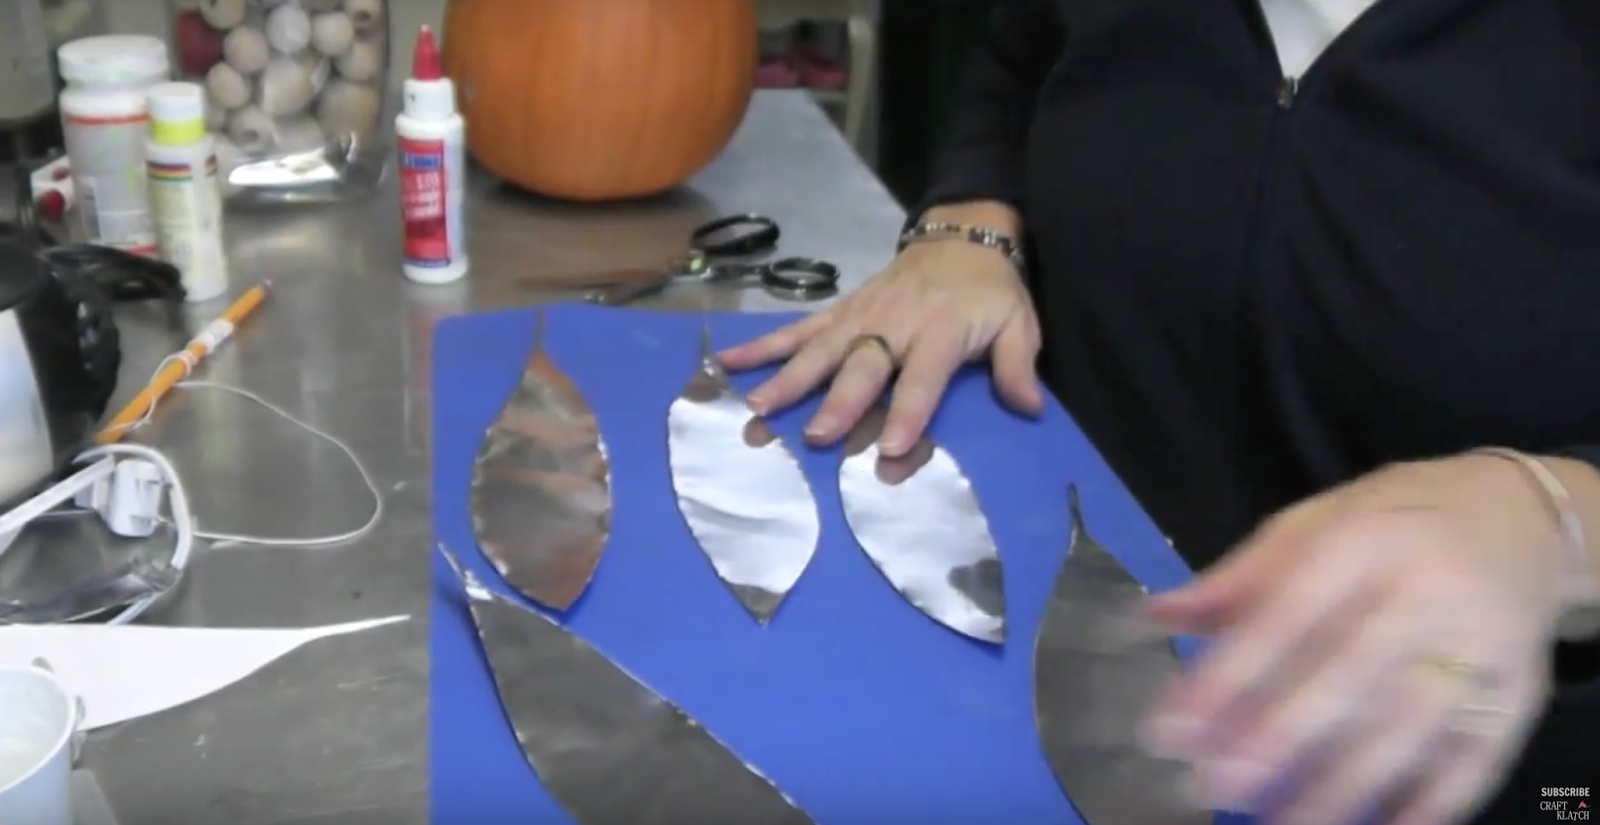
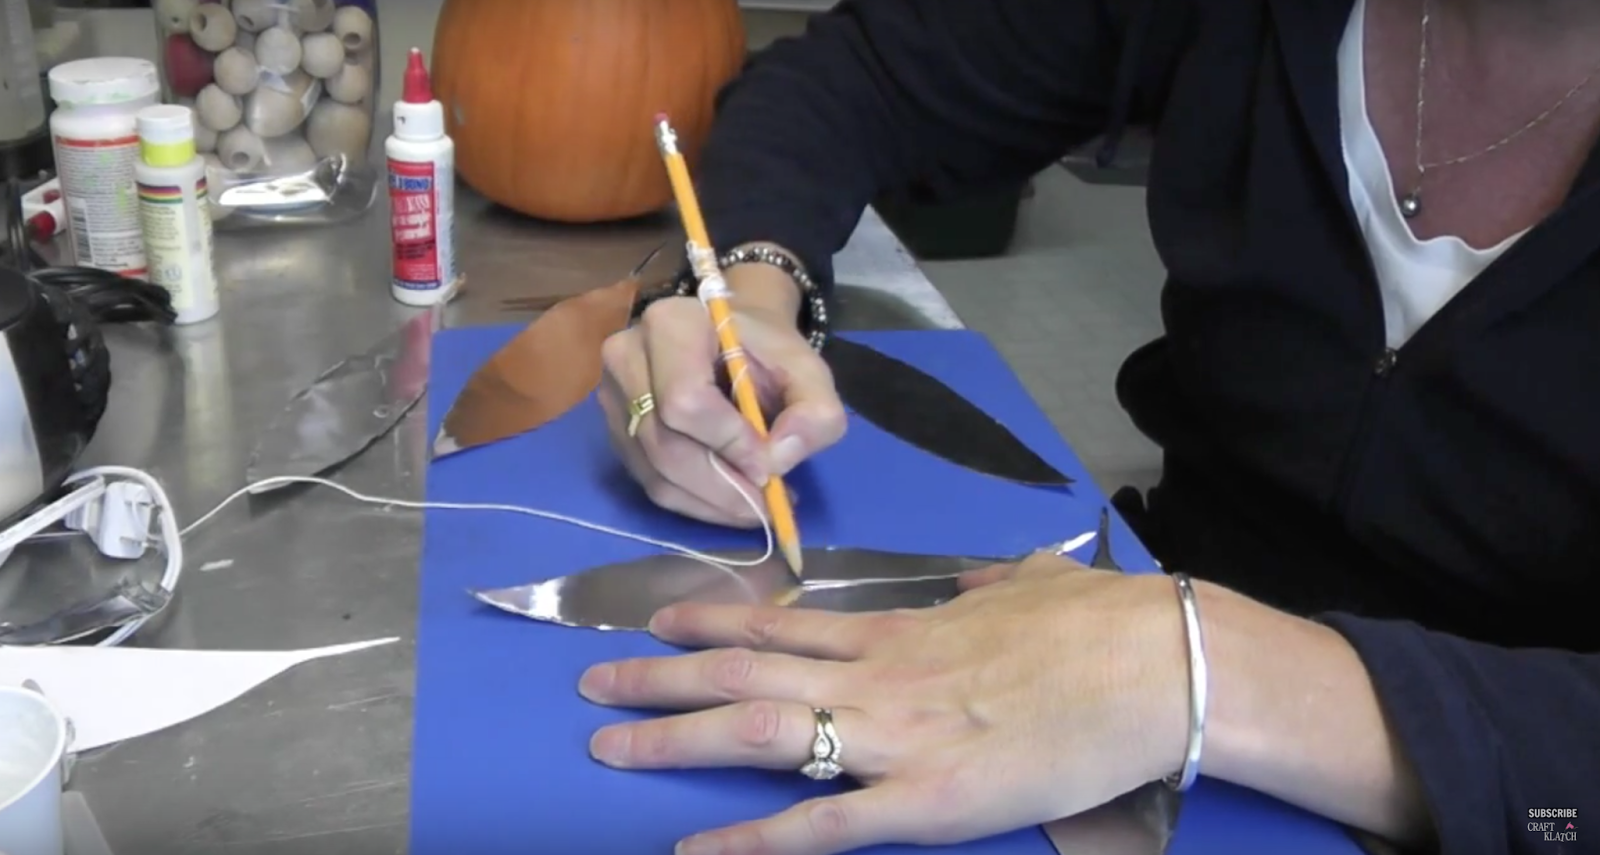
3. Using a pencil or pen, draw the vein and feathery parts onto the feathers. Cut slits to make them look more feathery.
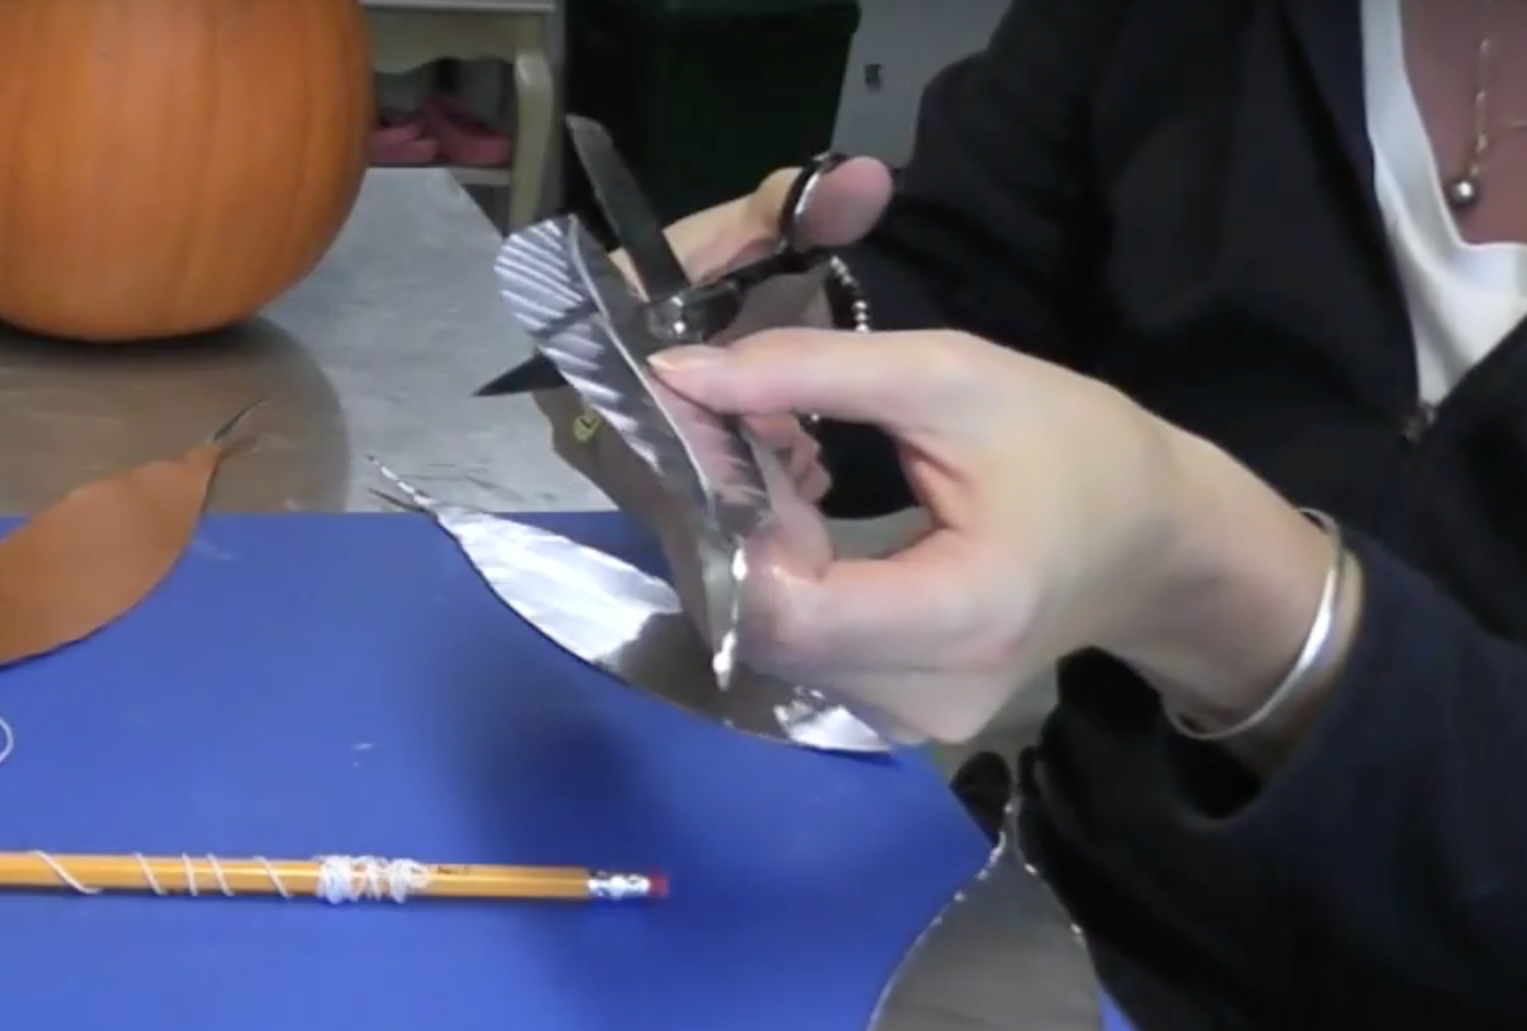
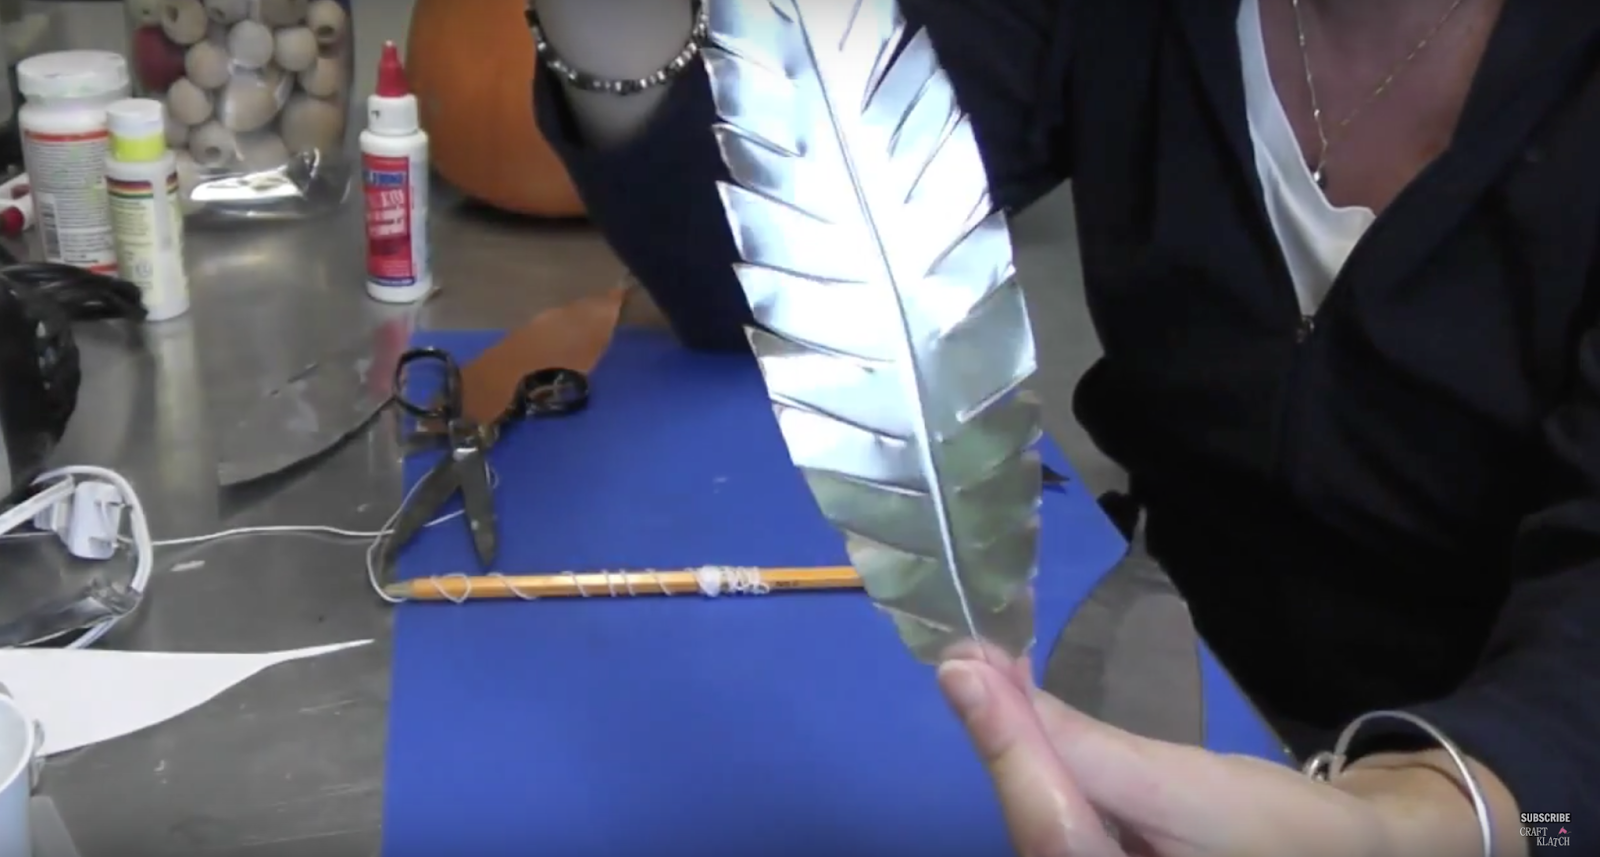
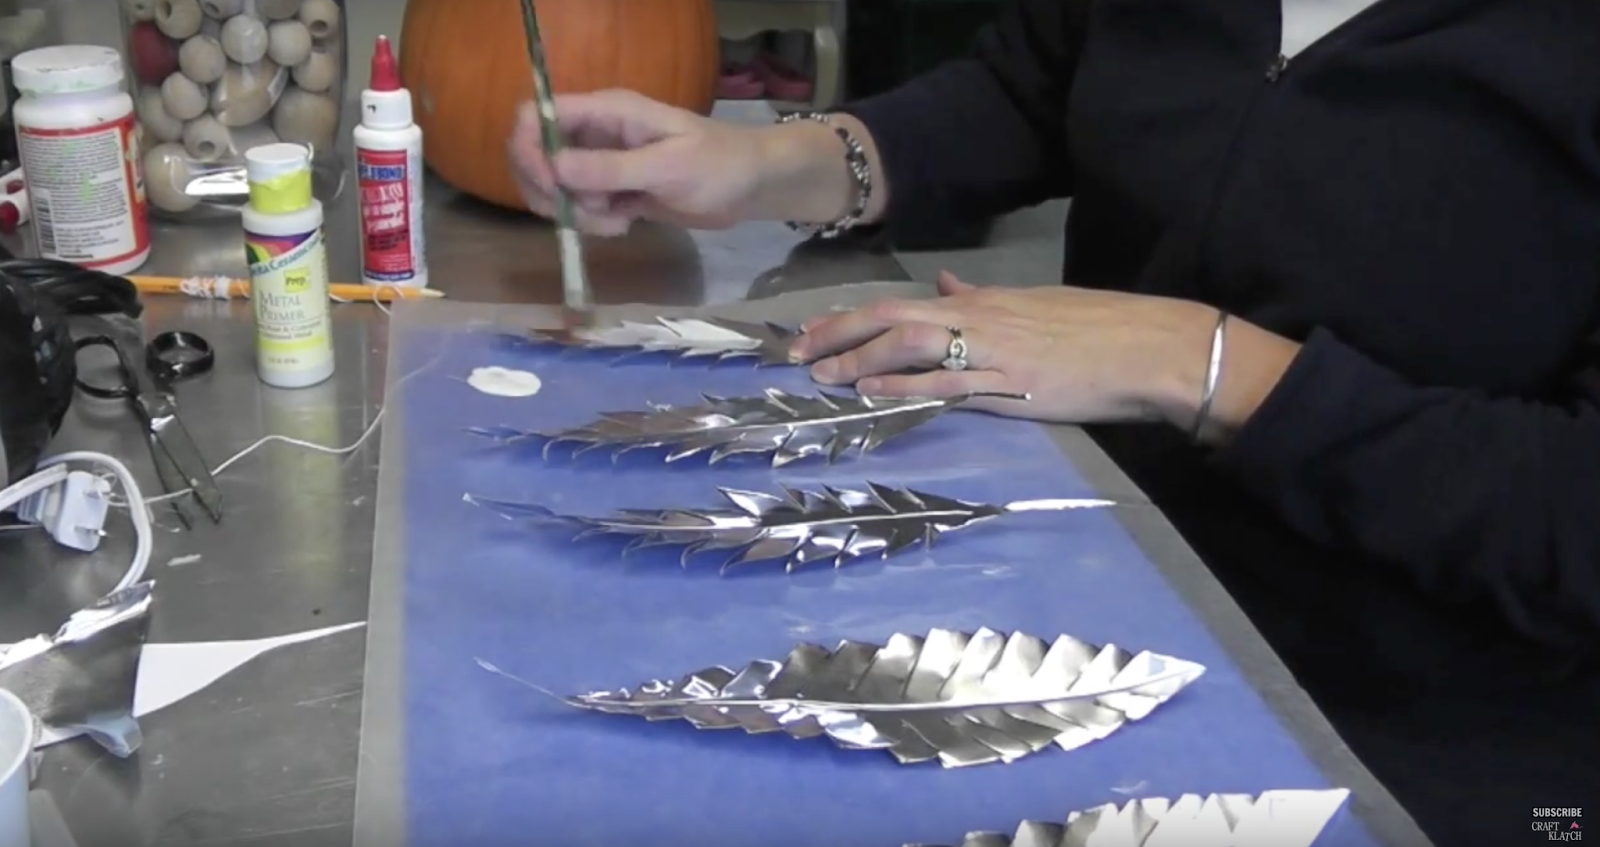
4. Using the metal primer, paint on the front and back and allow to dry.
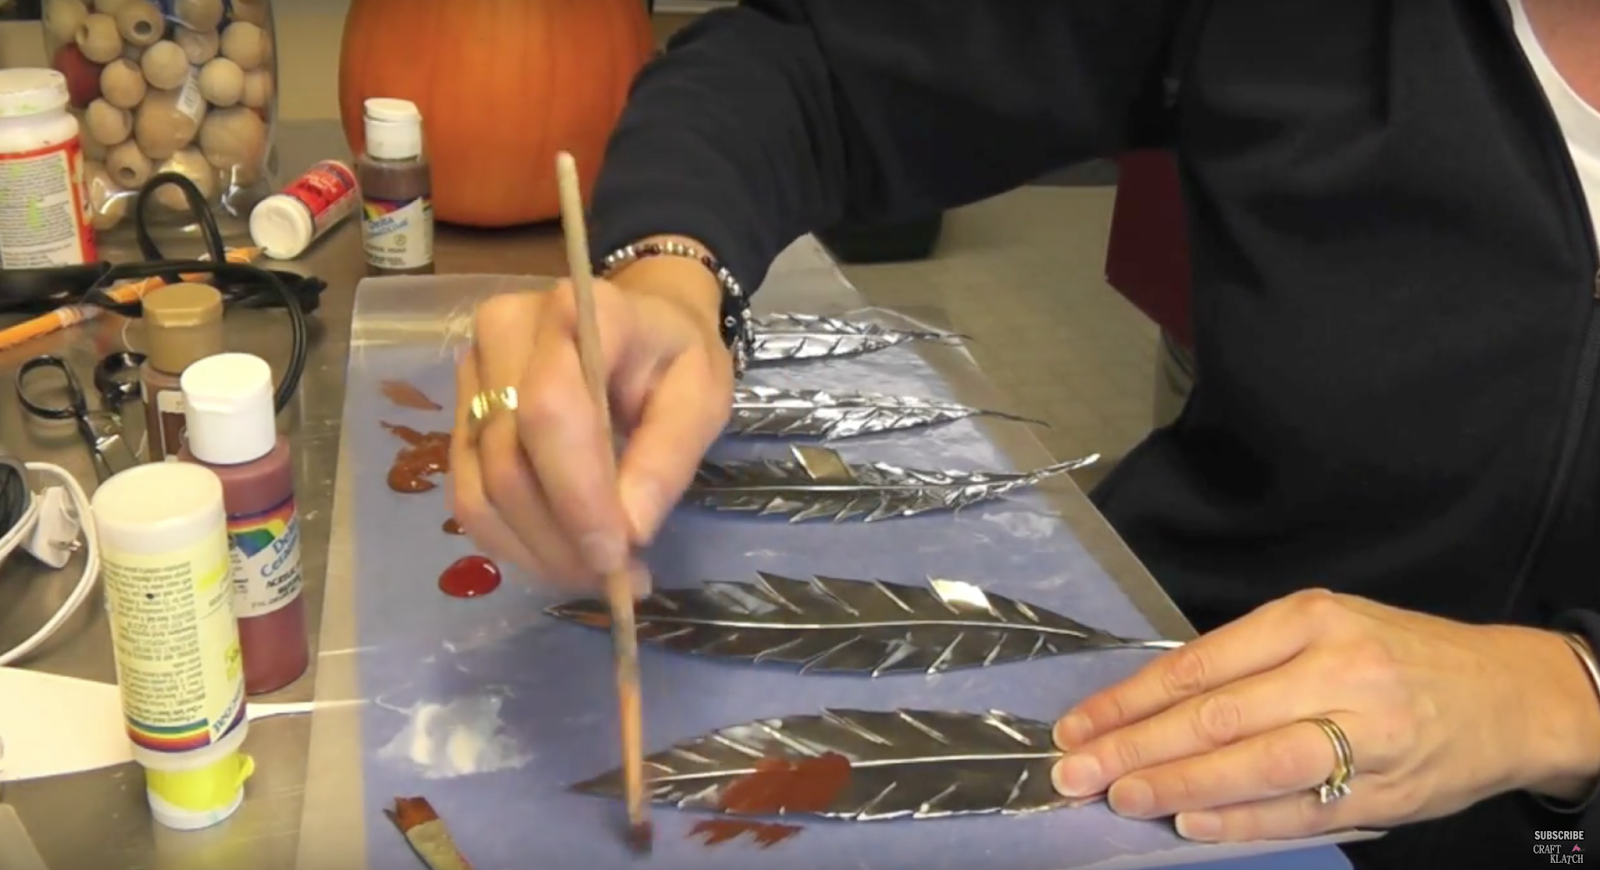
5. Using brown acrylic paint and maroon acrylic paint, paint the feathers – front and back. Allow to dry.
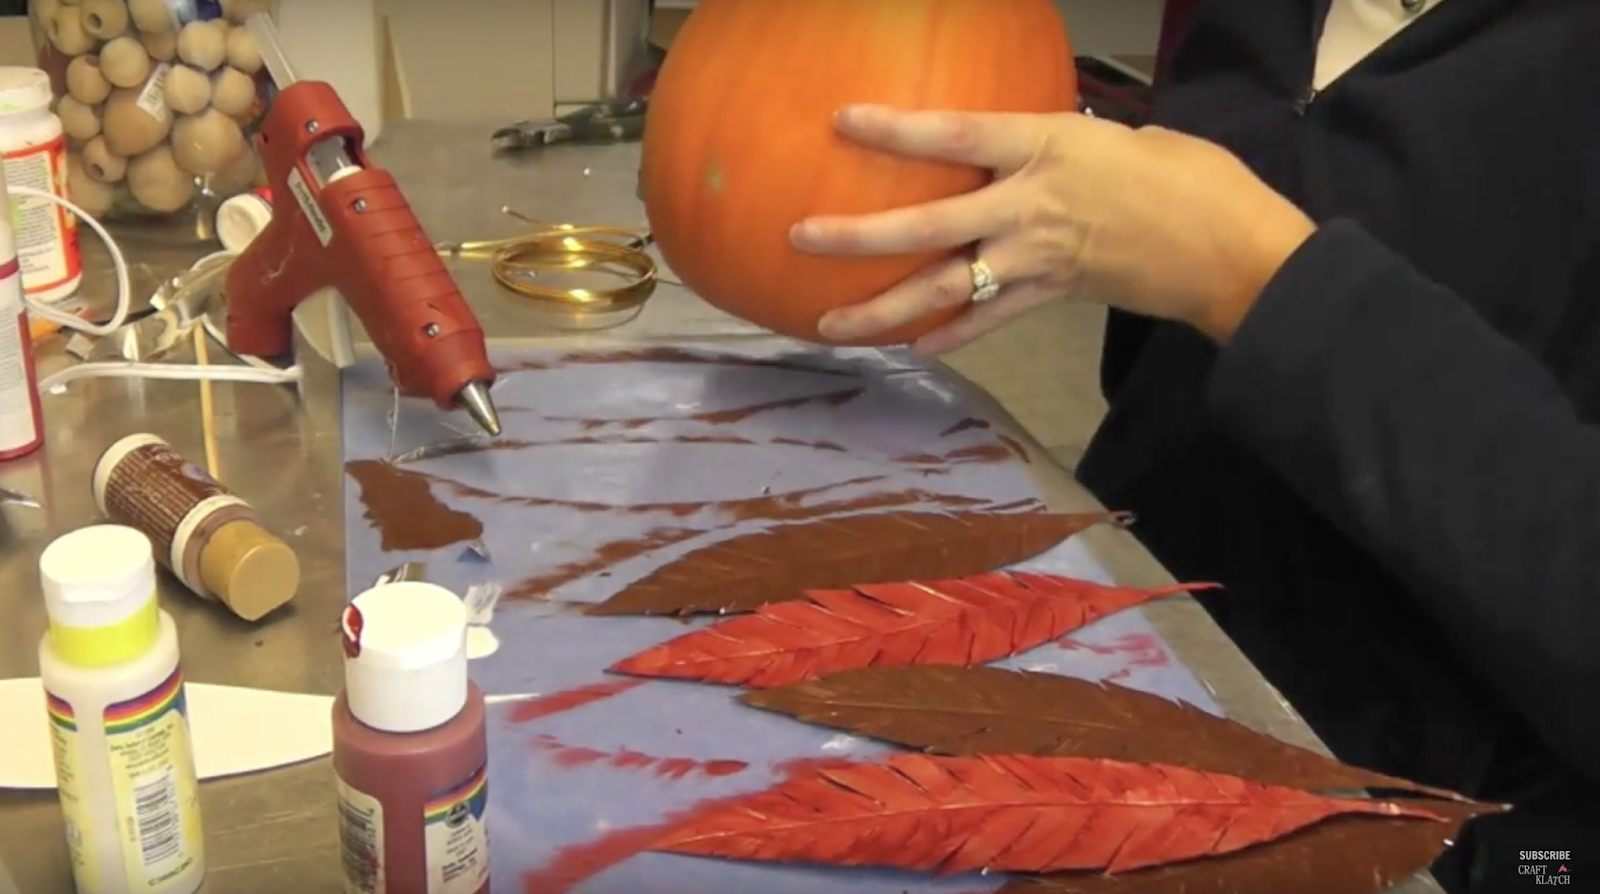
6. When dry, glue them onto the back of the pumpkin, either one by one, or as a bunch.
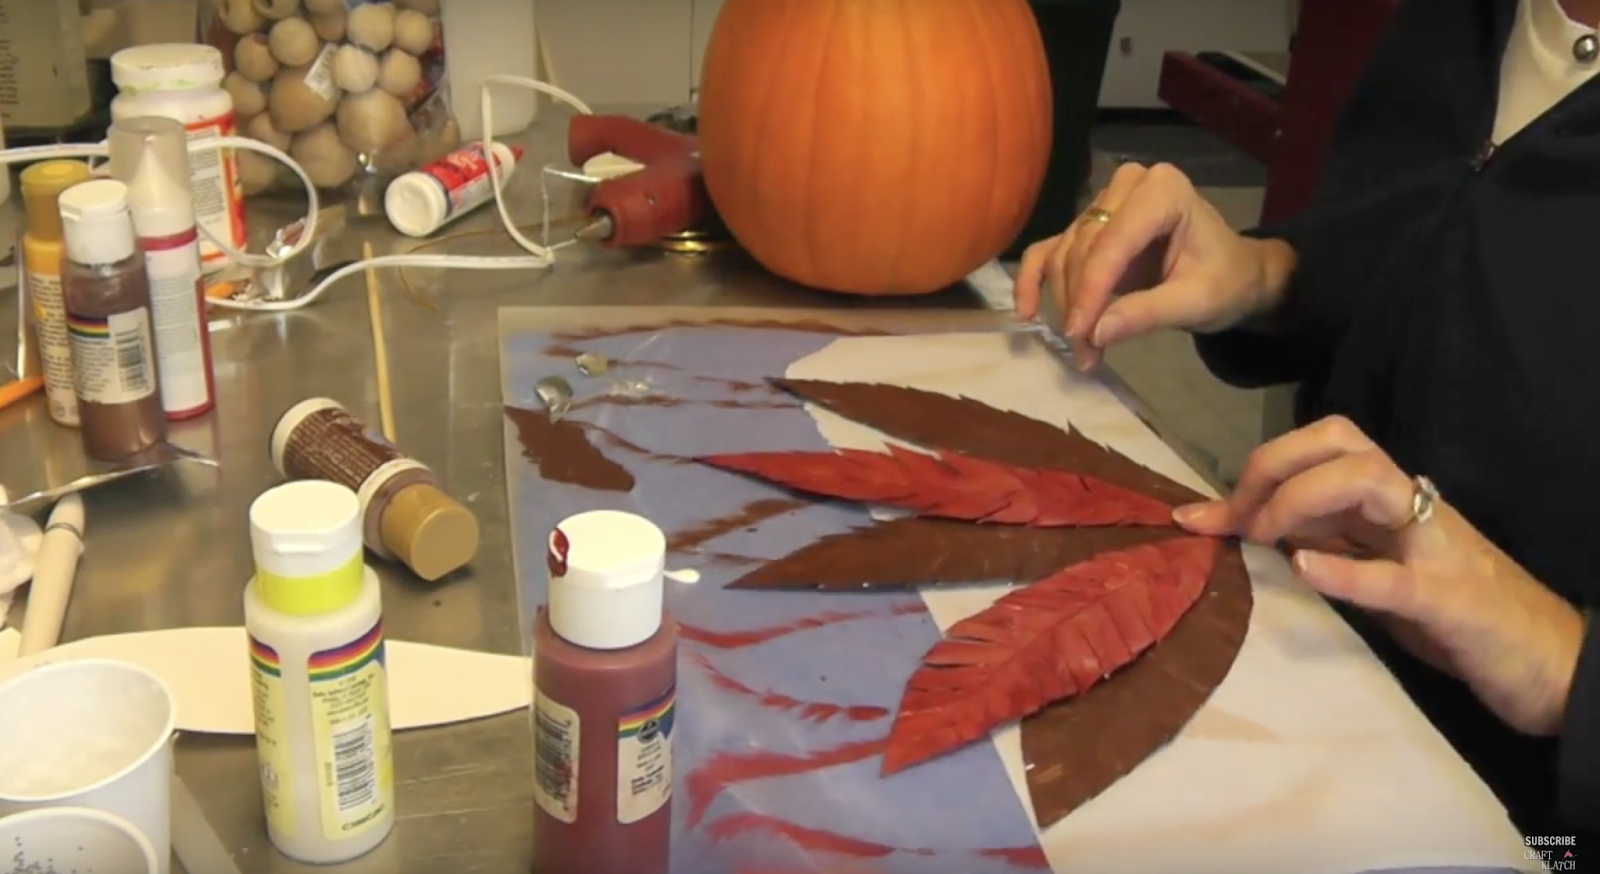
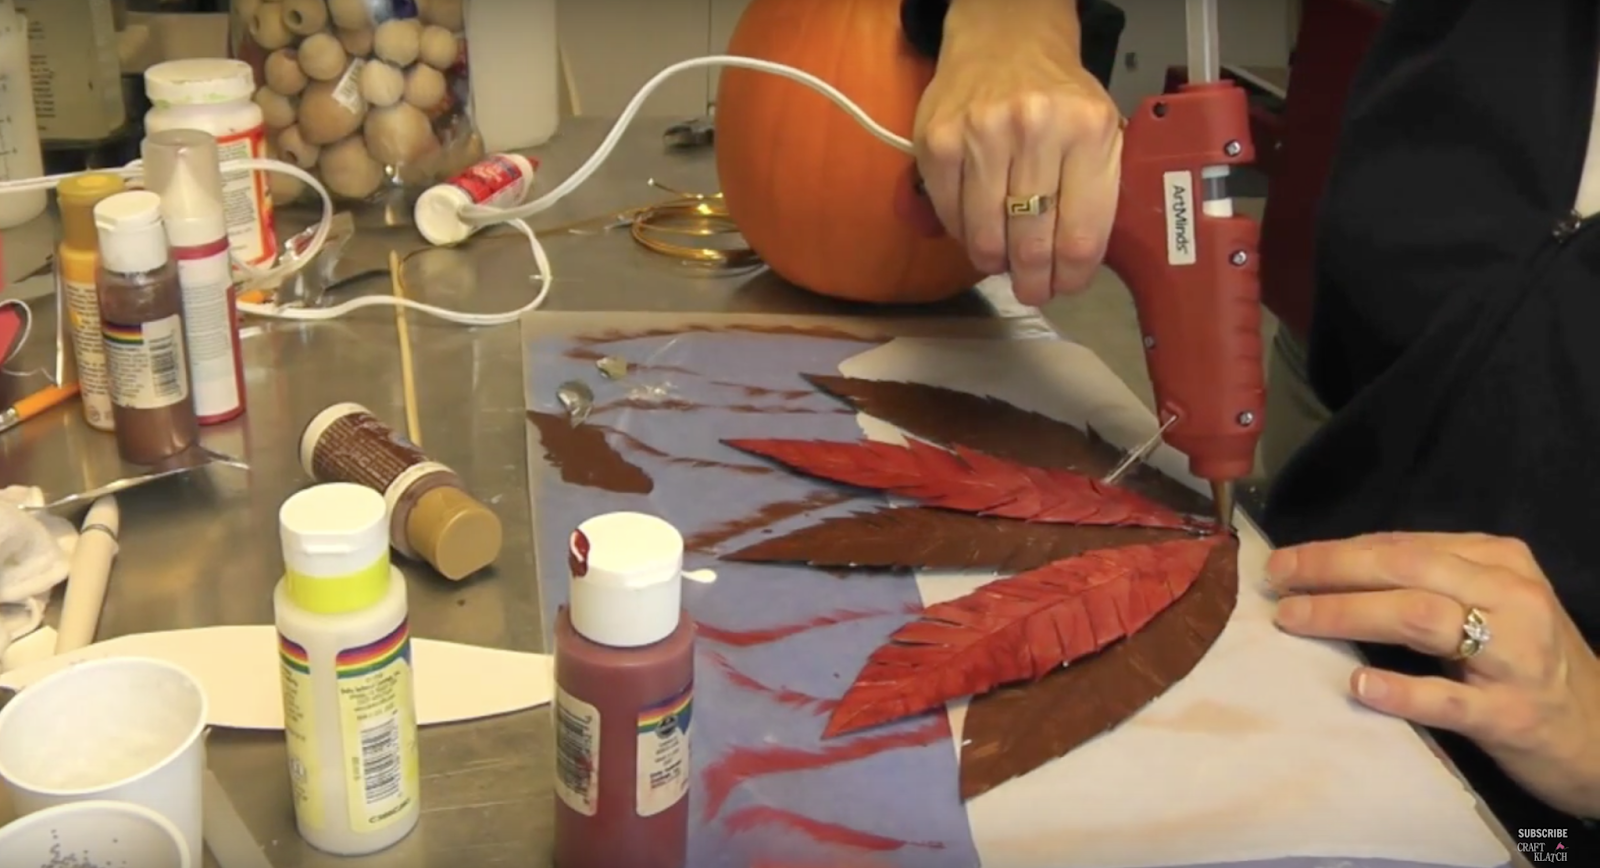
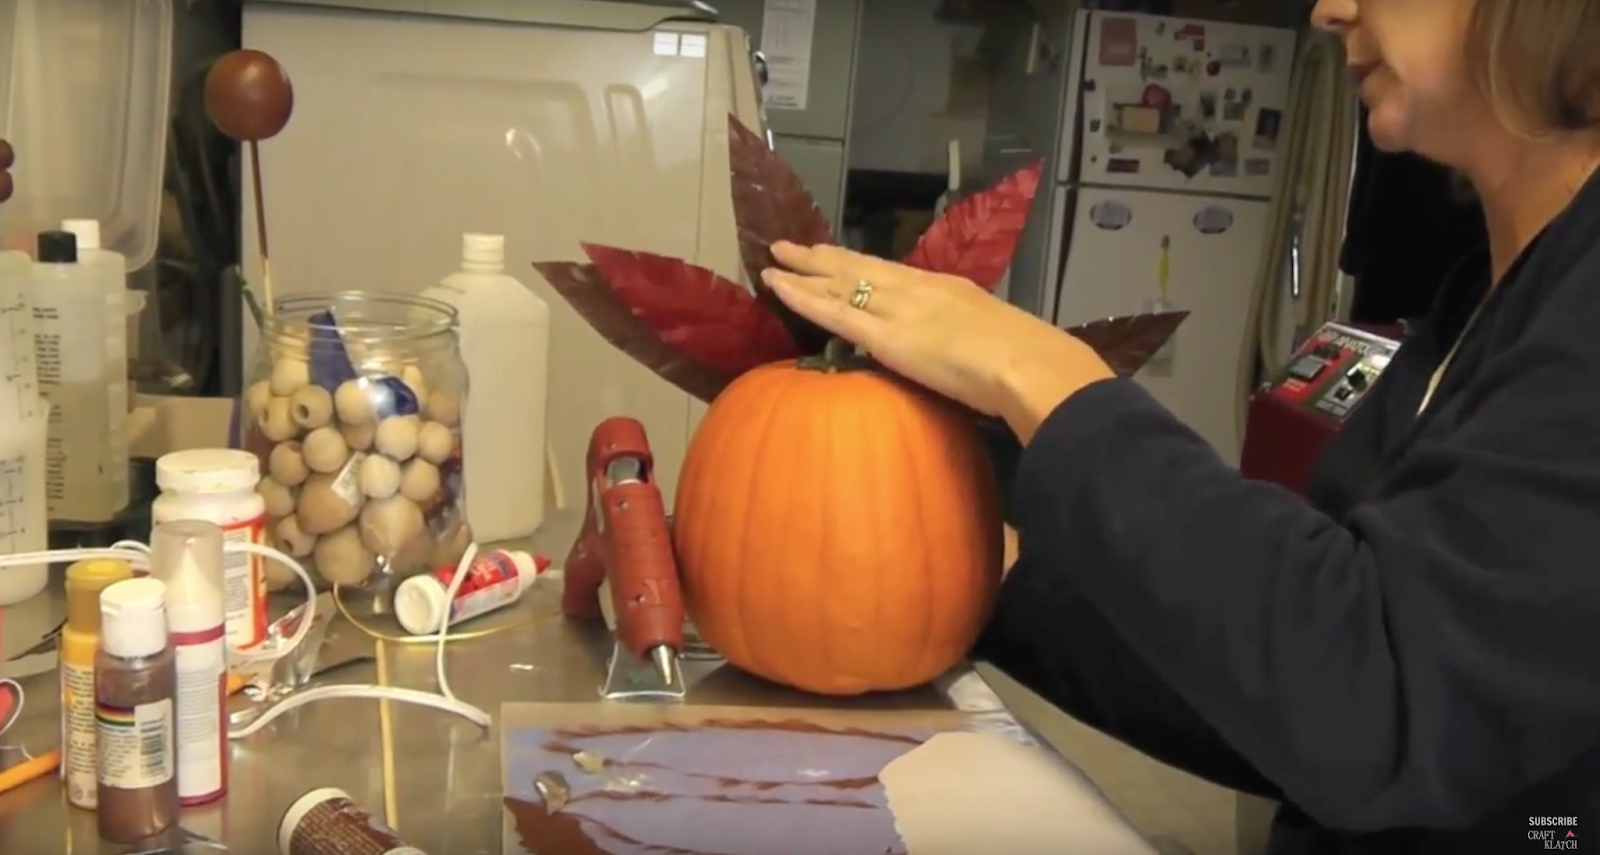
7. Poke the head/skewer into the pumpkin.
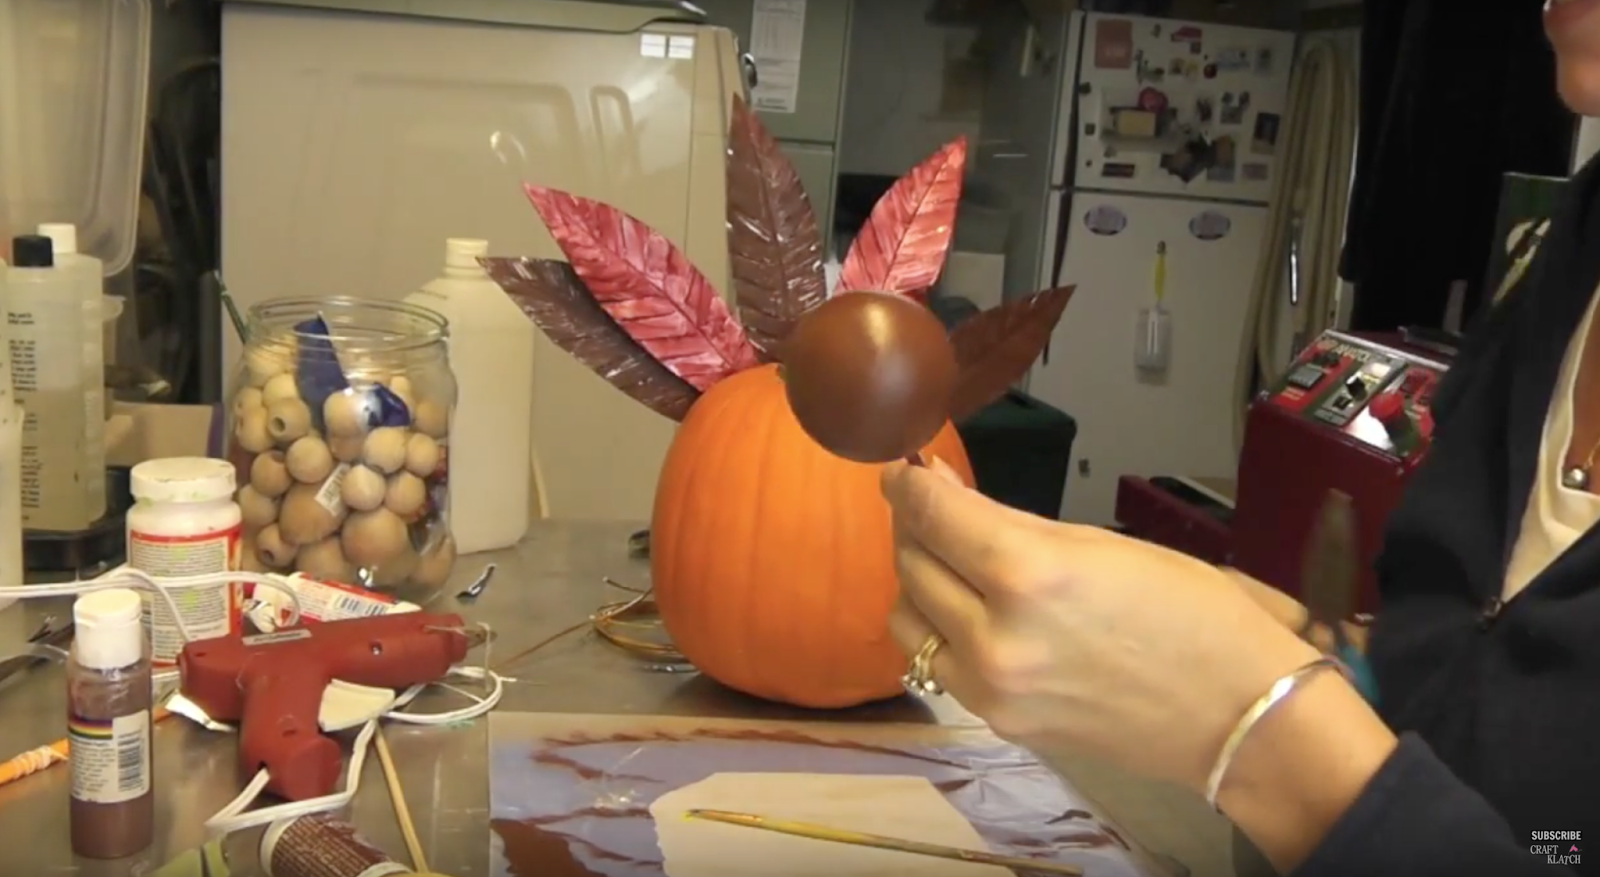
8. Taking the end of a paint brush, dip into white paint and dot on the head for eyes. When dry, repeat with black paint, on the end of a smaller paint brush.
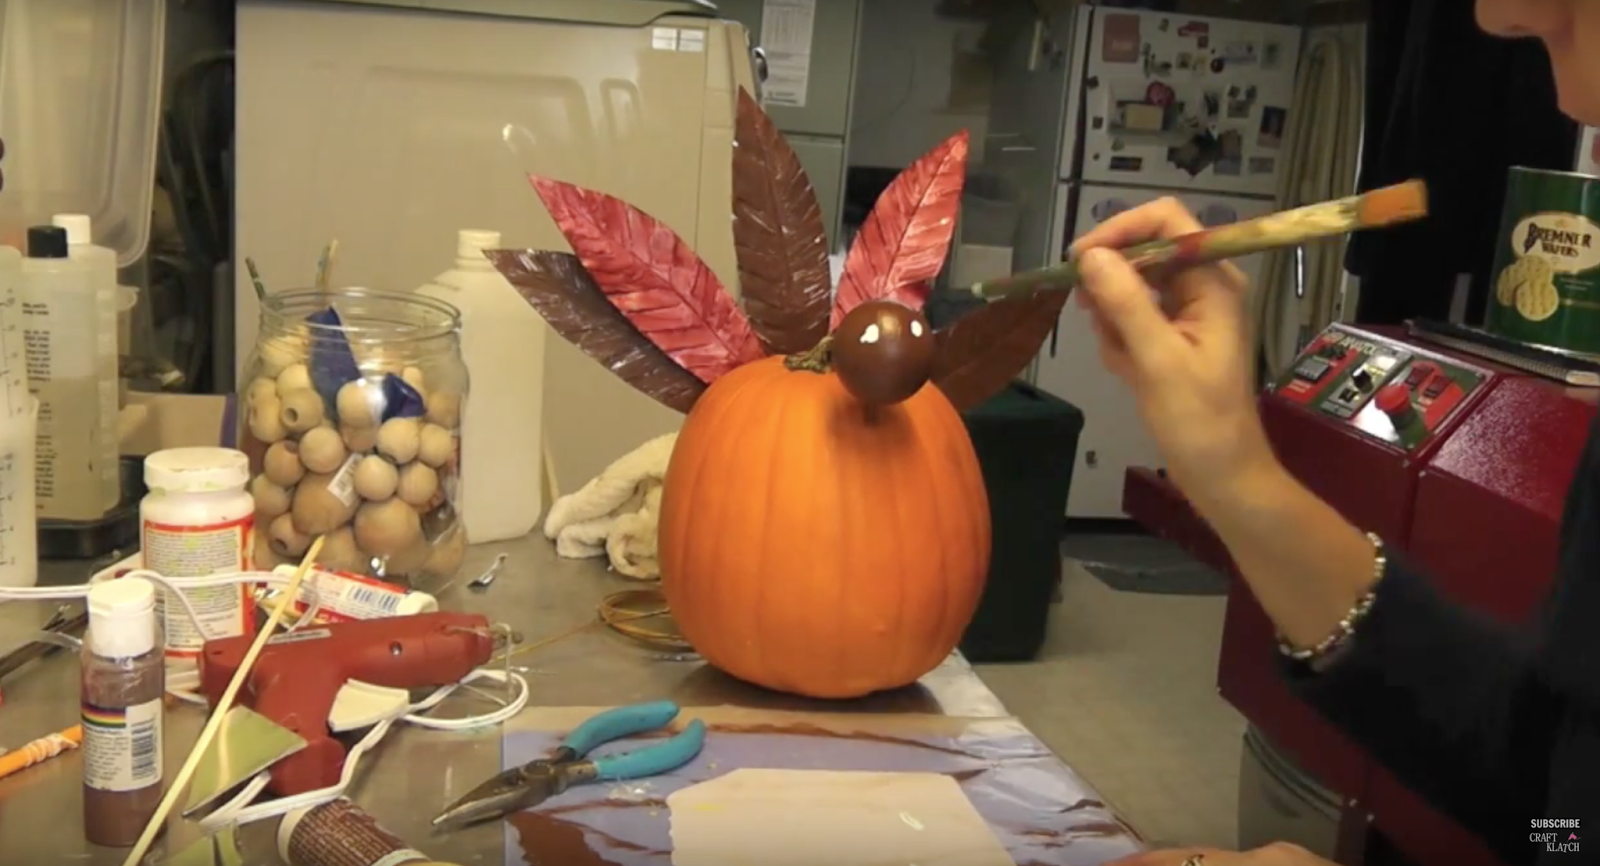
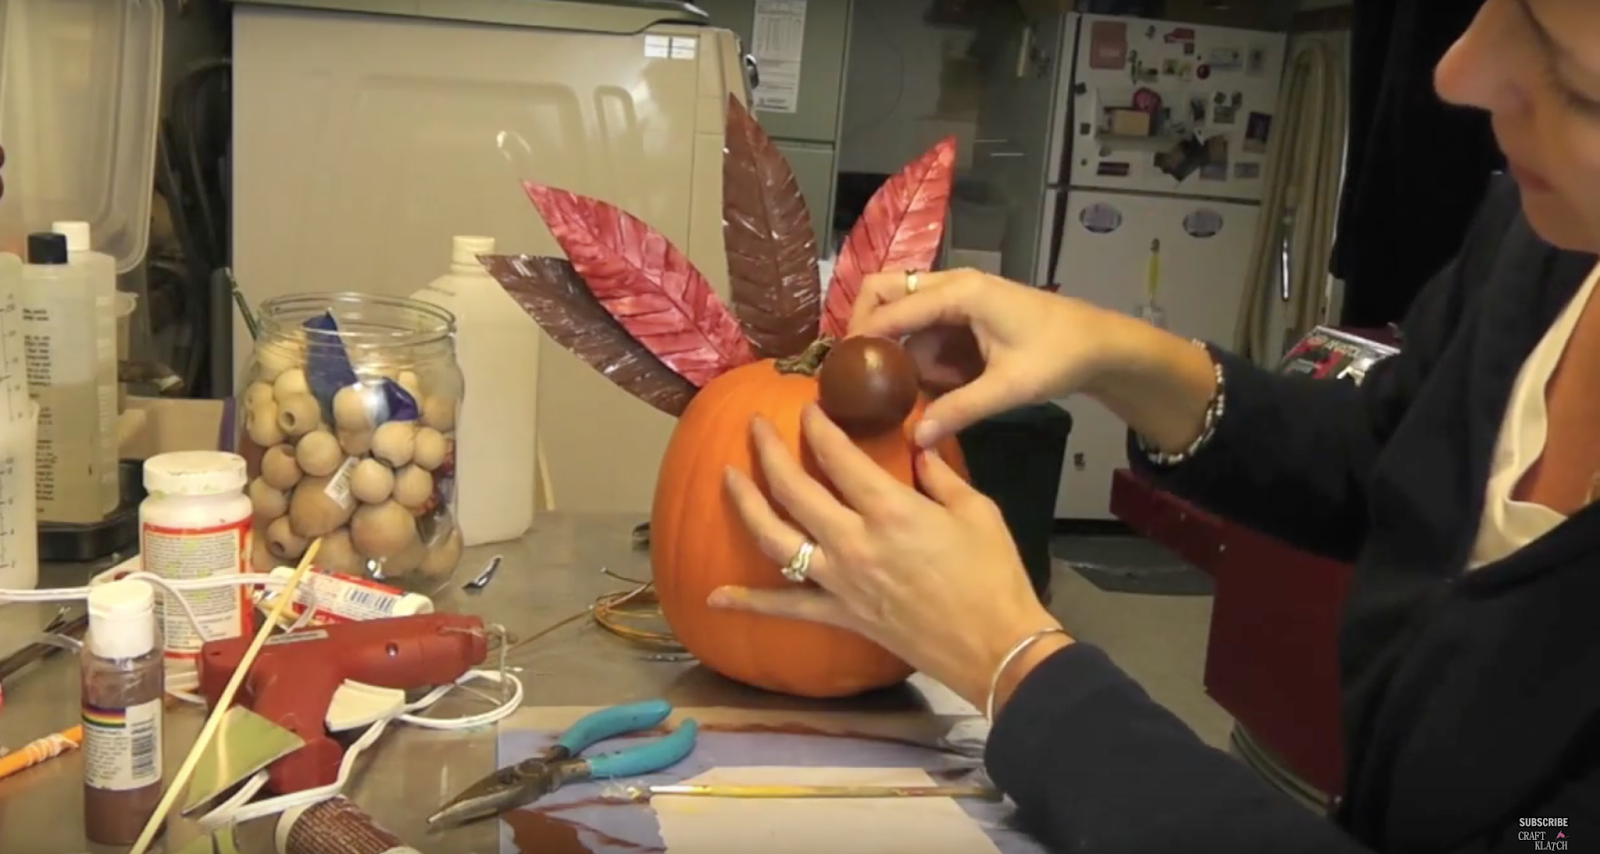
9. Out of the scrap metal, cut out a waddle and beak. Paint them with the metal primer as well. When dry paint the beak yellow and the waddle red. When dry, glue them onto the face.
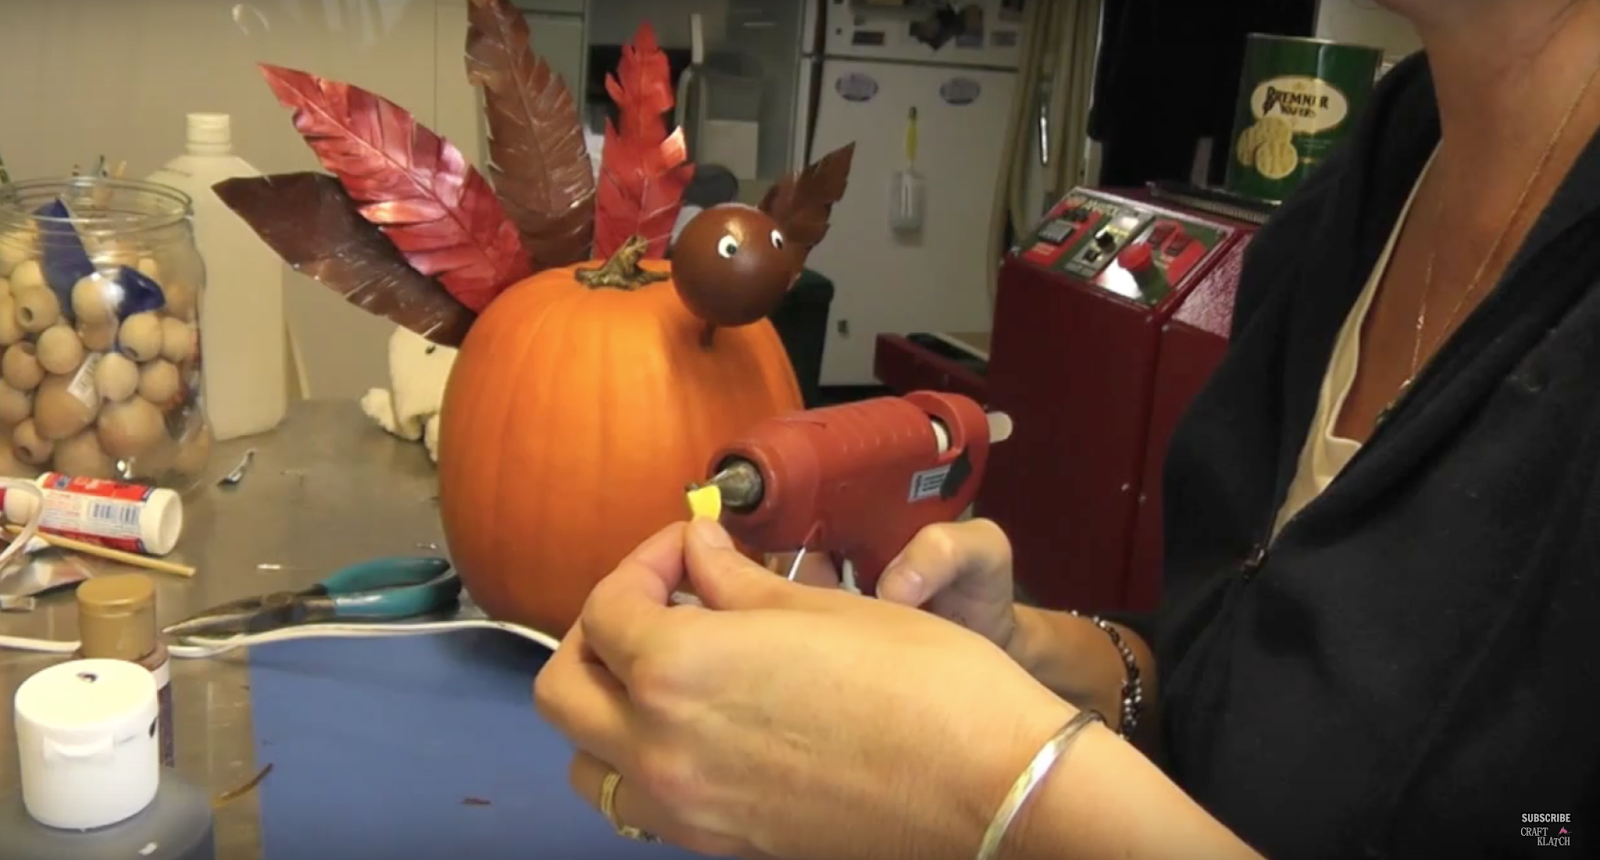
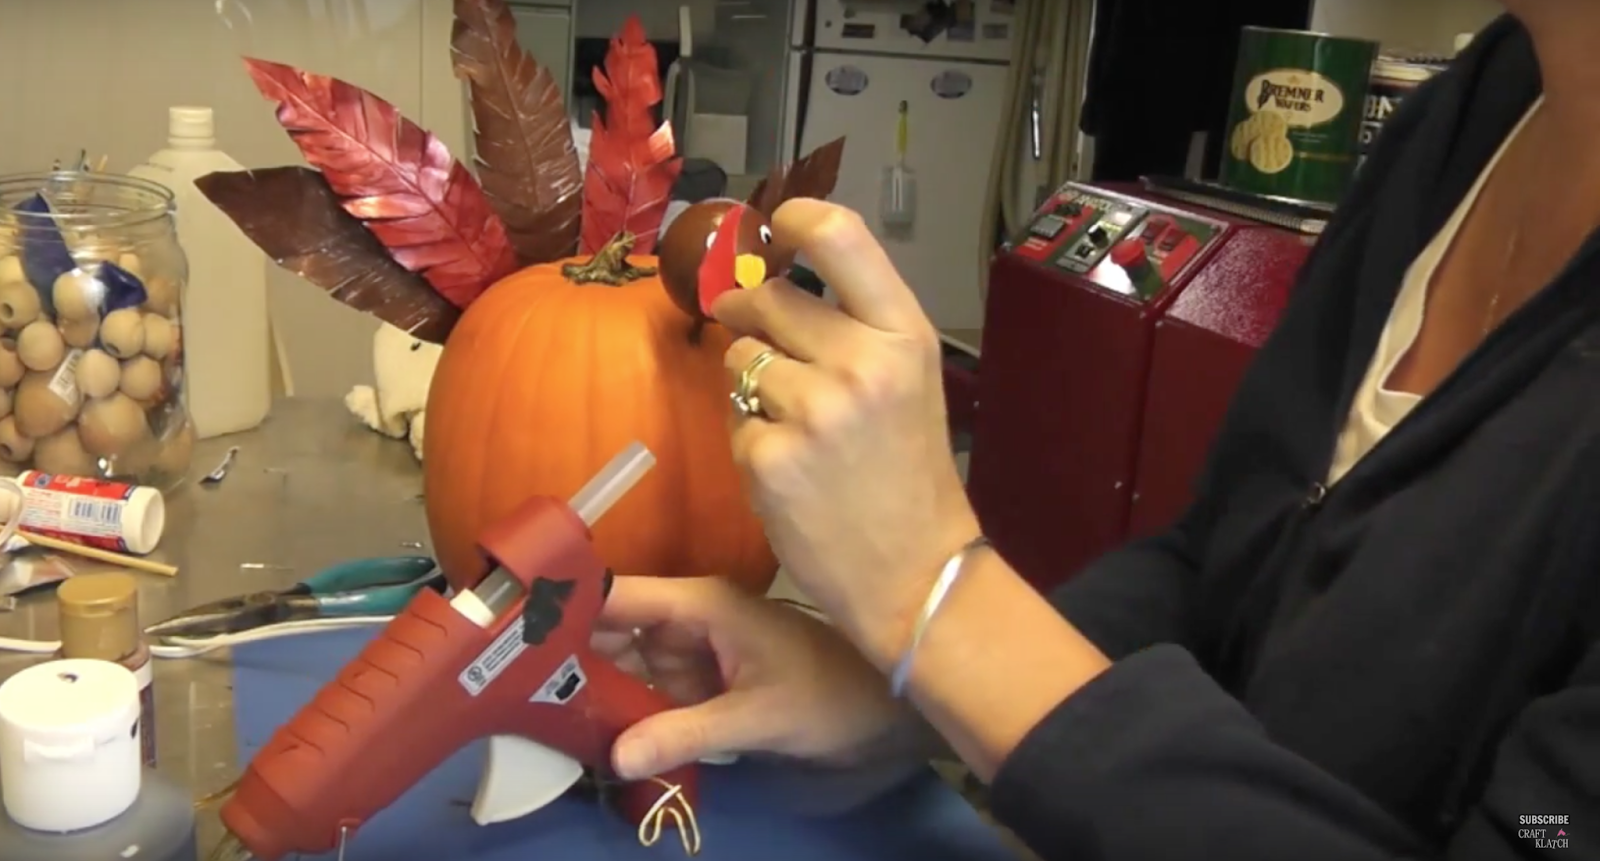
11. Taking the wire, cut a length off – taking into consideration that part will be stuck into the pumpkin and part will be bent for the feet. Take one end and bend it into two toes. Take the smaller beads and feed them onto each leg. Stick the legs into the pumpkin.
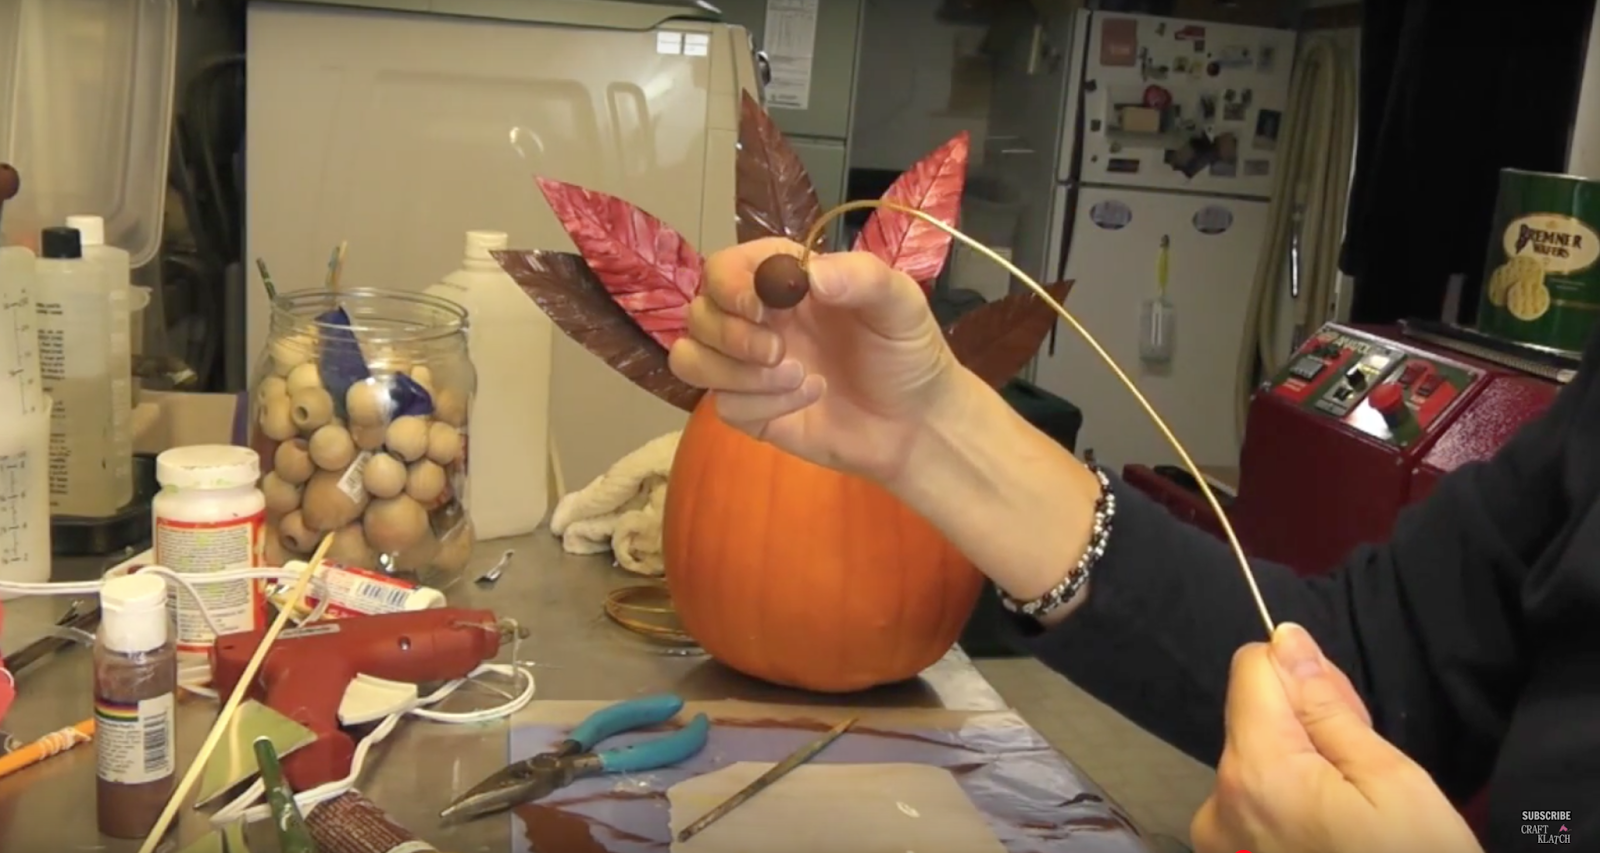
12. I also did small dots of maroon on the head of the turkey and the small beads, but that is optional.
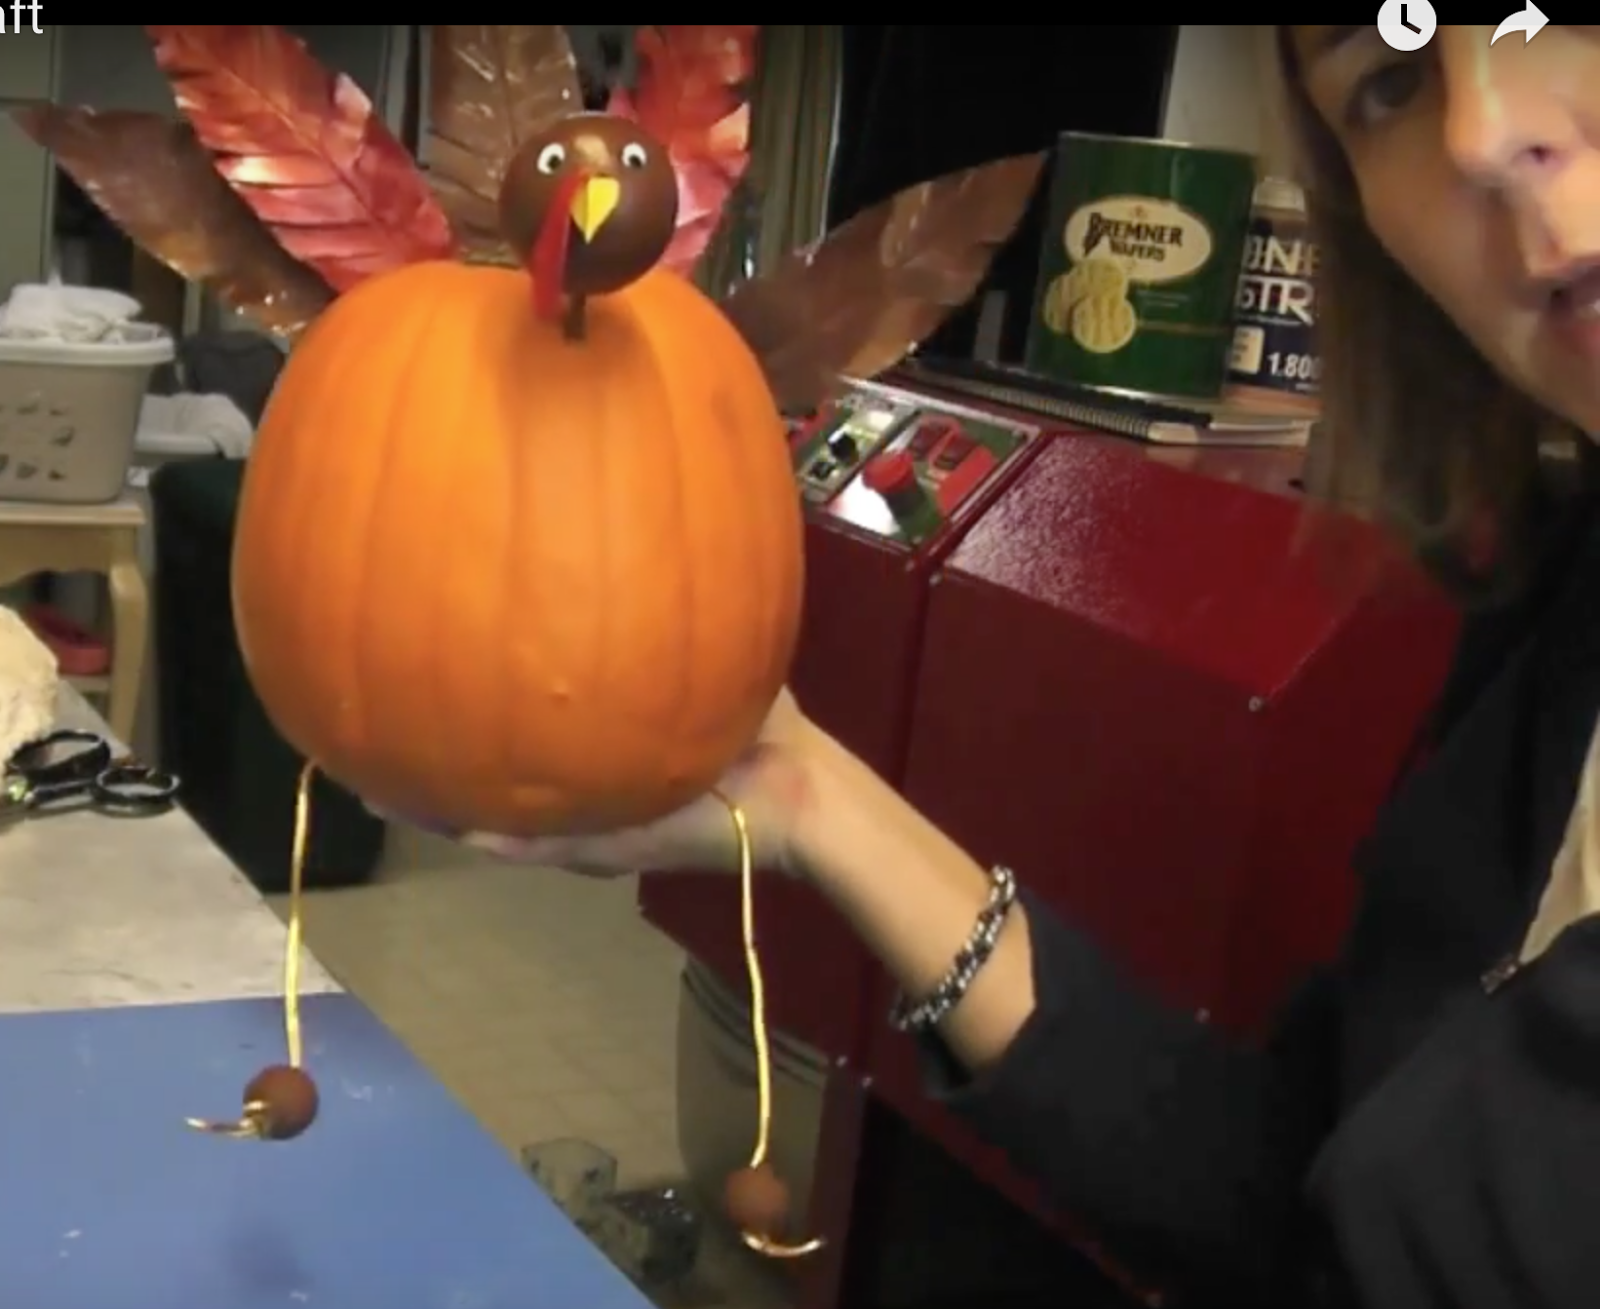
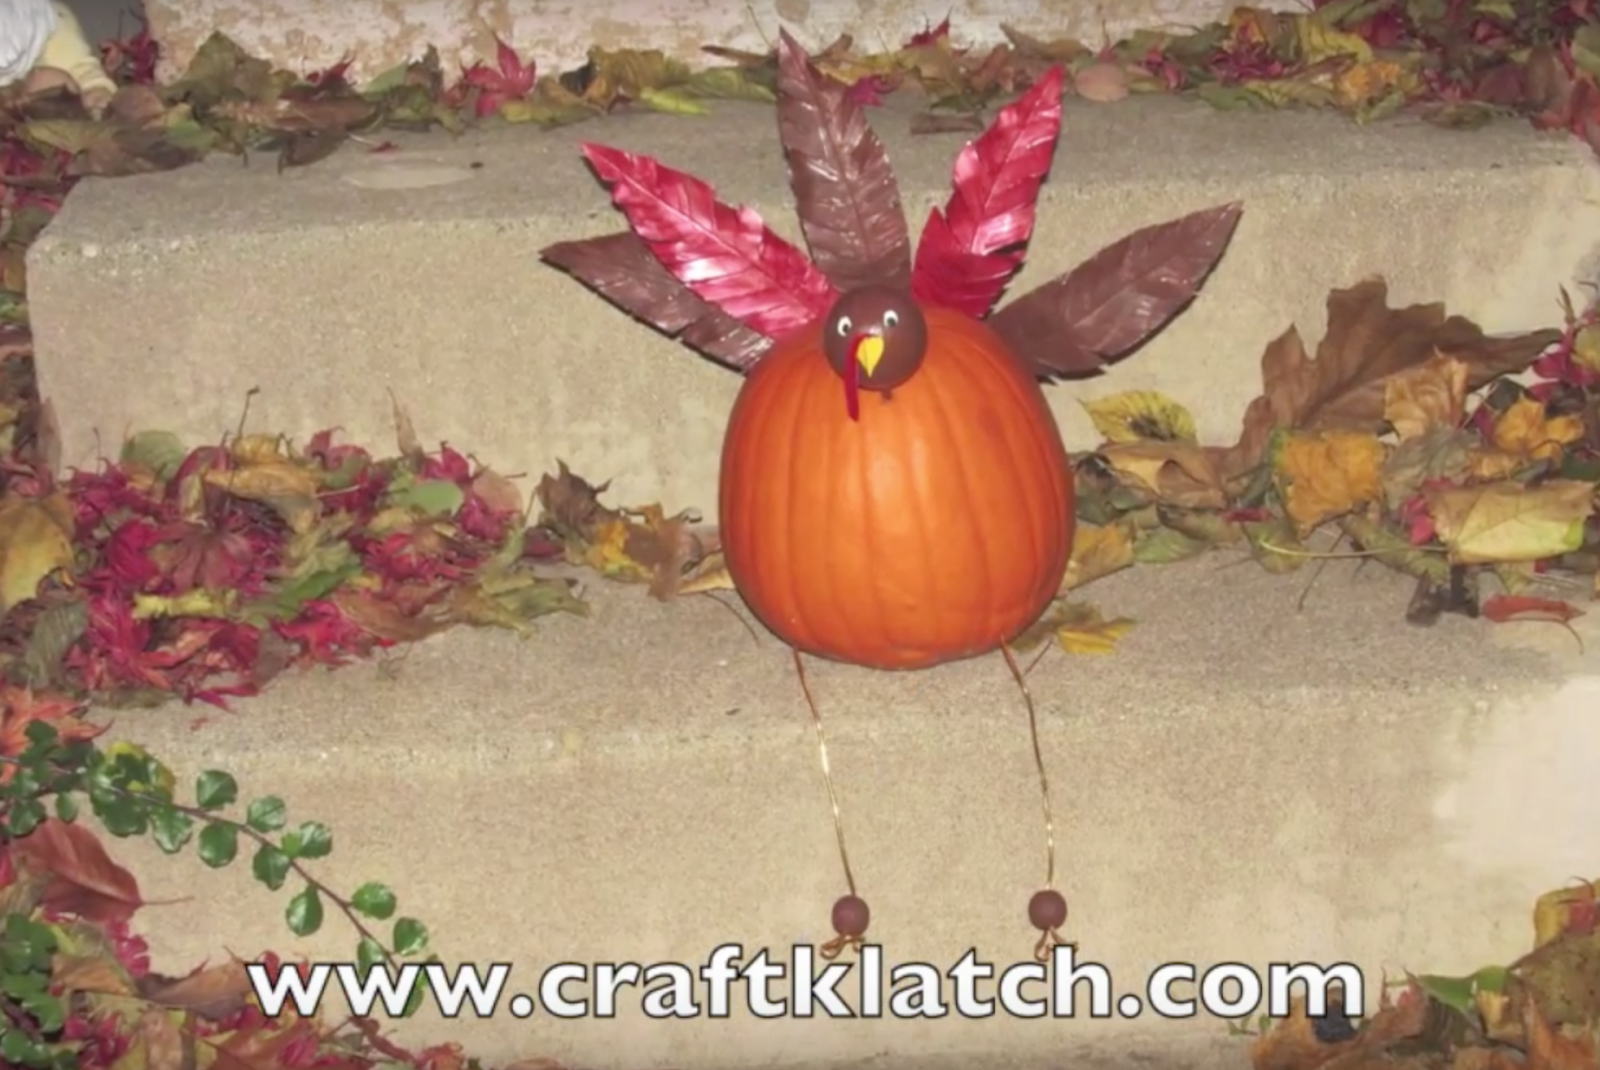
That is it! Because of using wire for the legs, they can be positioned any way you want. Because of using the baking sheet, the feathers can be adjusted also!
Thanks for stopping by! Happy Crafting and Happy Thanksgiving!
Mona

He's adorable! Love the long legs and cute expression!
– What a great way to repurpose uncarved Halloween pumpkins!
how cute what a great way to use left over pumpkins
come see us at shopannies.blogspot.com