To stay up on the latest, be sure to
SUBSCRIBE to my YouTube Channel!
You can click right HERE!
For easy reference, click on the Tutorials tab above.
Also, I created an Amazon store link, with items that I use in my crafts, just click on the
Products I Use above!
Products I Use above!
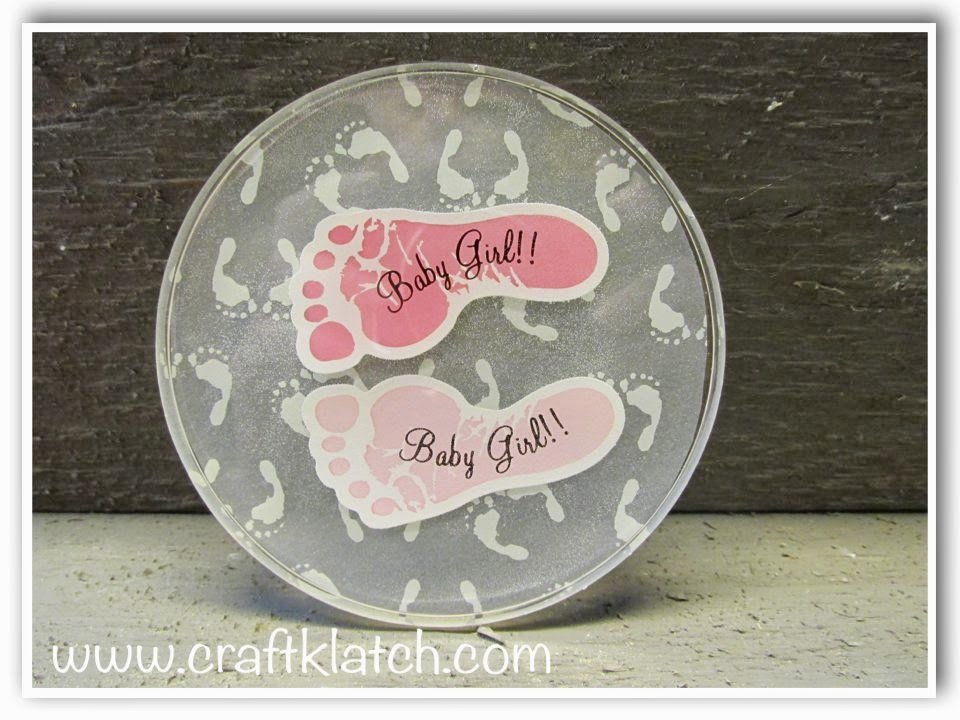
I have been asked by a number of my subscribers to do some baby themed crafts. I have a few in mind and thought I’d start with a coaster! These are perfect gifts for the parents to be, or as prizes if you are playing games at the shower.

You will need:
– Resin – I used Easy Cast (If you are looking for it internationally, go to www.eti-usa.com)
– Coaster mold (I have the one I used linked below or above in Products I Use)
– Vellum with little baby feet (I found mine at either Hobby Lobby or Michaels)
– Baby feet stickers (also from either Hobby Lobby or Michaels)
– Mold release (optional – the silicone mold works fine without it, but the mold release helps it last a little longer)
Here is the video tutorial:
Directions:
1. Spray your mold with Mold Release (optional) and allow to dry.
2. Prepare your resin according to the package directions.
3. Pour a thin layer of resin into the mold.
4. Have your vellum precut to fit into the mold opening. Slide it into the resin.
5. With your stir stick, press down on the vellum. Take your time. You are sinking the vellum to the bottom and also pressing out any air bubbles that might be trapped under the vellum.
6. Use a lighter or straw to get rid of any bubbles.
7. Allow to sit until hard. I recommend 12 hours, but you don’t need the full 12 hours to do the next step.
8. Add stickers and enough resin to cover the stickers.
9. Remove bubbles as needed and let it sit for at least 12 hours before unmolding.
That’s it!!
Thanks for stopping by and Happy Crafting!
Mona
Here are some of the items I used in making the coaster. I couldn’t find the exact stickers, so I posted some other ones that might be fun too! I could not find the vellum, so you would need to find that at your local craft store.
