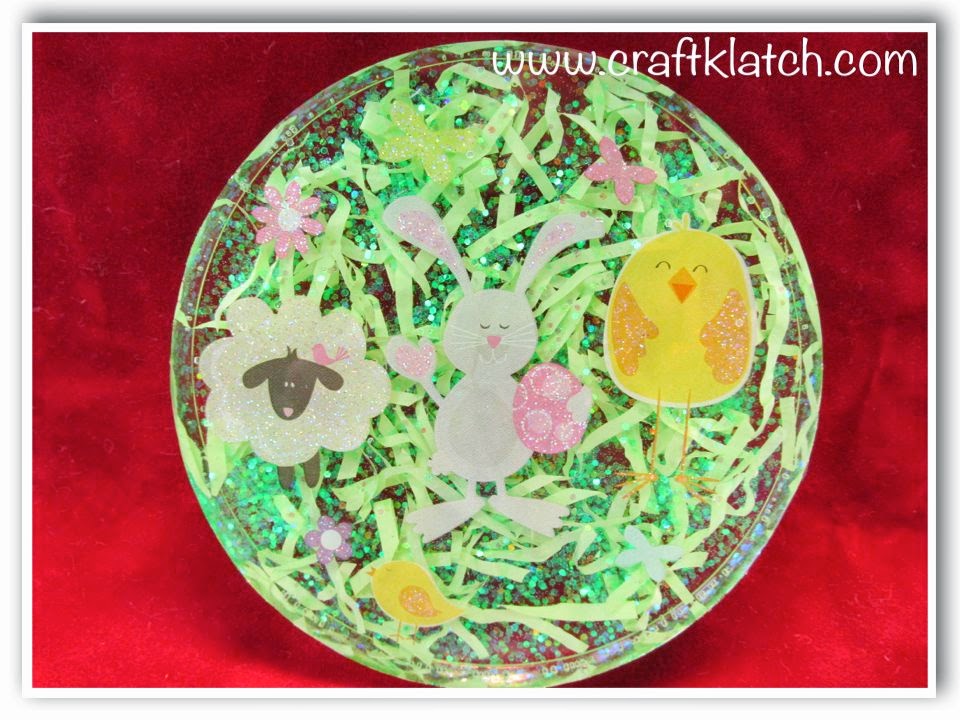
Spring is kind of in the air here….only about once a week……but that’s enough to get me started thinking about Easter!
Here is my first Easter coaster of the season!

Supplies You Will Need
*This blog uses affiliate links. As an Amazon Associate I earn from qualifying purchases, at no additional cost to you.
- Coaster mold: https://amzn.to/3loHwIW
- Easter stickers: https://amzn.to/38PtjiU
- Easter grass: https://amzn.to/3lqV06U
- Green glitter: https://amzn.to/2OCr7ES
- Mold Release (optional – the mold works without it, but it conditions the mold and makes it last longer)
- Resin
- When deciding on which resin to use for your coasters, you need to keep in mind whether you want it just for cold cups or for hot ones as well.
- If only for cold drinks, you can be flexible and use whatever brand you like:
- If you want it to work for both hot and cold drinks, you need to look for a heat-resistant resin, like these:
- Stone Coat (Quick coat)
- Stone Coat (Heat resistant)
- FX Poxy ~ According to the manufacturer, this one is heat resistant to 500° F.
Here is the Video Tutorial
Directions:
1 Prepare your resin according to the package directions.
2. Cut your Easter grass into small pieces. If you keep the pieces long, they become unruly and won’t lay flat in the mold.
3. Mix Easter grass and a small amount of green glitter into the resin.
4. Pour the mixture into the mold. Help it spread out and push down the Easter grass as needed. If you have lumps, your stickers won’t lay flat. (TIP: If necessary, you can do a thin layer after this first one has cured for a couple of hours. You only need to do the thin layer if your surface is too lumpy for the stickers.
5. Let it cure a minimum of 12 hours and use a lighter to pop the bubbles.
6. Put your stickers on the coaster.
7. Prepare some more resin. You only need a thin layer.
8. Pour over stickers and let it cure for another 12 hours.
That’s it!
Here are some more fun Easter crafts!
- Easy Easter Pendants
- DIY Resin Easter Bunny Decoration
- DIY Egg Drink Coasters
- DIY Eggshell Mosaics
- Easter Bunny Place Cards
Happy Easter all!
Remember: Life’s too short not to shimmer, so grab your glue gun and your glitter!™ Stay safe!
Mona


Adorable!!