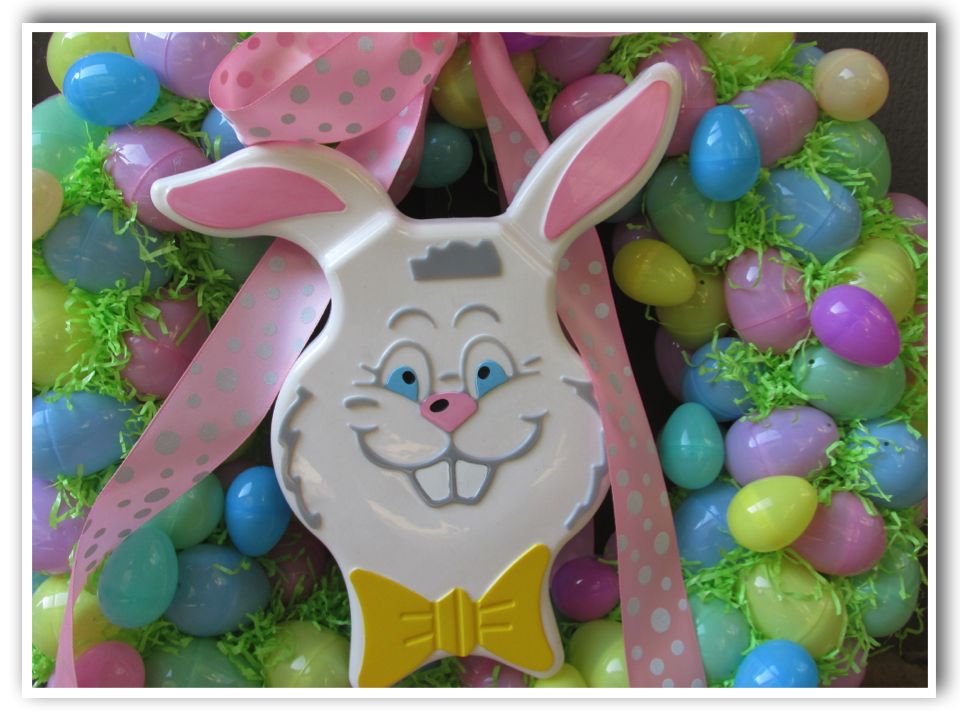
Easter isn’t all about Easter baskets and Easter eggs! I’ll show you how to make fun Easter bunny decorations with this resin tutorial! If you are looking for Easter decorating ideas, my blog is full of Easter crafts!
I wanted to try a larger resin project for Easter and found a bunny mold on Amazon. I can’t find the exact mold anymore, so I have a cute alternative listed below.
You can find the Video Tutorial at the end of this post!
If you love Easter Crafts, here are some more great projects!
- Easy Chick Charms
- Easter Eggshell Resin Coasters
- Easter Bunny Pillow Cover
- DIY: How To Make Spring Bird Home Decor
- Spring and Easter Coasters DIY
*This blog uses affiliate links. As an Amazon Associate I earn from qualifying purchases, at no additional cost to you.
You will need:
- I can’t find the original bunny mold anymore, but here is a really cute alternative: Bunny Mold
- Yellow acrylic paint
- Pink acrylic paint
- Blue acrylic paint
- White acrylic paint
- Black acrylic paint
- Black resin pigment
- White resin pigment
- Wire
- Mold release (optional: it makes your molds last longer)
- Resin:
- When deciding on which resin to use, there are a lot of qualities that might be appealing, UV resistant, price, heat resistance, etc. Just make sure to select a resin that fits your needs.
- Use whatever brand you like:
- Easy Cast
- Art Resin
- Let’s Resin
- Promise Epoxy
- These are heat resistant resins:
- FX Poxy
- Stone Coat
Directions:
(Optional: Prep your mold with mold release and let dry)
1. With acrylic paint, paint in the ears, nose, mouth, eyes, teeth and bow tie. Remember you are painting on silicone. The paint will not want to adhere and won’t give you full coverage right away. It will take two or three coats to have nice coverage.
2. Allow all the paint to dry. Take a small amount of resin and add some white dye. Mix well. Then using a very small amount of black. Add a little at a time. You can always add more, but you can’t take it out. Once you have reached the desired shade of gray, using a toothpick, carefully drip the resin into the indents of the features.
3. Allow to cure.
4. Prepare some more resin – I did two batches. Follow the directions on the package, but you should not mix too much up in one batch, or you risk not mixing it properly.
5. Mix in white resin dye – mix well.
6. Pour into mold. Allow to cure.
7. Take a piece of wire and bend it into a horseshoe. Then bend it, so it has an “L” shape (see video). Take a little super glue to tack it onto the back of the bunny. Remember you want the horseshoe part sticking out of the resin, because you are creating a hook, so it can be hung.
8. Pour more resin into the mold and make sure the ears are well attached.
9. Allow to cure at least 12 hours before removing.
10. Carefully remove from mold. Drip some black acrylic paint into the indents of the eyes and the nose to finish it up. If you are putting it outside, you might want to consider using resin.
That’s it! Hope you like it!
Other Easter Bunny Decorations
Here are some great alternative Easter Bunny decorations!

Thanks for stopping by and Happy Easter!!
Mona
Here is the video tutorial:
Remember to Pin It for Later!
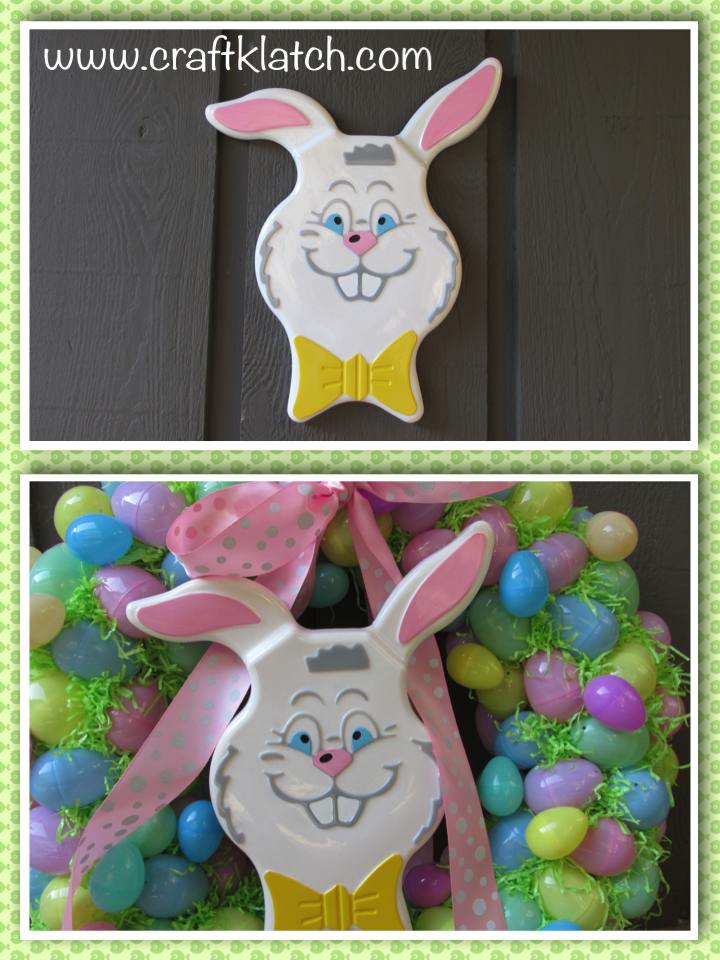
This wreath is so cute. I have been thinking a lot about Easter/spring. Great idea. Thank you for sharing.
Thanks, Carol!
What a lovely wreath. I can’t wait to start decorating for spring now!
Thanks Jayne!
This is inspiring me to brainstorm for spring and Easter! I have a resin kit that I need to try and this post is also inspiring me to get it out already!
Thanks, Marie! Definitely break out the resin kit!
This is inspiring me to think about spring & Easter crafts! Thanks!
Thanks, Marie!
How many eggs did you use on the wreath?
It is easy to make and will add a smile to your home during the holiday season.