I love the look of birds in home decor. I thought I would like to make some for spring. They have a whimsical and fun look!
Spring crafts are fun and colorful! If you need more inspiration, I have these fun crafts too:
- Easy Easter Egg Coasters
- Easter Bunny Recycling Craft
- Plaster Easter Eggs
- Easter Egg Wreath
- Easter Bunny House

Supplies You Will Need:
*This blog uses affiliate links. As an Amazon Associate I earn from qualifying purchases, at no additional cost to you.
- 3/4″ plywood
- Saw: https://amzn.to/2ooQGpy
- 14 gauge copper wire
- Soldering iron: https://amzn.to/2oI6W6J
- Solder
- Flux: https://amzn.to/2pNN6qa
- Acrylic paint
Here is the Video Tutorial
Directions:
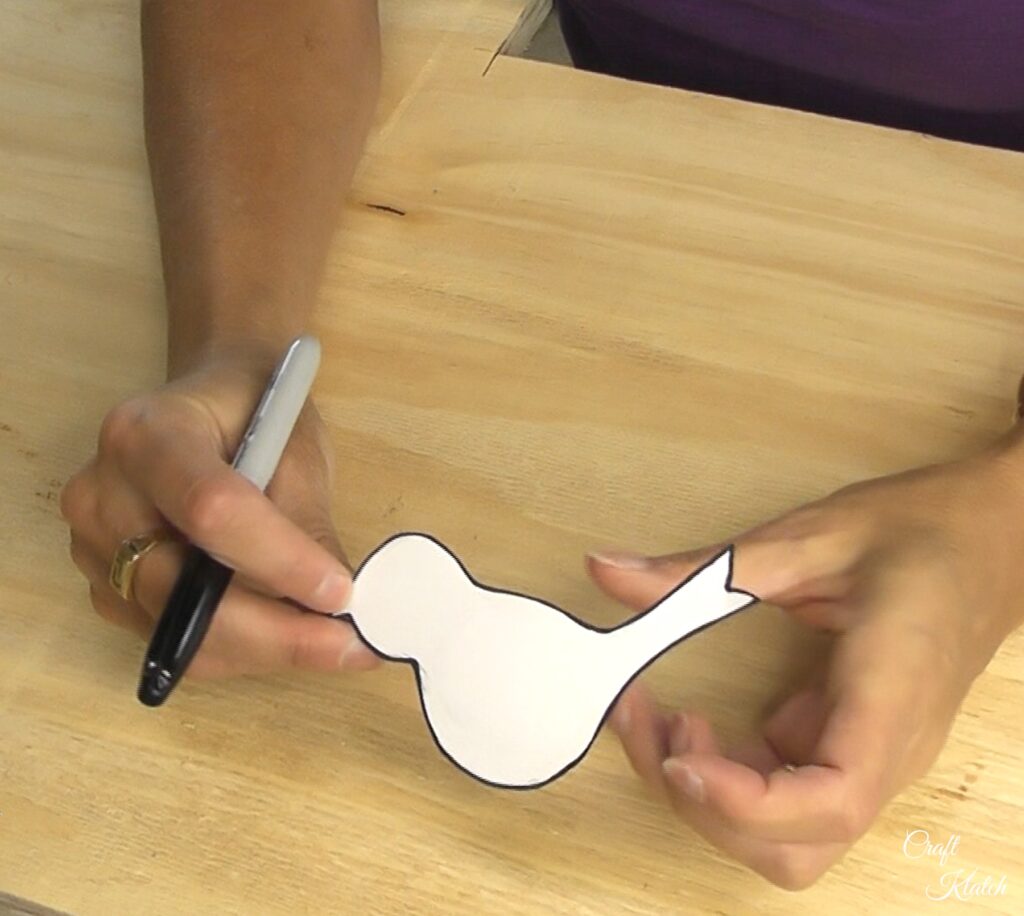
1. Draw a simple bird shape onto a piece of paper and cut it out.
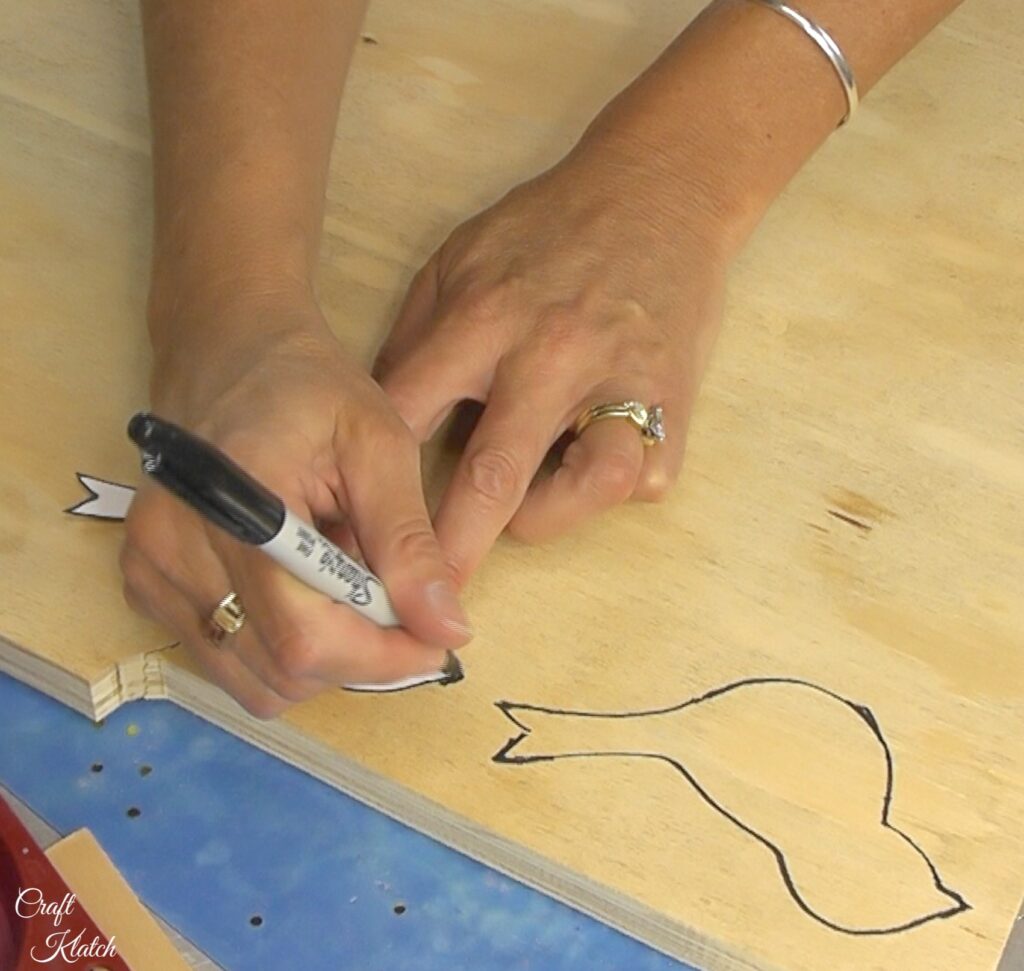
2. Trace the bird onto the plywood.
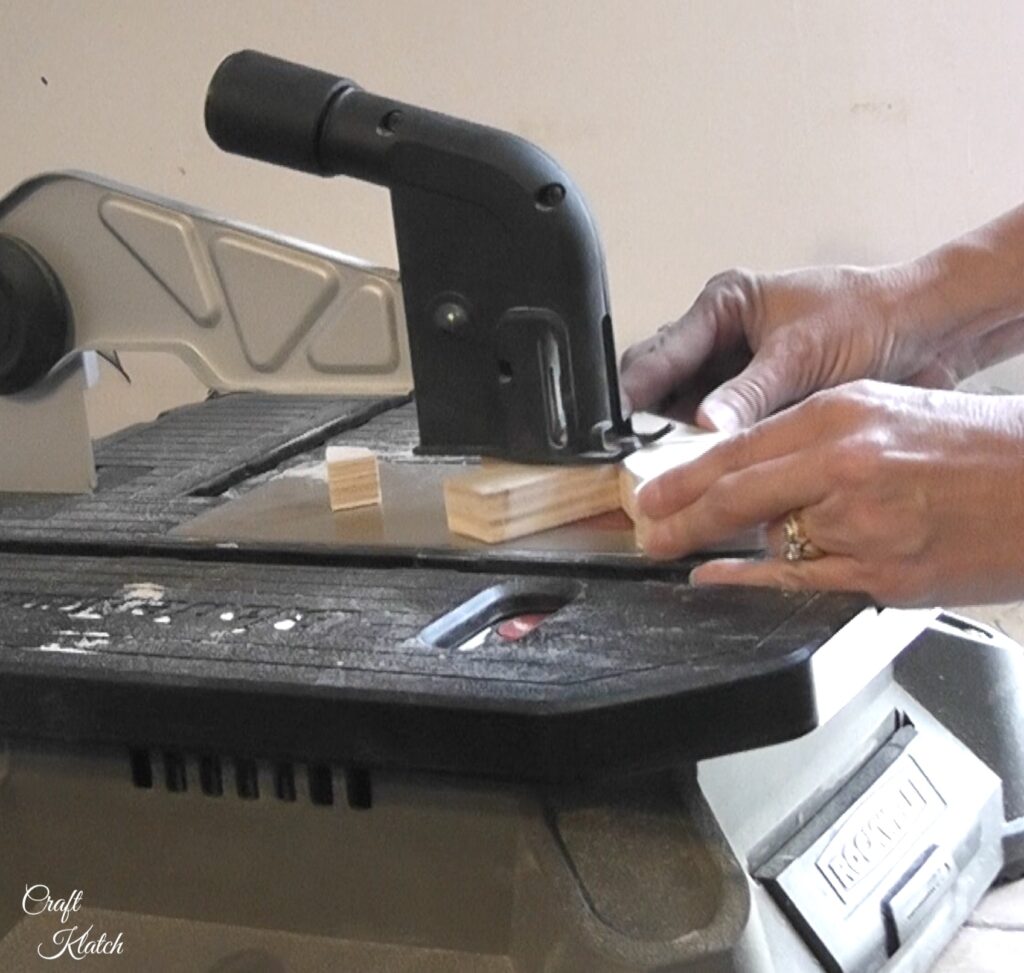
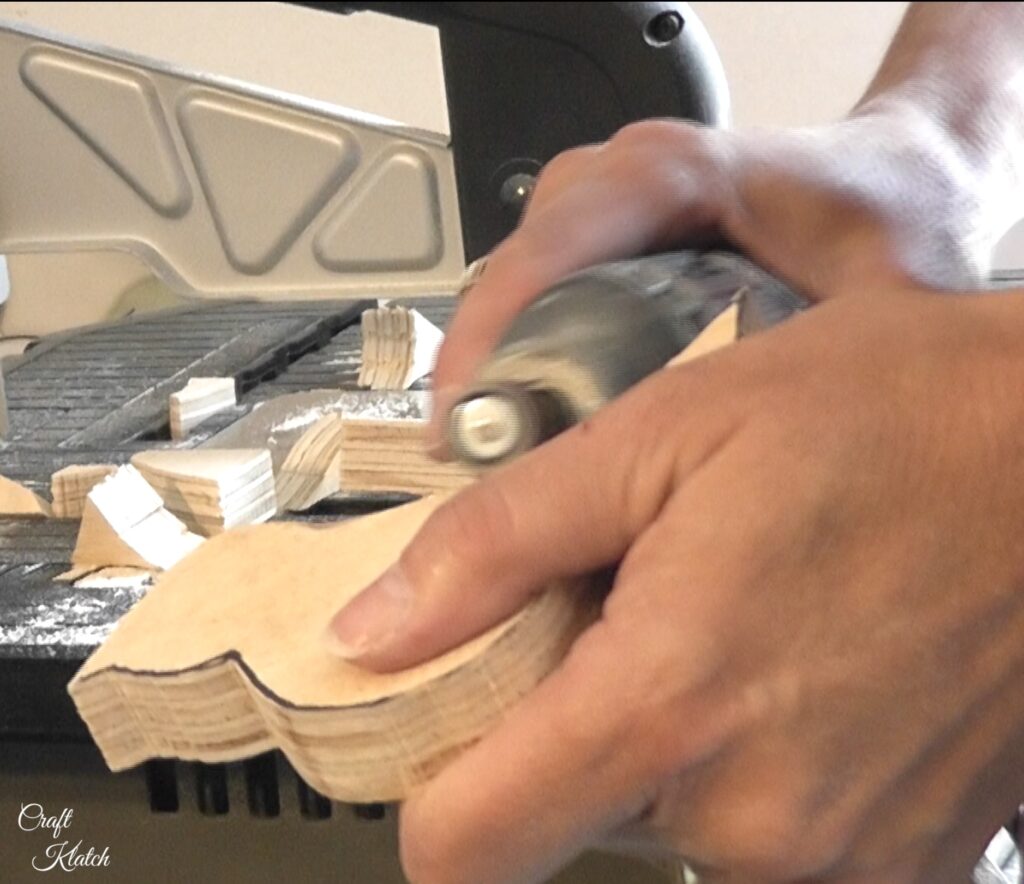
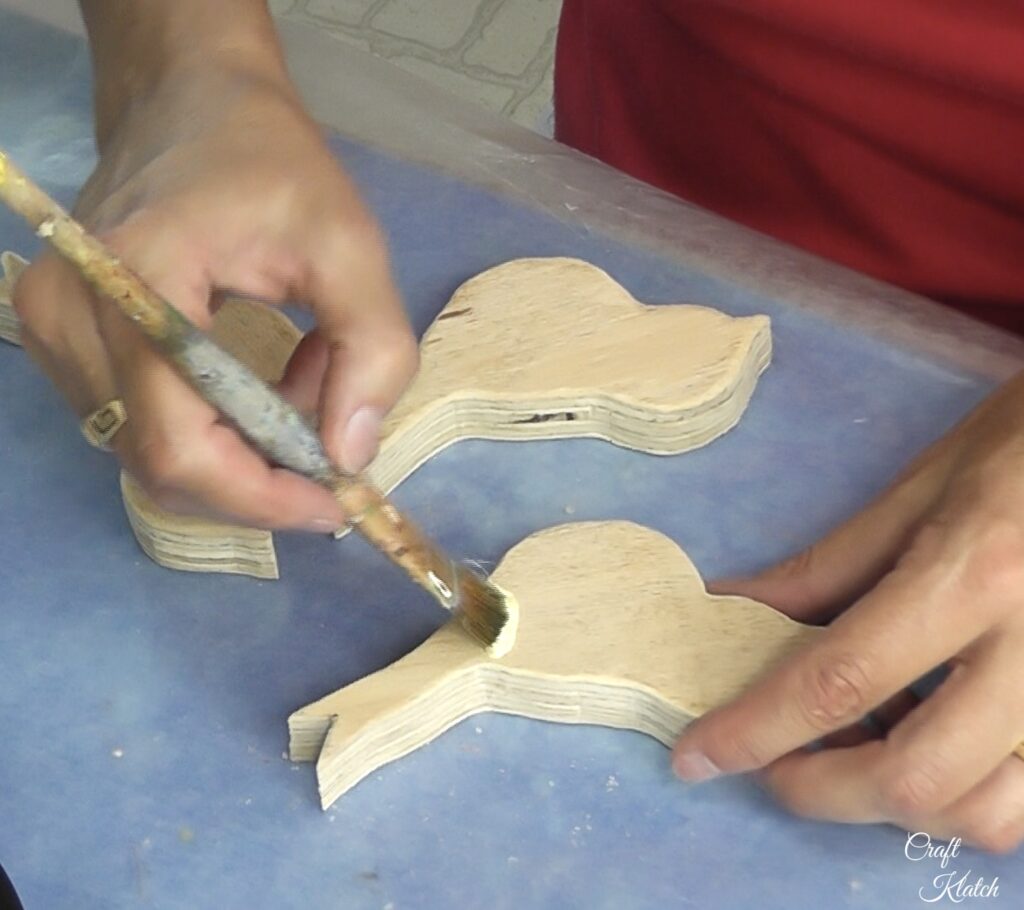
3. Cut out the bird shapes and sand the edges.
4. Paint the birds. Allow to dry.
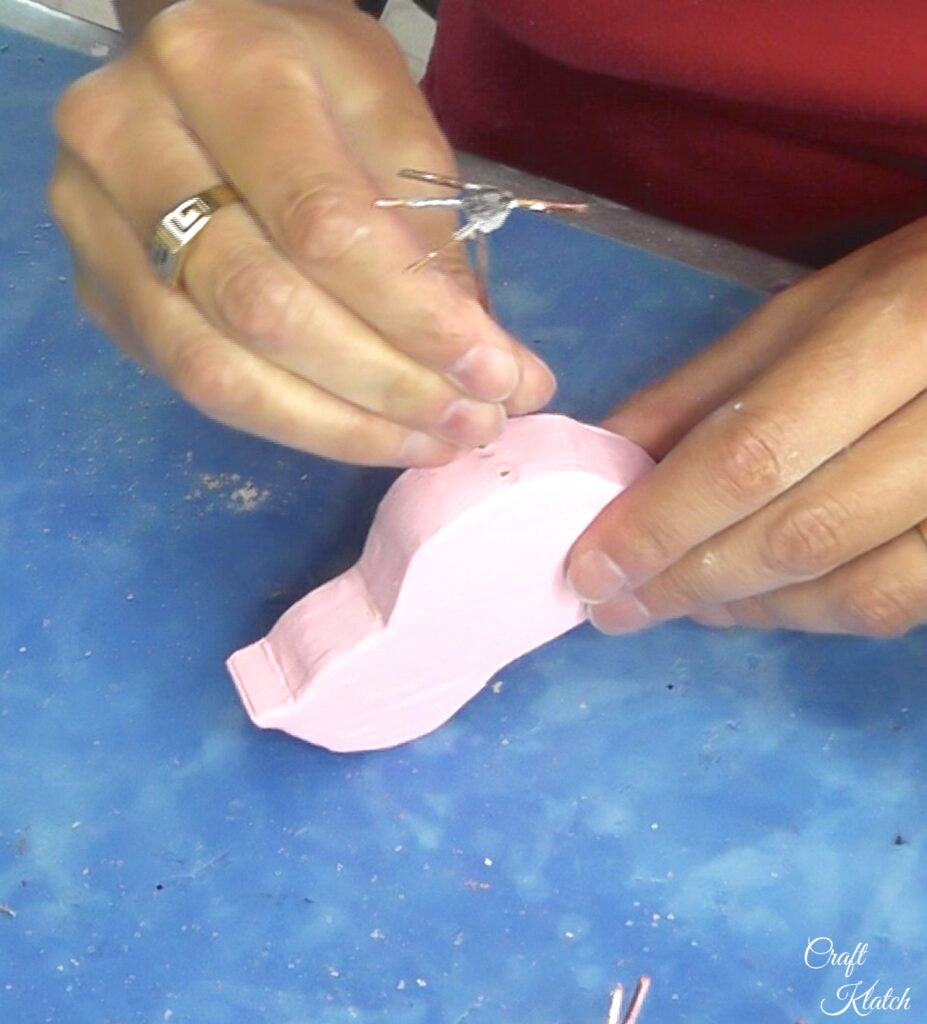
5. Drill holes into the bottom of the birds for the legs.
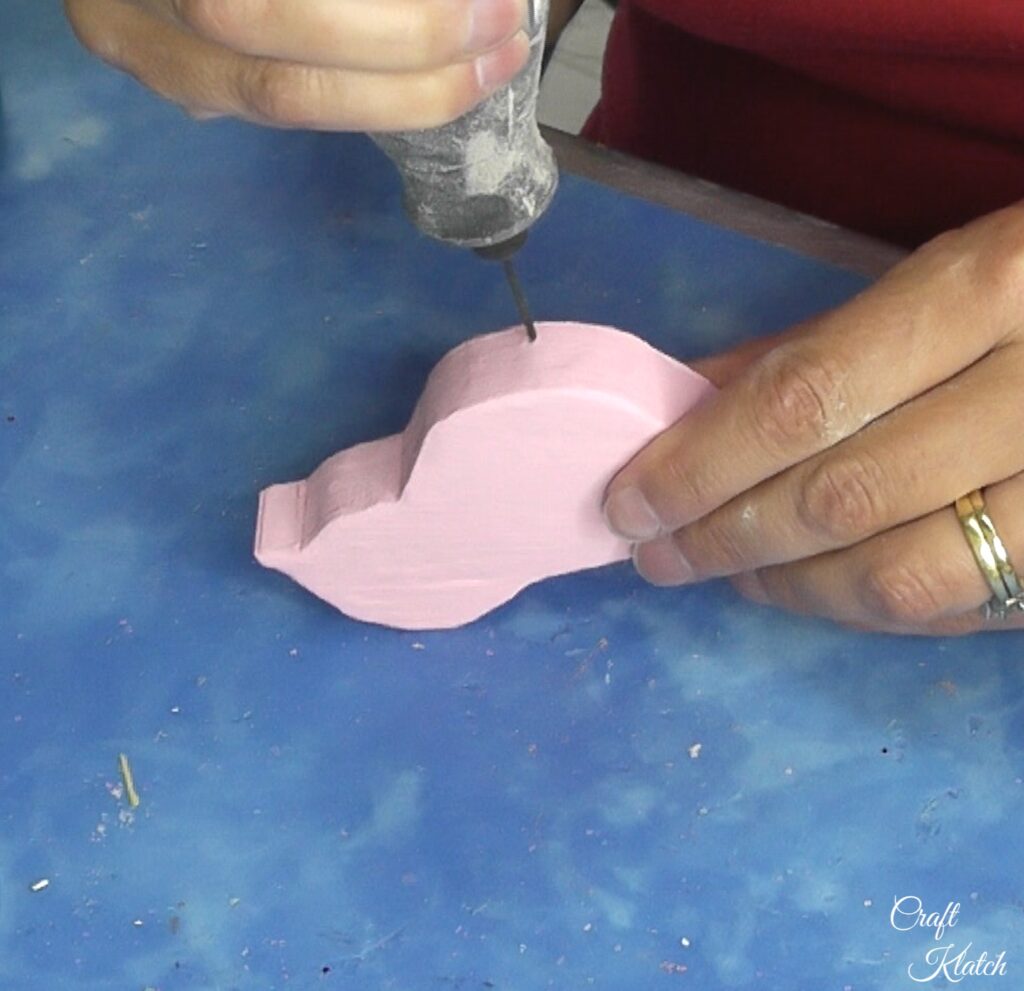
6. Sand it to give it a little distressed look.
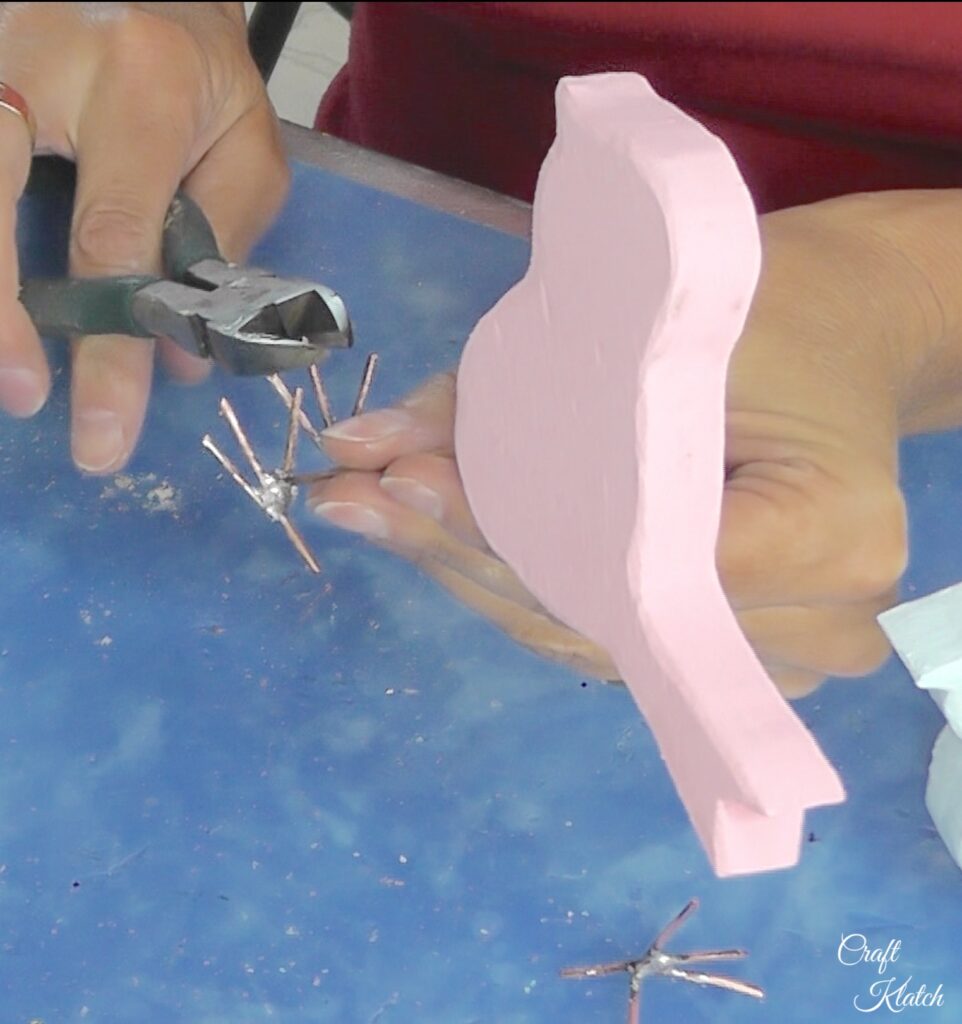
7. Take the copper wire and cut to length for the legs and the toes.
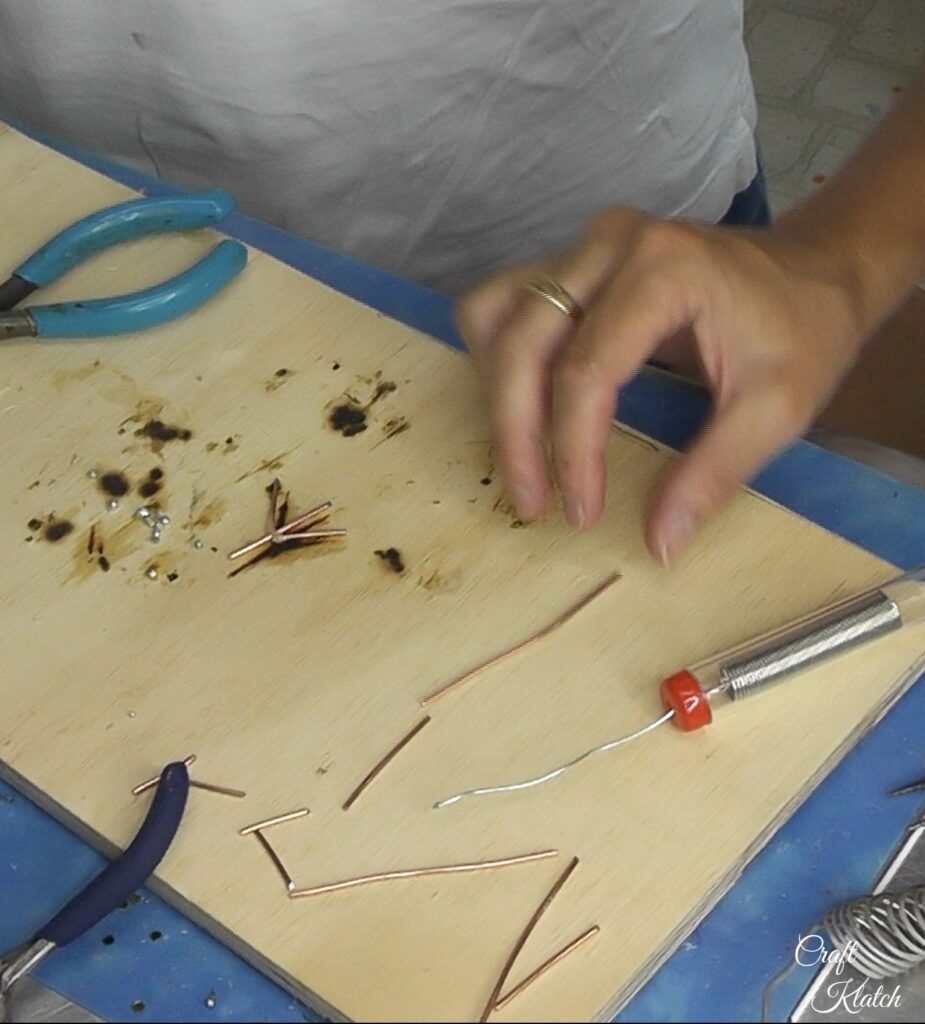
8. Solder the legs and toes together.

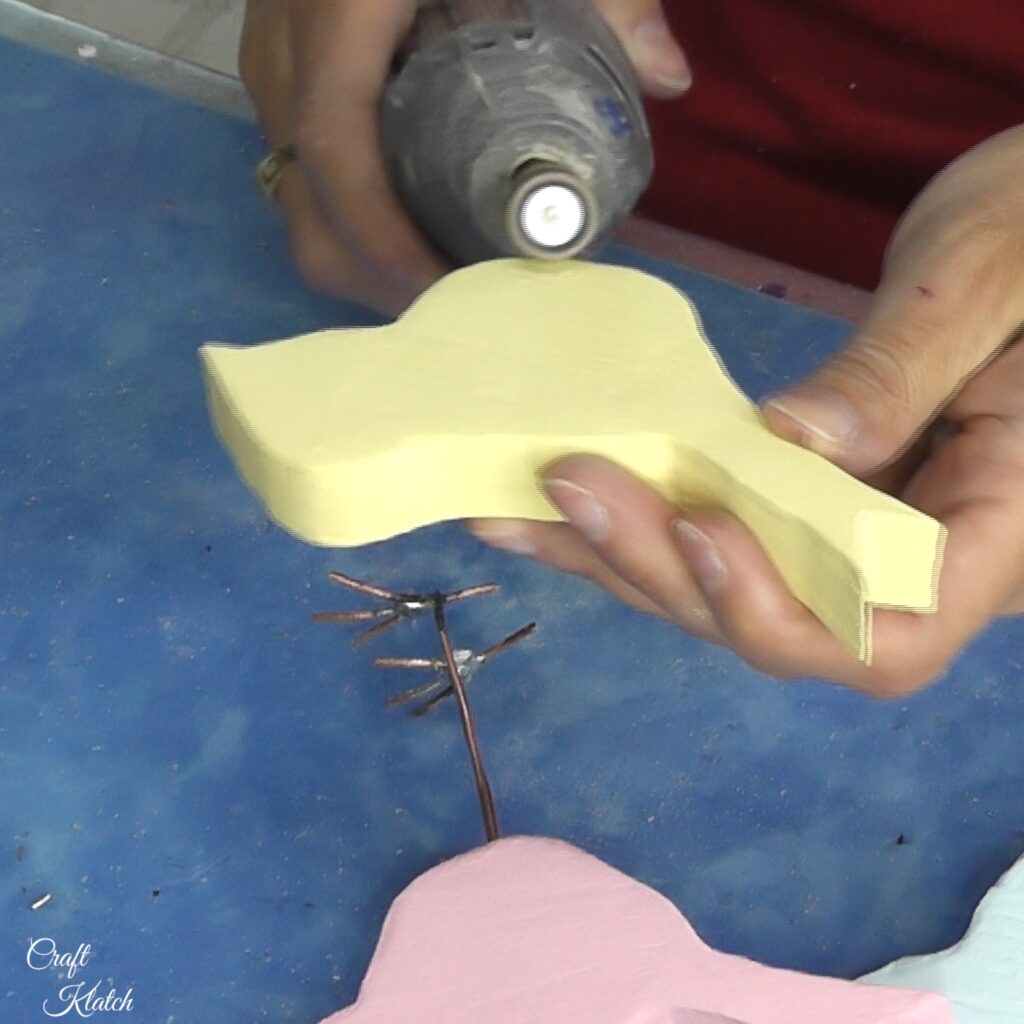
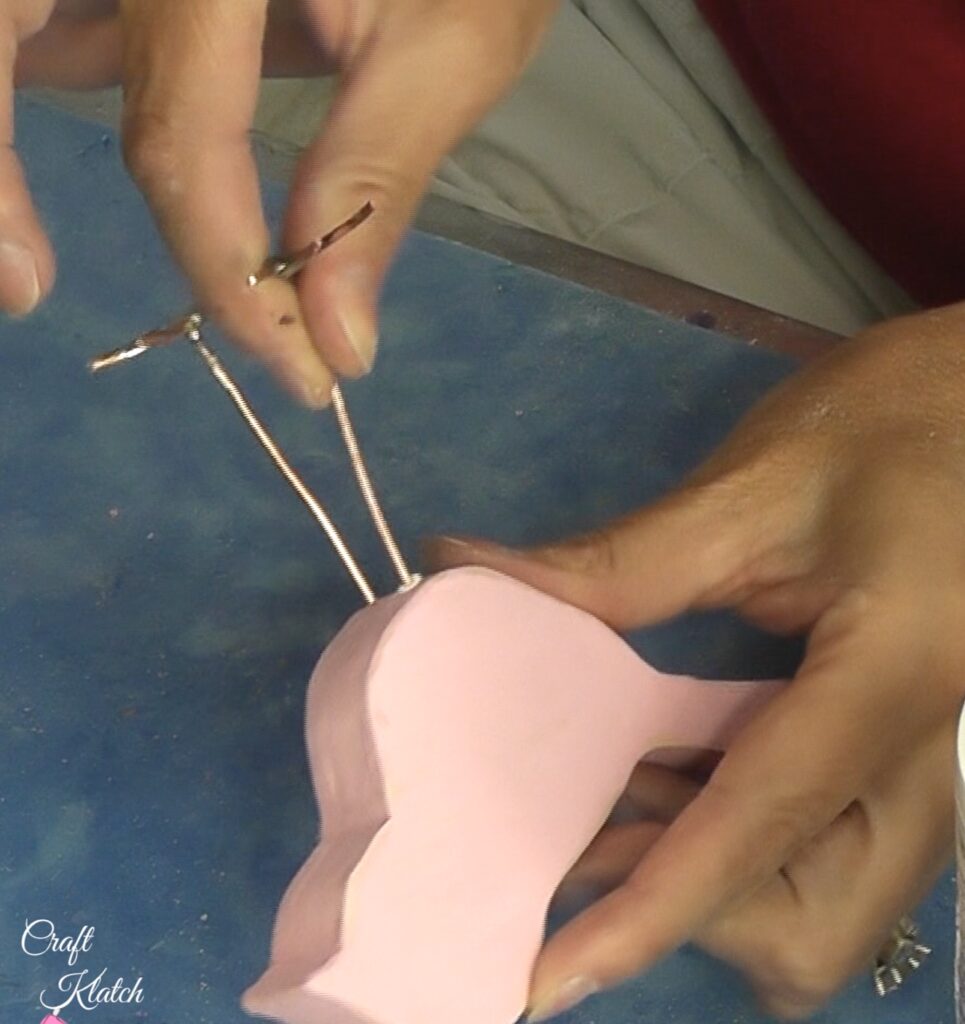
7. Insert the legs into the bottom of the birds and adjust as needed.
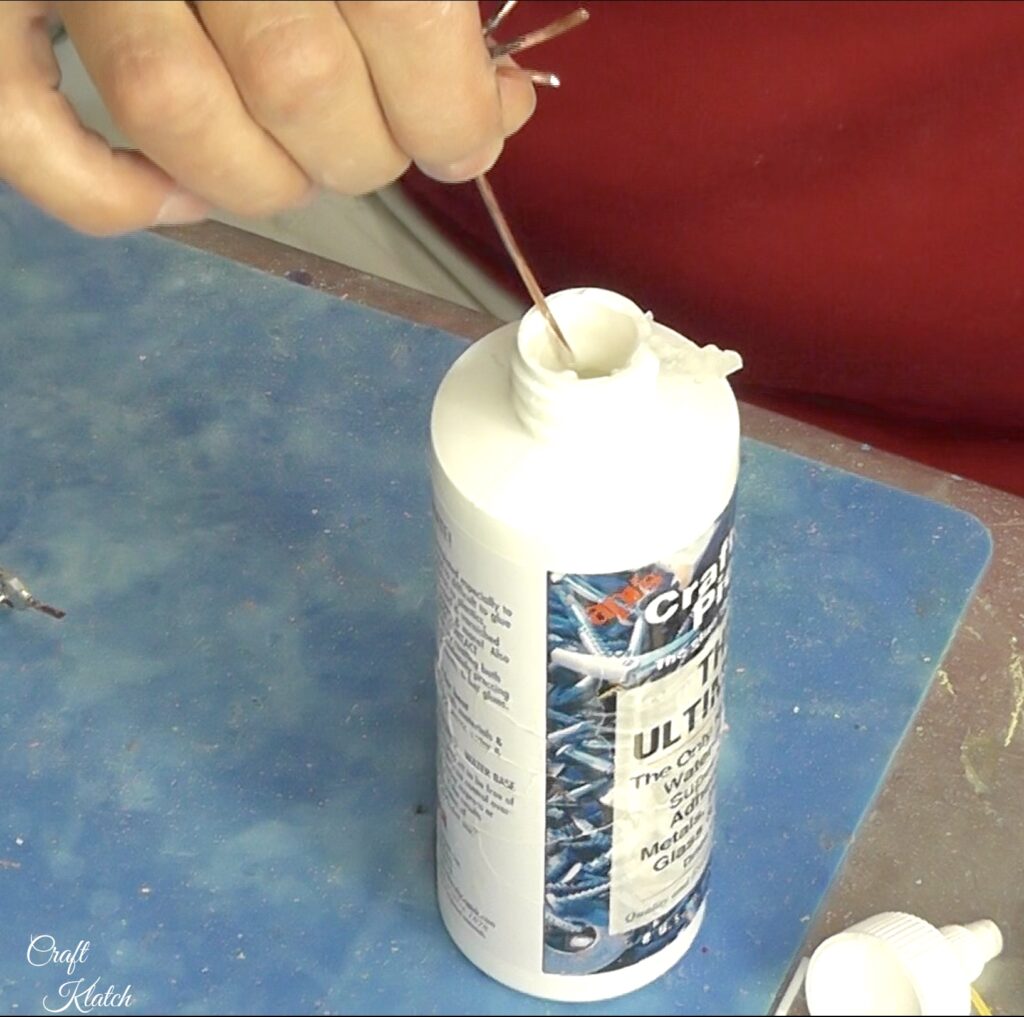
8. Remove the legs and add a dab of glue and reinsert. Allow to dry.
Now you have these adorable birds!
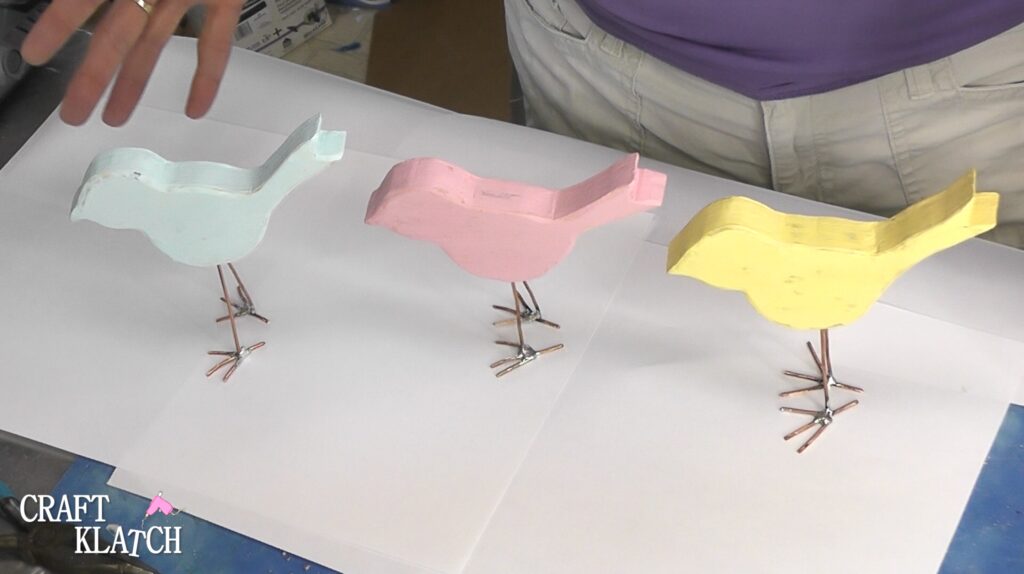
Hope you like them! Happy Spring!
Remember: Life’s too short not to shimmer, so grab your glue gun and your glitter!™ Stay safe!
Mona