To stay up on the latest, be sure to
SUBSCRIBE to my YouTube Channel!
You can click right HERE!
For easy reference, click on the Tutorials tab above.
Also, I created an Amazon store link, with items that I use in my crafts, just click on the
Products I Use above!
Products I Use above!
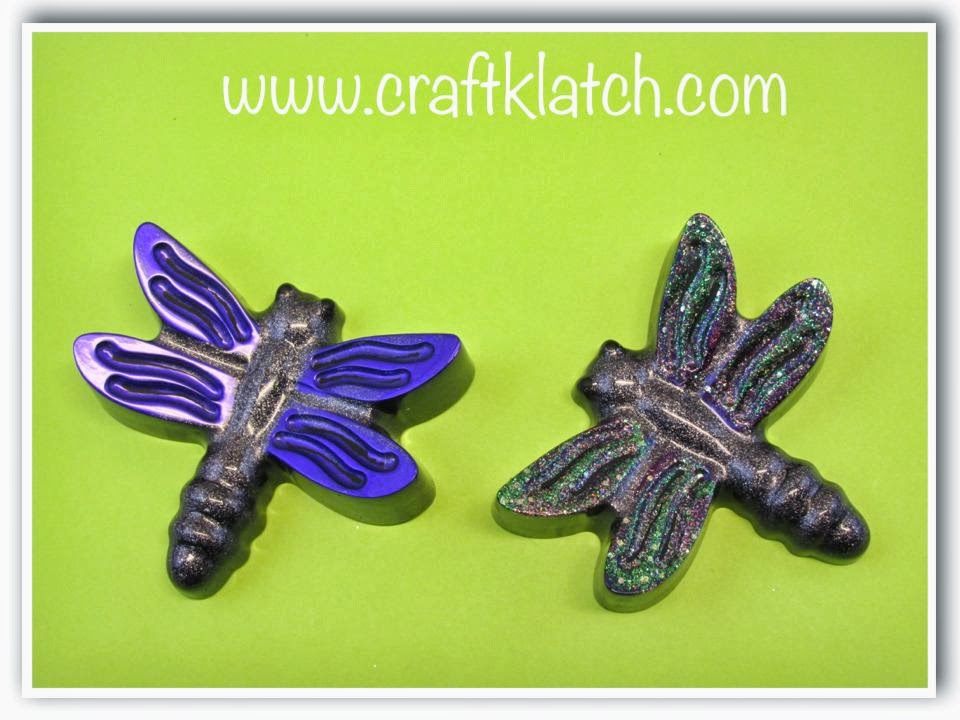
It’s time for another resin bug!!

You will need:
– Easy Cast Resin (If you want to find it internationally, go to www.eti-usa.com)
– Nail polish (metallic and glitter – I use inexpensive polish)
– Black acrylic paint
– Opaque resin dye (black and pearl)
– Pearl Ex pigment powders (optional: purple and copper)
**I have all of the products listed in the Products I Use above, or I have them linked at the bottom.
Directions:
1. Using a skewer stick, toothpick or paintbrush, paint stripes along the raised areas. Allow to dry.
2. Using nail polish, paint the wings. I used a metallic purple on one and I used two different glitter polishes and a purple polish on the other. But you can use any colors you like! Allow to dry between coats.
3. Prepare your resin according to the package directions.
4. Mix in pearl dye and black dye. I also mixed in some copper pigment powder and purple pigment powder.
5. Pour into both molds. Allow to cure for at least 12 hours.
6. Unmold!
You can use them as fun decorations or magnets. I have some things planned for Spring/Easter, as soon as I finish the rest of the bugs, so stay tuned!
Here are some of the products, or similar products, from Amazon, incase you want to give it a try!
Thanks for stopping by and Happy Crafting!
Mona

