To stay up on the latest, be sure to
SUBSCRIBE to my YouTube Channel!
You can click right HERE!
For easy reference, click on the Tutorials tab above.
Also, I created an Amazon store link, with items that I use in my crafts, just click on the
Products I Use above!
Products I Use above!
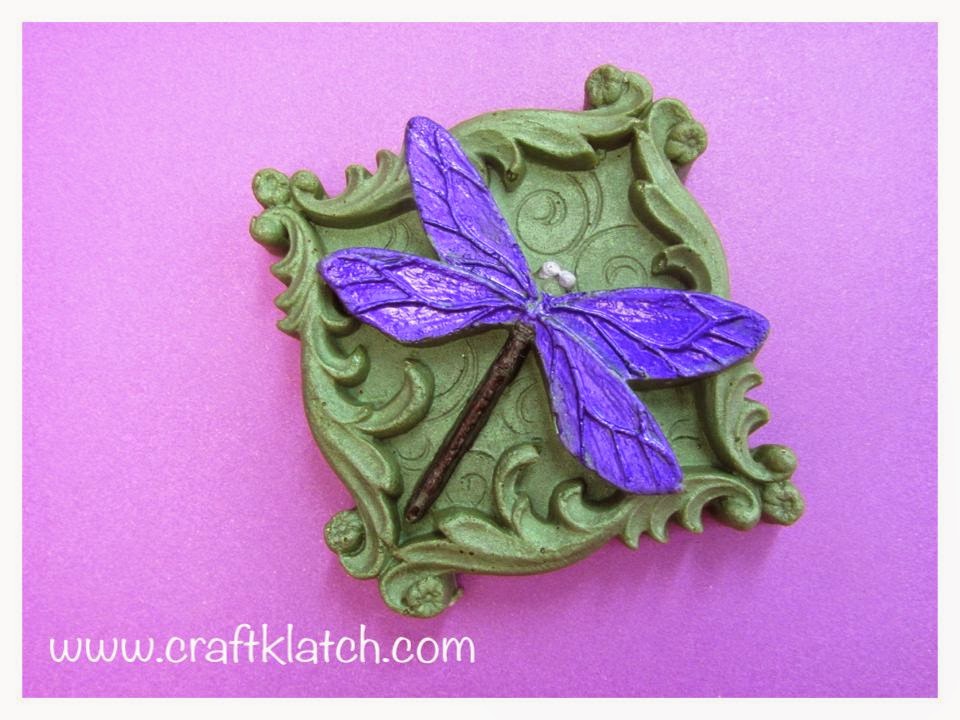
I found this beautiful mold on Amazon. I think it’s made for soap, but I just had to try it with resin!

I haven’t used a mold like that before, so I wasn’t sure if it would come out shiny or matte. It came out in a matte finish. Originally the wings were also a matte finish, but I did a thin coat of nail polish over them to shine them right up.
You will need:
– Silicone dragonfly mold
– Easy Cast (for more information from manufacturer, or where you can find it internationally, go to www.eti-usa.com)
– Green pigment powder
– Metallic purple nail polish
– Black nail polish
– Light metallic blue nail polish
– Mold release (optional)
Incase you are looking for them, here are the items listed on Amazon:
Here is the video tutorial:
Directions:
1. This mold is very detailed. I used the purple nail polish and painted in the wings. I used black nail polish, with a skewer stick and a toothpick to color in the body. I used a toothpick and the light metallic blue for the eyes. Allow to dry.
2. Prepare your resin, according to the package directions.
3. Mix in the green pigment powder. Mix well.
4. Pour into your mold.
5. Allow to sit for at least 12 hours before unmolding.
6. My may need to touch up the wings with the nail polish.
2. Prepare your resin, according to the package directions.
3. Mix in the green pigment powder. Mix well.
4. Pour into your mold.
5. Allow to sit for at least 12 hours before unmolding.
6. My may need to touch up the wings with the nail polish.
That’s it! Now I don’t know what I am going to use it for, but until I figure it out, I can use it as a paperweight. You could have added wire to the back, while the resin was uncured and created a wall hanging. You could glue it to a frame, or the top of a box for an embellishment.
Possibilities are endless!!
Thanks for stopping by and Happy Crafting!
Mona
