To stay up on the latest, be sure to
SUBSCRIBE to my YouTube Channel!
You can click right HERE!
For easy reference, click on the Tutorials tab above.
Also, I created an Amazon store link, with items that I use in my crafts, just click on the
Products I Use above!
Products I Use above!
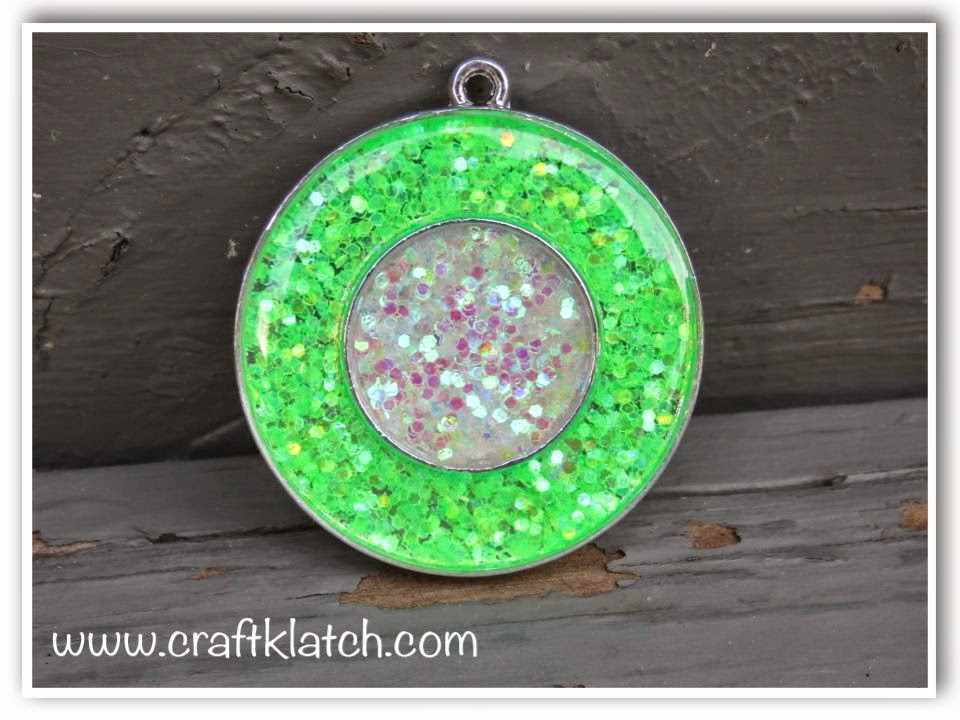
I had some resin leftover from another project and did not want it to go to waste, so I whipped up a glitter resin pendant. The colors remind me of Spring!

You will need:
– Bezel with two sections – I found the one I used in the clearance section at Hobby Lobby.
– Resin – I used Easy Cast
– Glitter – light pink and bright green
Here is the resin I use and a similar pendant but it doesn’t have the two sections:
Here is the video tutorial:
Directions:
1. Prepare your resin, according to the package directions. You only need a little.
2. Split into two cups.
3. Mix the pink glitter in the one cup.
4. Mix the green glitter in the other cup.
5. With your stir stick, drip the resin/glitter mixture into the different parts of the bezel.
6. Allow to cure for 12 hours.
7. Prepare more resin and with your stir stick slowly drip it onto the piece. You are doming the piece. Don’t bump the piece, or the table, or it might all run down the sides.
8. Allow to cure for 12 hours.
Now you have a fun and beautiful pendant!!
Thanks for stopping by and Happy Crafting!
Mona

Hi my love Mona, I really love this pendant. Is the green glitter the Sulyn Neon Green that you have listed in the "Products you use" area? I love that green color. Tfs Love ya' Patricia