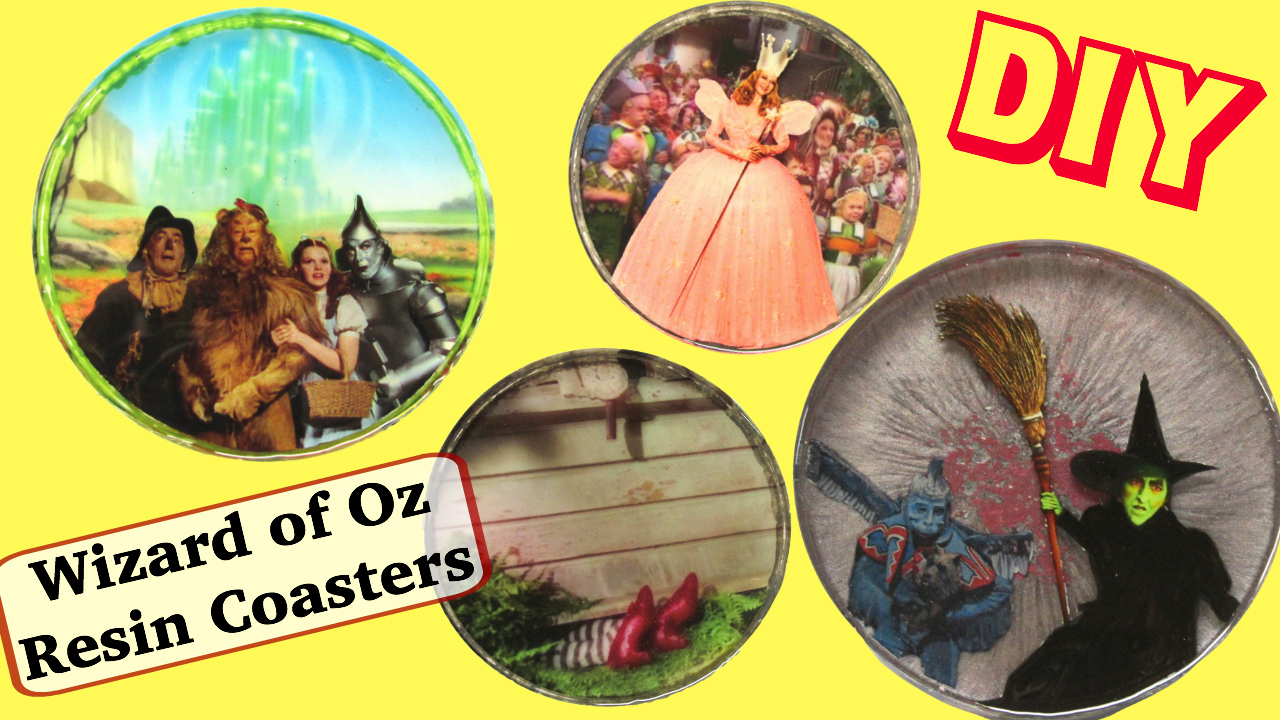
Do you love the Wizard of Oz? It is a classic! Here’s my coaster take on the movie.

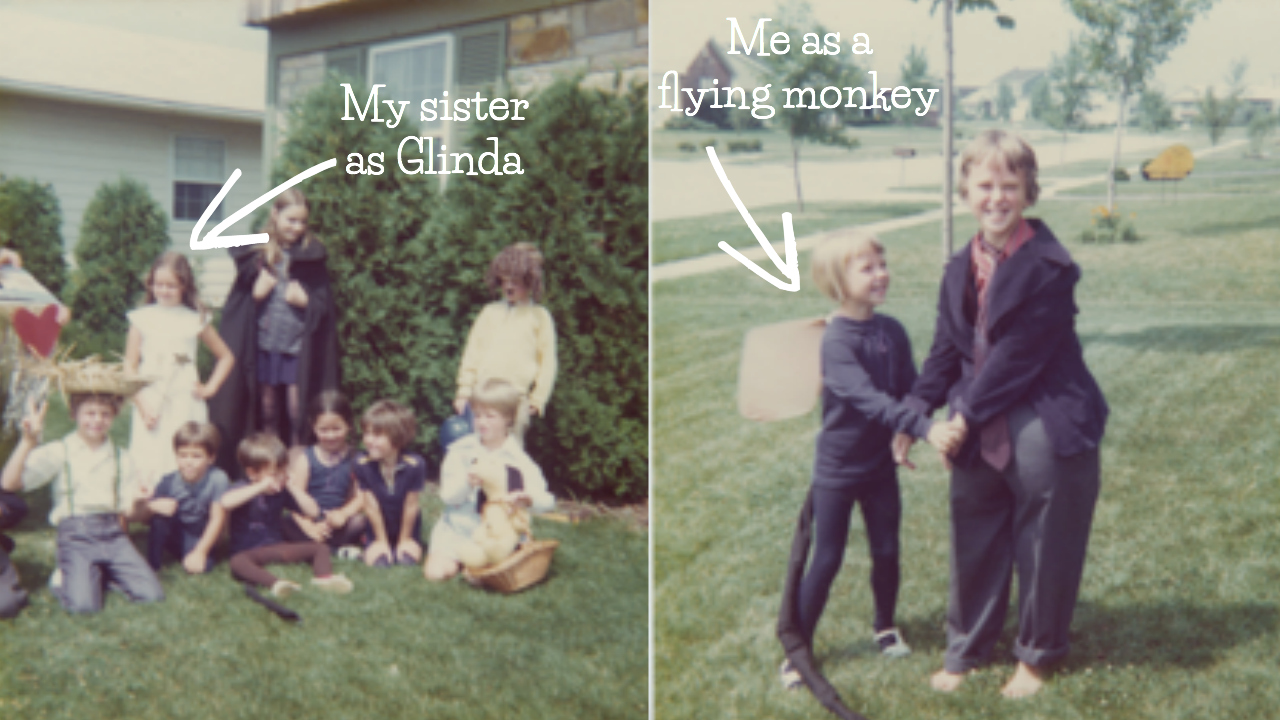
When I was a kid, our neighbor put on a neighborhood production of the Wizard of Oz in her garage. The neighborhood kids all took part. My sister was cast as Glinda the Good Witch. I can still feel the disappointment. I was cast in a dual role, munchkin and flying monkey. I can still feel the disappointment.
To make the coasters, you will need:
– Transparency film
– White resin pigment
– Pigment powder (silver, gray, red)
– Acrylic paint – gray and ivory
Here is the video tutorial:
1. Mix one ounce of resin, for each coaster. I did four coasters, so I mixed four ounces. I split them into four smaller cups.
2. In three of them, I mixed in white resin pigment dye and poured them into the mold.
3. In the fourth, I poured the clear resin into the mold and sprinkled silver, dark gray and red pigment powder on the resin and then mixed with a toothpick. Pop bubbles as needed and allow to cure.
4. Print out background images on transparency film. I did the Emerald City, a flying monkey, the witch legs and ruby red slippers sticking out from under the house, the munchkins gathering.
5. I painted the back of the monkey, with gray acrylic paint.
6. Mix one ounce of resin for each coaster.
7. Pour into the molds. Pop bubbles with lighter.
8. Slip background images into the resin and press down with your stir stick and make sure all the bubbles are out from under the transparency film.
9. Pop bubbles again and allow to cure.
10. Print your front images, I used Glinda the Good Witch, the Wicked Witch of the West and Dorothy, the Tin Man, the Cowardly Lion and the Scarecrow as the front image.
11. Paint on the backs of those images, so the background does not shine through. I did back on the witch’s dress. I did ivory on everything else.
12. Mix more resin – an ounce for each – and pour into the molds. Slip in the images and press down with your stir sticks, making sure to get all to bubbles out. Pop bubbles with lighter and allow to cure.
That’s it! Now you have these amazing coasters that have a 3-D layered effect.
Thanks for stopping by! Stay safe and Happy Crafting!
Mona