SUBSCRIBE to my YouTube Channel!
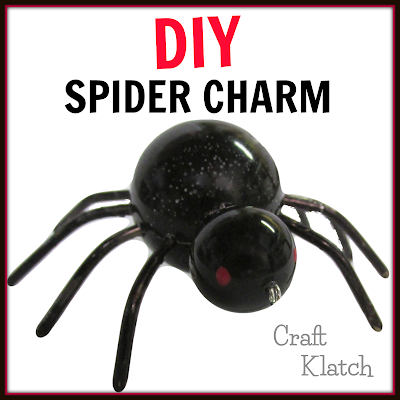
Today I’m going to show you how to make a cute spider charm. You can use it as a pendant, or hanging from a ceiling fan, or a backpack, or anywhere!

You will need:
Resin: https://amzn.to/2btjHgc
Sphere mold (larger): https://amzn.to/2bthYaG
Sphere mold (smaller): https://amzn.to/2bDZpiE
Black pigment: https://amzn.to/2dgobcE
Wire coat hanger : look in your closet
or Black wire
Eye pin: https://amzn.to/2cFWvPN
Jump ring: https://amzn.to/2cFVS8G
Red multi-surface paint: https://amzn.to/2ddG6xH
Dremel tool: https://amzn.to/2bO5a0r
Toothpicks: https://amzn.to/2d87Rvv
Glue: https://amzn.to/2d89fi2
Here is the video tutorial:
Directions:
1. Mix resin, according to the package directions.
2. Add black pigment and mix well.
3. Pour into sphere molds.
4. Allow to cure.
5. Remove the cured resin from the molds.
6. If necessary, trim off tabs with Dremel too, otherwise see video on how mine worked out.
7. Drill a hole into both spheres. Add toothpick and trim to size. Add glue and insert toothpick into both drilled holes and push together until they touch.
8. With a wire cutter, cut wire for 8 legs. I used a coat hanger and painted the legs black. If you can find black wire, use that instead.
9. Bend legs a little bit.
10. Drill 8 holes into the side of the larger charm. Insert the legs with glue.
11. Drill a hole in the top of the head to add an eye pin, with glue.
12. Paint on two small red eyes with multi-surface paint.
That’s it! Thank you for stopping by!
Remember: Life’s too short not to shimmer, so grab your glue gun and your glitter!™ Stay safe!
Mona
