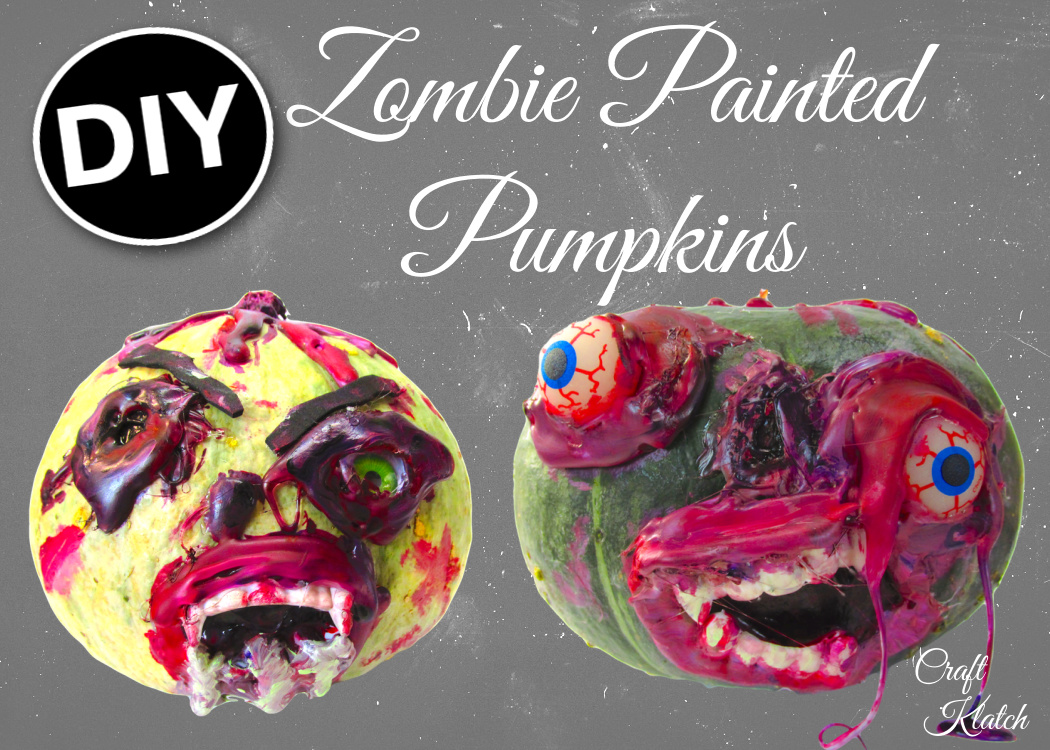
Halloween is ever closer! Get into the spirit with Halloween painted pumpkins. This time, they are going to be painted ZOMBIE pumpkins!
Yes, I zombified some pumpkins, and…
I…LOVE…THEM!
Obviously, this works for Halloween but if you would rather decorate for the impending Zombie Apocalypse, have at it!
If you have seen my Frankenstein Pumpkin and my Wicked Witch Pumpkin projects then you know I’m a pumpkin painter, not a pumpkin carver.
This time, I took these Halloween painted pumpkins and went for the full undead look.
Halloween Painted Pumpkins Video Tutorial
Zombie Painted Pumpkins Supplies
*This blog uses affiliate links. As an Amazon Associate I earn from qualifying purchases, at no additional cost to you.
- Green pumpkins (I used real but you can use fake too)
- Plastic teeth
- Hot glue
- Acrylic paint (brown, black, pink, red, green, gray, purple)
- Googly eyes or other eyes
- Bouncing eyeballs
- Optional: Black foam for eyebrows
Directions for the Zombie Halloween Painted Pumpkins
Step 1: Find Your Gourd
Start by finding some lumpy pumpkins – something with a green tinge is good! I did real pumpkins but kinda wish I had used a fake pumpkin because it would be a permanent Halloween decoration that I could pull out year after year!
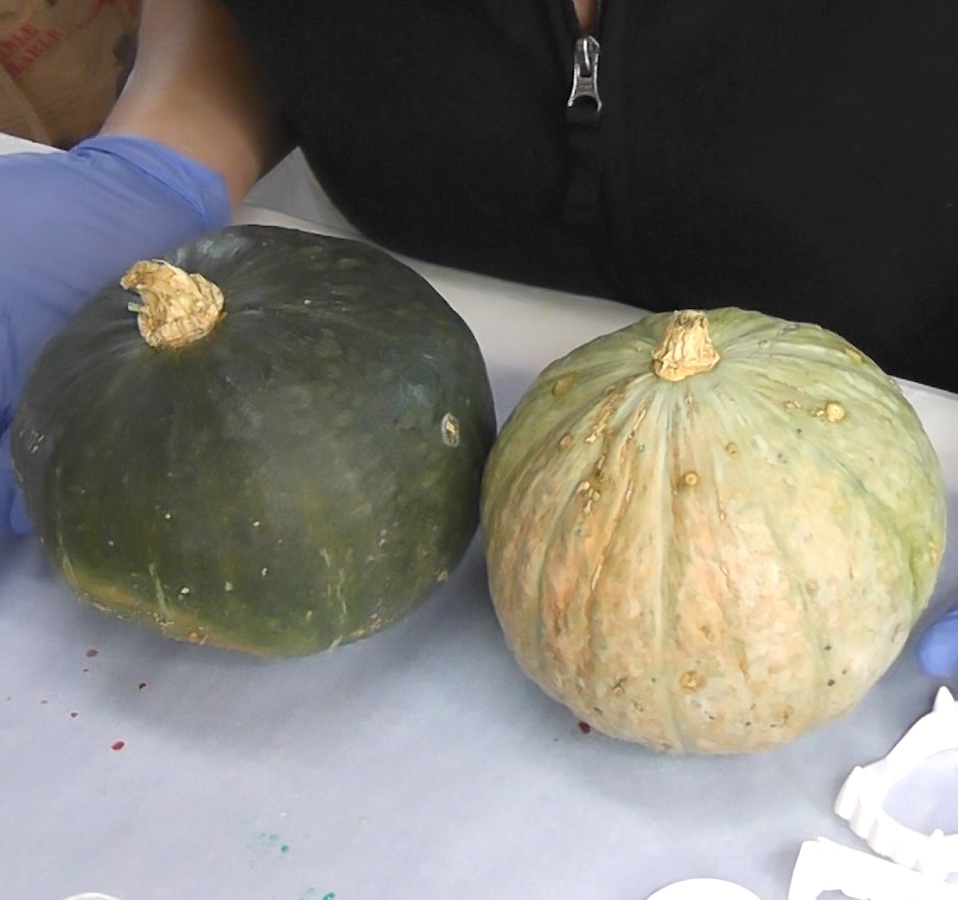
I did link fake pumpkins above but you might want to consider a dried gourd too!
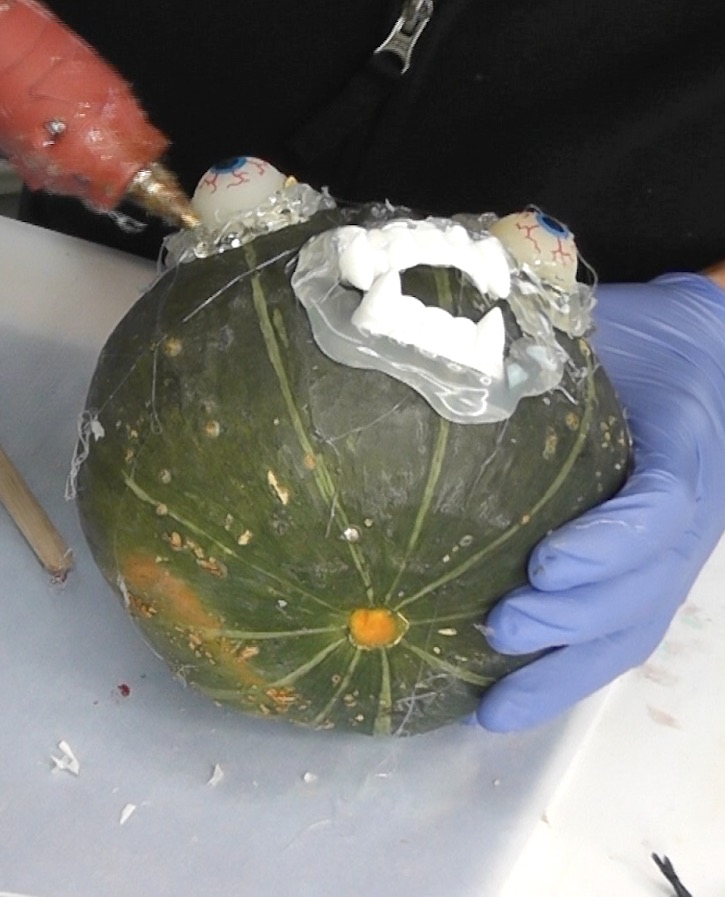
Step 2: Painted Halloween Pumpkins Need Eyes and Teeth
Then, glue the eyes and teeth onto the pumpkins. I cut the teeth from some cheap plastic vampire teeth. They cut easily with scissors.
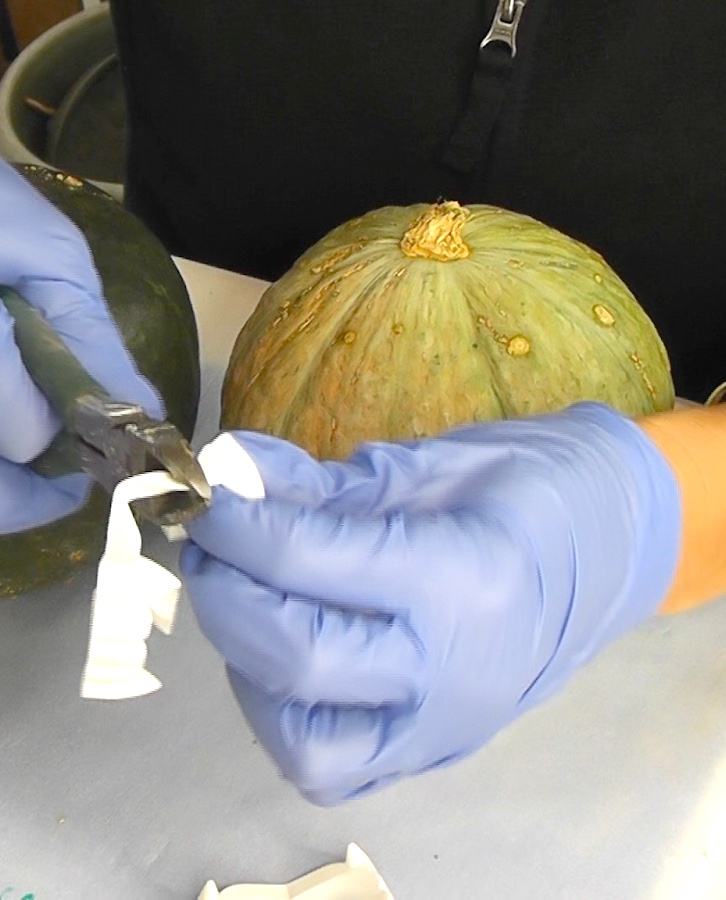
The eyes don’t even have to be the same size or even for that matter. The mouth can be crooked as well. No two pumpkins will end up the same and that is the beauty of it!
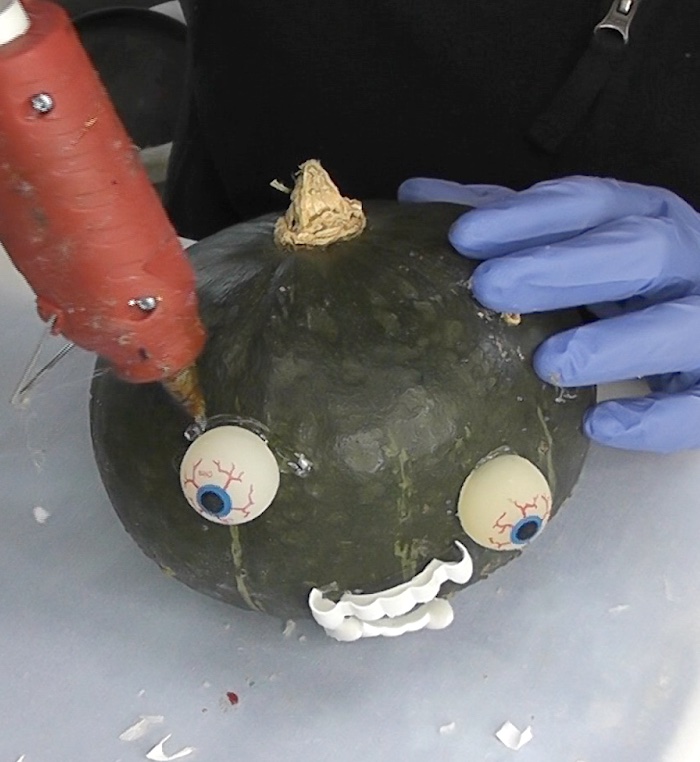
Step 3: The Build-Up for the Zombie Painted Pumpkins
Once the eyes and teeth are attached, it’s time to use the hot glue to build up around the eyes and mouth. It’s best to watch the video to see exactly how I did this. I also added some drippy stuff up by the stem.
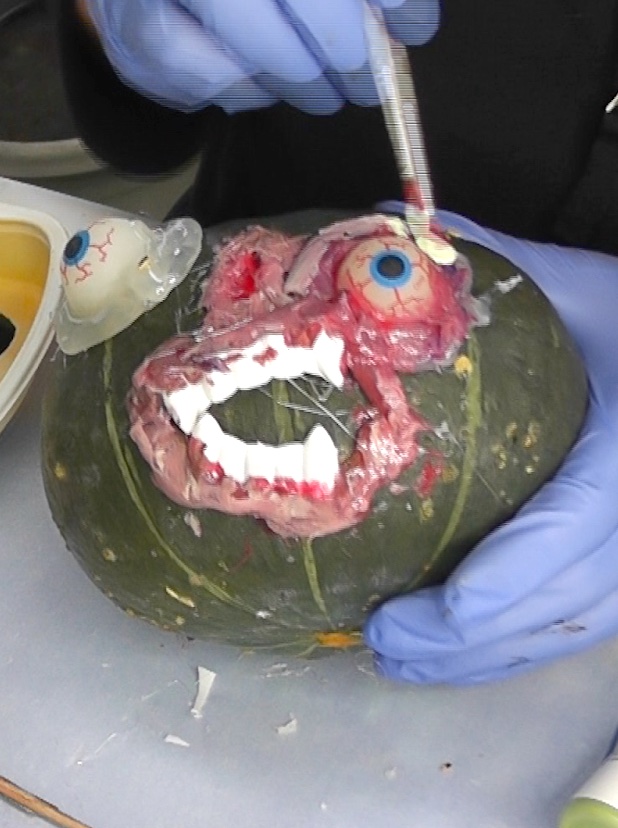
Step 4: Time for the Zombie Painted Pumpkins to Come to Life!
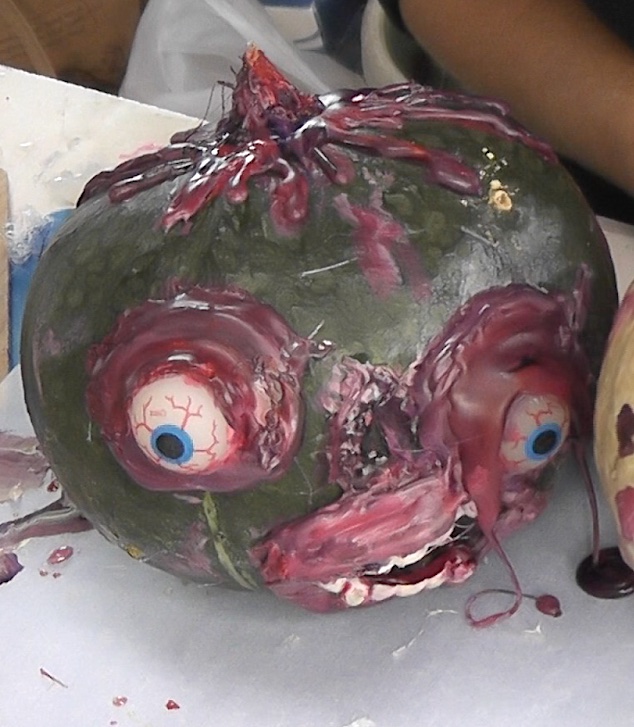
Once the glue has cooled, you can start to paint. Use a variety of colors mixed to create bloody, rotting, bruised looking flesh.
Step 5: The Final Touches
Now, you just need to let it all dry. I did add eyebrows to one of the painted zombie pumpkins to make him look a little angry.
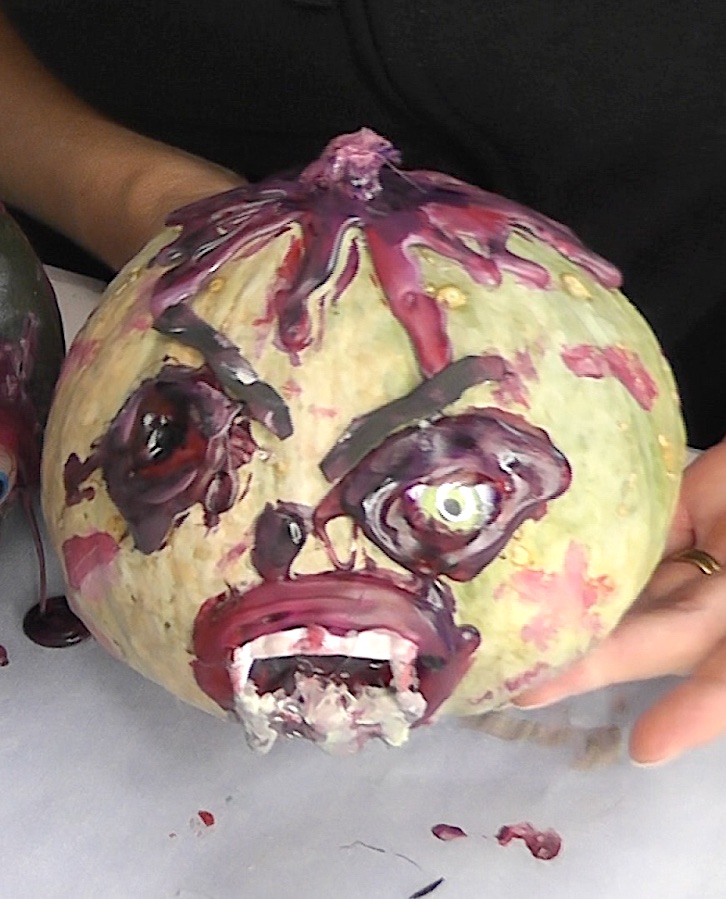
I mean…I’d be a little angry if I was a zombie.
I also added smear marks in random places around the pumpkins, so the rest did not look forgotten.
Happy Halloween and/or Zombie Apocolypse!
If You Like Zombie Decor…
If you like to decorate with zombie decor, check out these items!

Remember: Life’s too short not to shimmer, so grab your glue gun and your glitter!™ Stay safe!
Mona