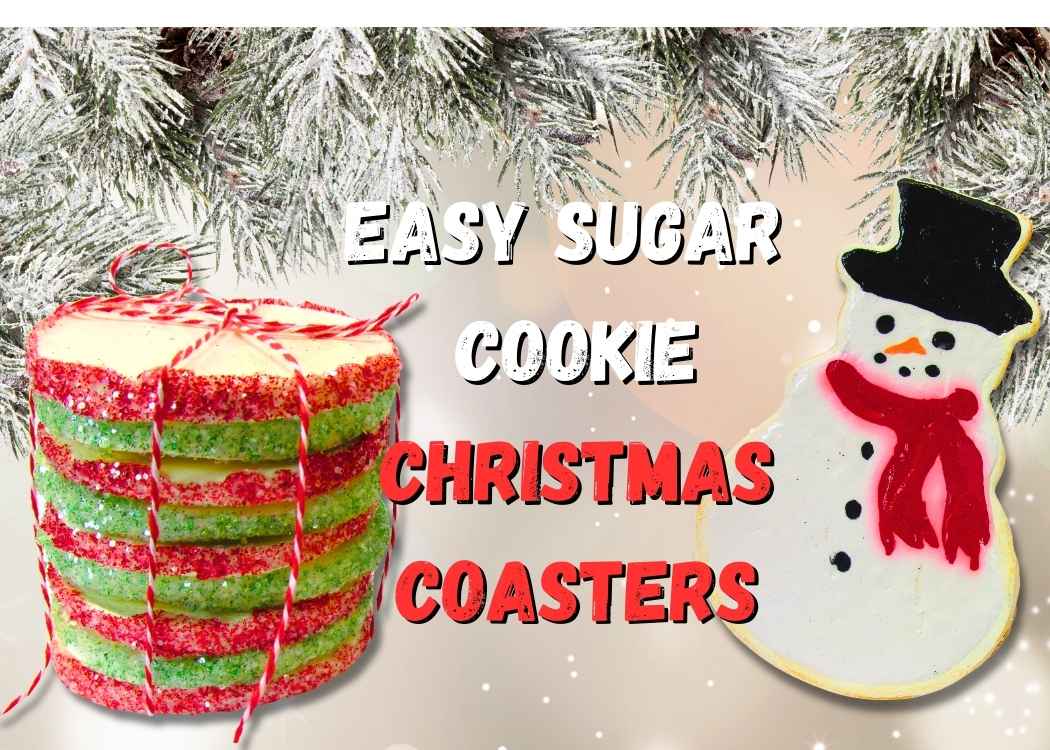
Make adorable Christmas cookie drink coasters with this easy sugar cookie DIY tutorial. Fun holiday crafts perfect for gifting or decorating.
The holiday season always sneaks up on me, and nothing gets me in the Christmas spirit faster than cookies!
The smell, the memories, the decoration…I love all of it!
But today, instead of eating them (trust me, I’ve done plenty of that too), we’re making adorable Christmas cookie coasters!
All the charm and none of the guilt!
These sweet little coasters add a cozy, homespun touch to your holiday decor, and they look so real that everyone will try to take a bite…yup that happened here!
Whether you’re crafting for yourself or putting together a cute handmade gift, these are such a fun seasonal project.
Here is the Easy Sugar Cookie Christmas Craft Video Tutorial
Be sure to follow me on YouTube!
Supplies You Will Need for the Easy Sugar Cookie Coasters
*Disclosure: This blog uses affiliate links from Amazon and other retailers. I earn a small amount from qualifying purchases at no additional cost to you.
- Paper clay
- Acrylic paint (white, ivory, red, orange, milk chocolate brown, and black)
- Glue (must dry clear)
- Super Gloss Mod Podge
- Squeeze bottles
- Clear glitter
- Fine red glitter
- Fine green glitter
- Skewer stick or toothpick
Directions for Round Sugar Cookie Coasters
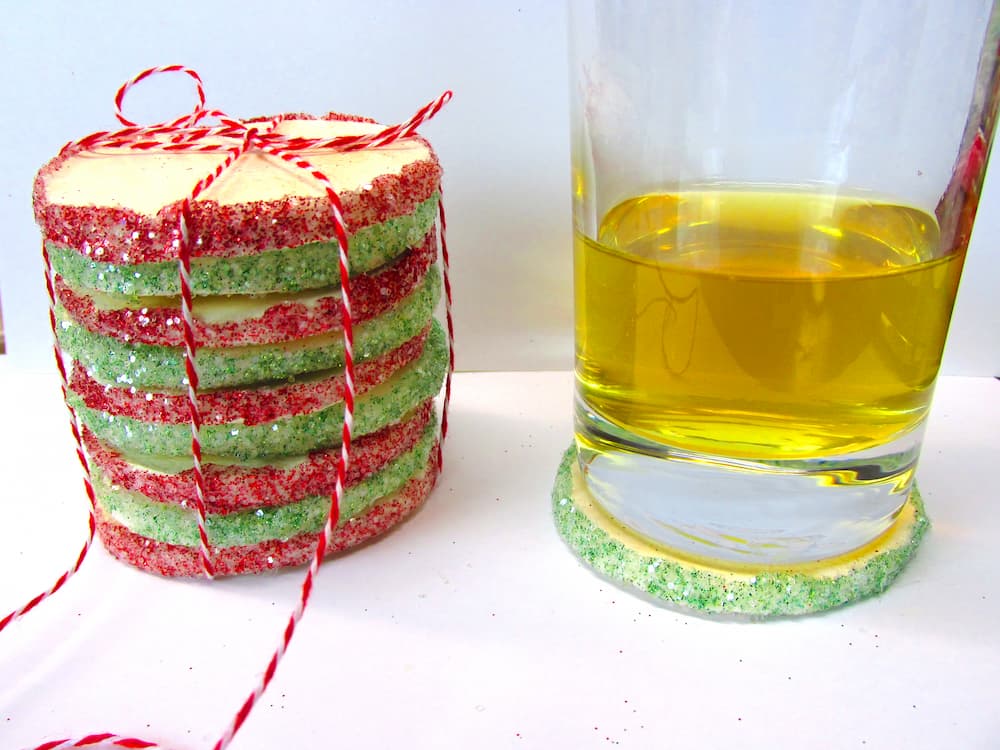
These look exactly like the classic easy sugar cookie, with the sugared edges, that you’d put out for Santa.

I love tying them up with a little baker’s twine. It makes them look like they came straight out of a charming little bakery.
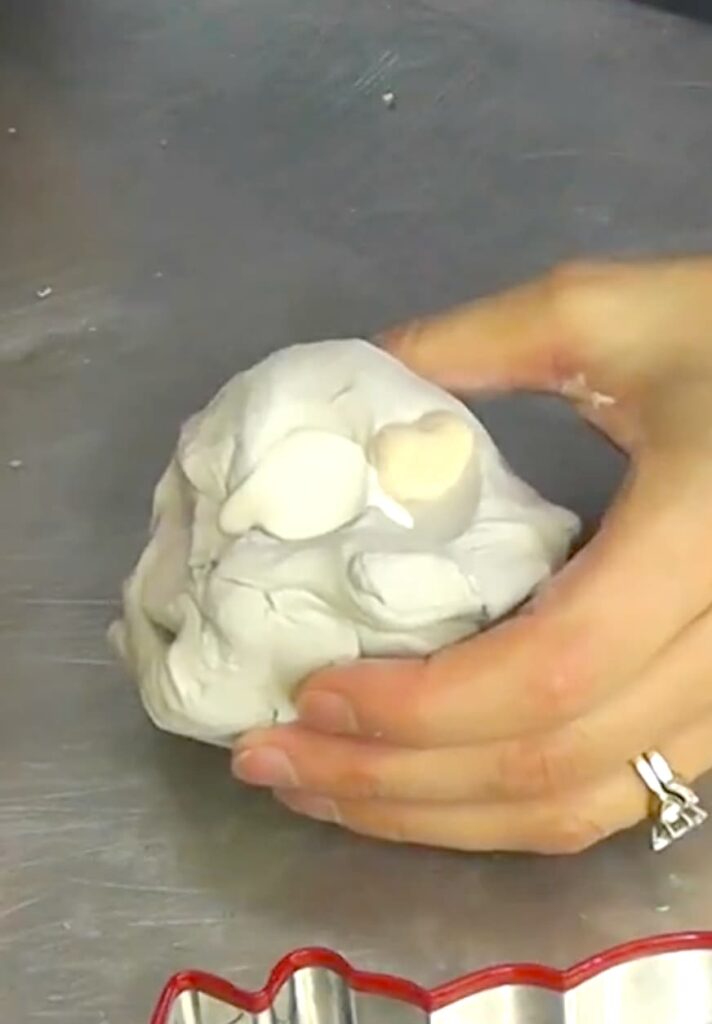
Step 1: Prepare and Color the Clay
Knead your air-dry clay until it is soft. I mix a little vanilla (or white and ivory) paint right away because it gives the clay that perfect, easy sugar cookie color before we even start decorating.
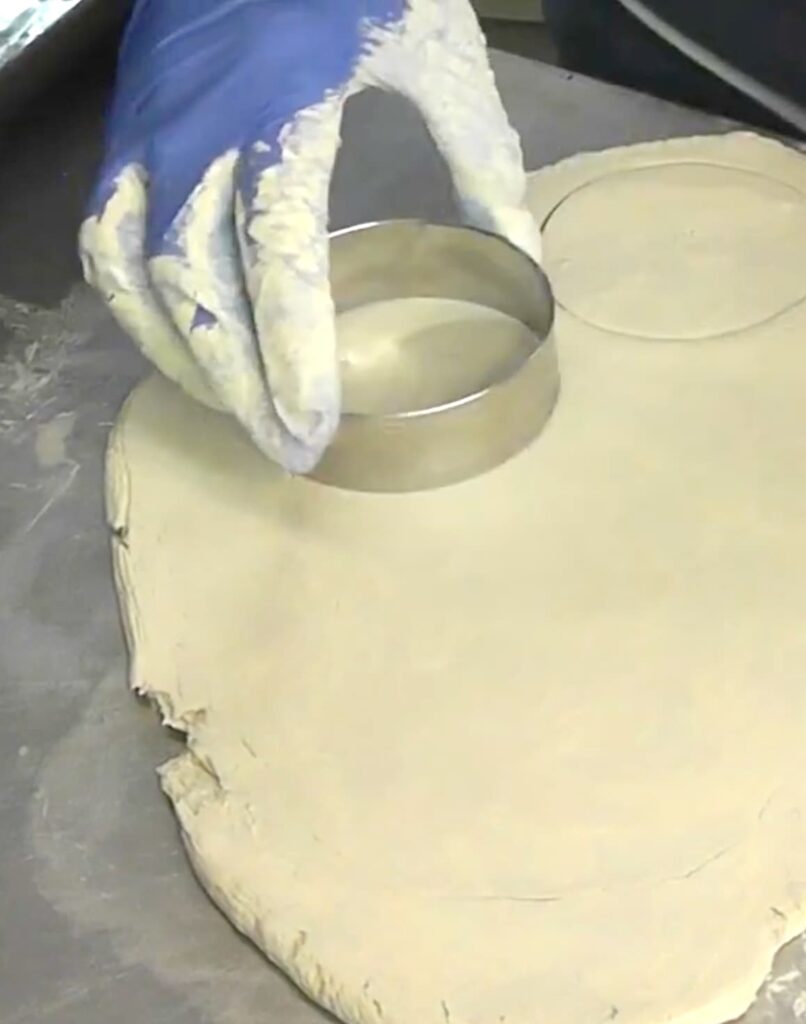
Step 2: Roll and Cut
Roll the clay out and use a circle cookie cutter – just like the actual cookies.
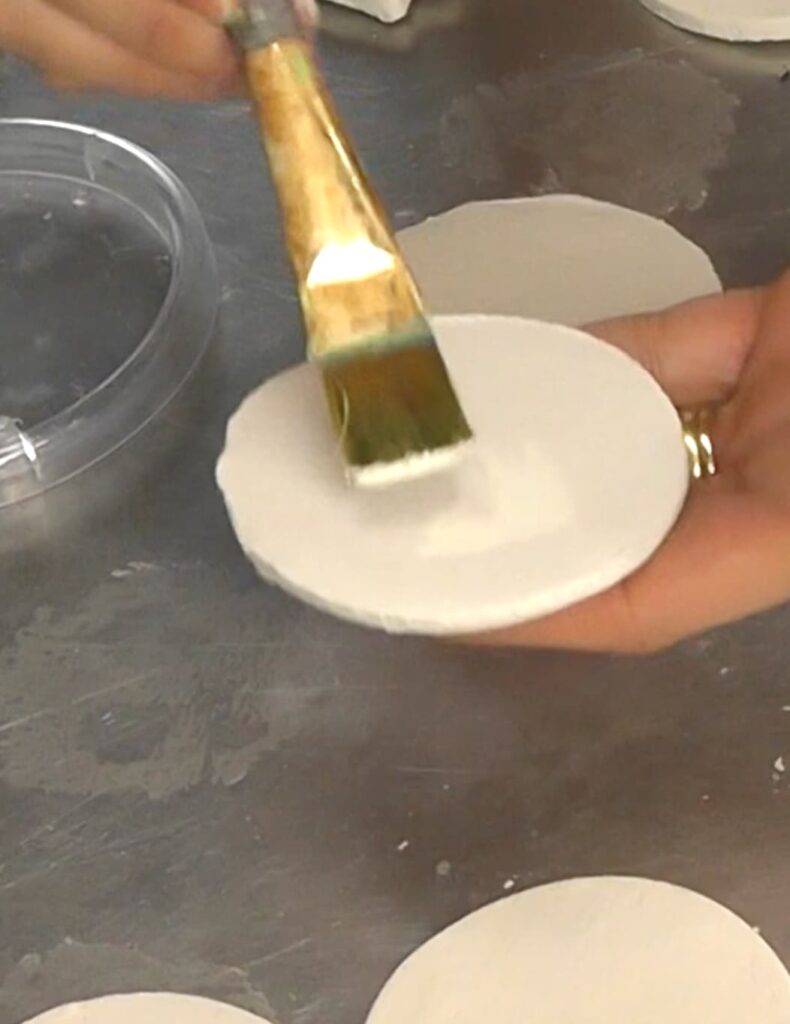
Step 3: Dry and Paint
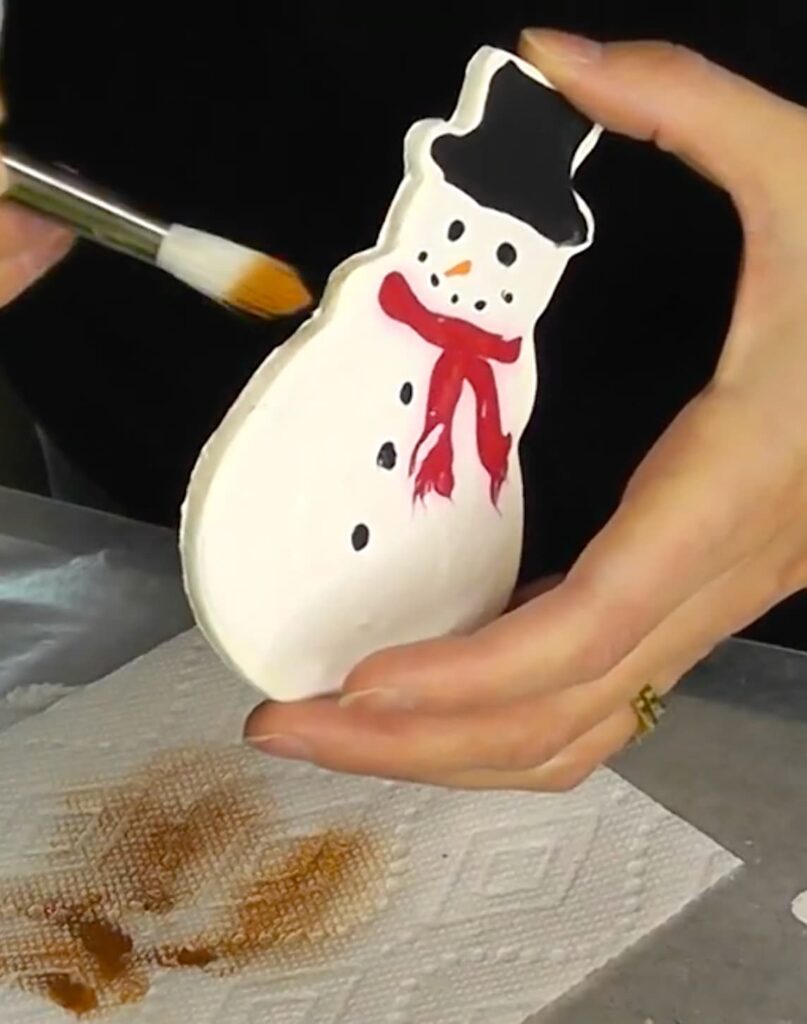
Let them dry completely. Brush on vanilla acrylic paint, dab with a paper towel, and you’ll get a flawless cookie finish.
Step 4: Add “Baked” Edges
Dry-brush the edges with brown paint. This tiny step suddenly makes them look like a fresh batch straight from the oven.

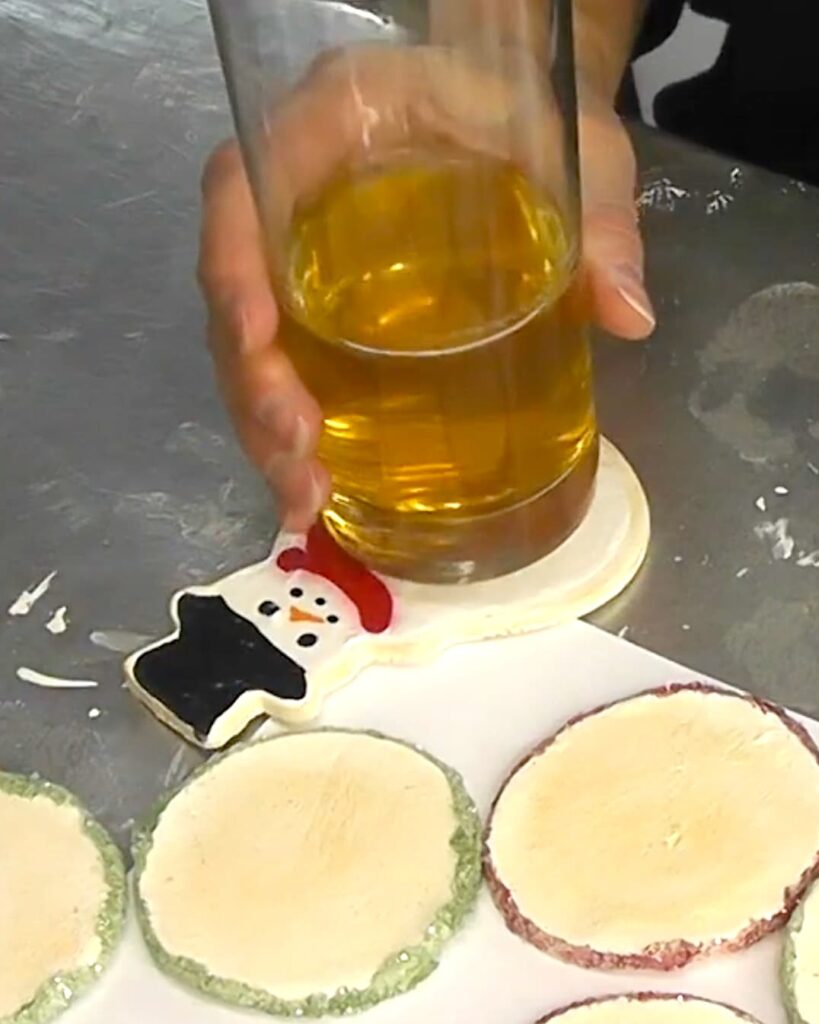
Step 5: Add Sugar Edges
I mixed a chunky white/clear glitter with red, and then I did a batch with green.
Classic Christmas, of course!
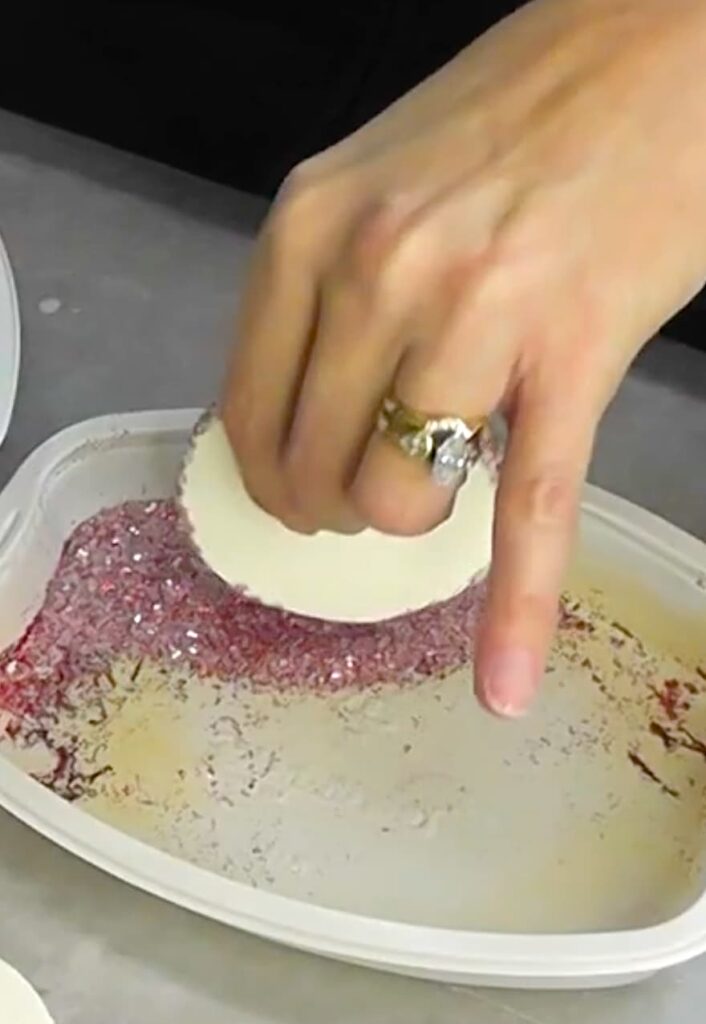
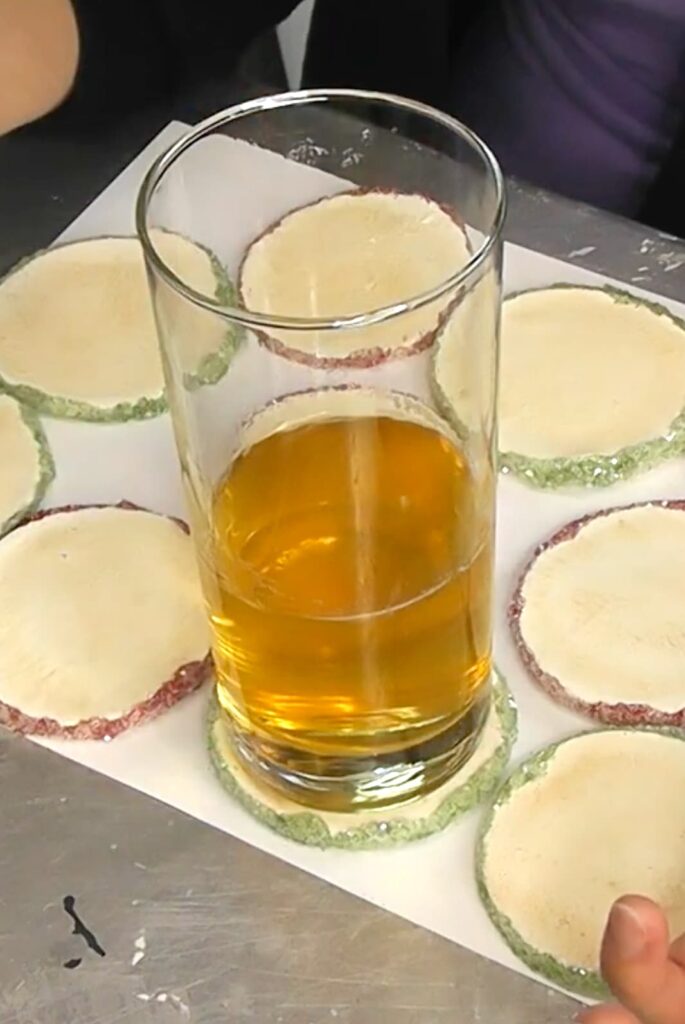
Run glue around the edges and dip into the glitter. Once the cookies are sealed with Mod Podge or any other sealer, they look sugary and sparkly!
You’d never guess they aren’t edible. This might be the most easy sugar cookie craft you are going to find.
But I still have one more! The snowman cookie.
Directions for Snowman Cookie Coasters
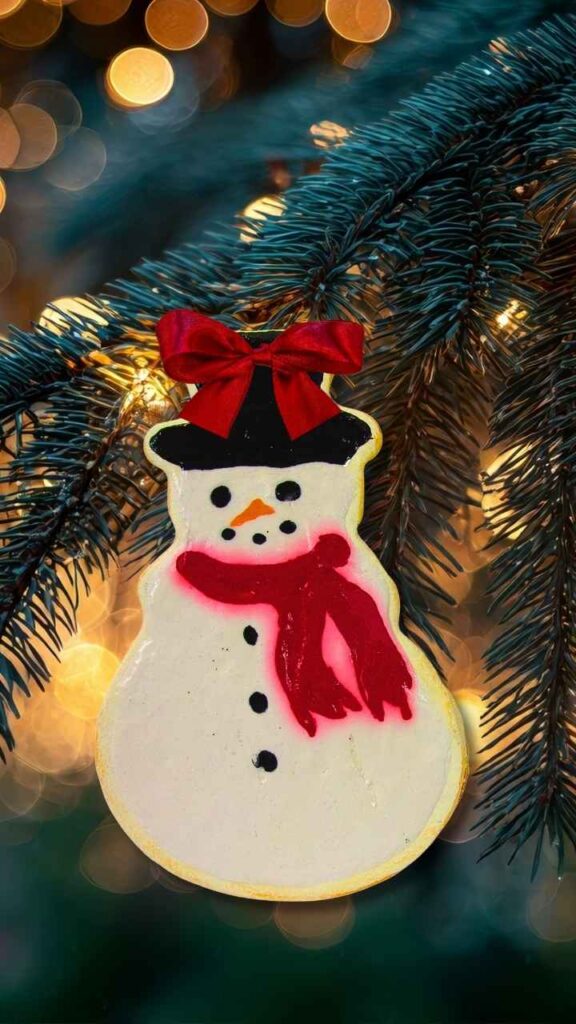
These little guys always make me smile, and by the way, they can double as a Christmas ornament. They look like the kind of iced Christmas cookies we used to make growing up, except these won’t leave powdered sugar all over the kitchen.
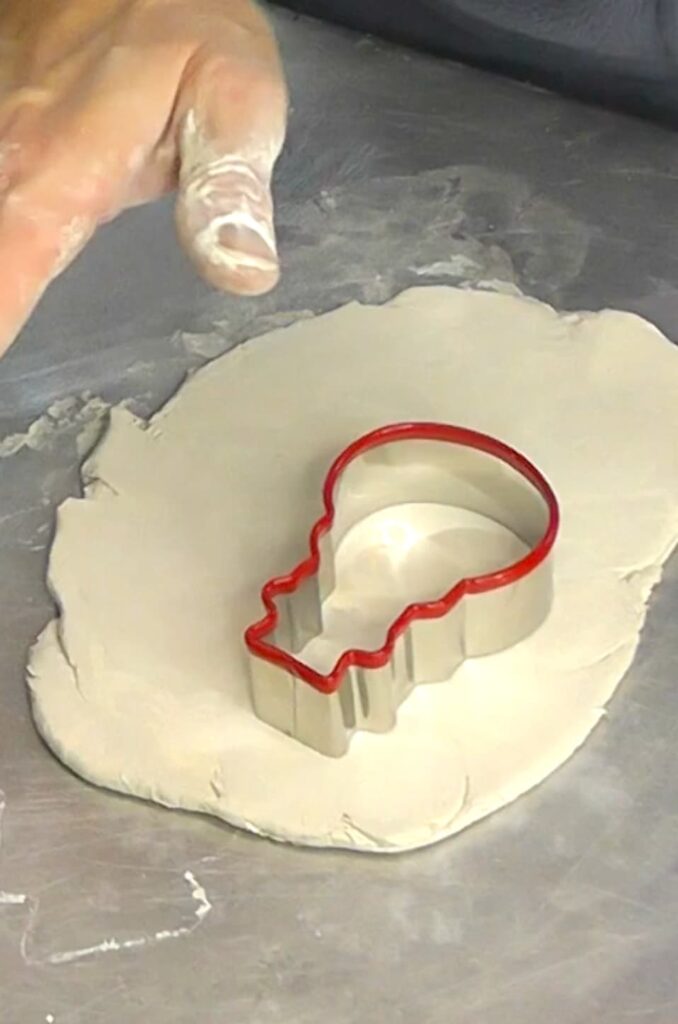
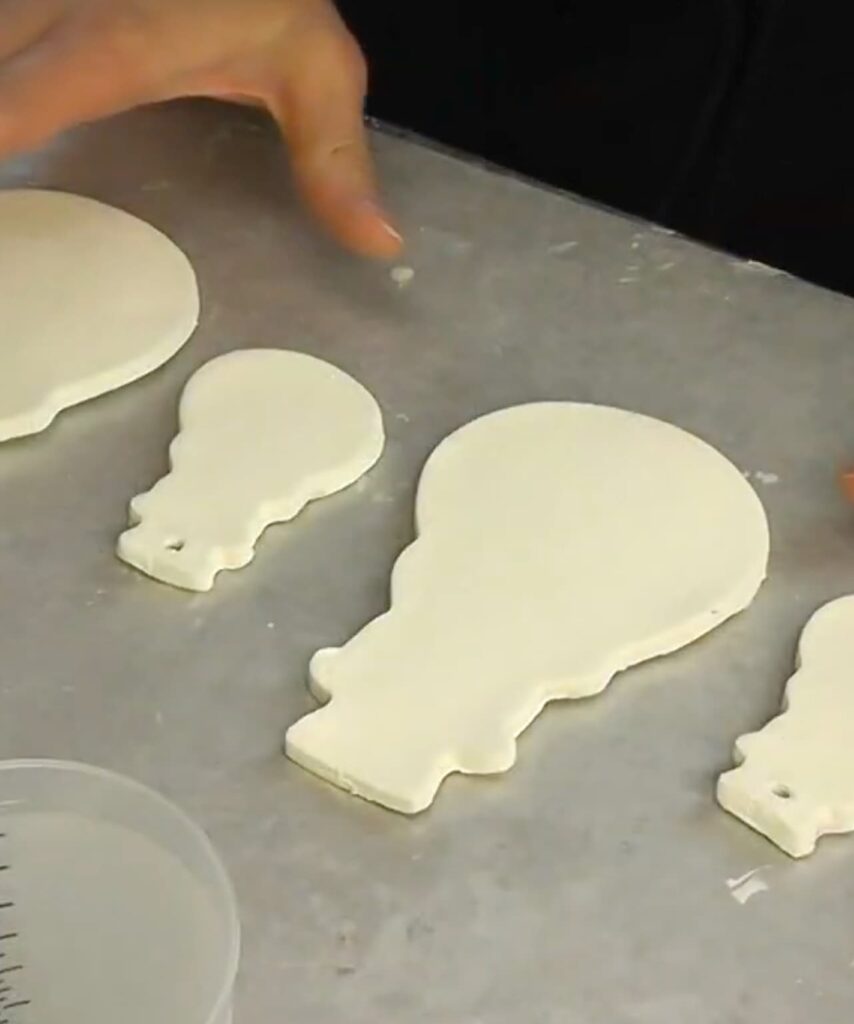
Step 1: Roll and Cut the Clay
Roll the clay and cut out your snowmen using a cookie cutter.
Step 2: Dry and Base Paint
Once dry, brush with vanilla/ivory paint, so they look like a real easy sugar cookie straight from grandma’s kitchen.
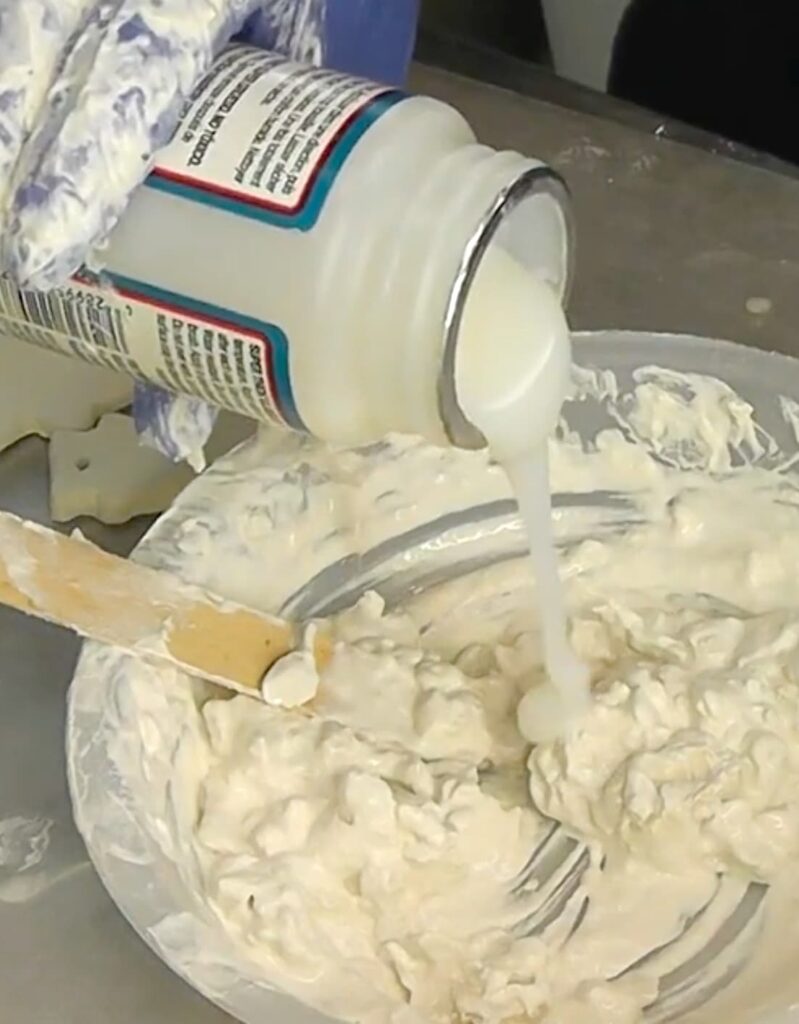
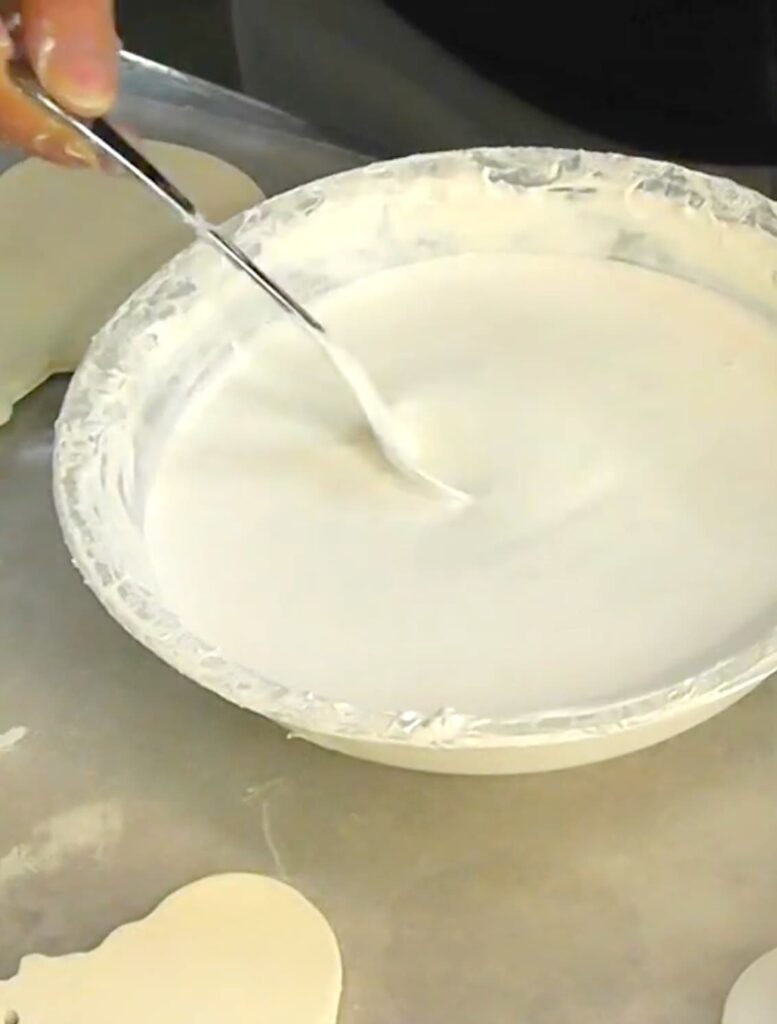
Step 3: Make the Frosting
Mix paper clay, white paint, water, and Super Gloss Mod Podge until smooth. Divide into squeeze bottles and tint the amounts you need.
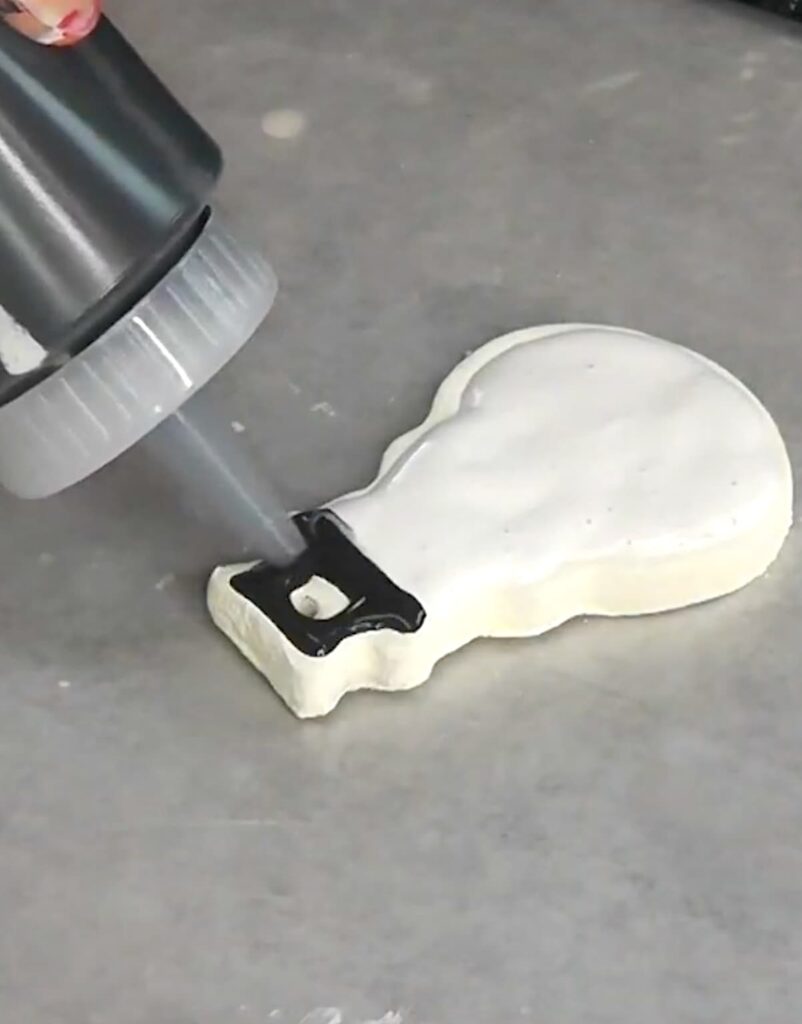
Step 4: Frost and Decorate
Give your snowman cookies the icing job they deserve. Use the squeeze bottles to apply the tinted “icing” and a skewer stick to help with the tiny features.
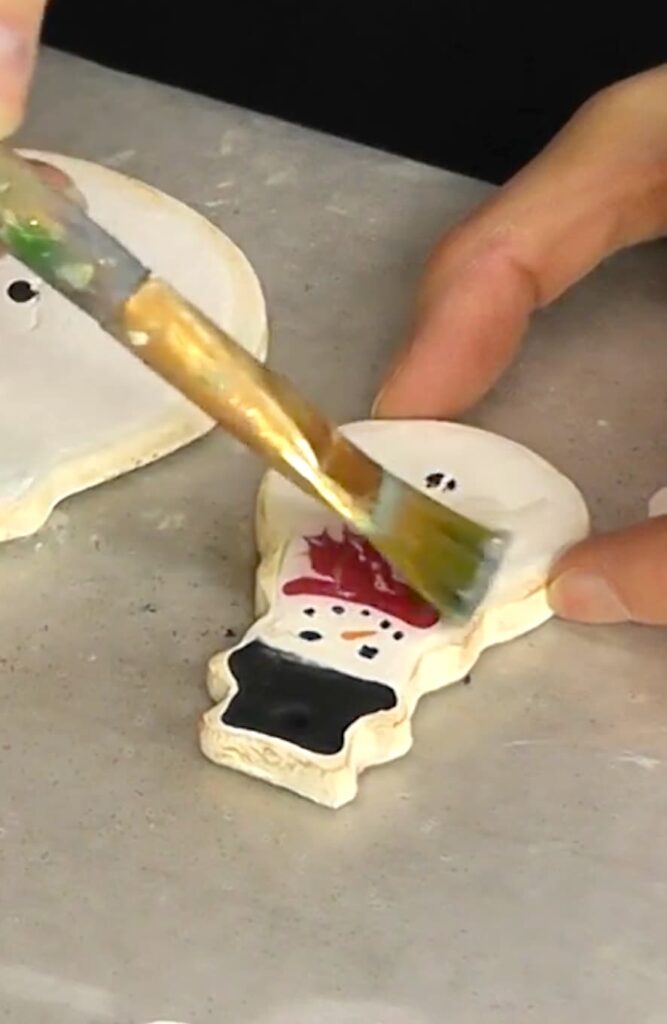
Also, using a brown paint (most of the paint should be off of the cookie) do a light brush to create the baked edges.
Step 5: Dry and Seal
Let everything dry wall and finish with satin or gloss Mod Podge. They look glossy, sugary, and so cute you’ll want to make a whole plate of them!
These pair beautifully with the round, easy sugar cookie coasters.
Enjoy Your Holiday Creations!
I hope these Christmas cookie coasters add a little sweetness to your holiday season. They’re fun, festive, and a great reminder that holiday crafting doesn’t have to be complicated.
Sometimes the simplest, easy sugar cookie project brings the most joy!
This project was made as coasters, but they can easily be a Christmas ornament if you add a hole into the hat of the snowman.
More Amazing Christmas Crafts!
- Wood Engraved Ornament
- Gingerbread Man Christmas Craft
- How to Make a Candy Dish for Christmas
- DIY Lollipop Christmas Coaster Set
Thanks for hanging out with me today!
Remember: Life’s too short not to shimmer, so grab your glue gun and your glitter!™
Mona