![grateful, grateful sign, how to, diy, cricut, cricut crafts, cricut projects, how to make a sign, how to paint a sign, craft, crafts, crafting, thanksgiving, thanksgiving craft idea, thanksgiving decorations, home decor, thanksgiving crafts, handmade](https://www.craftklatch.com/wp-content/uploads/2017/11/Grateful2Bsign.png)
Learn how to make a grateful sign for Thanksgiving!
Here is a quick video tutorial to show you exactly how I made it:
You will need:
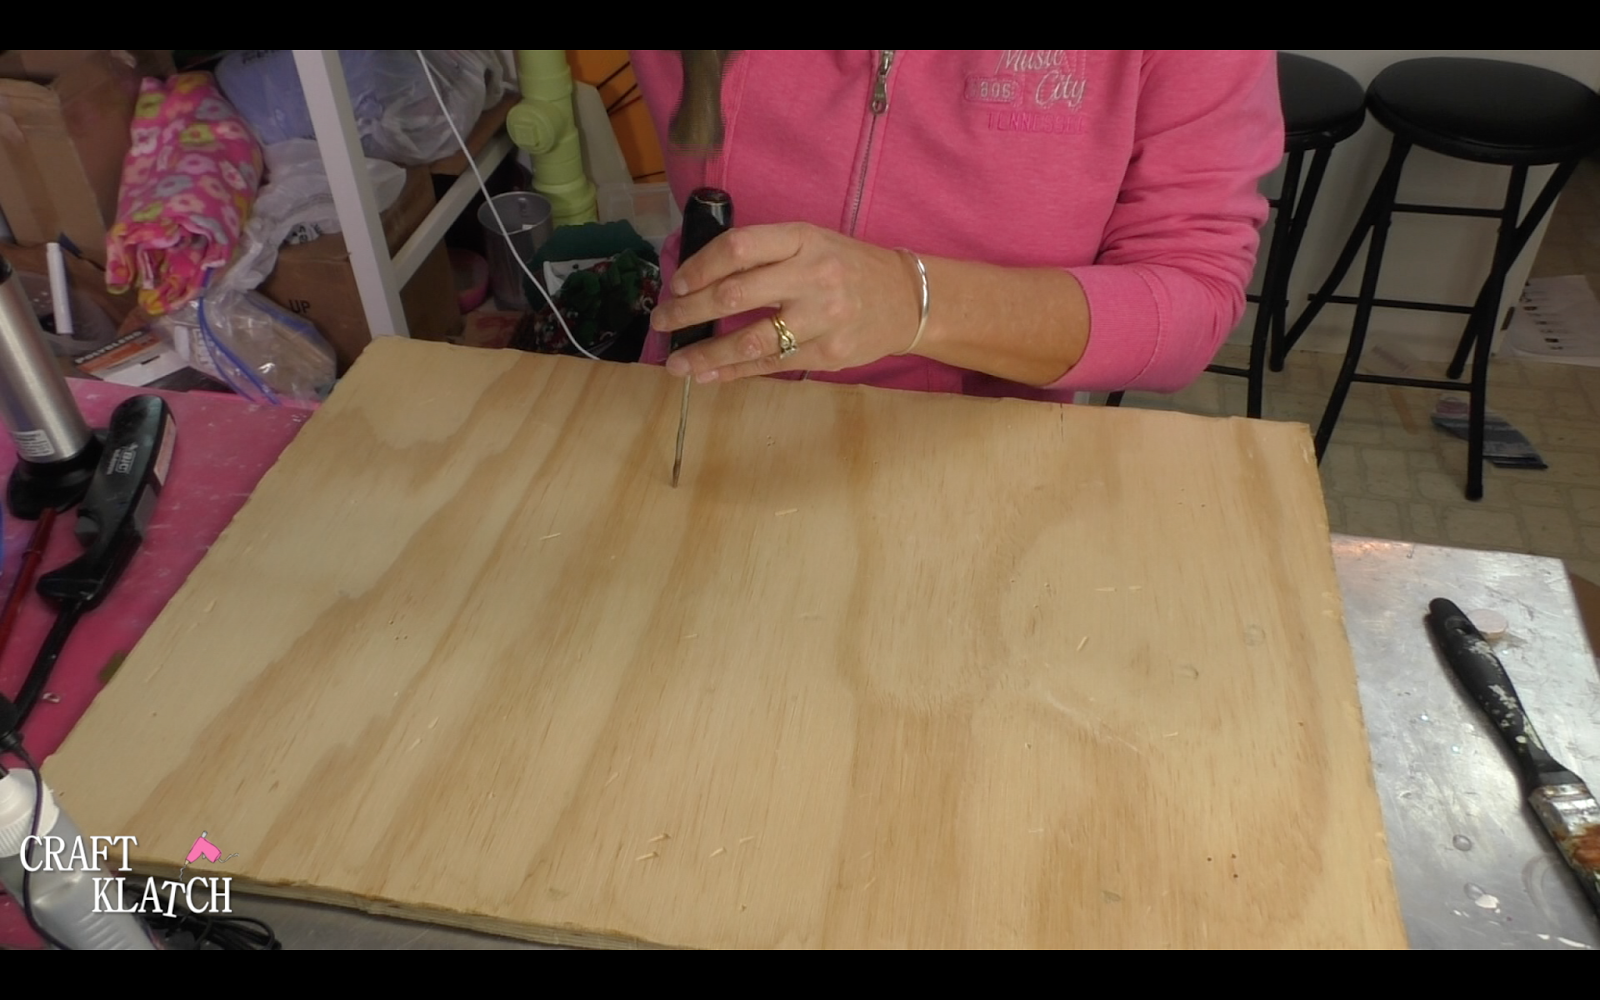
Piece of plywood sized to whatever size you need
Tools or anything to help distress the wood
Stencil or cutting machine: https://shrsl.com/lmoe
Vinyl: https://shrsl.com/lmol
Acrylic paint: https://amzn.to/2Apno1p
(I used burnt umber, orange, gray and white)
Matte varnish: https://amzn.to/2ybcsml
Directions:
1. I had a piece of plywood laying around and decided to turn it into a sign for Thanksgiving.
![](https://www.craftklatch.com/wp-content/uploads/2017/11/Screen2BShot2B2017-11-192Bat2B2.57.152BPM.png)
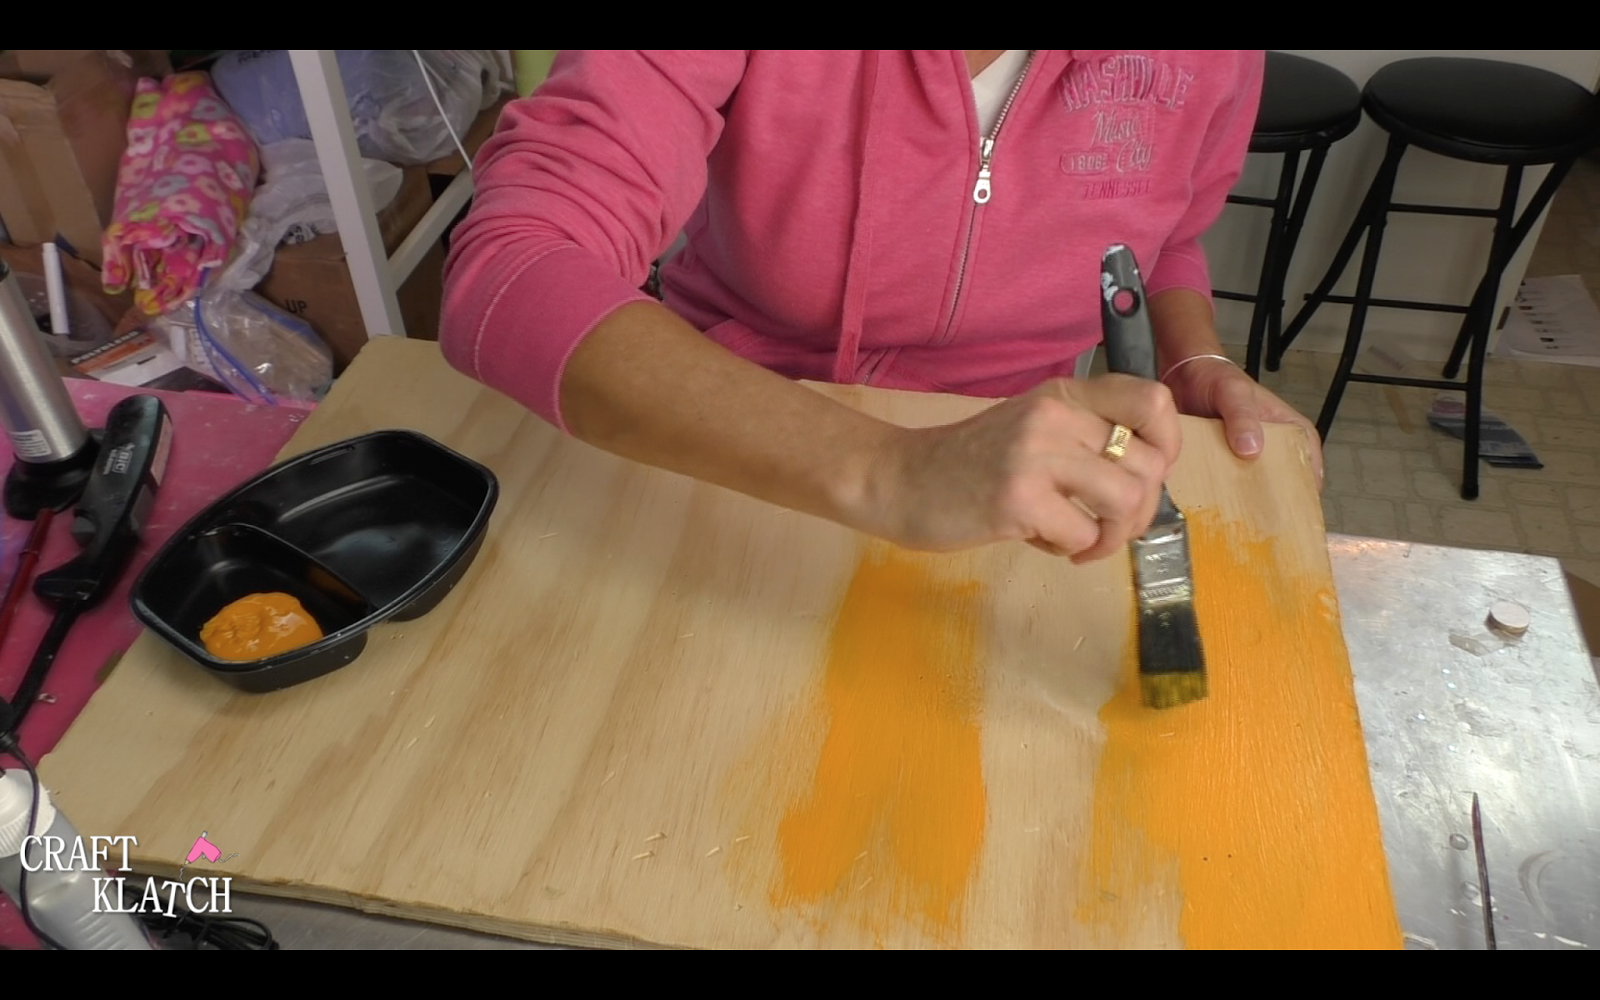
2. I painted it orange.
![](https://www.craftklatch.com/wp-content/uploads/2017/11/Screen2BShot2B2017-11-192Bat2B2.57.332BPM.png)
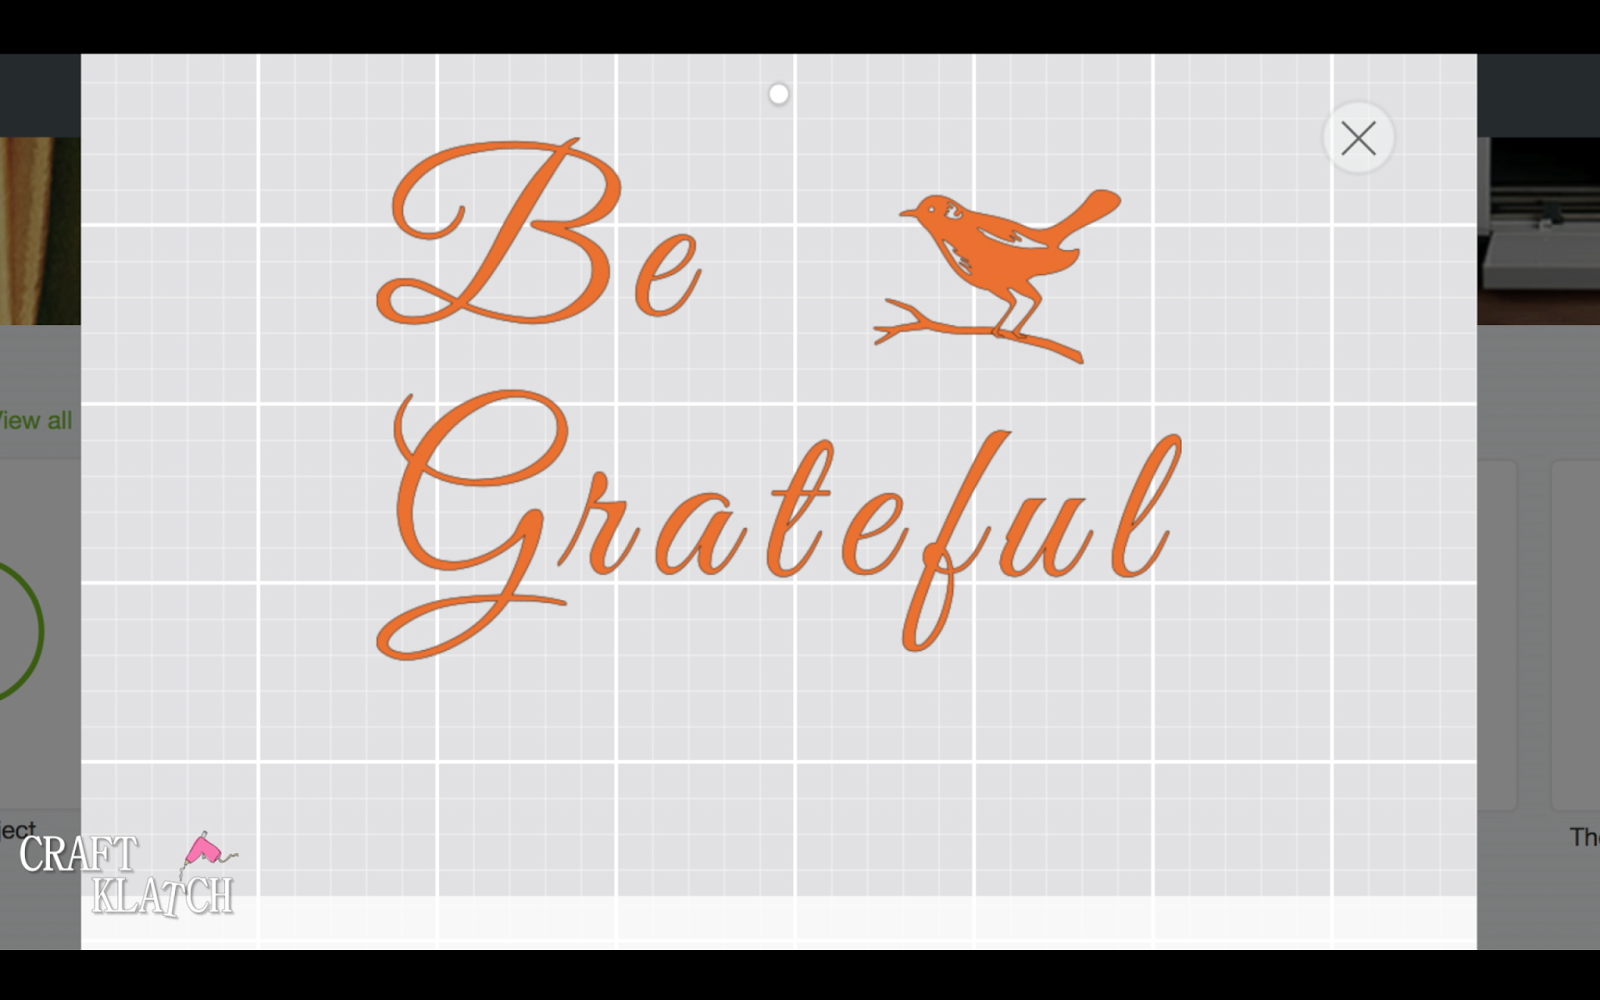
3. I created the words in Cricut Design Space. You can size it any size to fit the material you have.
![](https://www.craftklatch.com/wp-content/uploads/2017/11/Screen2BShot2B2017-11-192Bat2B2.57.392BPM.png)
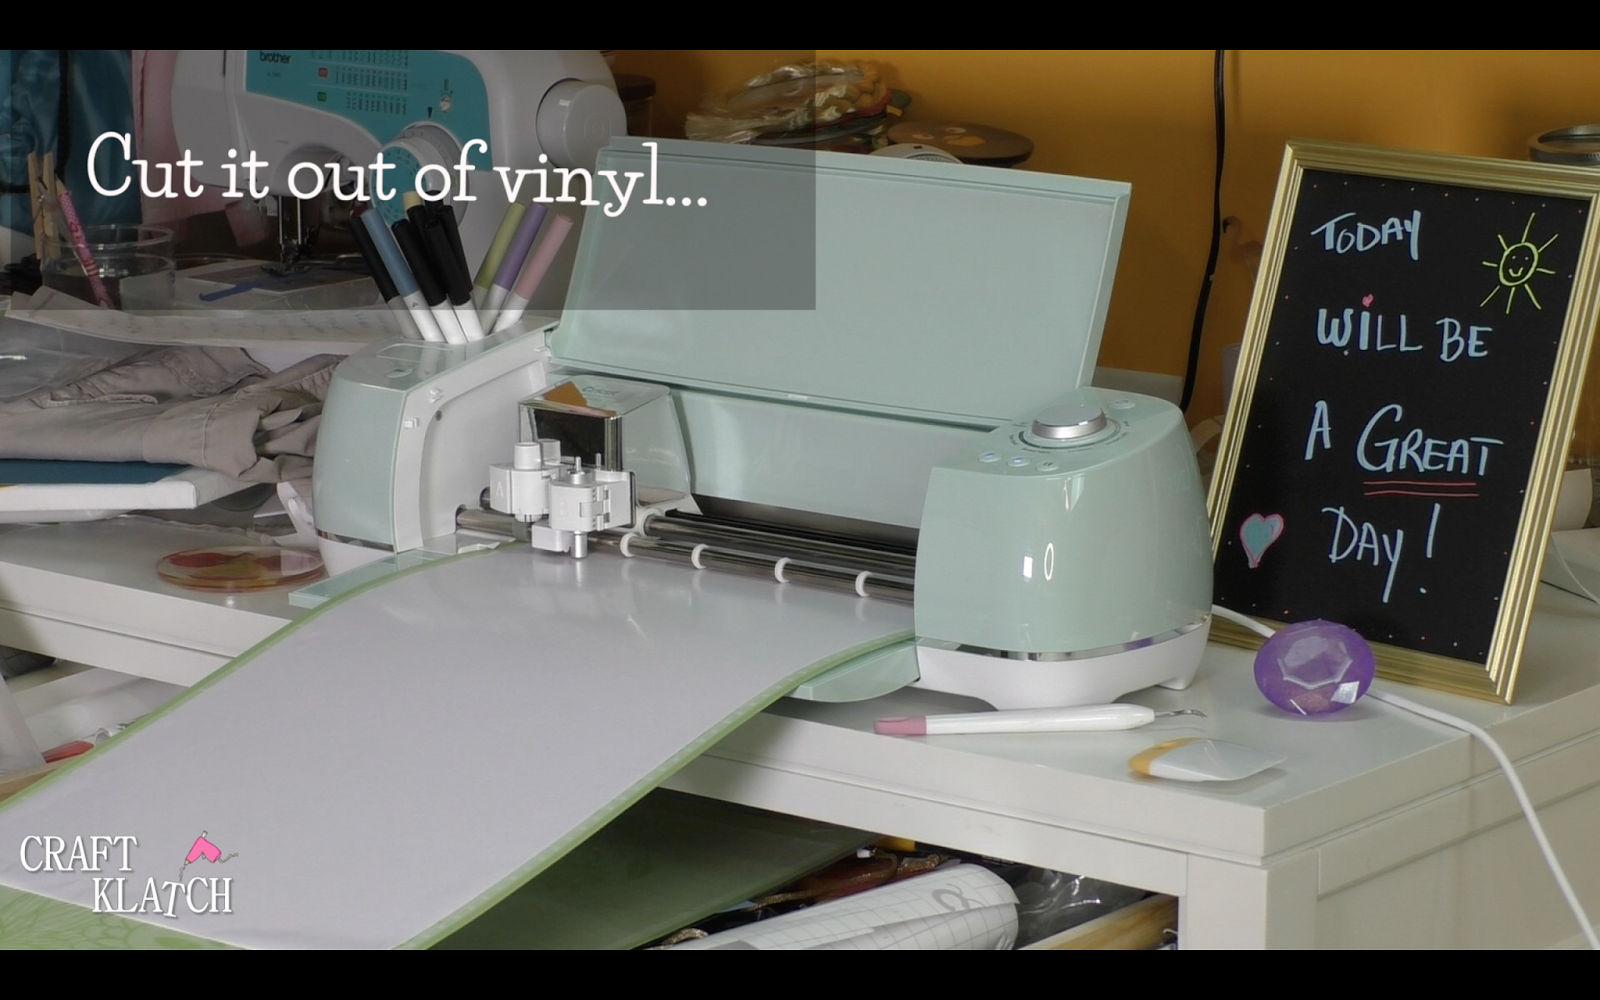
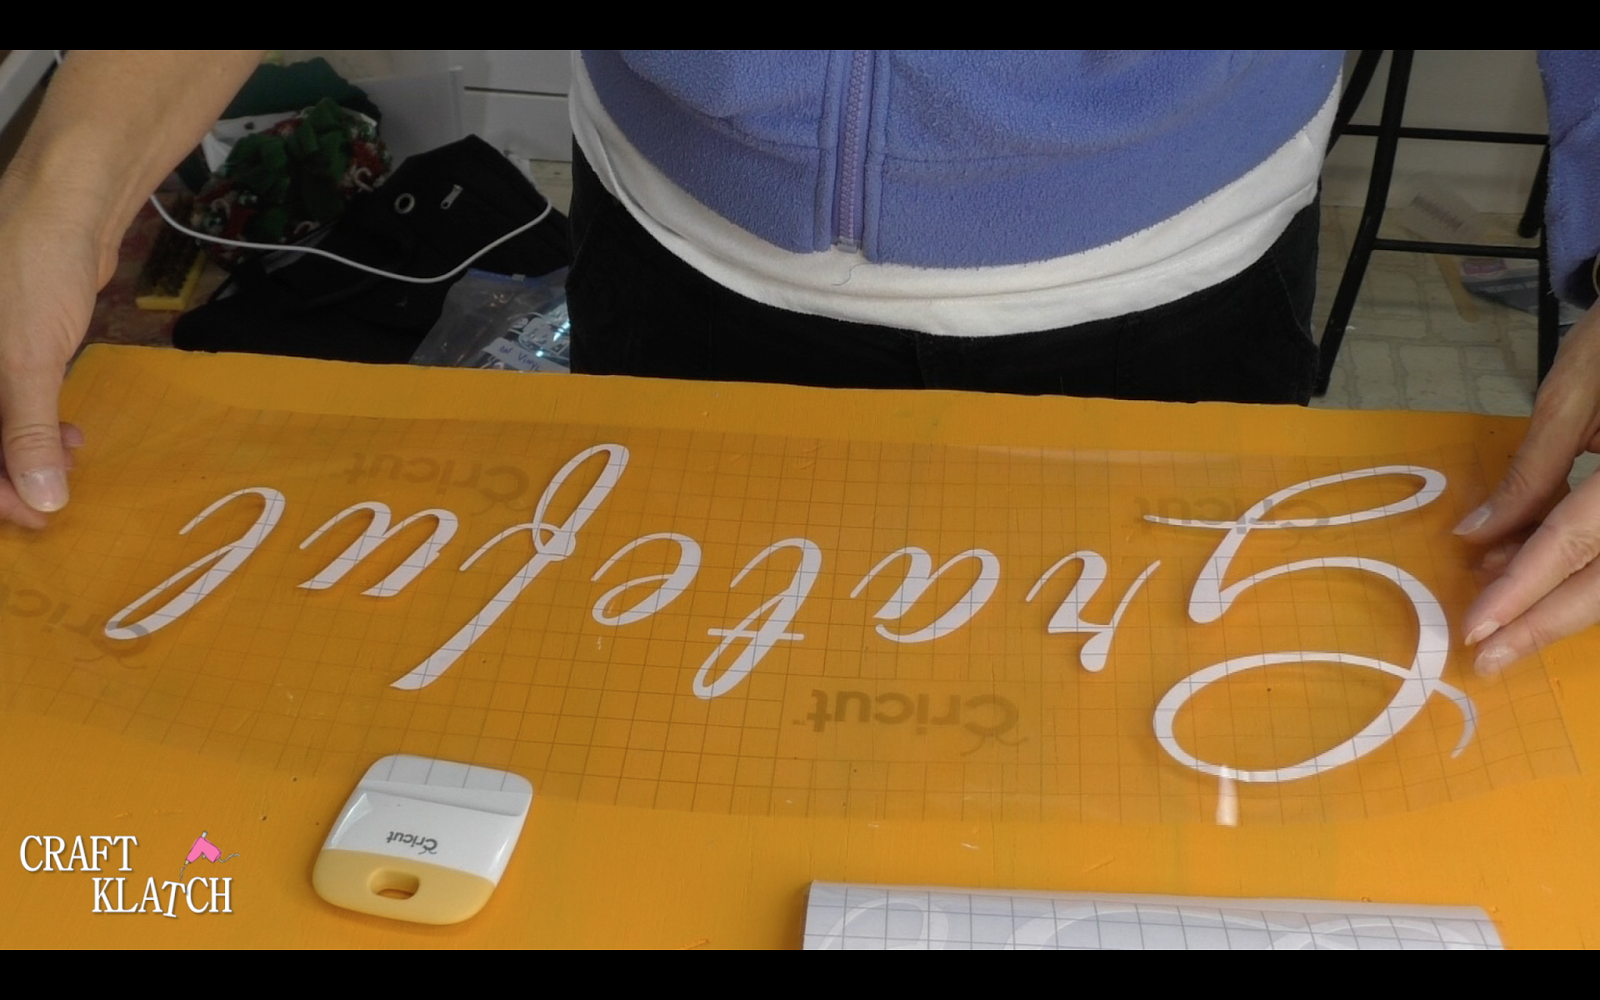
4. Then I cut it out of vinyl.
![](https://www.craftklatch.com/wp-content/uploads/2017/11/Screen2BShot2B2017-11-192Bat2B2.57.462BPM.png)
5. I put pulled off the excess vinyl and put transfer tape over it. Then, I pulled up the transfer tape to get the lettering.
![](https://www.craftklatch.com/wp-content/uploads/2017/11/Screen2BShot2B2017-11-192Bat2B2.58.032BPM.png)
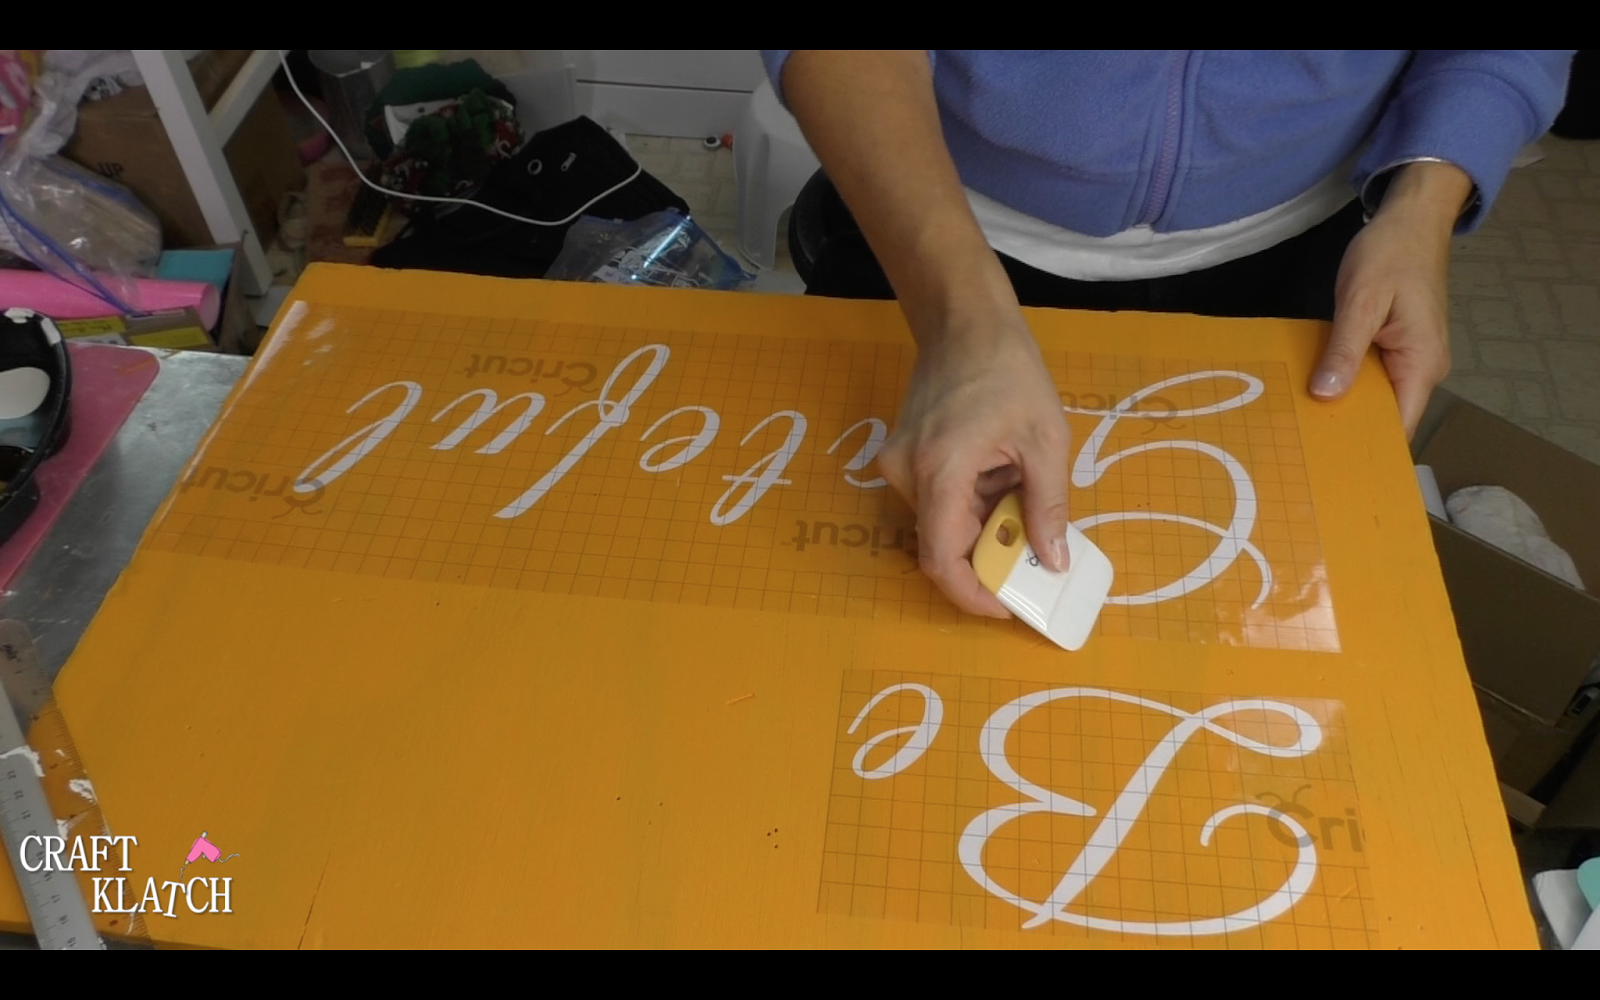
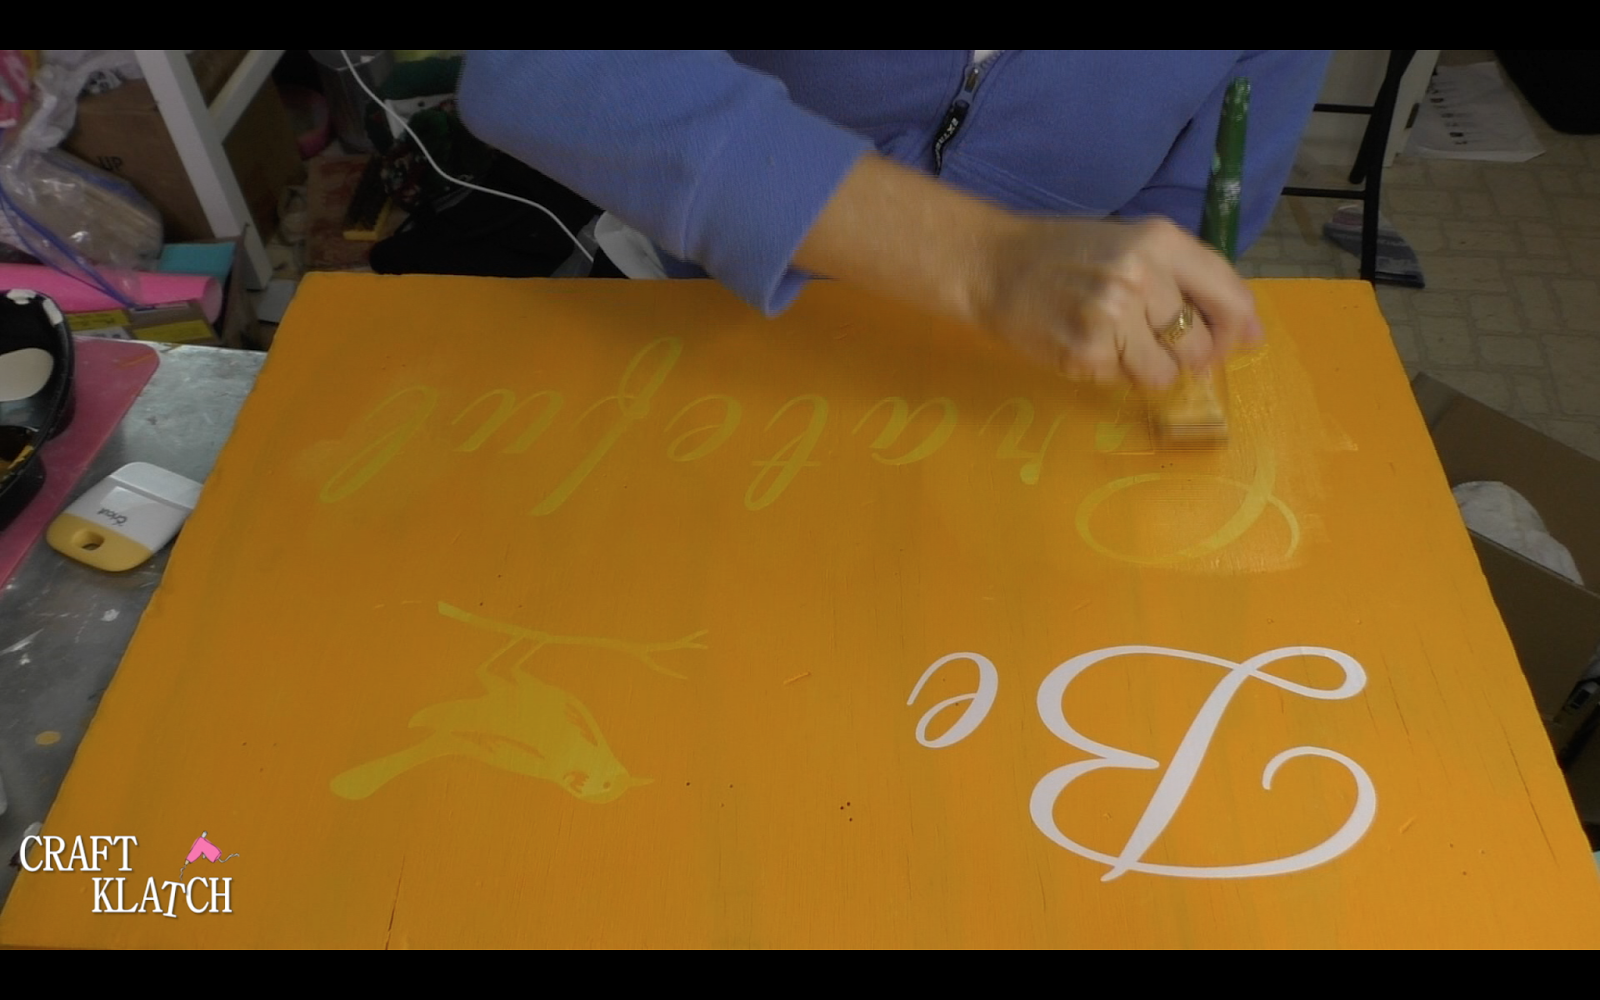
6. I then laid down the lettering onto the painted board (which was now dry).
![](https://www.craftklatch.com/wp-content/uploads/2017/11/Screen2BShot2B2017-11-192Bat2B2.58.092BPM.png)
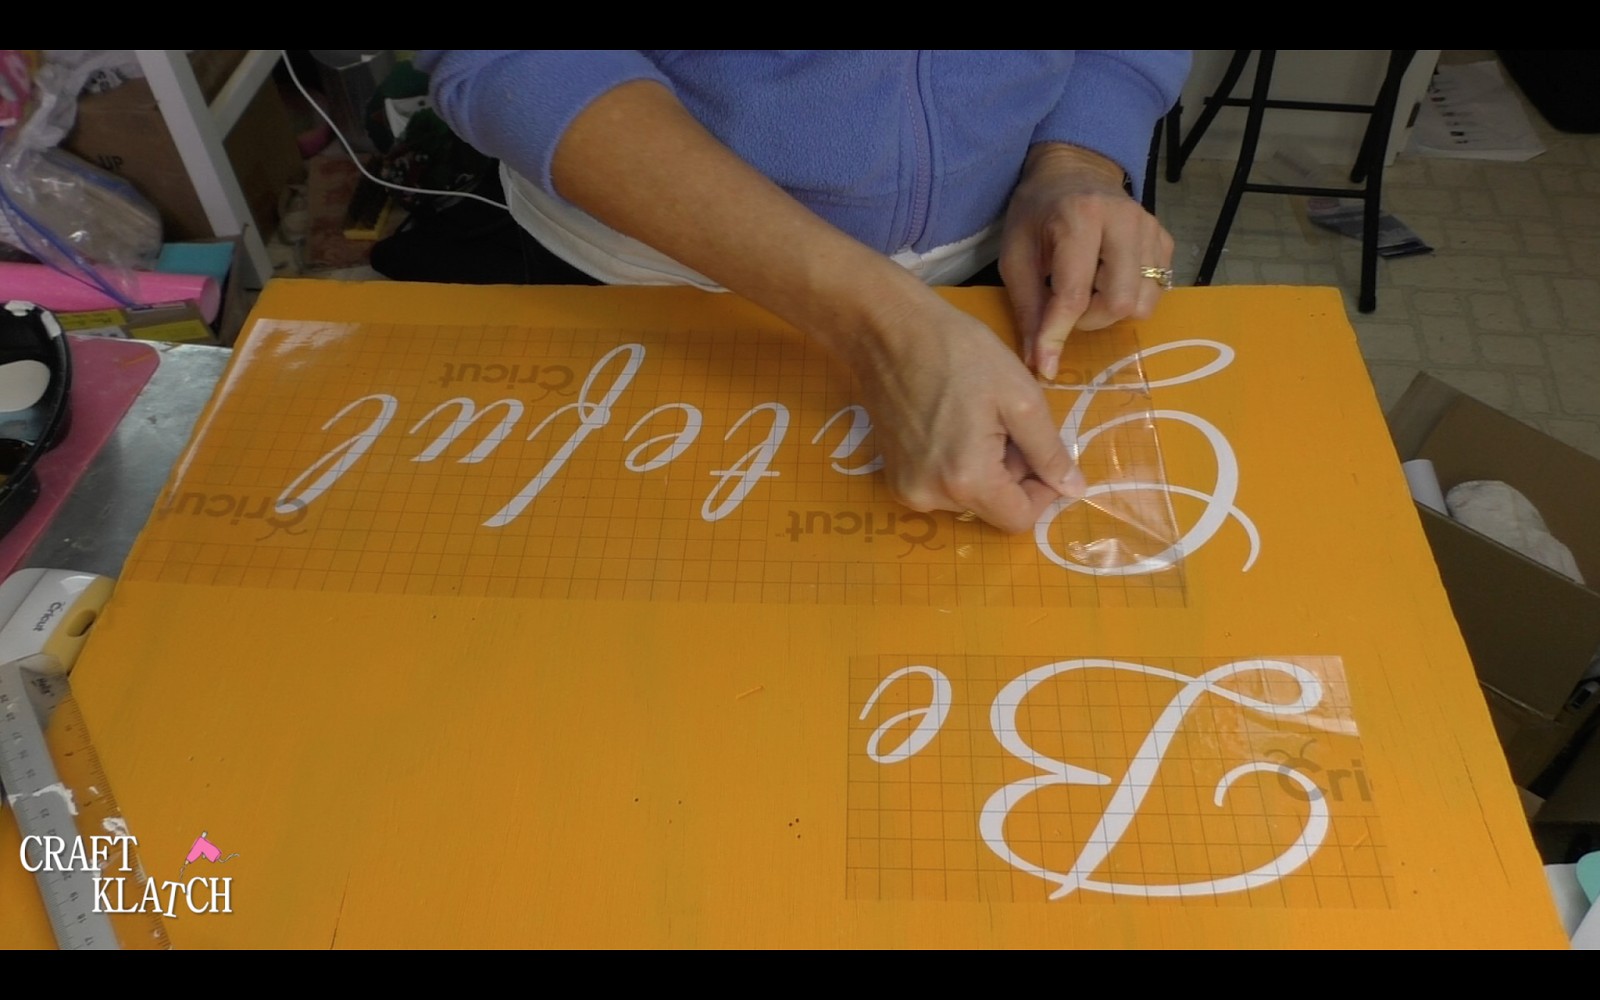
7. I then burnished it all down.
![](https://www.craftklatch.com/wp-content/uploads/2017/11/Screen2BShot2B2017-11-192Bat2B2.58.412BPM.png)
8. Then I pulled back the transfer tape, leaving the lettering behind.
![](https://www.craftklatch.com/wp-content/uploads/2017/11/Screen2BShot2B2017-11-192Bat2B2.58.532BPM.png)
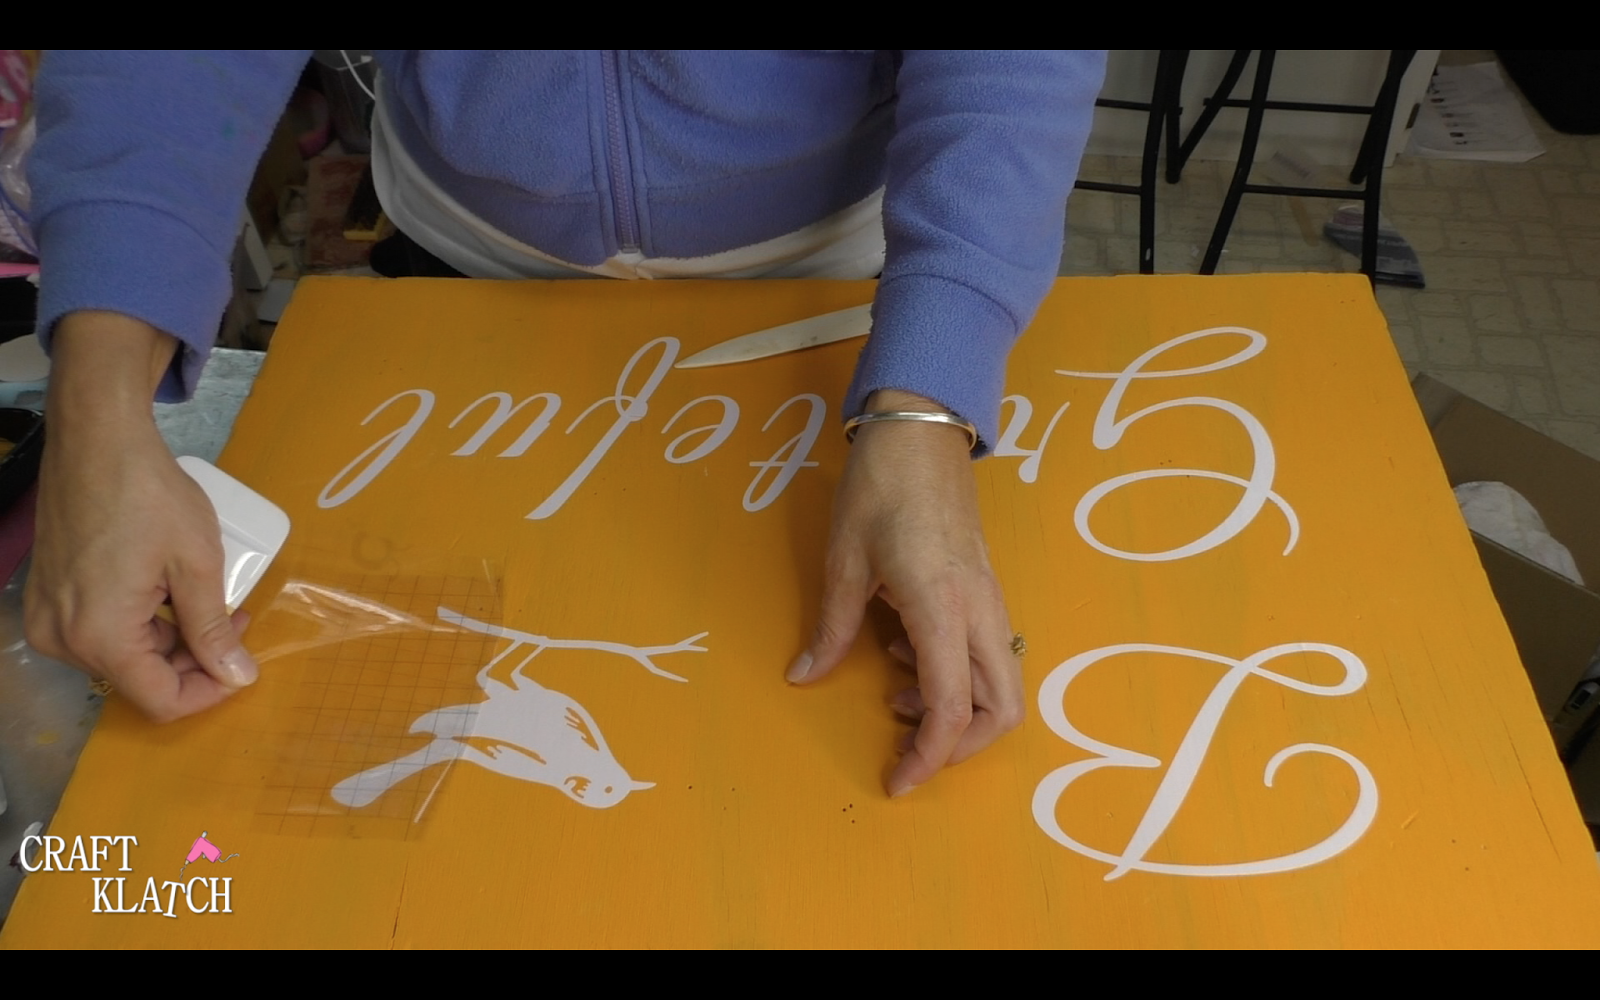
9. Then I decided a bird might be a nice touch.
![](https://www.craftklatch.com/wp-content/uploads/2017/11/Screen2BShot2B2017-11-192Bat2B2.59.132BPM.png)
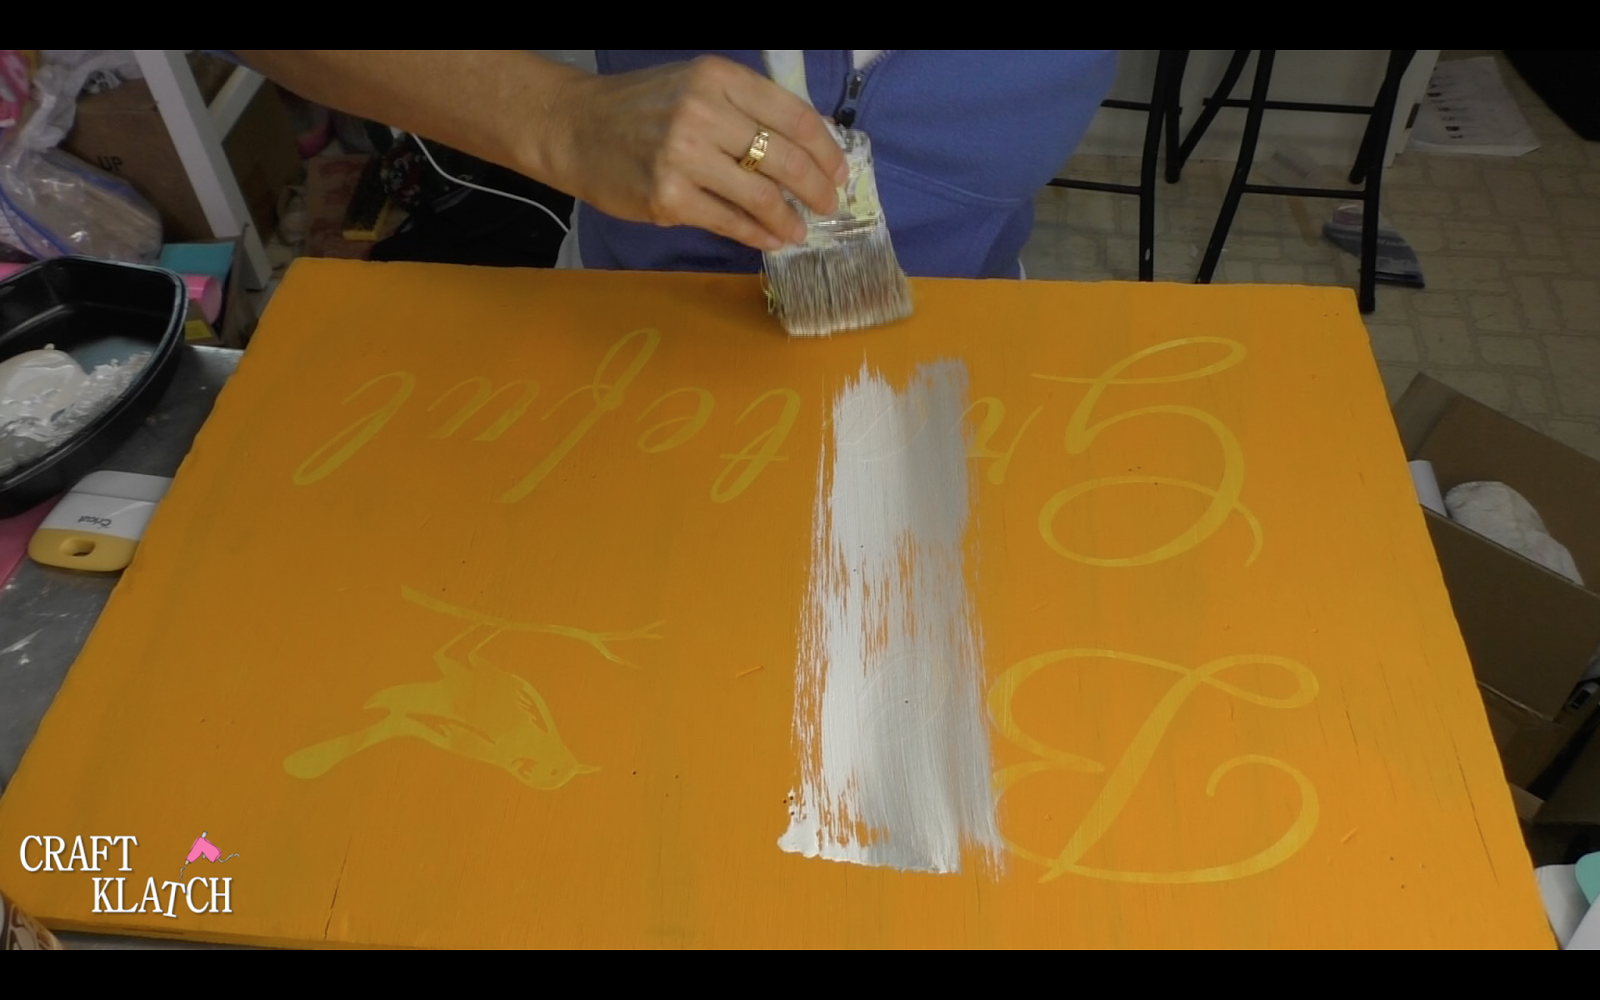
10. I painted over everything with the same orange paint. I do this so it seals the vinyl and we will get nice crisp edges.
![](https://www.craftklatch.com/wp-content/uploads/2017/11/Screen2BShot2B2017-11-192Bat2B2.59.222BPM.png)
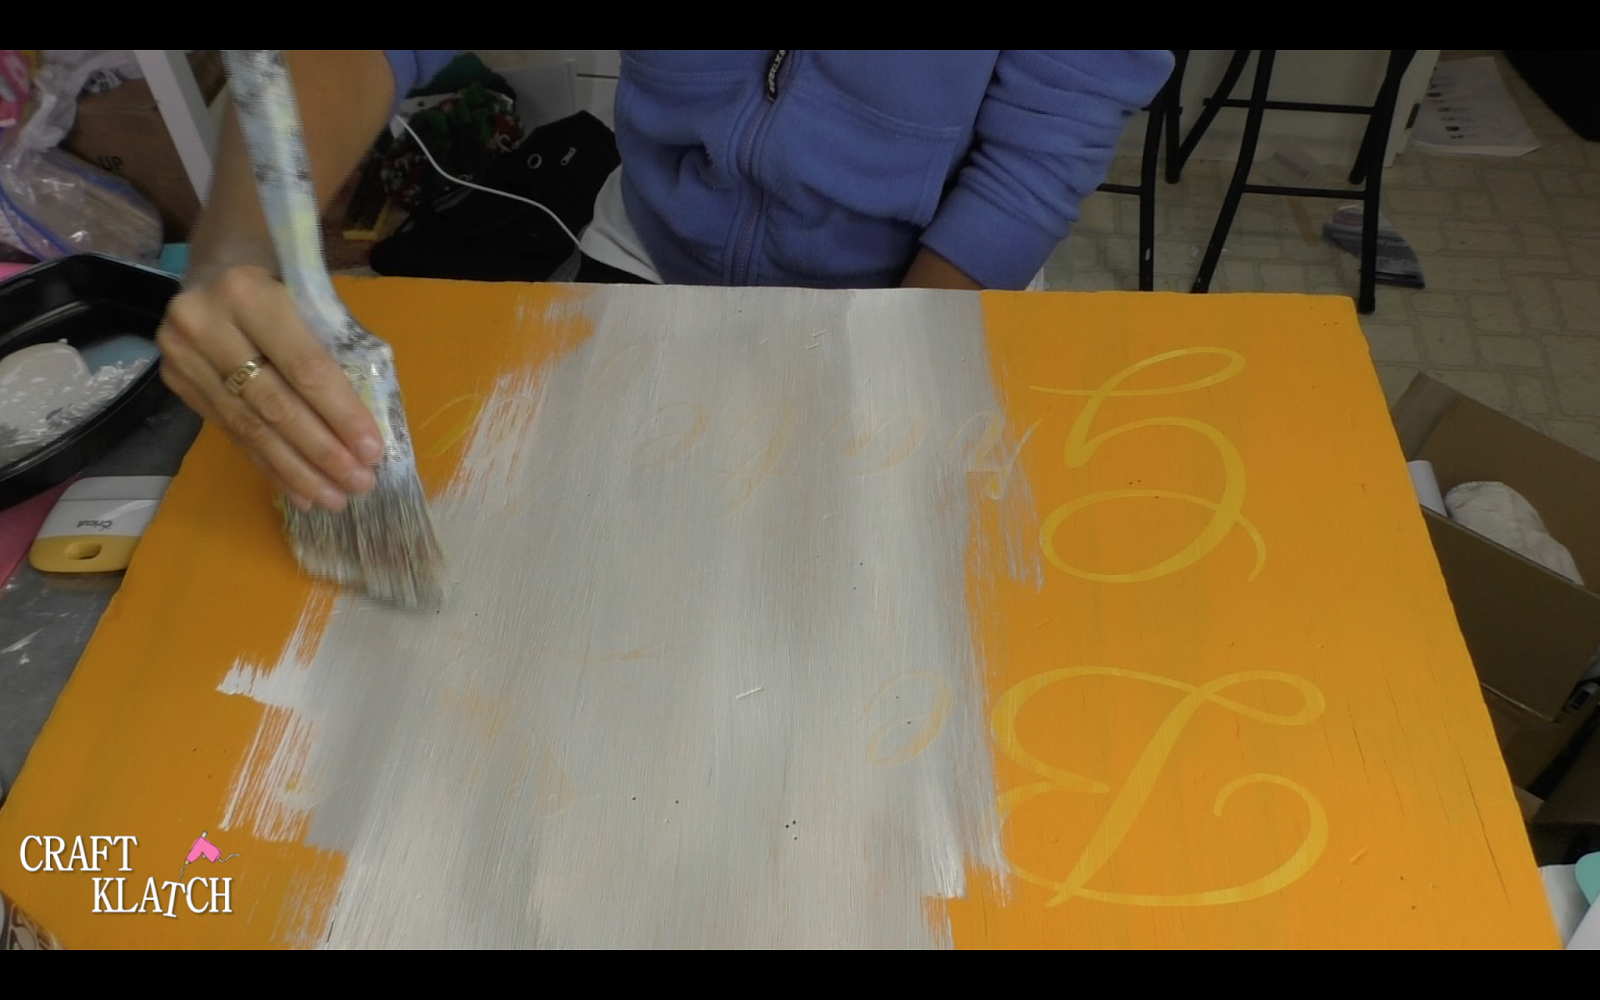
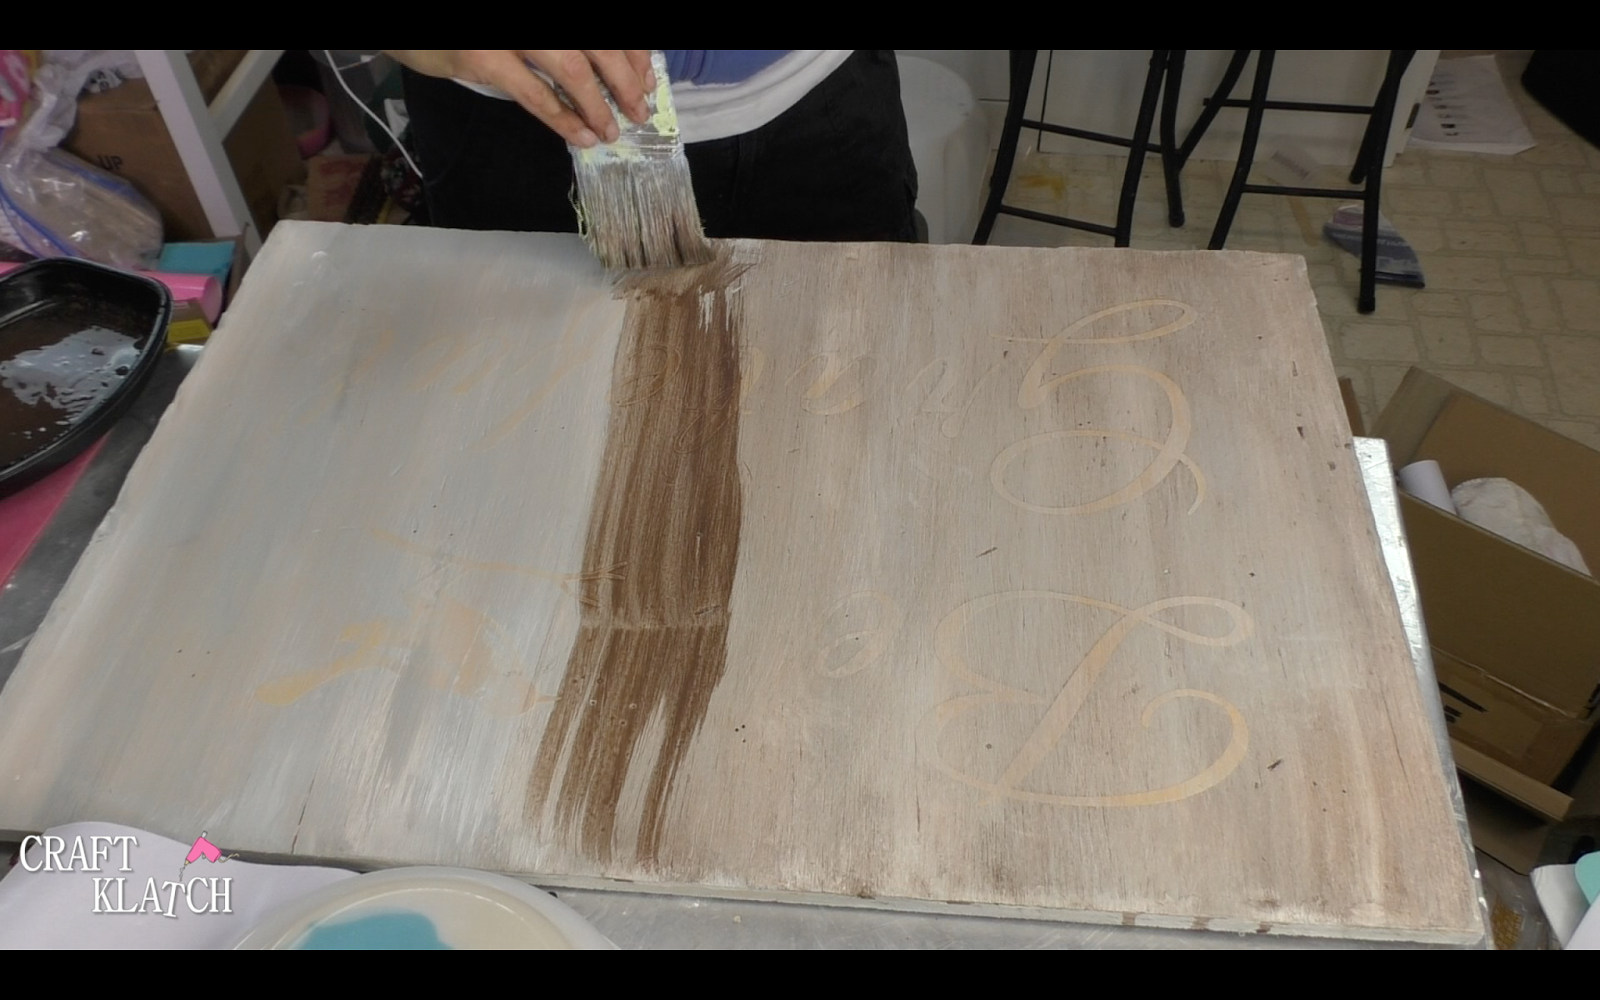
11. I used gray and white paint and painted over everything. It blends together nicely.
![](https://www.craftklatch.com/wp-content/uploads/2017/11/Screen2BShot2B2017-11-192Bat2B2.59.432BPM.png)
![](https://www.craftklatch.com/wp-content/uploads/2017/11/Screen2BShot2B2017-11-192Bat2B2.59.562BPM.png)
12. Once that dried, I watered down some burnt umber paint and painted it over…
![](https://www.craftklatch.com/wp-content/uploads/2017/11/Screen2BShot2B2017-11-192Bat2B3.00.222BPM.png)
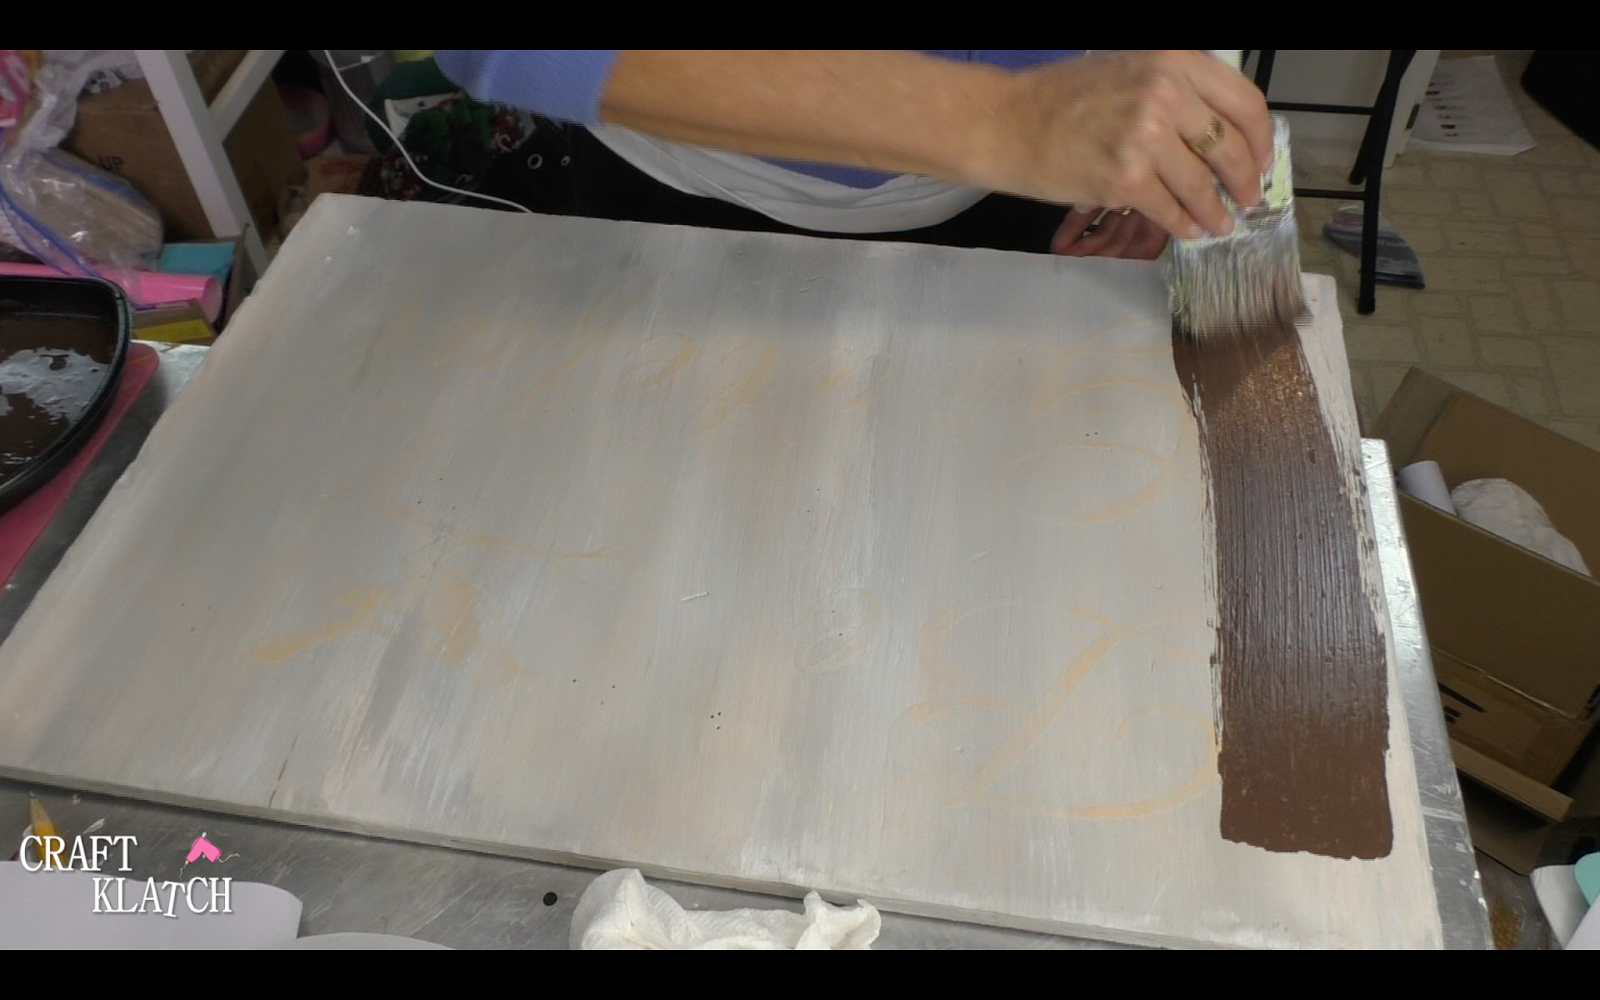
…and removed it with a paper towel. I just wanted to tint/age it.
![](https://www.craftklatch.com/wp-content/uploads/2017/11/Screen2BShot2B2017-11-192Bat2B3.01.172BPM.png)
13. Once dry, I peeled off the vinyl.
![](https://www.craftklatch.com/wp-content/uploads/2017/11/Screen2BShot2B2017-11-192Bat2B3.01.242BPM.png)
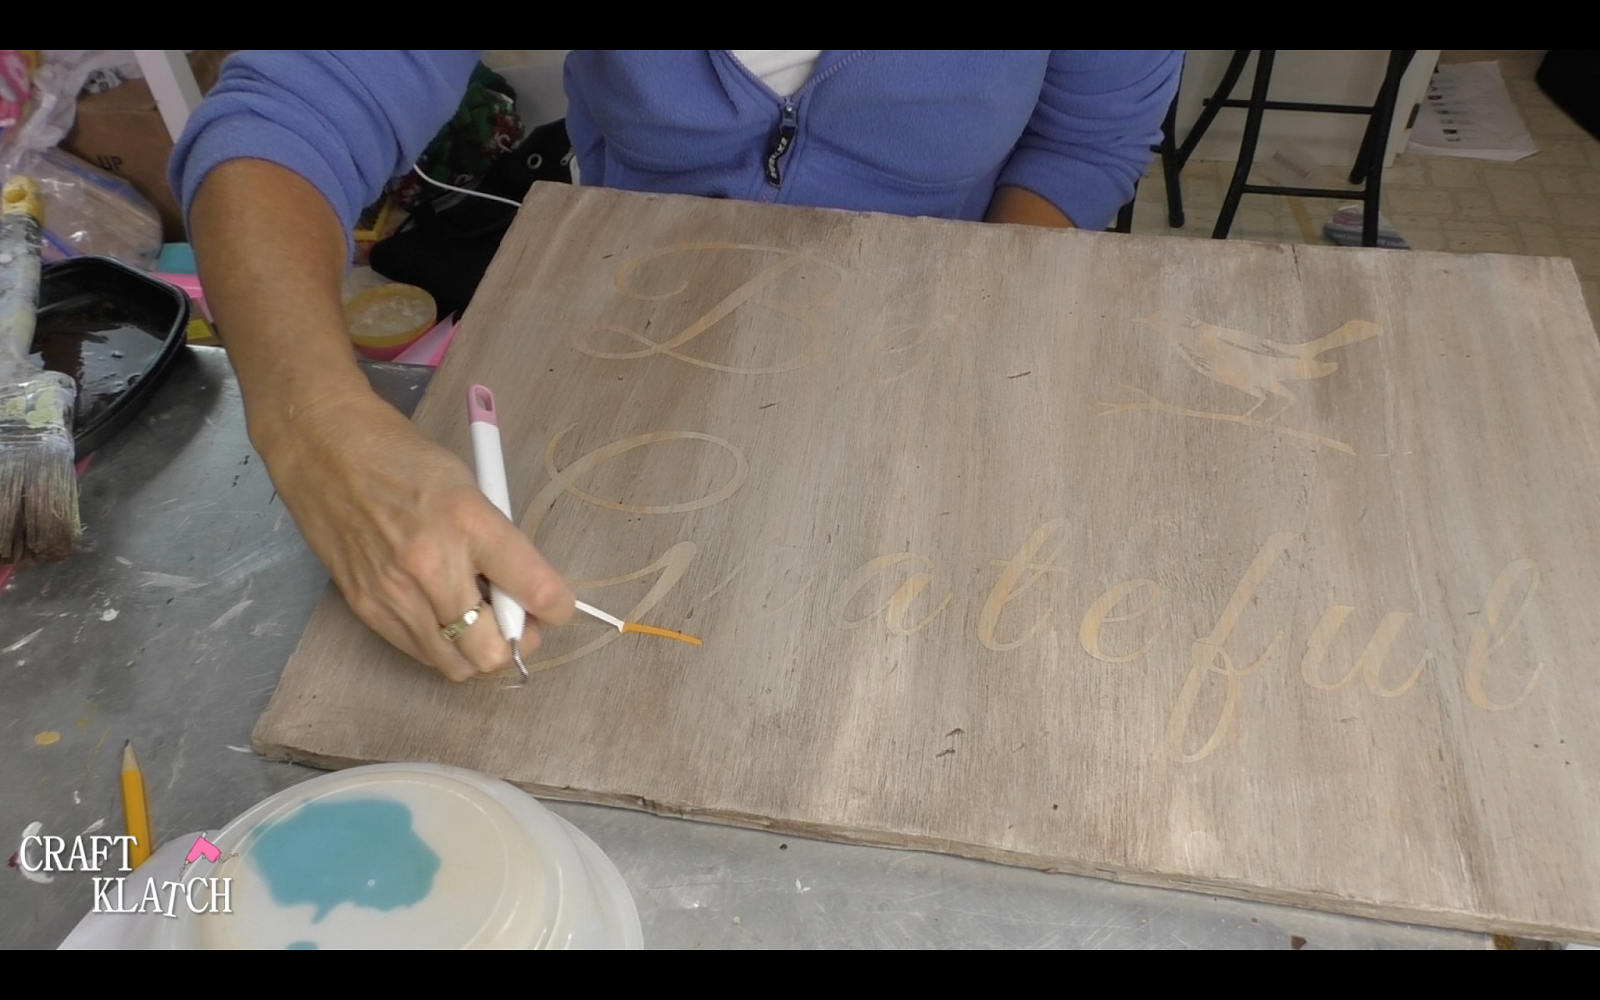
Don’t forget the bird!
If you are going to use the sign inside, you don’t have to seal it. If you are going to use it outside, I would recommend sealing it with an appropriate matte finish that is for indoors or outdoors.
![](https://www.craftklatch.com/wp-content/uploads/2017/11/Screen2BShot2B2017-11-192Bat2B3.02.012BPM.png)
![grateful, grateful sign, how to, diy, cricut, cricut crafts, cricut projects, how to make a sign, how to paint a sign, craft, crafts, crafting, thanksgiving, thanksgiving craft idea, thanksgiving decorations, home decor, thanksgiving crafts, handmade](https://www.craftklatch.com/wp-content/uploads/2017/11/Grateful2Bsign-1.png)