If you watched my tutorial on How to Make an Oreo Cookie Silicone Mold, this is what I am doing with those molds.

Directions:
1. Condition your black clay by just kneading it and getting it warm in your hand.
2. Take a piece and roll it into a ball and press it into the mold.
3. Carefully remove from mold – continue until you have four small and two large.
4. Place in oven and bake according to the package directions.
5. Allow to cool.
6. Create your filling by conditioning the white clay. Roll a piece into a ball and squeeze it between the two dark cookie pieces.
7. If you have liquid polymer clay, put some between the dark and light pieces. You don’t need too much. This will act as the glue to keep the pieces together. If you don’t have the liquid polymer clay, you can glue everything together after all the pieces have cooled.
8. At this time, you want to add the eye pins. You do that by pushing the eye pins into the white clay.
8. Place in oven and bake according to the package directions.
9. Let it cool.
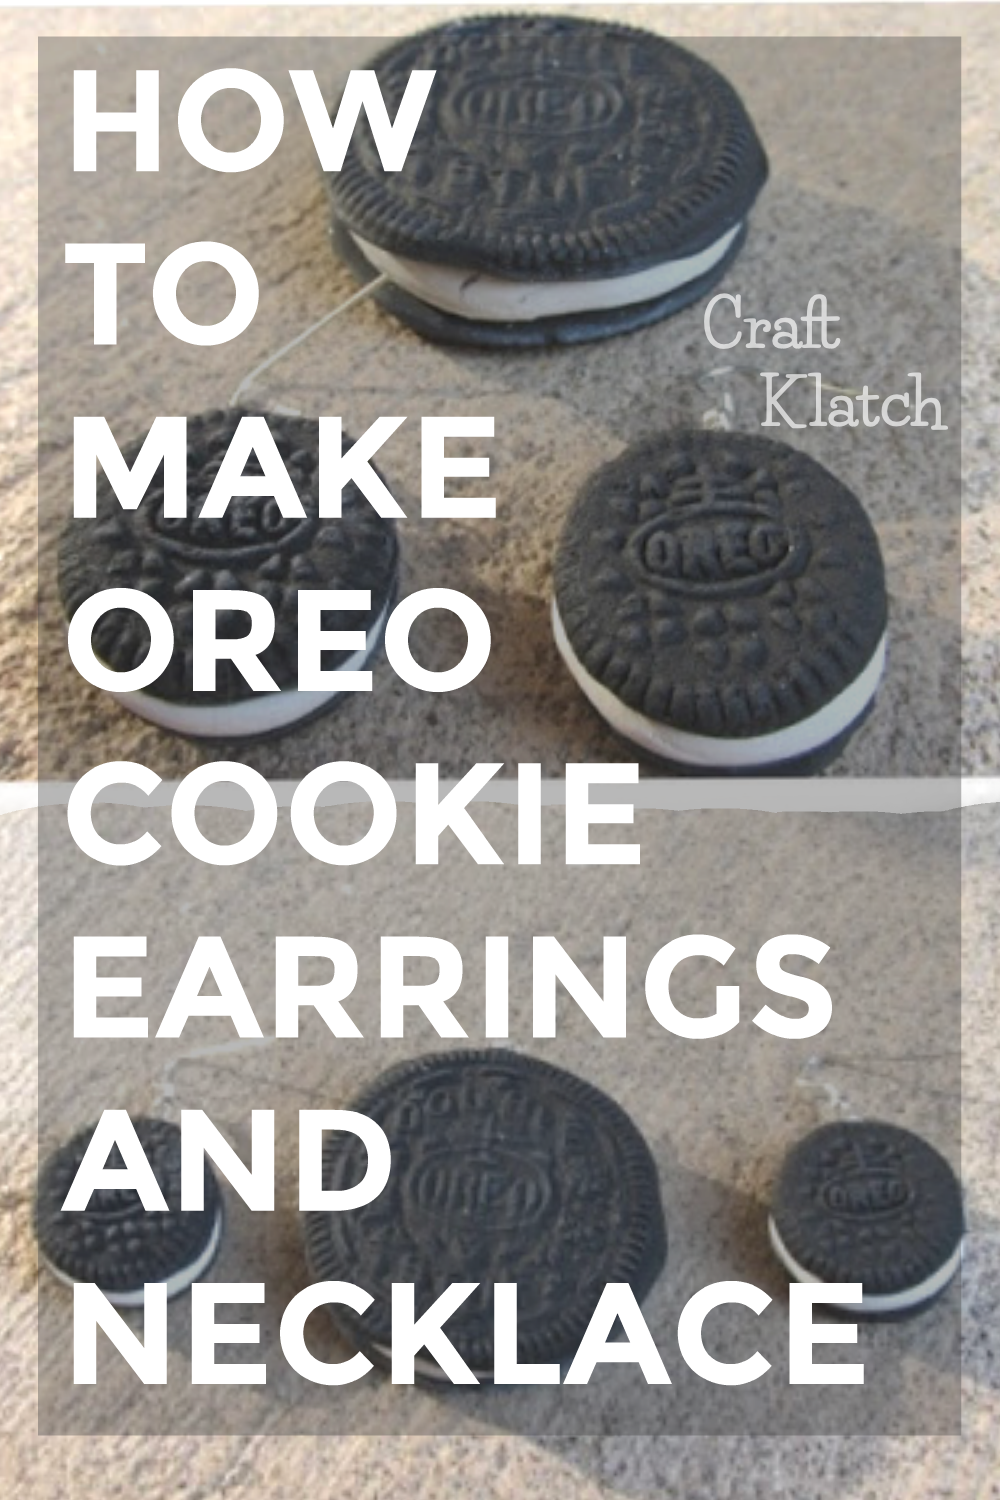
10. Now you can add the earring findings to the smaller Oreos. You can add a jump ring to the larger Oreo and then add a cord to wear it as a necklace.
Options: You can make keychains instead. You can make clip-on earrings instead. If you make the clip-ons, do not add the eye pins. You will just glue them onto the clip-on earring findings when it has all cooled.
That’s it! Thanks for stopping by and Happy Crafting!!
Mona