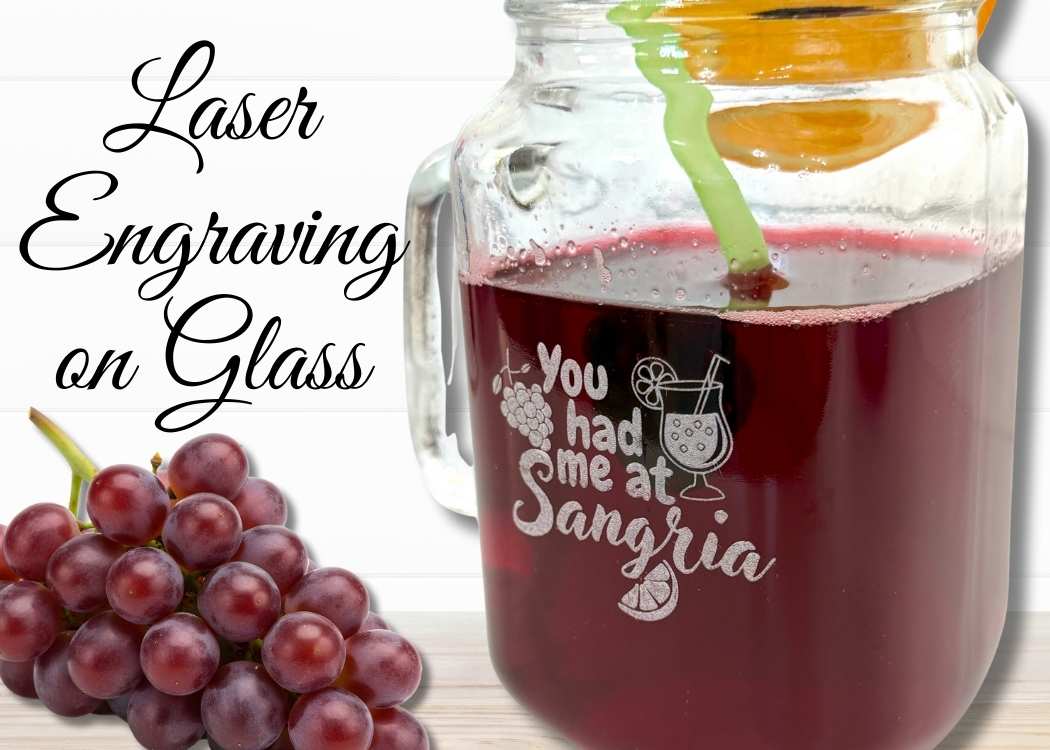
Learn how to do laser engraving on glass using a Dollar Tree mason jar and the WeCreat Lumos laser – perfect for sangria and entertaining!
I’ve worked with lasers before, mostly cutting out and engraving on wood and limited metal. I’ve always loved how precise and clean the results are, but I hadn’t jumped into engraving on glass until now!
It felt like a whole new level, and I was a little intimidated at first. My first try was to use a glass yogurt jar and see if it would even work.
It did!
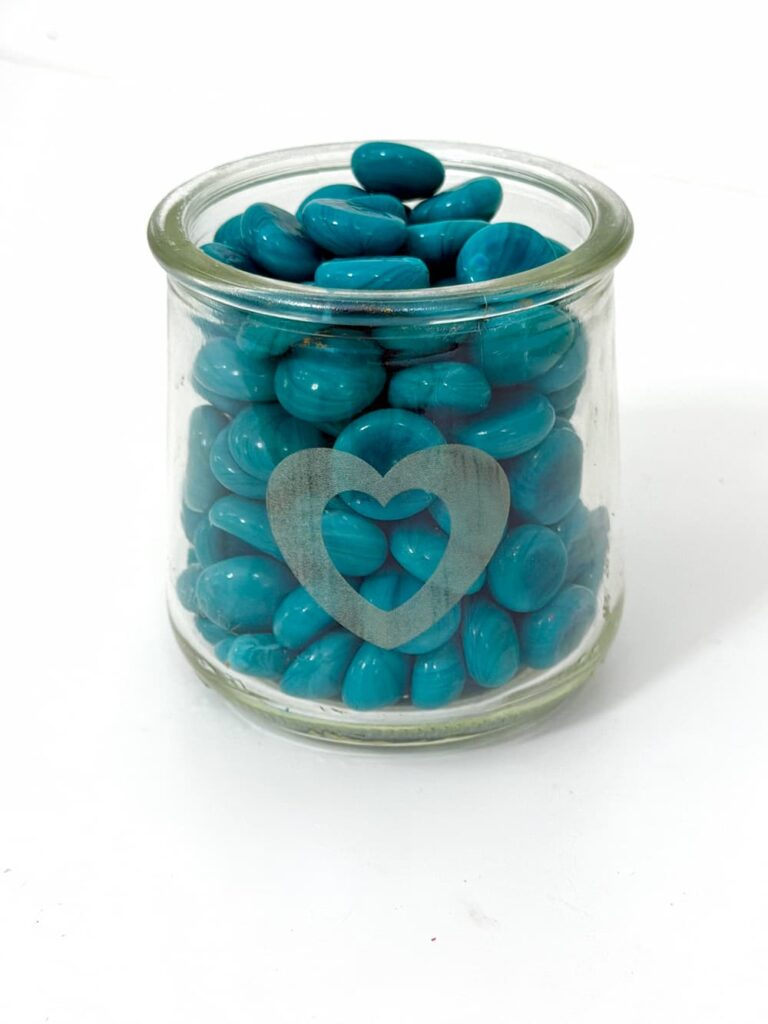
So I was ready to try something a little more than just the simple heart.
Testing Out the WeCreat Lumos Laser
Full disclosure: WeCreat gifted me the Lumos laser to make a few short videos on Facebook and Instagram. I was so impressed with it that I wanted to share it here too!
I’ve been having an absolute blast experimenting with the Lumos. This machine makes trying new materials feel more approachable and I knew it would be perfect for finally diving into laser engraving on glass.
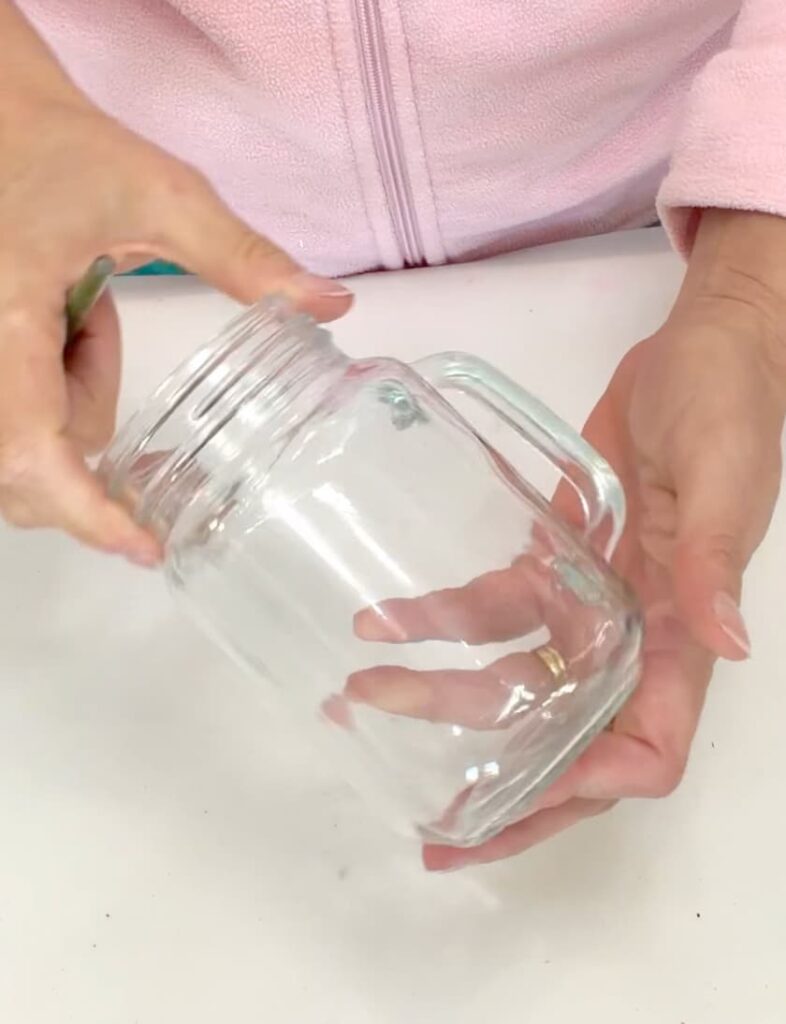
For my first real glass project, I thought I’d keep this simple and fun with a Dollar Tree mason jar – no big loss if I messed it up!
This creation is destined to hold sangria…because priorities.
Laser Engraving a Dollar Tree Mason Jar for Sangria
This project is a great beginner-friendly way to try glass engraving, and the result looks way more expensive than it is.
Materials You Will Need for Laser Engraving on Glass
*Disclosure: This blog uses affiliate links from Amazon and other retailers. I earn a small amount from qualifying purchases at no additional cost to you.
- Dollar Tree mason jar glass
- Other mason jar glass options
- WeCreat Lumos laser engraver
- White tempera paint
- Paintbrush
- Water (for clean up)
*I used Canva to create my design but you can draw a design or use other programs too.
*I used the WeCreat Make It app to be able to direct the laser to engrave on the glass.
Check Out the Video
Be sure to check out the video on Facebook.
Laser Engraving on Glass Directions
Here are the directions so you can engrave a glass for sangria, too!
Step 1: Create and Prep the Design
I created my You had me at sangria design in Canva.
I added grapes, an orange slice, and a sangria glass to the text. It’s all a simple black and white image. Once finished, I downloaded the image to my computer and uploaded it to the WeCreat Make It app.
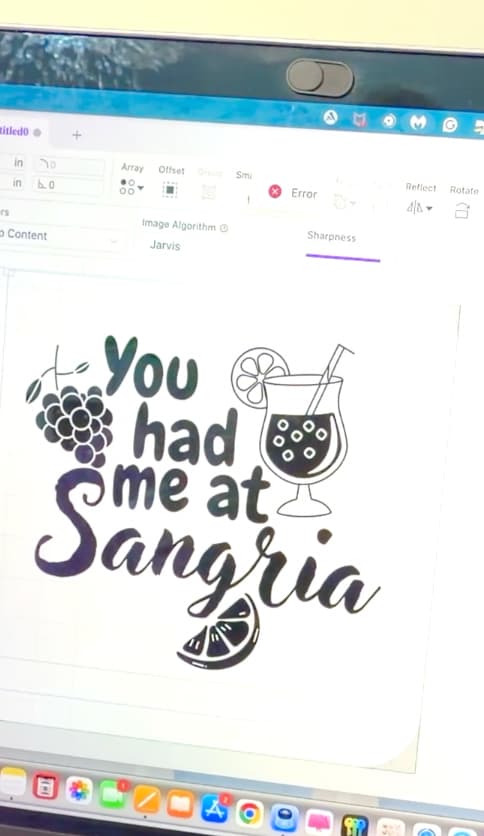
Inside the app, I went to Edit Image and removed all the white areas so only the black design elements remained.
Step 2: Prepare the Glass for Engraving
To prep the glass, I painted the area where I planned to engrave with white tempera paint.
I applied three coats, letting each coat dry completely.
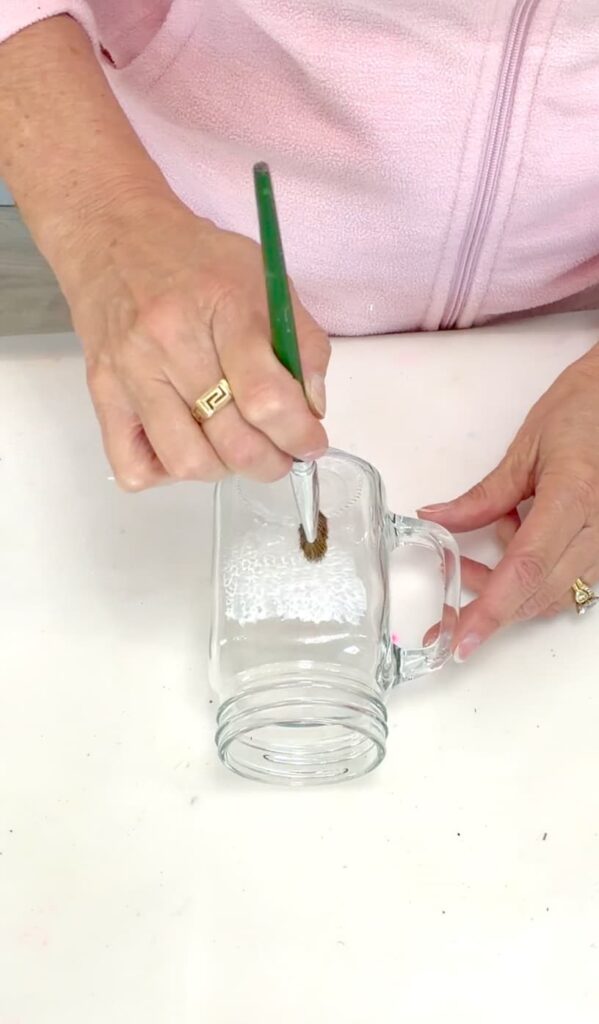
This step is important for a clean and consistent laser engraving on glass.
Step 3: Position the Design in the Lumos
I placed the mason jar into the Lumos engraver and used Auto Focus. Once focused, I could see the image overlaid directly on the glass.
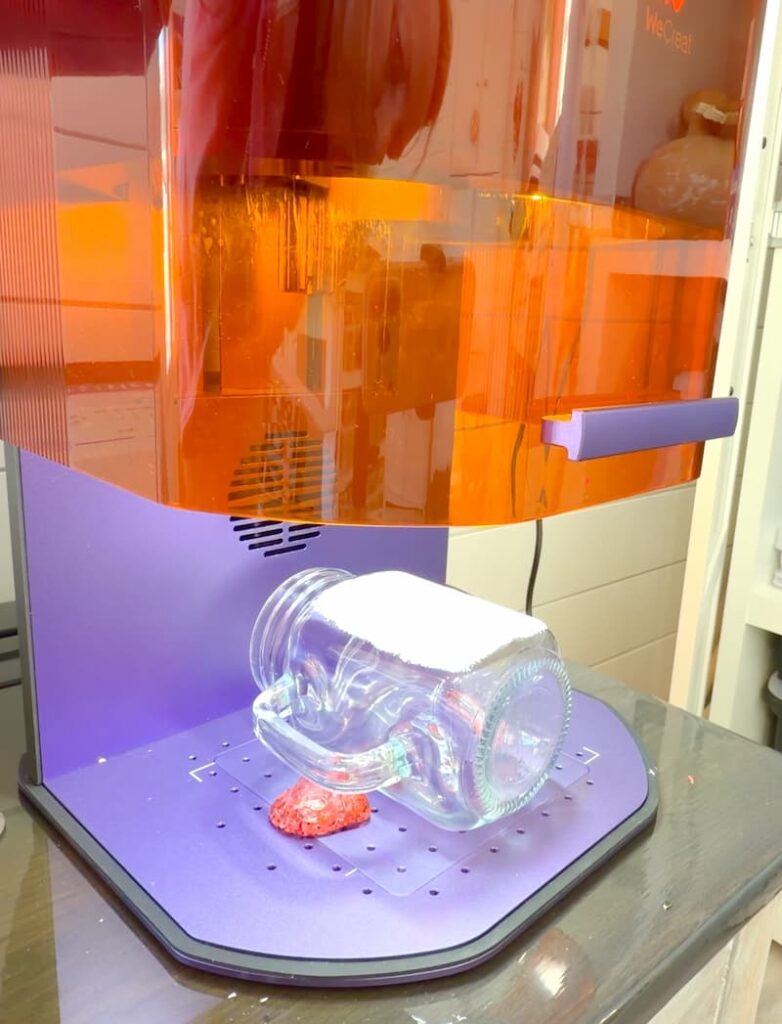
I resized the design and positioned it exactly where I wanted it on the glass.
Then, I clicked Sketch, which outlines the design on the surface. After that, I moved the original black image out of the way and clicked Ignore for Processing. You can also just delete it.
Step 4: Set the Engraving and Start the Laser
I selected the remaining image and clicked Fill Engrave.
Make sure the Blue Light laser is selected – not the red light. I went into the Materials and chose Glass, which I had created previously.
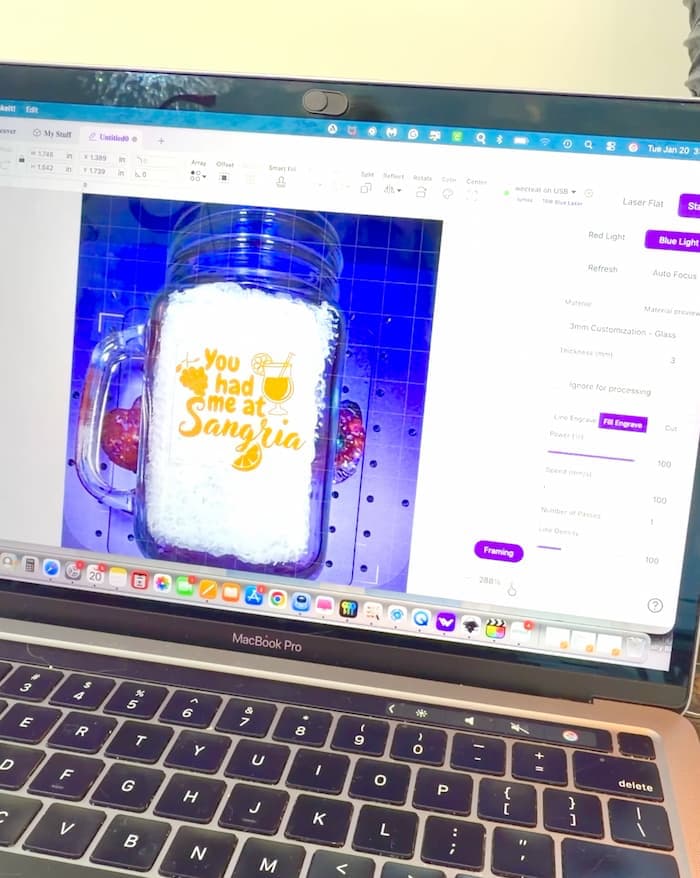
Here are the exact settings I used:
- Power: 100
- Speed: 100
- Number of Passes: 1
- Line Density: 300
I clicked Send, then used Framing to double-check the placement on the glass. Once everything looked right, I lowered the safety shield and pressed the Go button on top of the machine.
Step 5: Clean and Reveal the Laser Engraving on Glass
Once the engraving was finished, I clicked Complete and removed the glass from the machine. I rinsed it with water, and the tempera paint washed right off. It revealed a perfectly frosted engraved design underneath.
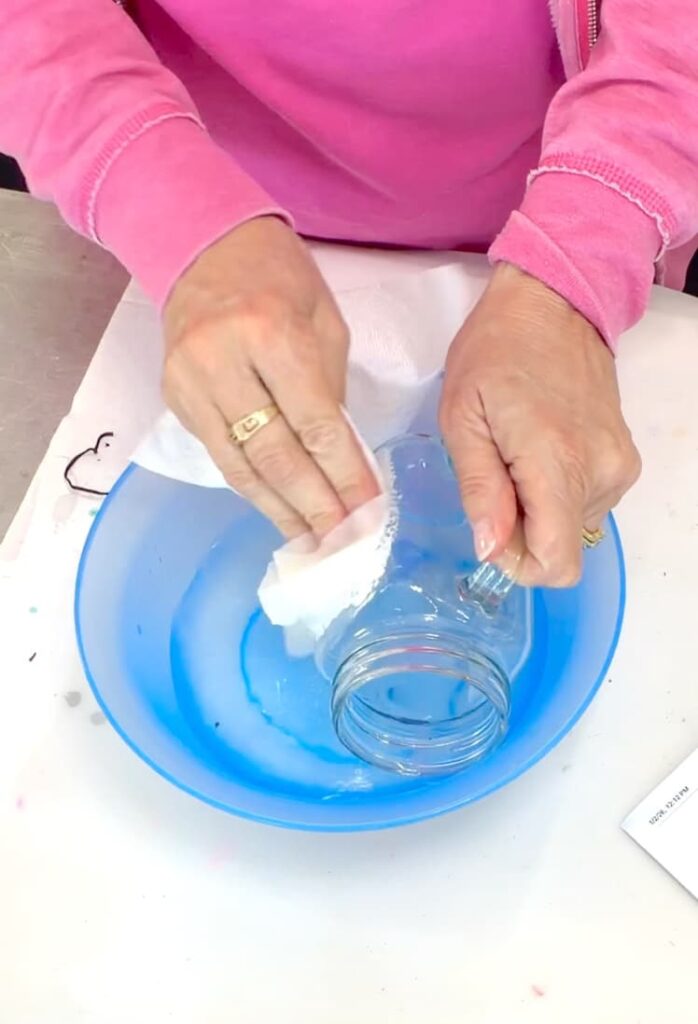
And just like that, my sangria glass was done!
The Finished Sangria Glass
This jar glass is perfect for serving a refreshing glass of sangria. It’s hard to believe it started as a Dollar Tree find.
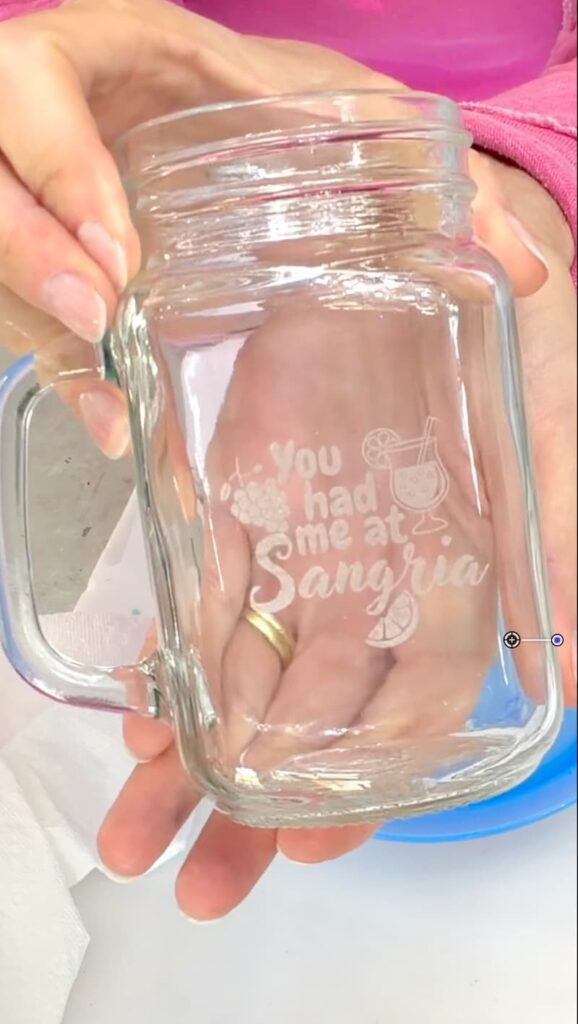
Laser engraving on glass instantly transforms everyday glassware into something special.

The personalization possibilities of this machine are endless. I’m already thinking about engraving our kitchen glasses.
Other Laser Projects I Have Made
Thanks for stopping by! Remember: Life’s too short not to shimmer, so grab your glue gun and your glitter!™
Mona