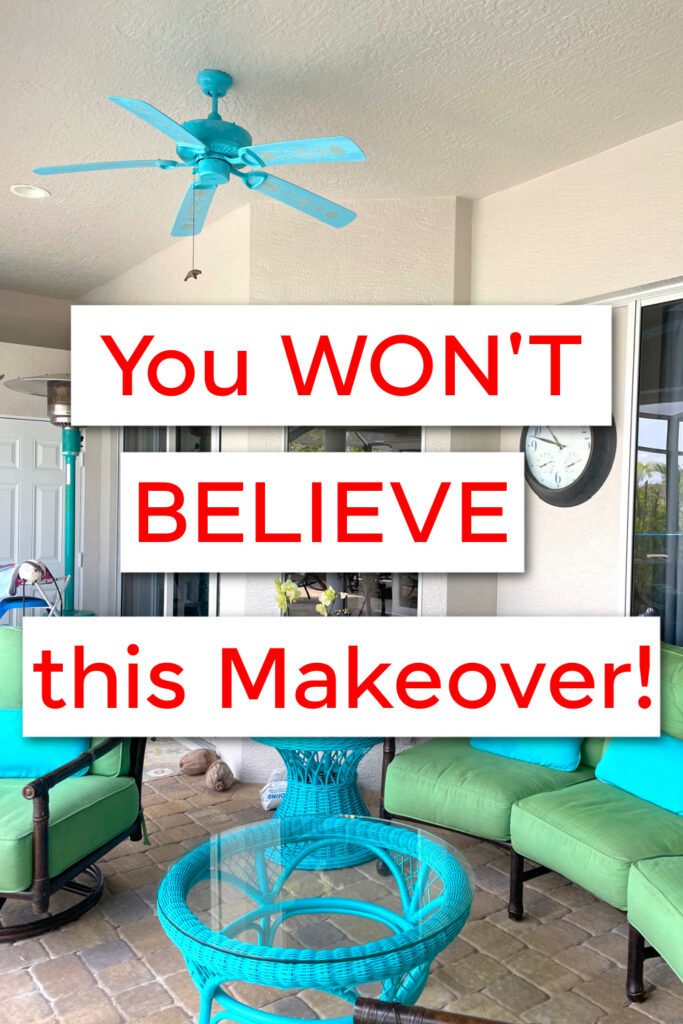
Do you have an old ceiling fan that is in dire need of a makeover? I’ll show you how to take that ceiling fan and give it a whole new look!
We just had our home painted and we loved how fresh and clean it looked!
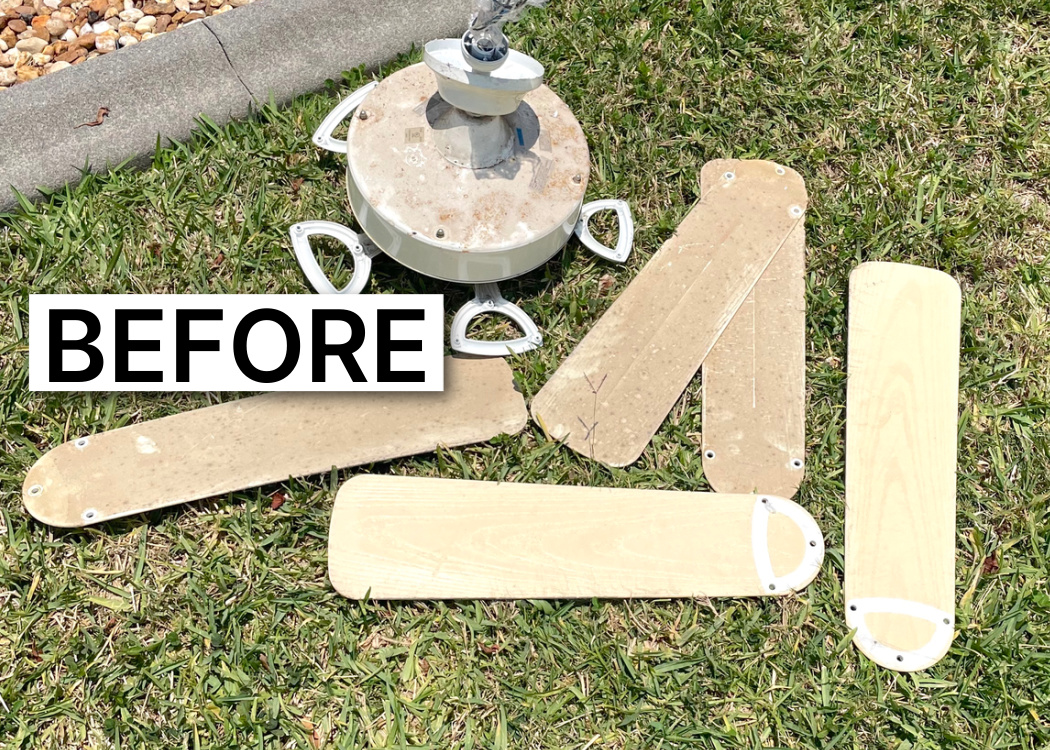
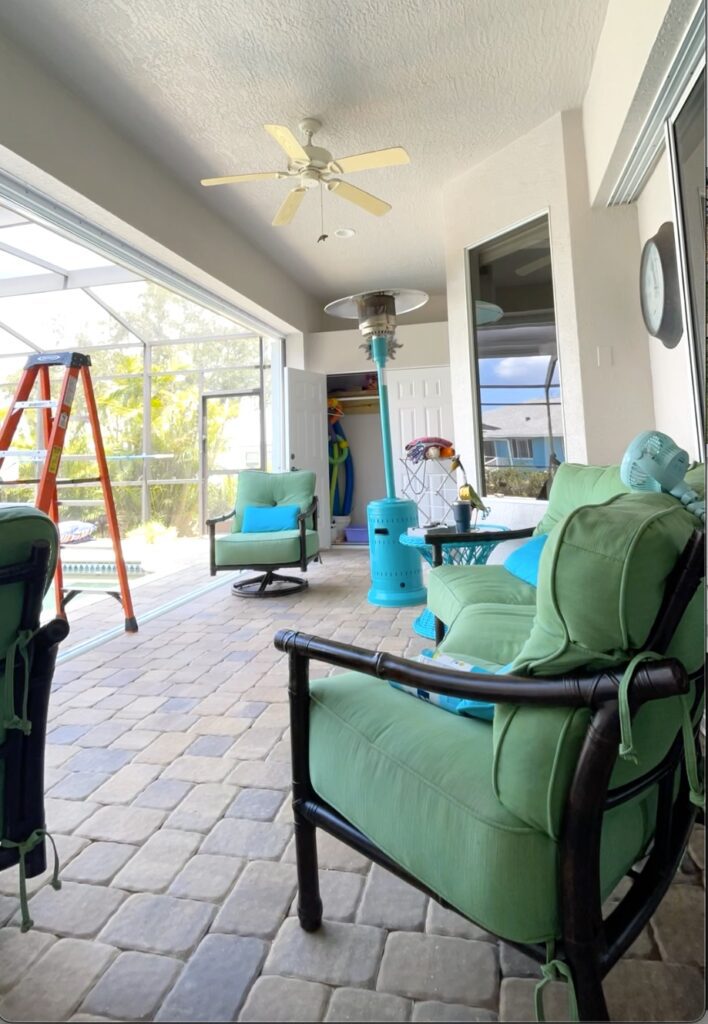
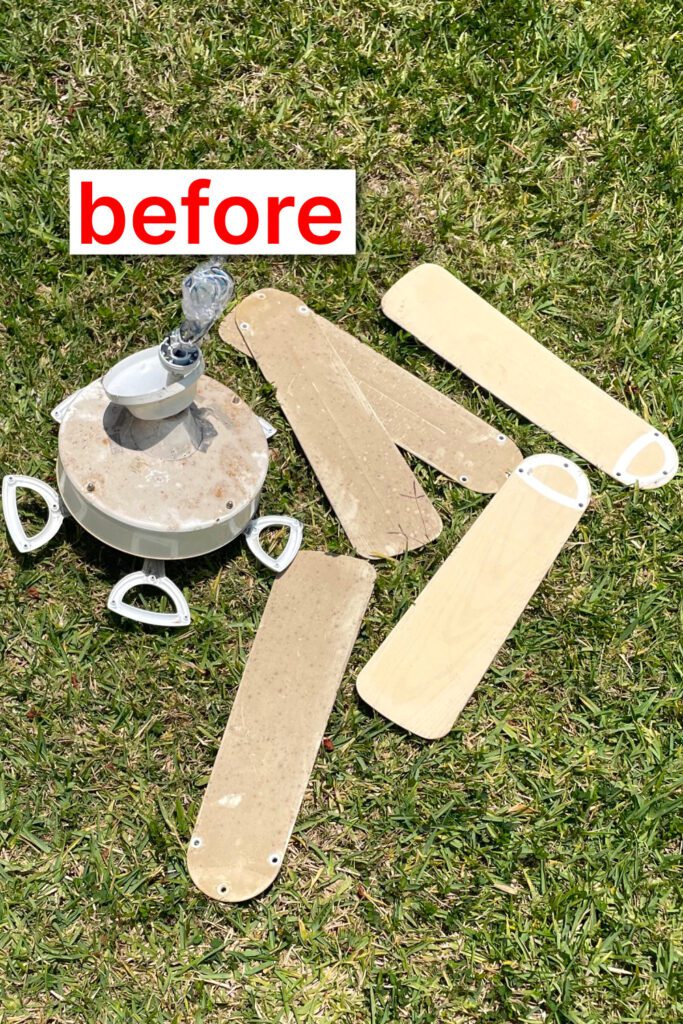
Unfortunately, our outdoor ceiling fan looked old, dirty, and yellowed with age.
It looked white against the previous color but not anymore!
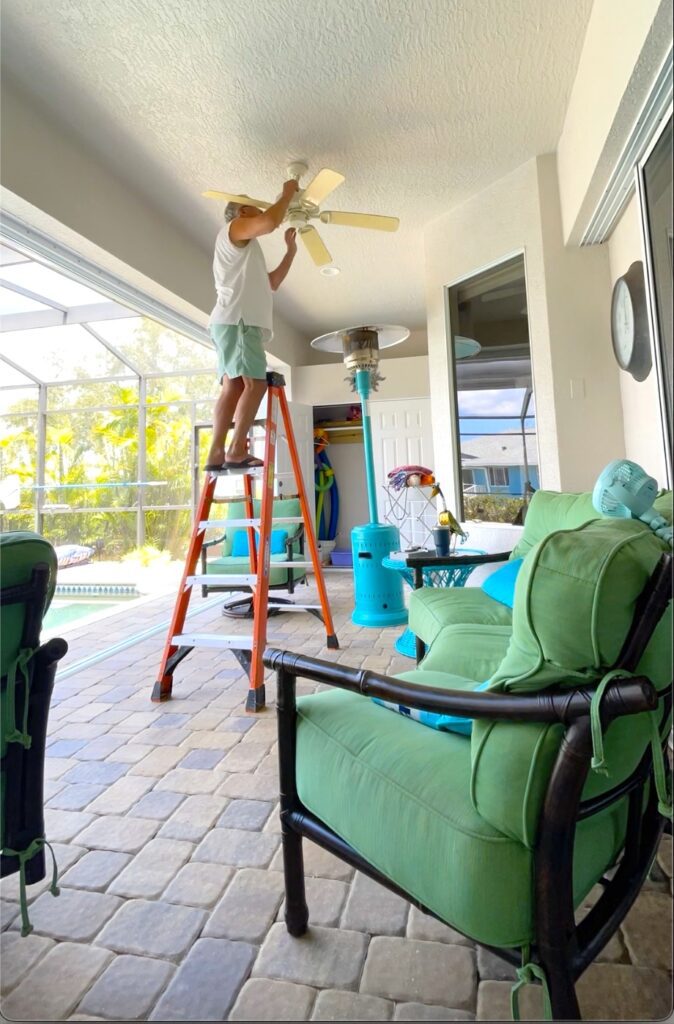
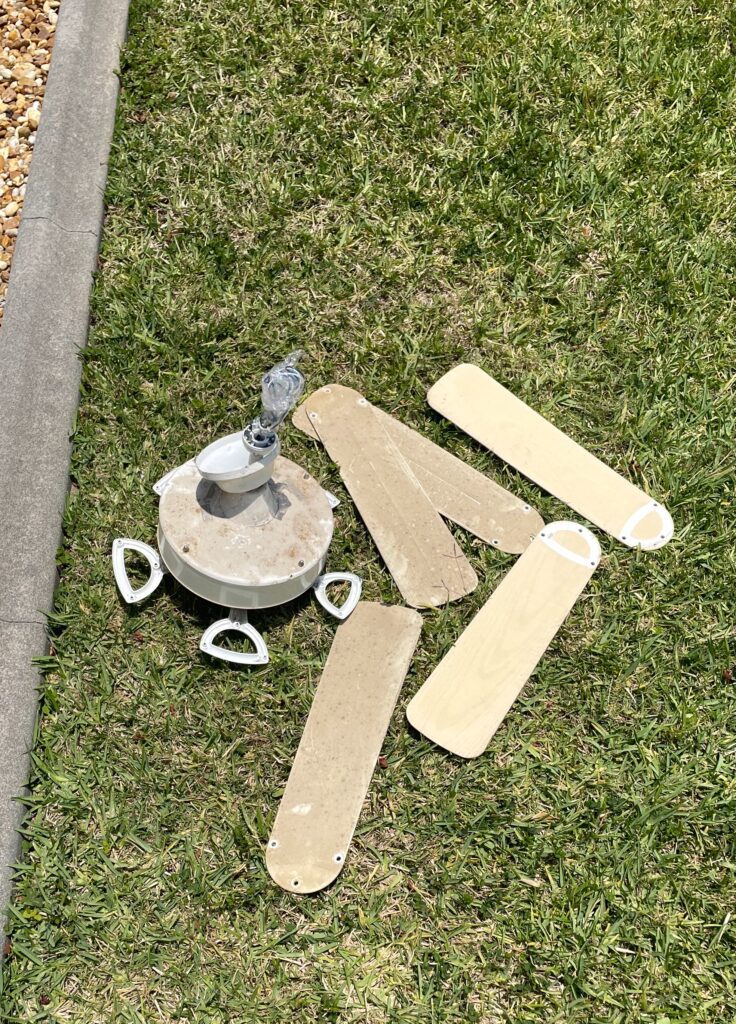
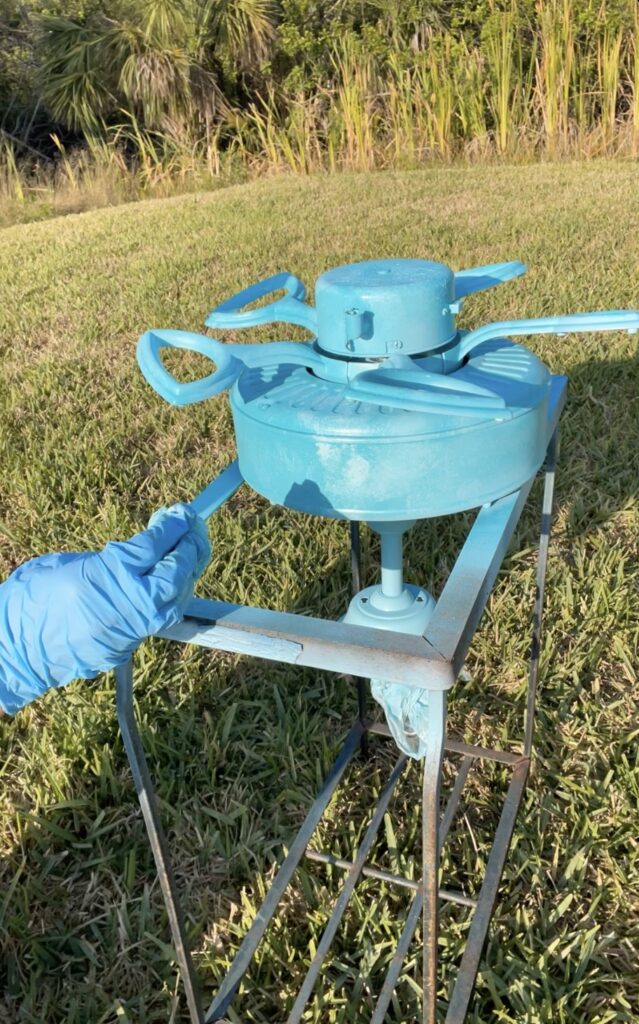
So down it came!
It was taken apart and ready for a makeover you won’t believe!
How EMBARRASSING!
Could it be any dirtier?!?! I’m blushing!
What you will need for the ceiling fan makeover
*Disclosure: This blog uses affiliate links from Amazon and other retailers. I earn a small amount from qualifying purchases at no additional cost to you.
- Paint
- Laser cutter/engraver directly from the manufacturer
- Laser cutter/engraver through Amazon
- TSP (to clean)
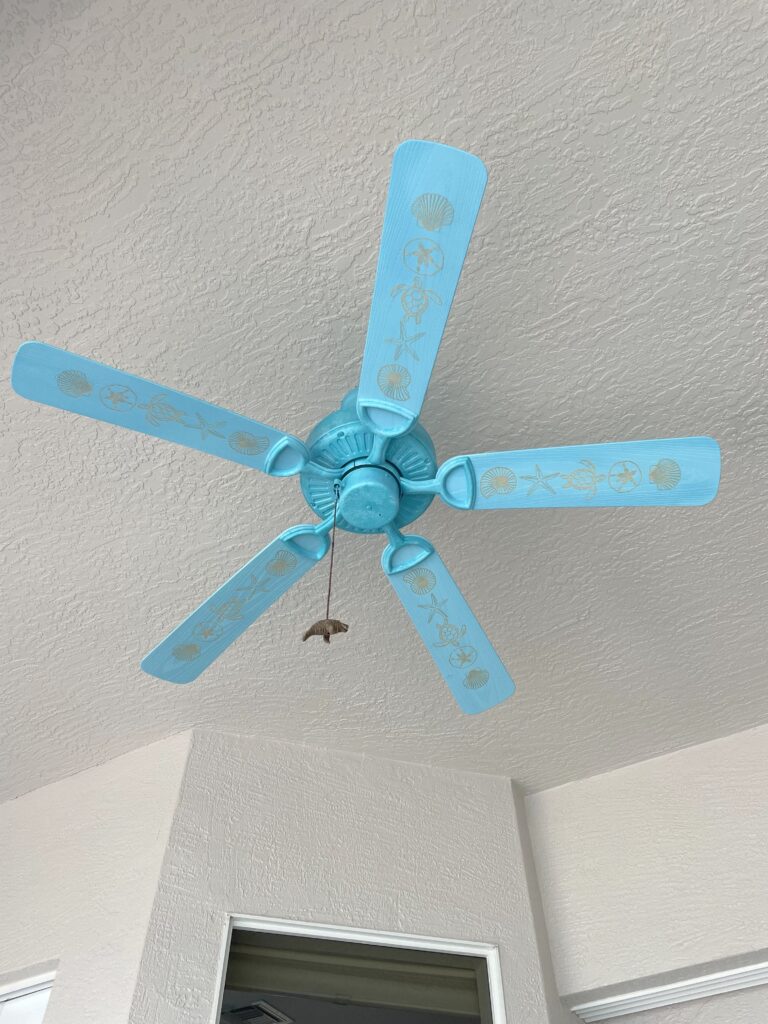
- Manatee pull chain
Ceiling Fan Makeover Directions
Step 1
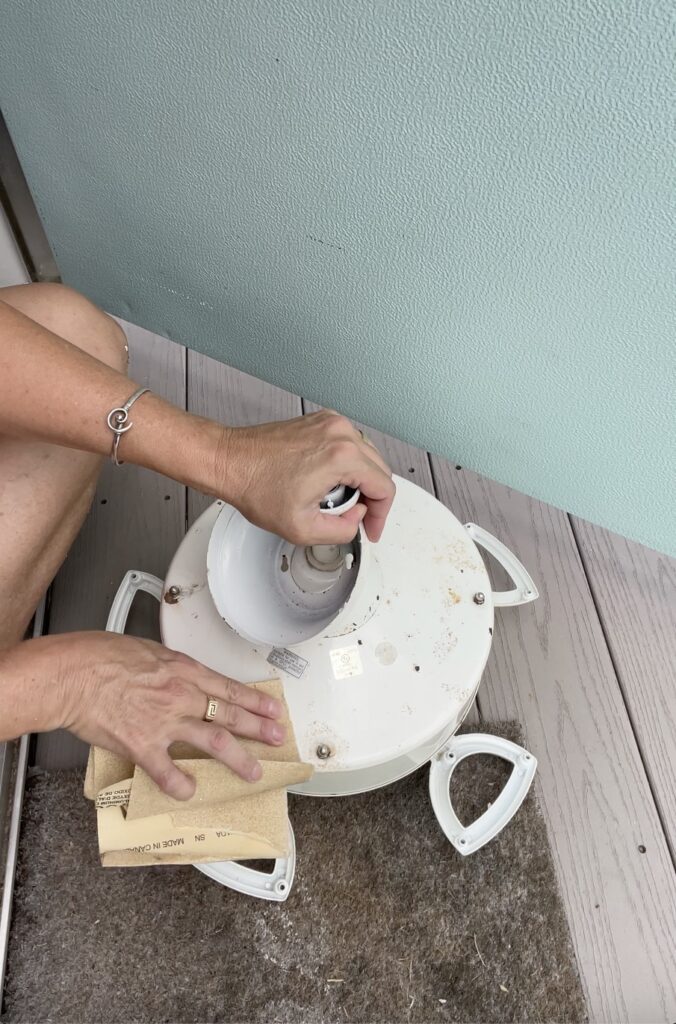
I needed to clean the fan. It was filthy. For all we know, this is the original fan and has never been cleaned.
I used TSP to ready it for paint
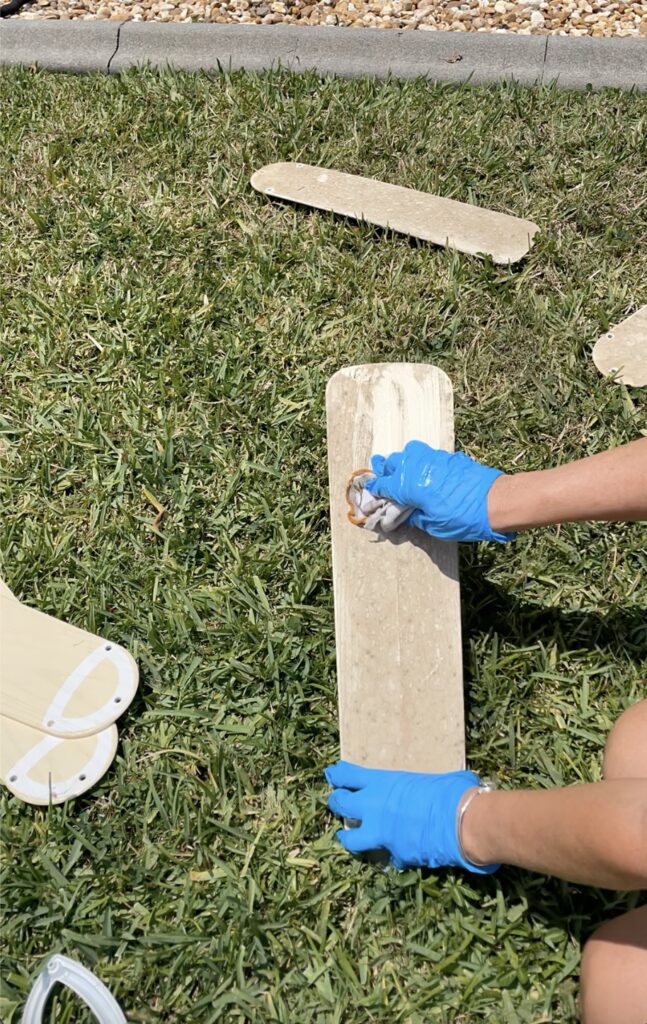
I also gave the base a light sand to remove any loose paint and surface rust.
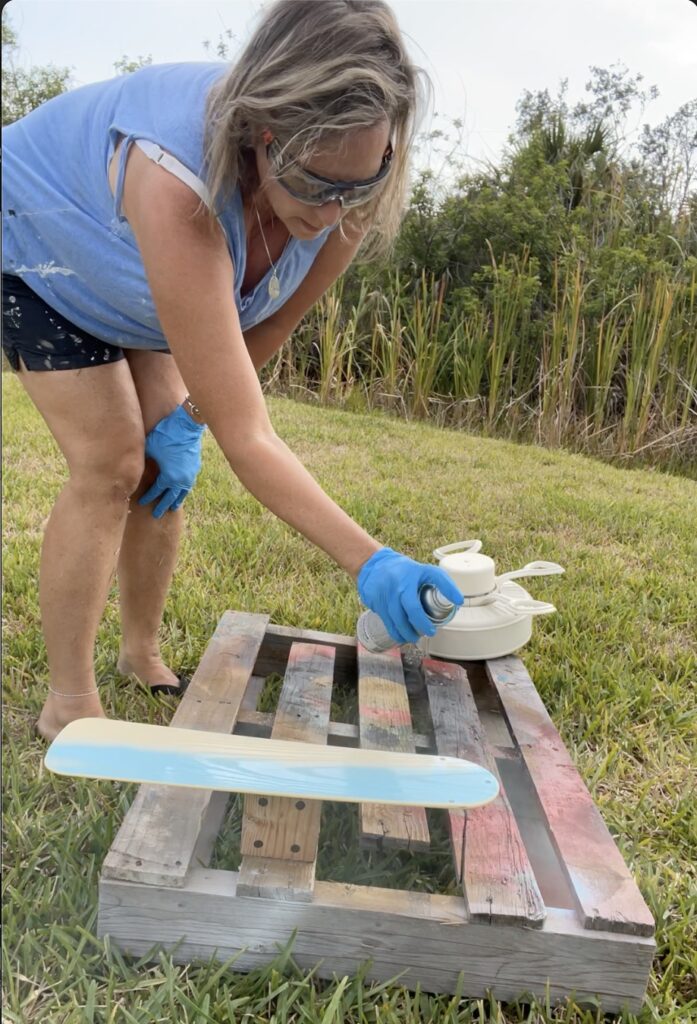
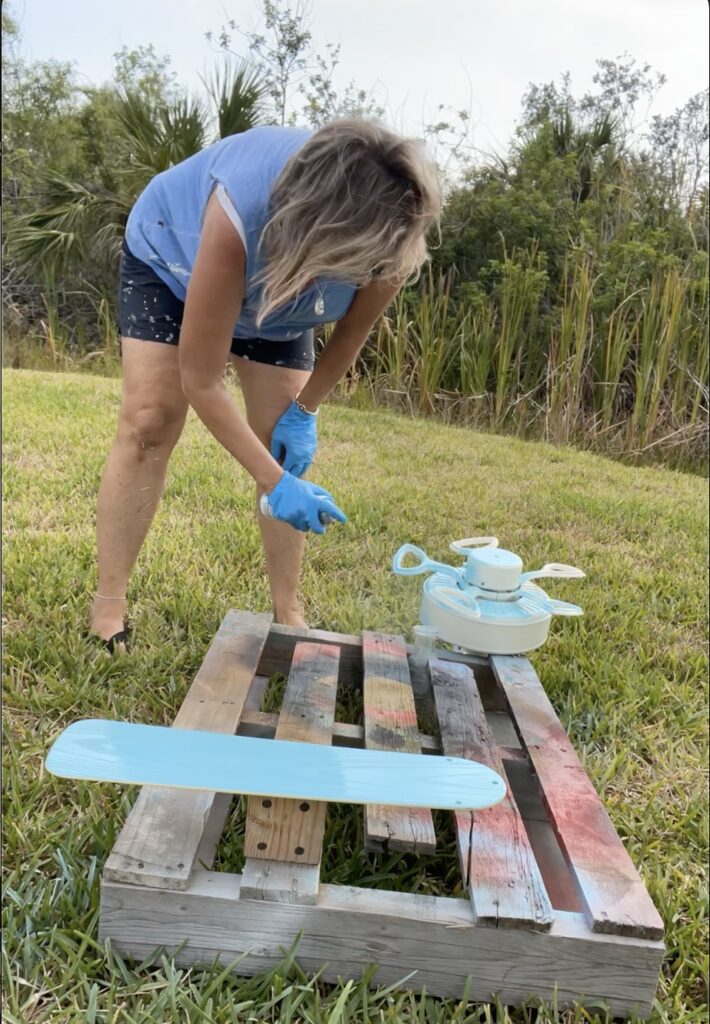
Step 2
We wanted a pop of color in the lanai, so I painted the fan a pretty aqua that matches the throw pillows on the outdoor couch and chairs. I did the fan blades and the base.
And the base…
My second coat on the base textured or bubbled in a couple of spots.
I was doing it when it was pretty humid, so my spraying conditions were not ideal and that may have contributed to the situation.
I was sad but decided to embrace it.
My solution was to take a piece of balled-up plastic wrap and use the color I have on my coffee table and side table. I sprayed it onto the plastic wrap and dabbed and blended. The colors were close but the one was a little darker.
The textured area was barely noticeable.
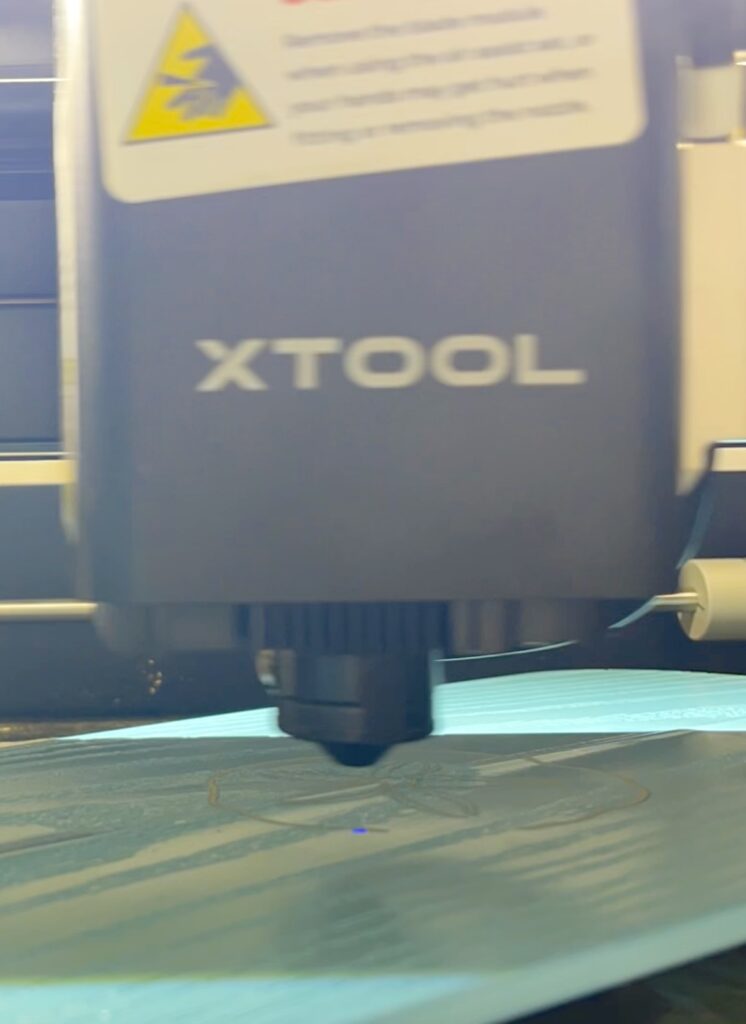
Step 3
I wanted to do something different, so I put the fan blades into my laser engraver and I engraved coastal images, two shells, a starfish, a sand dollar, and a turtle.
I repeated it on all of the fan blades

Step 4
It was time to put the ceiling fan back up!
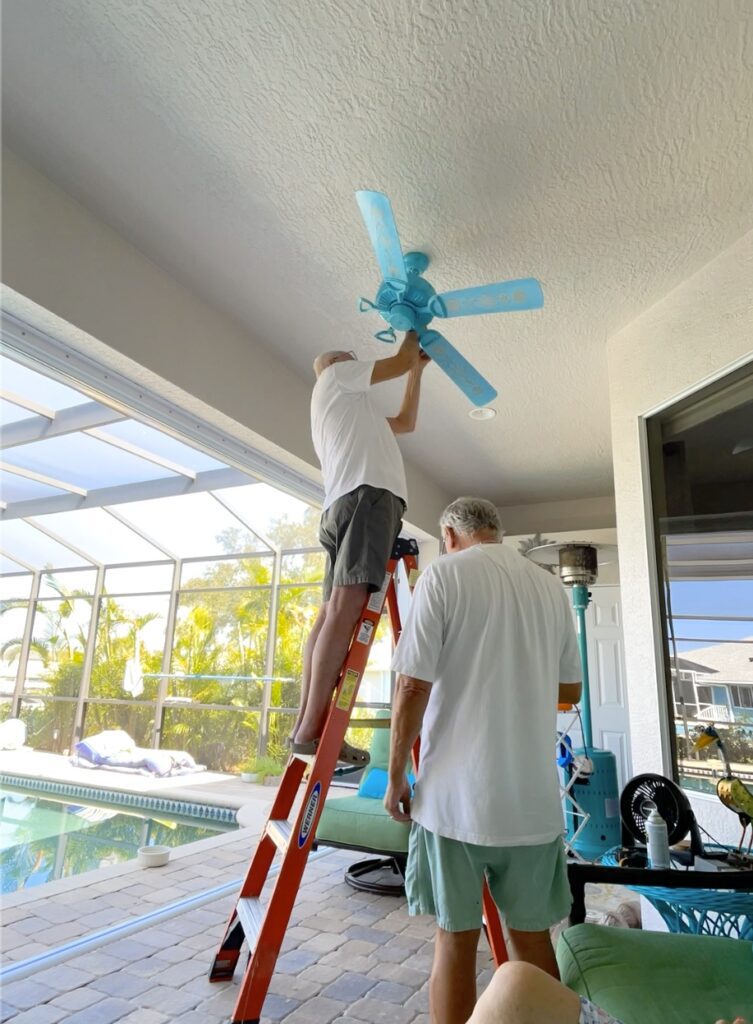
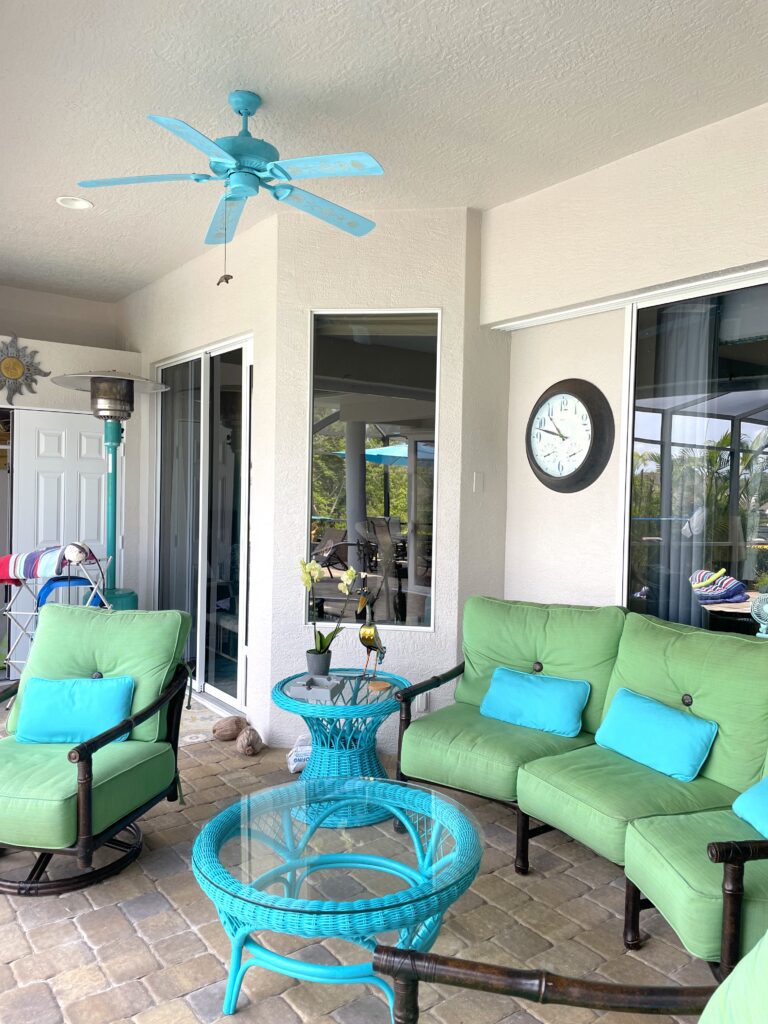
Dad reinstalled the ceiling fan and I love it!
It gives it a pop of color and matches my throw pillows and tables!
That’s it!
Let me know what you think! The engraving was so easy!
If you are in the market for a laser engraver/cutter, the M1 is a great desktop unit that does a beautiful job! And it’s so easy to use!
Here are a few other projects I have used it on so far:
- Front Porch Rack Makeover (This one was AMAZING!)
- Easter Pillowcase
- Wedding Tree
- Leaf Bowl
Ceiling Fan Makeover Video Tutorial
Here is the video tutorial so you can see exactly how it came together!
Be sure to follow me on Facebook and Instagram!
Thanks for stopping by! Remember: Life’s too short not to shimmer, so grab your glue gun and your glitter! Stay safe!
Mona
Be sure to PIN IT for later!
Mona, I so enjoy watching, and listening to you do your makeovers. You have a great eye at seeing things made new again, keep up the wonderful work your doing.
Thank you so much, Brenda! I just love giving things new life. I’m so happy you enjoy them!
Beautiful work. Love the colors. It’s so welcoming. Wonderful vision. Thanks for sharing.
Thank you, Jeannette! I’m so glad you like it! I was so happy it worked!