Have you ever thought to use HTV vinyl to make homemade Easter heat transfers? I love easy art style and whenever I can use it to make homemade decorations…I’M IN!
Let’s be honest, my art style is about as easy as it gets, so it hits close to home for me.
I love basic art.
Patterns.
Whimsy.
So this project is right up my alley!
First off, I love anything drawing and I love heat transfers and when it’s a cute holiday…hello bunnies and chicks…put those two together and it means Easter heat transfers.
Seriously…how can I resist?
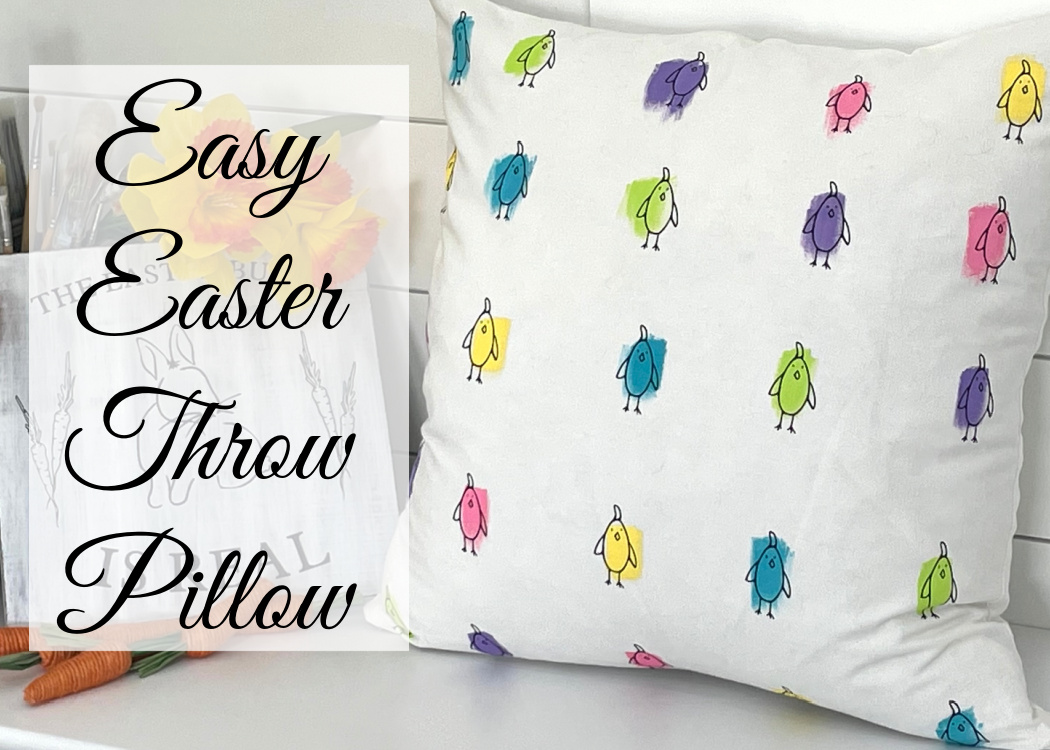
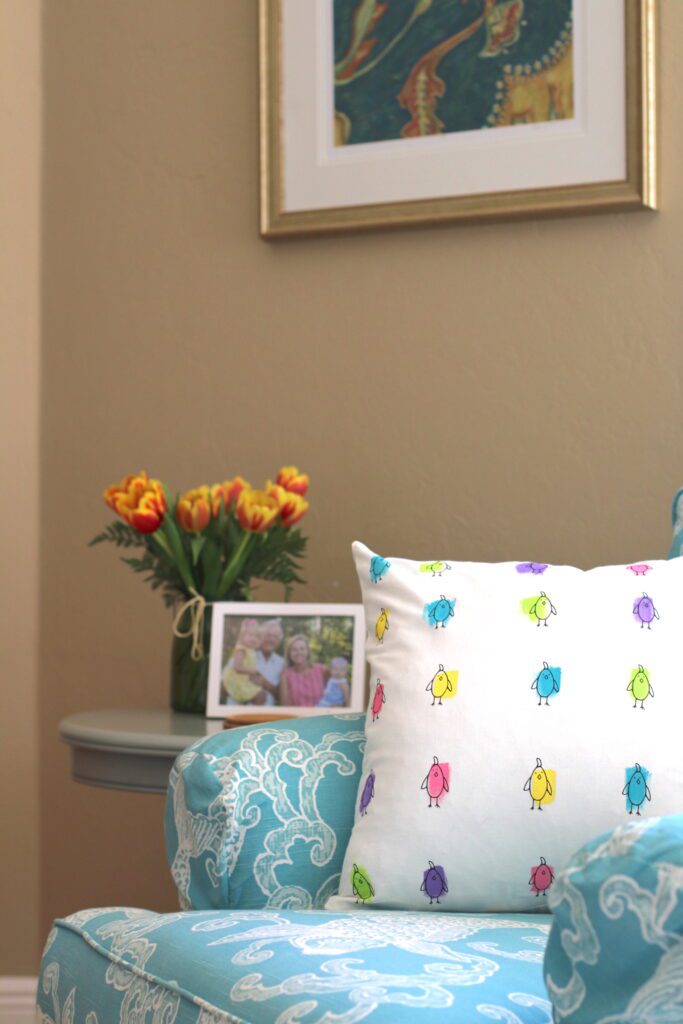
For this project, we are dealing with an easy chick drawing and using it for a colorful, pastel pattern throw pillow.
Fun…right?
First things first, you might be wondering how to make an easy pillow cover.
Well, it doesn’t get easier than if someone else makes it, so I bought the pillow cover and I’m going to decorate it.
If you know the basics of sewing, I am sure you can make an easy pillow cover without any “how to” help from me…because I am no help in the sewing department.
Easter Heat Transfers | Easy Pillow Cover Video
I have a full video tutorial for these Easter heat transfers, how I made them, and how I turned them into the cutest Easter throw pillow ever!
So if you want to see it, be sure to check it out HERE!
Other Pillow Projects
I have made a couple of other Easter pillow covers and other pillows that you might enjoy:
- Unlock the Secrets of Easter Heat Transfers
- Easter Bunny Pillow Cover
- DIY No Sew Cupcake
- DIY Big Peep Plushie!
Materials you will need for the Easter Heat Transfers:
*Disclosure: This blog uses affiliate links from Amazon and other retailers. I earn a small amount from qualifying purchases at no additional cost to you.
- Black HTV vinyl
- Pillow cover
- Iron, auto heat press (the auto heat press is the one I have), heat press
- Pastel acrylic paints
Let’s talk about vinyl cutters for a minute. I have a Cricut, which would work well for this project but I didn’t use it.
Directions for the Easter Heat Transfers
Step 1
Take your pillow cover and put something inside of it. It can be cardboard, multiple pieces of paper, foil, etc. Anything to keep the paint from bleeding through to the other side.
Then, take any pastel colors you like. I used pink, yellow, green, blue, and purple. I just used regular acrylic paint and made a smudge pattern all along the front of the pillow.
Set the pillow cover aside to dry.
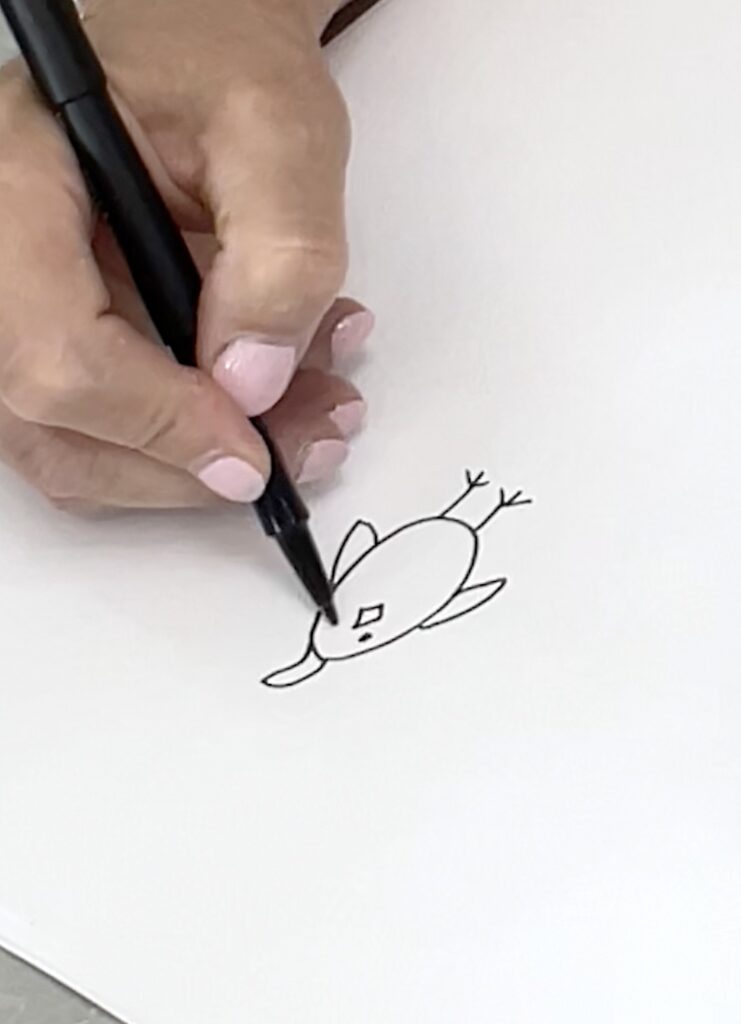
Step 2
Draw an easy chick. You can see how I did it in the video but you probably can figure it out by just looking at the drawing. This is the basis of your Easter heat transfers.
Step 3
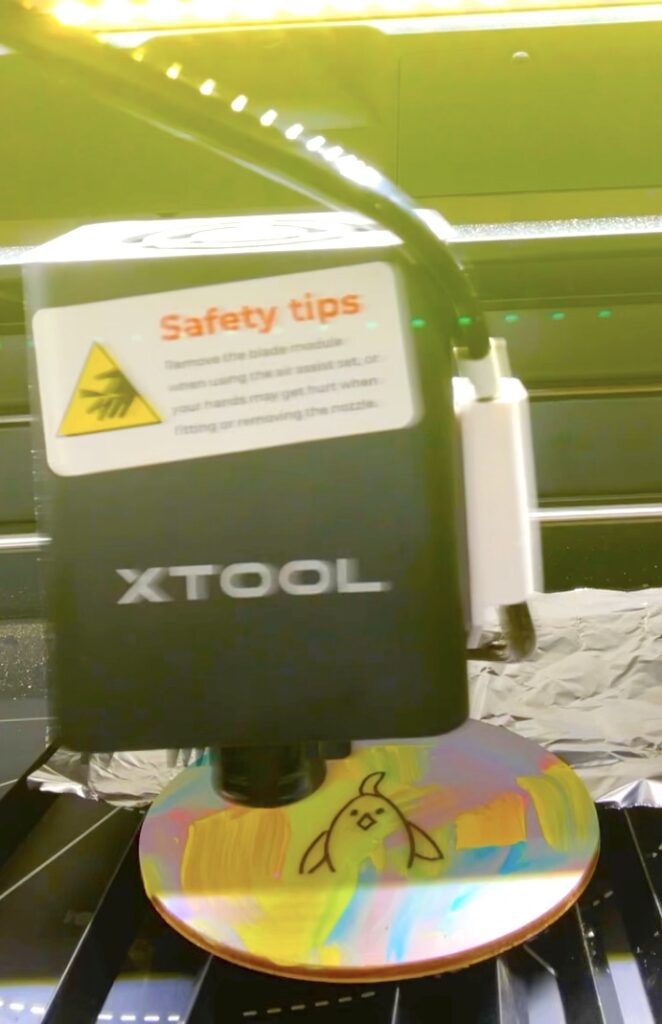
Depending on which cutting machine you are using, you are going to either get it into Design Space or if you are using the XTool M1, as I did, you can watch the video to see how I imported the image into the XTool Creative Space to enable it to cut out the vinyl.
I sized my chicks to be 2 inches tall.
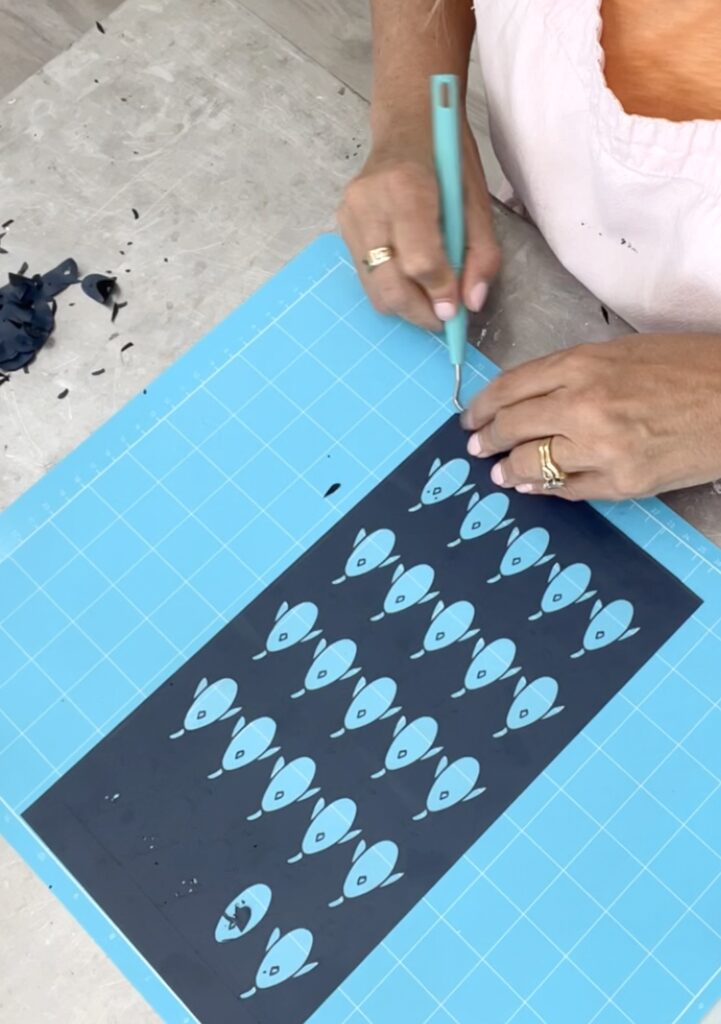
Once you cut the image out of the black HTV vinyl, you need to weed all the chicks.
The problem I ran into is the eyes were so small that they came up when weeding. I might have put up a fight for one set of chick eyes but for 25 pairs…NOPE.
You’ll see my solution shortly.
Step 4
Place the chicks on the pillow, over the painted smudges.
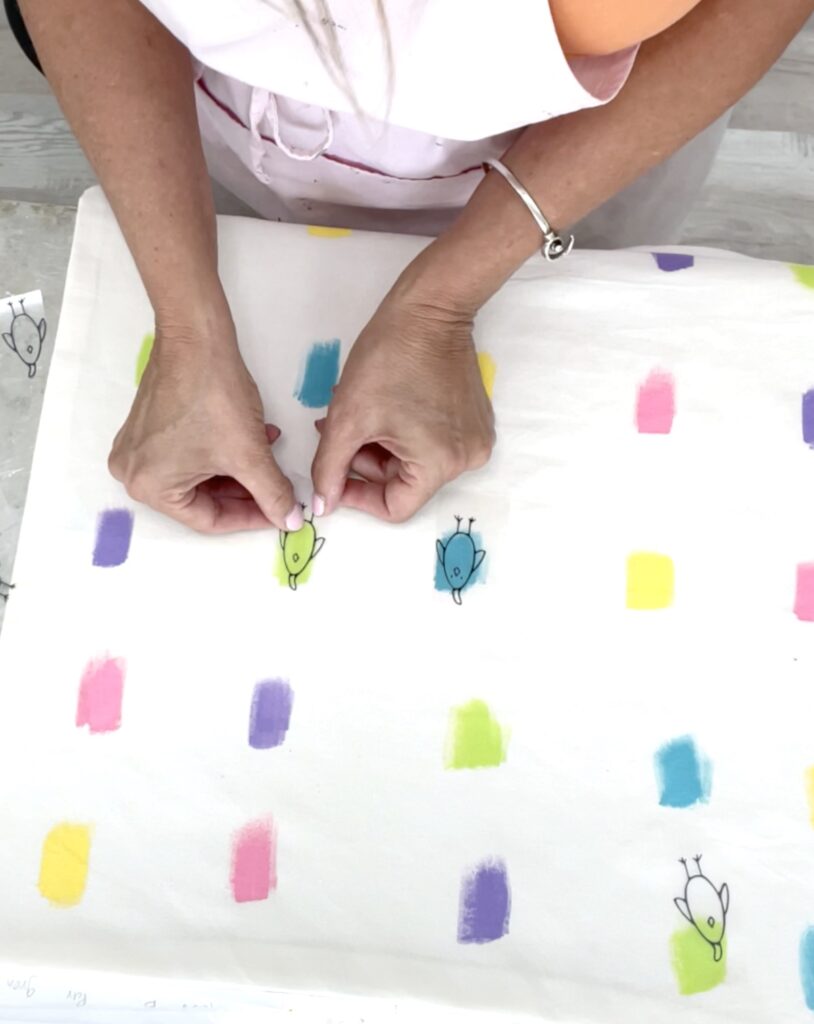
FYI: The colors are supposed to go outside of the lines. That’s the fun of it. Greg looked at me very quizzically when I tried to explain it to him.
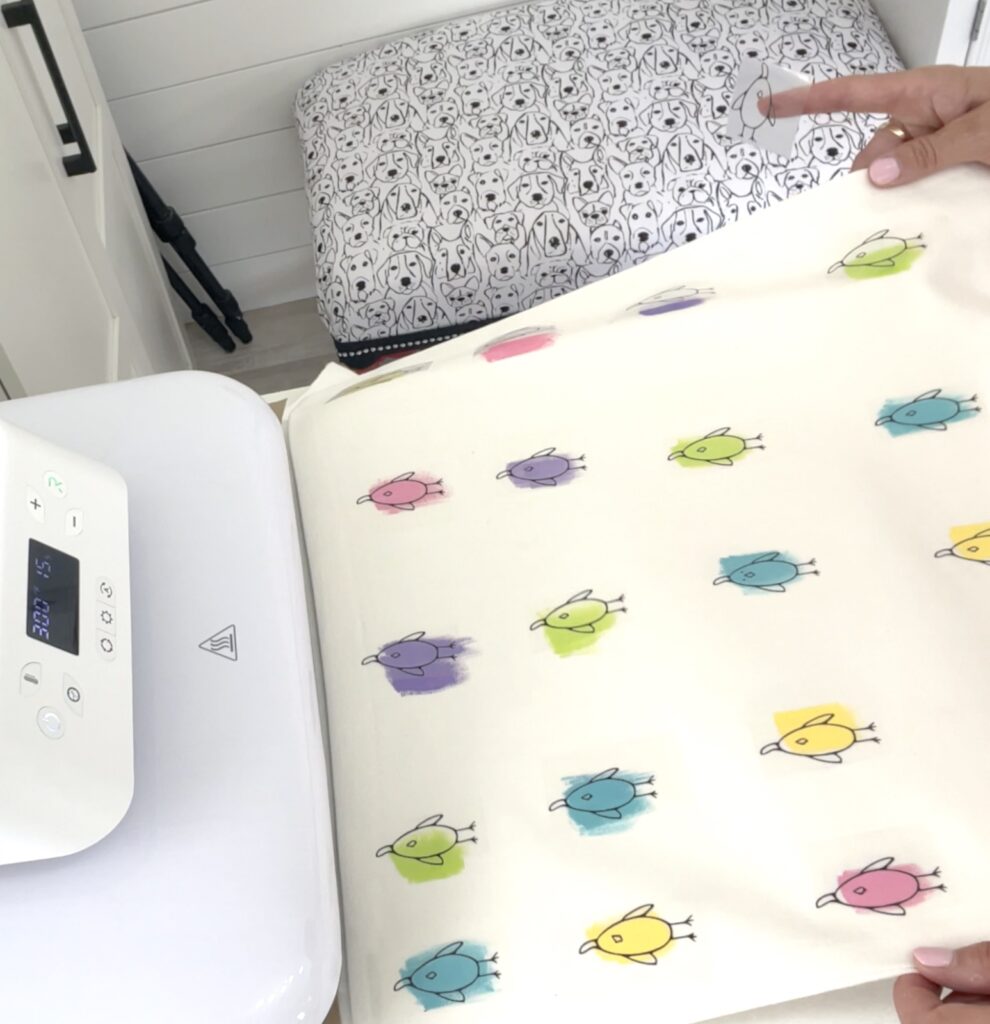
Step 5
Place the pillow cover in the auto heat press (or whichever heat device you are using) and heat up those chicks and get them to stick!
Don’t those Easter heat transfers look so cute?!?!?
The last step is to stick your current couch throw pillow into the easy Easter throw pillow cover you just made. Or on your side chair.
Oh wait!!
My Missing Eyes Solution
I mentioned the missing eyes before. This might not be a problem for you. By the way, you could just draw larger eyes and you’d probably be fine.
Otherwise, I just whipped out my permanent marker and drew in the eyes.
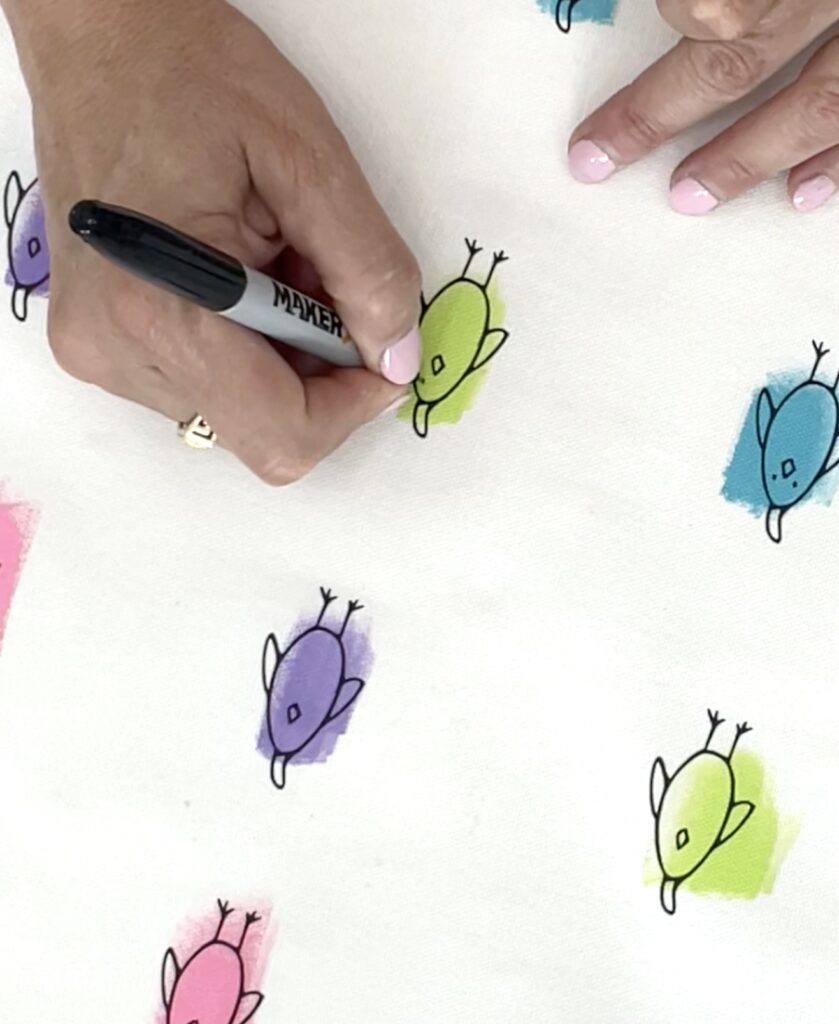
Nobody know except for you and me!
So…SHHH!
Now you can stuff the pillow in there and put it on your couch or side chair!
For the record, I love making these throw pillow covers.
First, throw pillows for the couch are expensive, and I don’t want to spend that money.
Second, you might be wondering can throw pillows be washed?
Well, the answer to washing throw pillows is most cannot be washed. However, if you make them with these Easter heat transfers, yes they can! You would want to wash them inside out and dry them on low heat.
You can make these for any holiday or any decor. They are budget friendly because they are a fraction of the cost of retail throw pillows and you can reuse existing throw pillows and give them new life!
Total Win!
Let’s Talk Easy Art Style
Let’s talk about easy art style for a minute!
It can be your drawings, your kids or grandkids’ drawings. Even though the art style is easy and rather basic, when it gets put onto a pillow like these Easter heat transfers were, or if you engrave it, they become so much more special and they look like something you would buy in a store.
So think of them as great gift ideas!
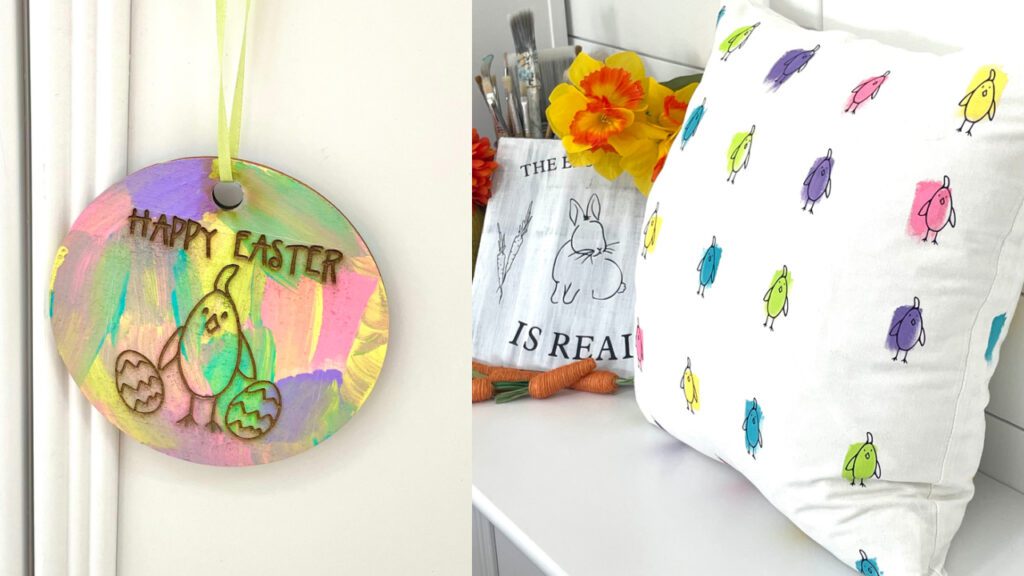
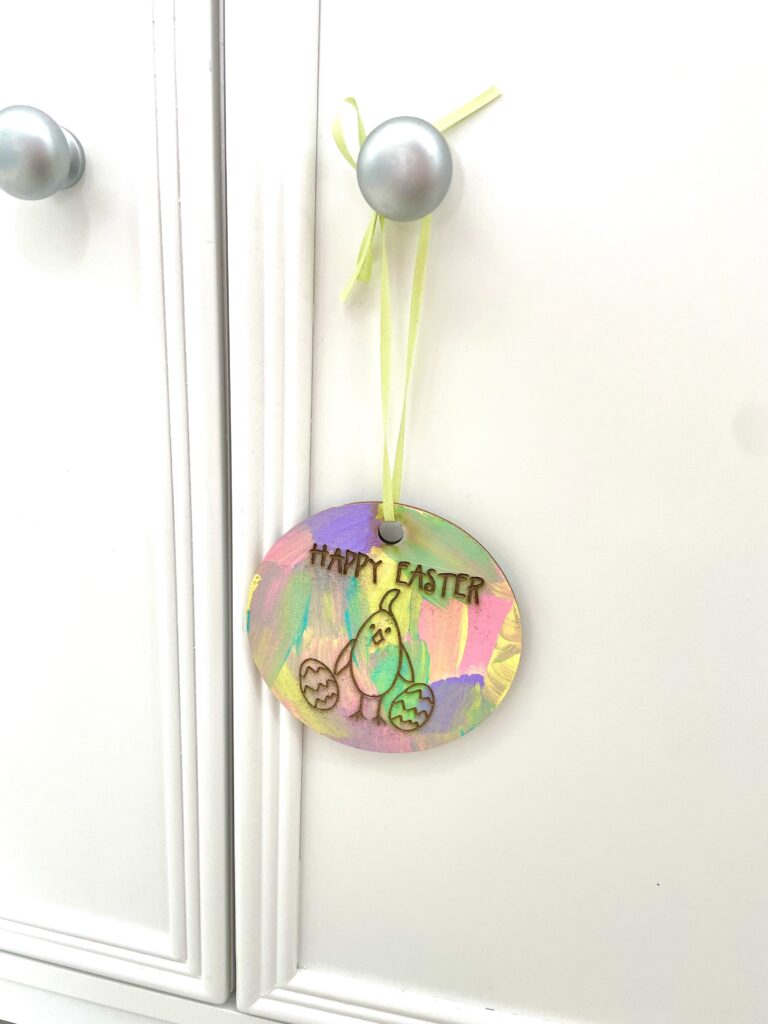
In the Easter heat transfers video, you can see how I used the same design but added super basic easter eggs and made it into a super cool ornament, or it could be a gift tag.
It coordinates with the easy pillow cover we made! In the video, I stuck my phone inside the XTool M1 so you could see it engrave firsthand.
I have a Father’s Day gift idea in mind for Greg, from the grandkids. If I make it, you know you’ll see it here!
Thanks for stopping by and if you want to see Easter heat transfers on three different materials, you can find them in this post!
If you want a little more whimsy, check out these Resin Easter Chick Coasters!
Remember: Life’s too short not to shimmer, so grab your glue gun and your glitter!™ Stay safe!
Mona
Be sure to PIN IT for later!
