Heat transfer vinyl isn’t just for t-shirts anymore! I’ll show you how to use HTV vinyl on a variety of materials, including wood, fabric, and paper!
*This project is sponsored by HTVRONT. The ideas and opinions are all my own.
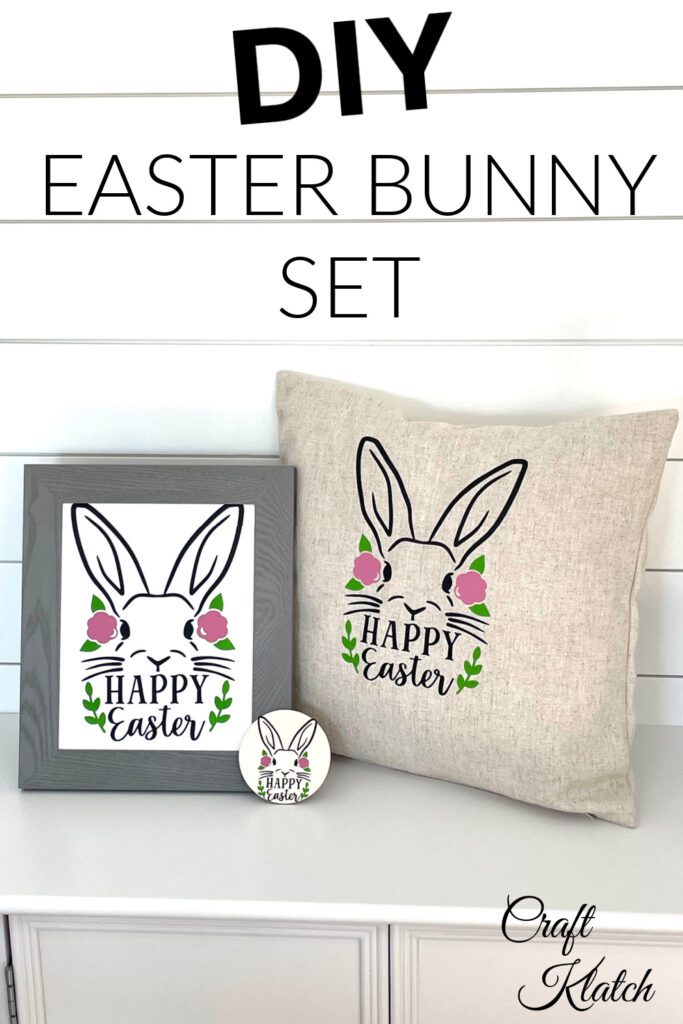
It’s spring and Easter is around the corner, so I’m going to make a set of adorable Easter decor items using HTVRONT vinyl.
It’s three projects rolled into one!
A pillow, a coaster, and art!
Material I Used
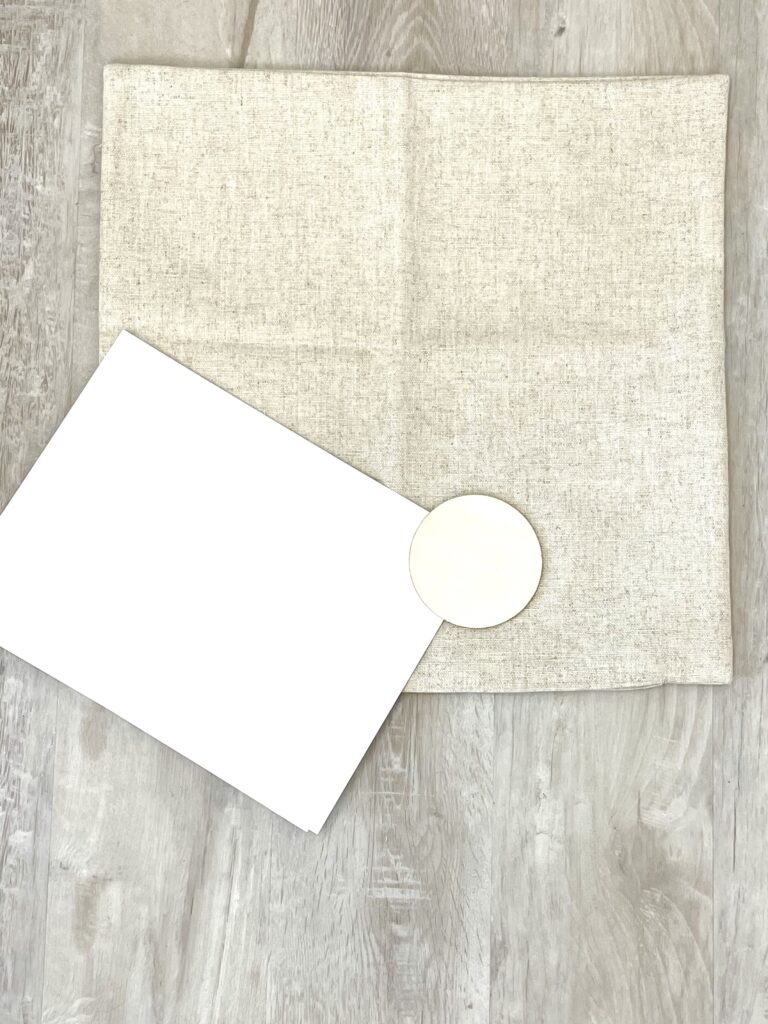
- Wood rounds (3.5″)
- Pillow cover
- Cardstock paper
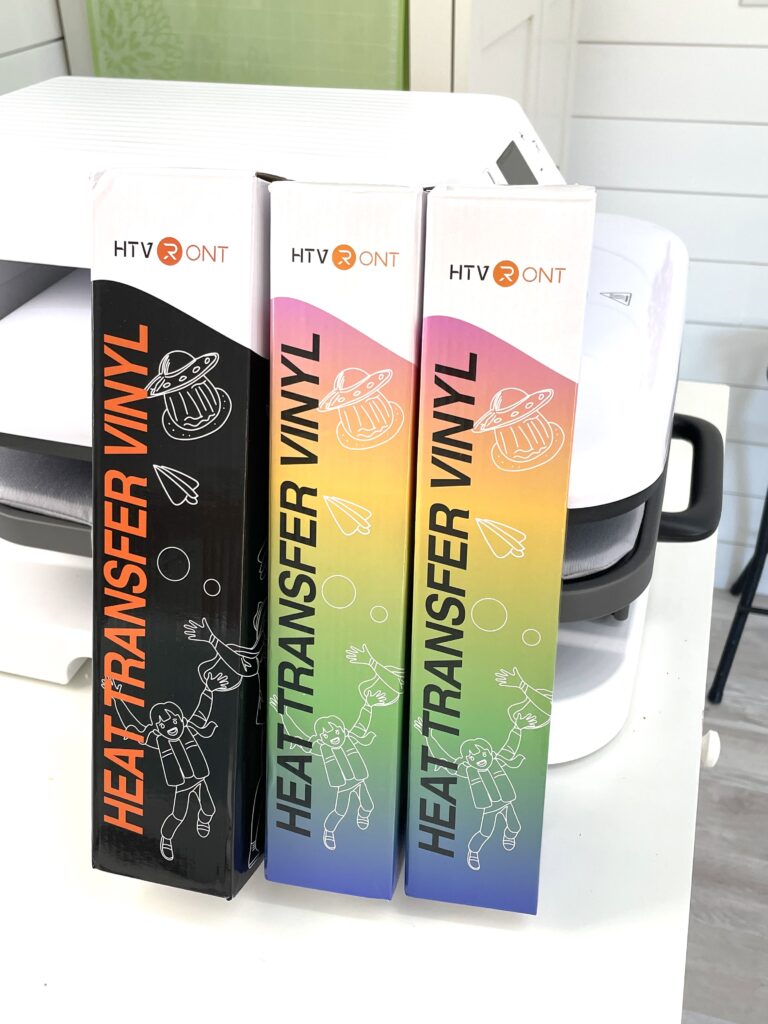
- HTV vinyl in black, green, and pink
- HTVRONT Heat Press
- Cutting machine
Basic Steps
All three projects will follow the first three basic steps. The only things that will change are the materials and the sizes but we’ll get into that later.
Step 1
Select your design for whichever cutting machine you are using. You can even design your own!
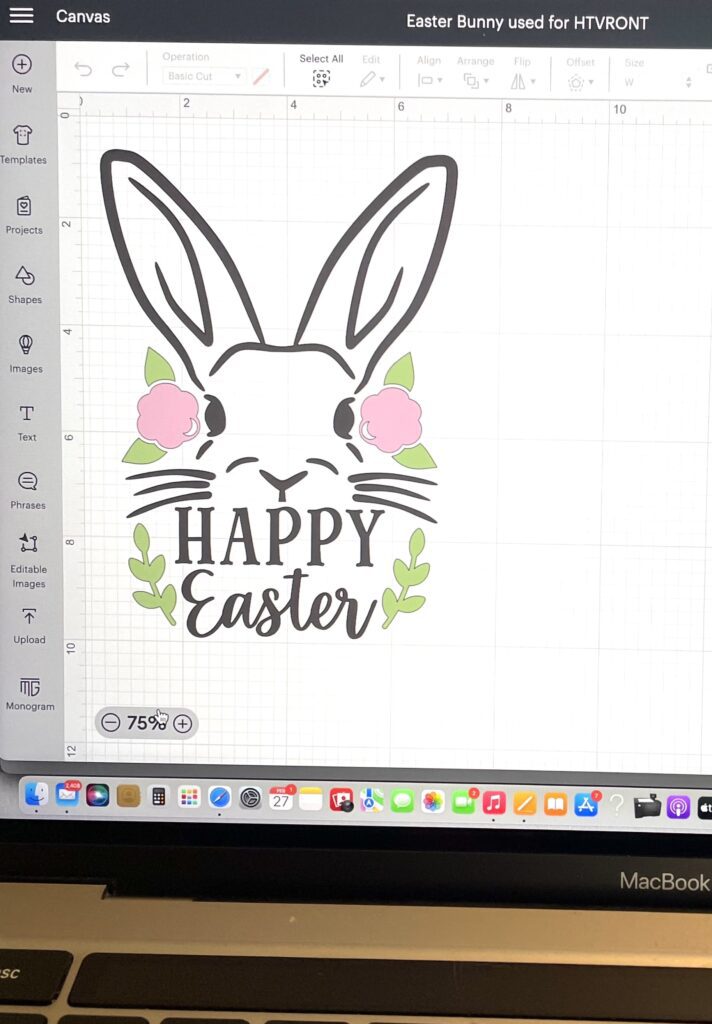
When I found this ADORABLE Happy Easter Bunny, which I will be carrying through all three projects, I knew he was the one!
Step 2
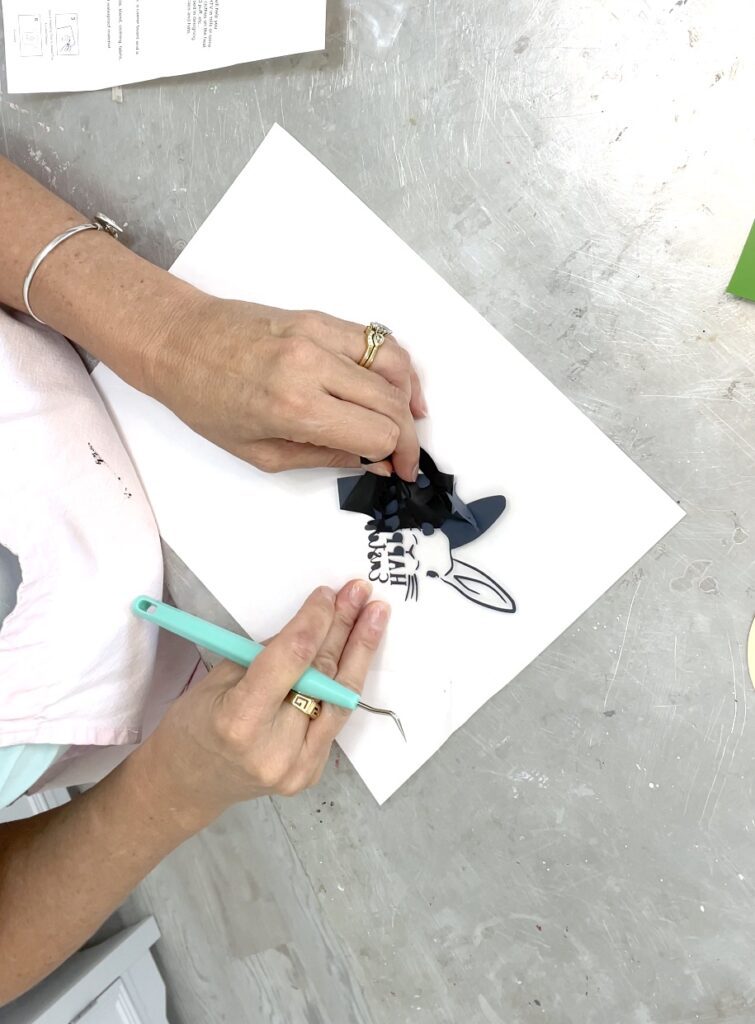
The image has three colors, so I cut the individual colors out and weeded the vinyl.
I used HTVRONT heat transfer vinyl, which cut and weeded beautifully!
Be sure to follow me on INSTAGRAM!
I used:
Black for the bunny and words.
Green for the leaves.
Pink for the flowers.
Two things to keep in mind when using heat transfer vinyl:
- If you have words or letters, make sure you cut the mirror image.
- Remember the HTV goes vinyl side up on the cutting mat and clear plastic side down.
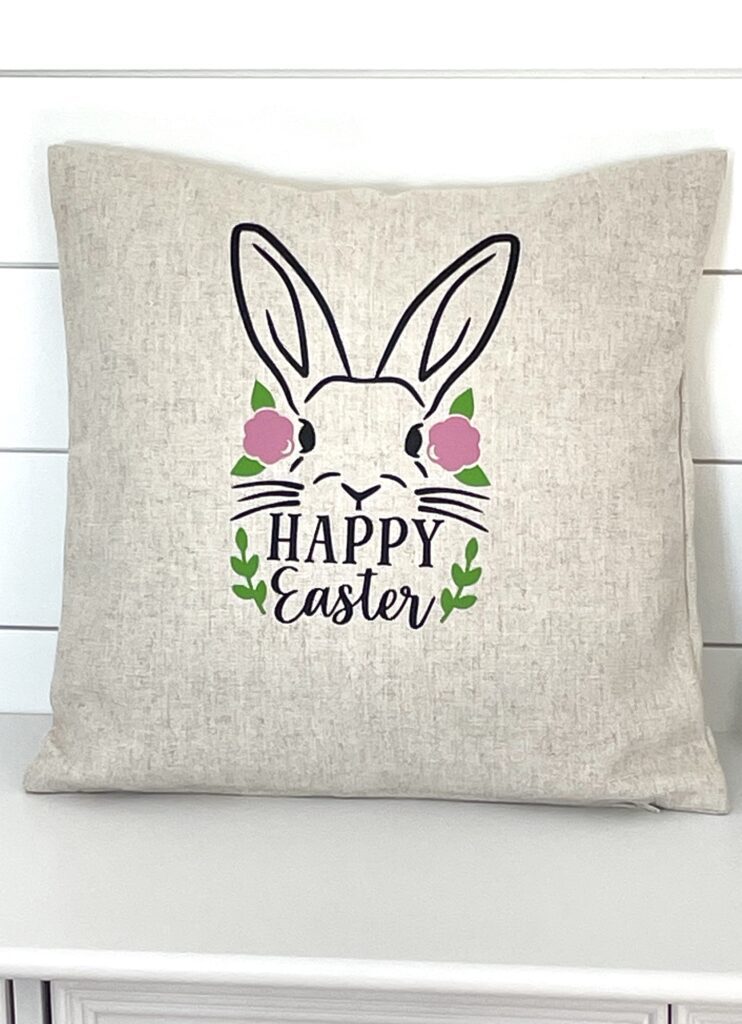
Project #1 Easter Pillow Cover Using Heat Transfer Vinyl
Let’s start with the material that isn’t such a surprise…fabric!
When you think of heat transfer vinyl and fabric, the first project you might think of is a t-shirt. Which is great…
…but…
t-shirts aren’t home decor and I like to personalize my home decor. What better way to personalize than with your cutting machine and some heat transfer vinyl?
I picked up a pillow cover that fits perfectly over my everyday couch throw pillow. They come in a variety of sizes and colors, so you can make pillows for every room in your house, or outside!
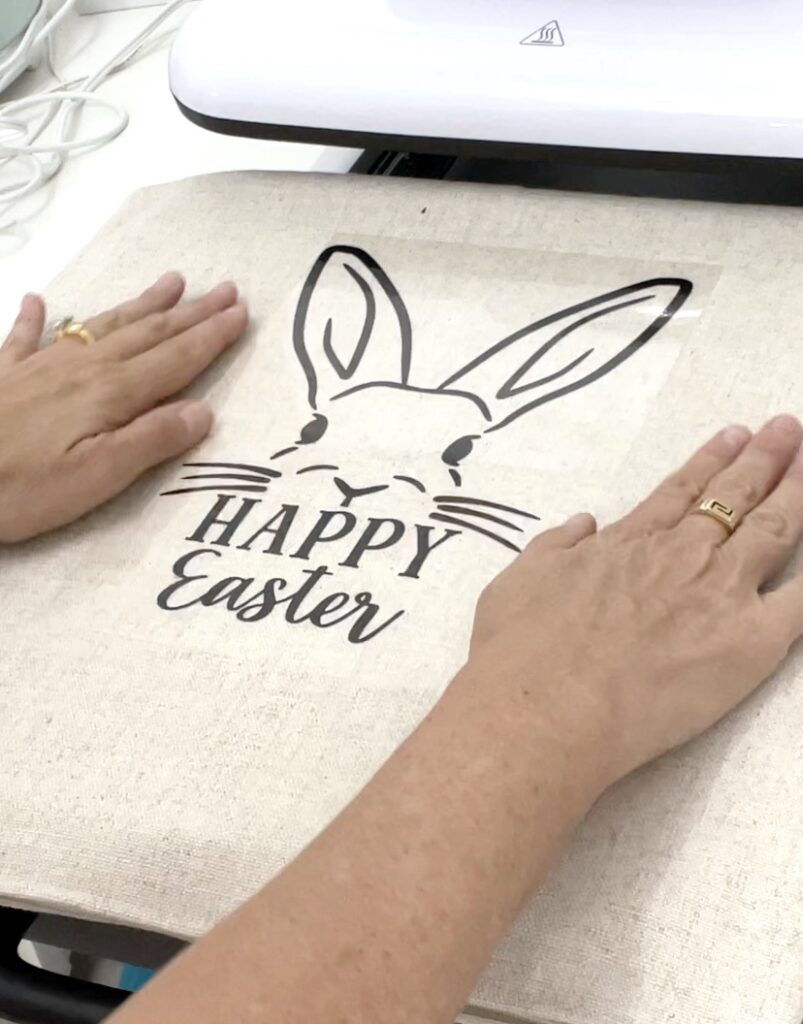
The pillow cover size was 18″ x 18″ and I sized the image to approximately 6.5″ w x 9.5″ h.
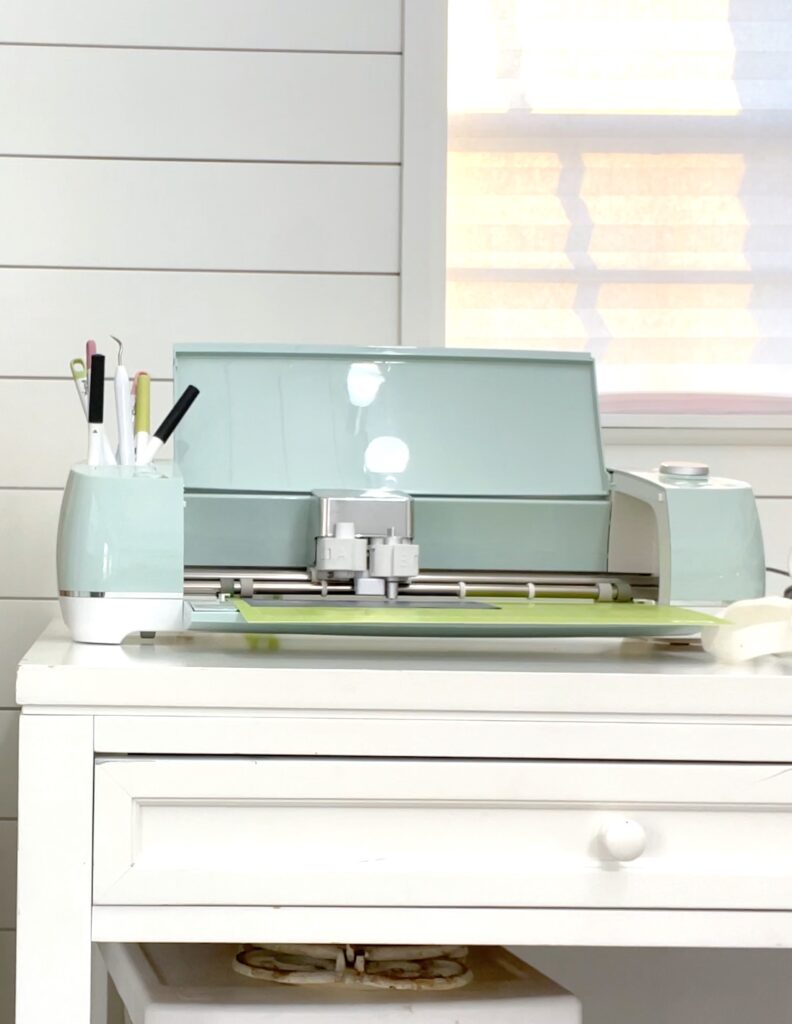
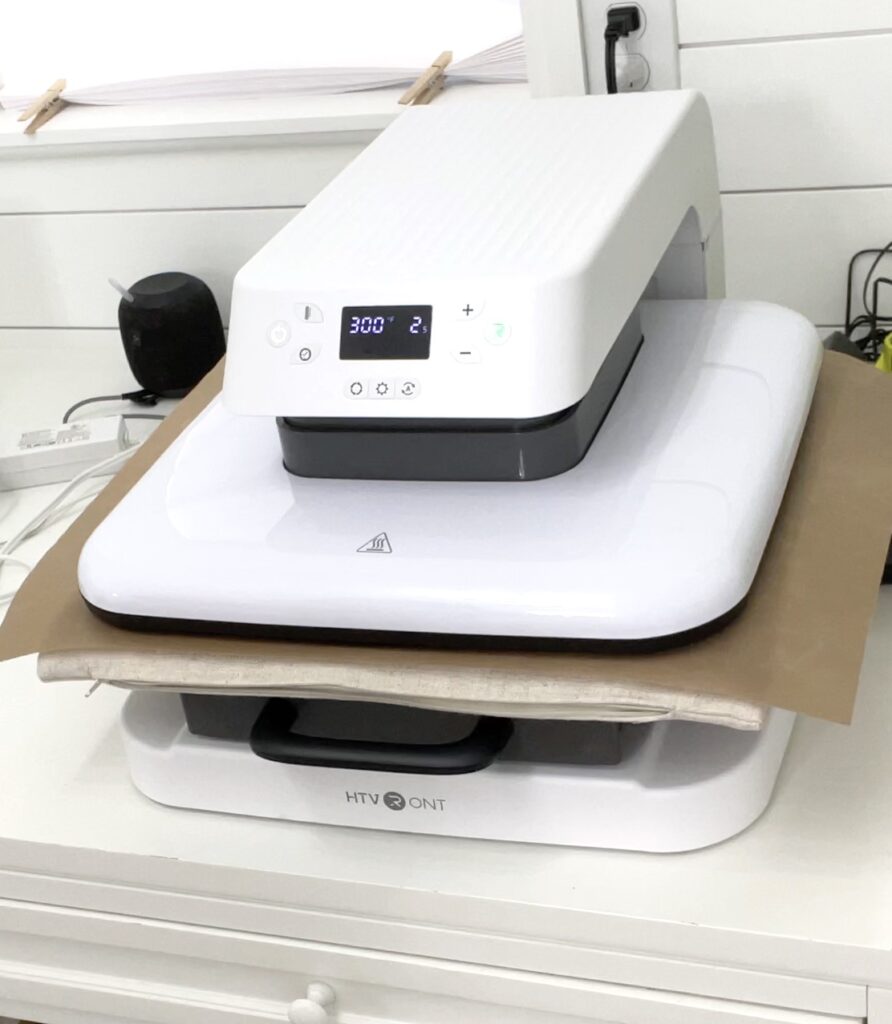
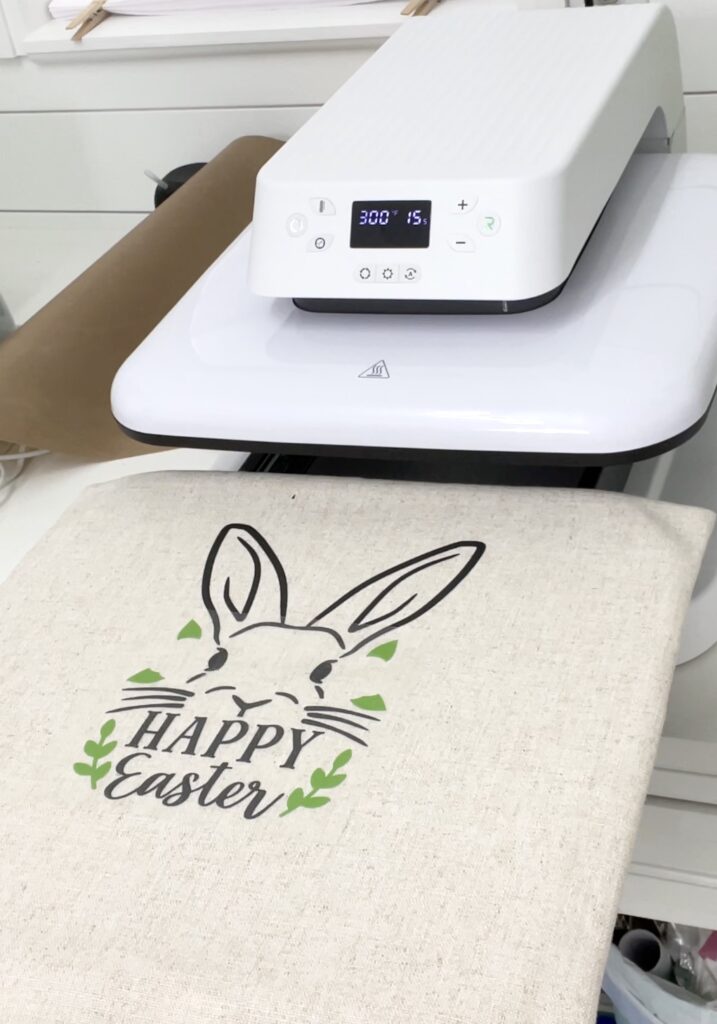
The HTVRONT Auto Heat Press and Pressing The Vinyl to the Pillowcase
Now for the star of the show…the HTVRONT auto heat press!
I have used heat transfer vinyl with my iron before but all I managed to do is melt the plastic, char the fabric, and burn a hole in the vinyl.
So when the auto heat press walked into my life…all the HTV vinyl in my craft room let out a collective sigh of relief.
I simply put my pillowcase into the heat press and with the default settings, it automatically lowered the top, added the perfect amount of pressure, and…
VIOLA!
…there was not a wrinkle to be found!
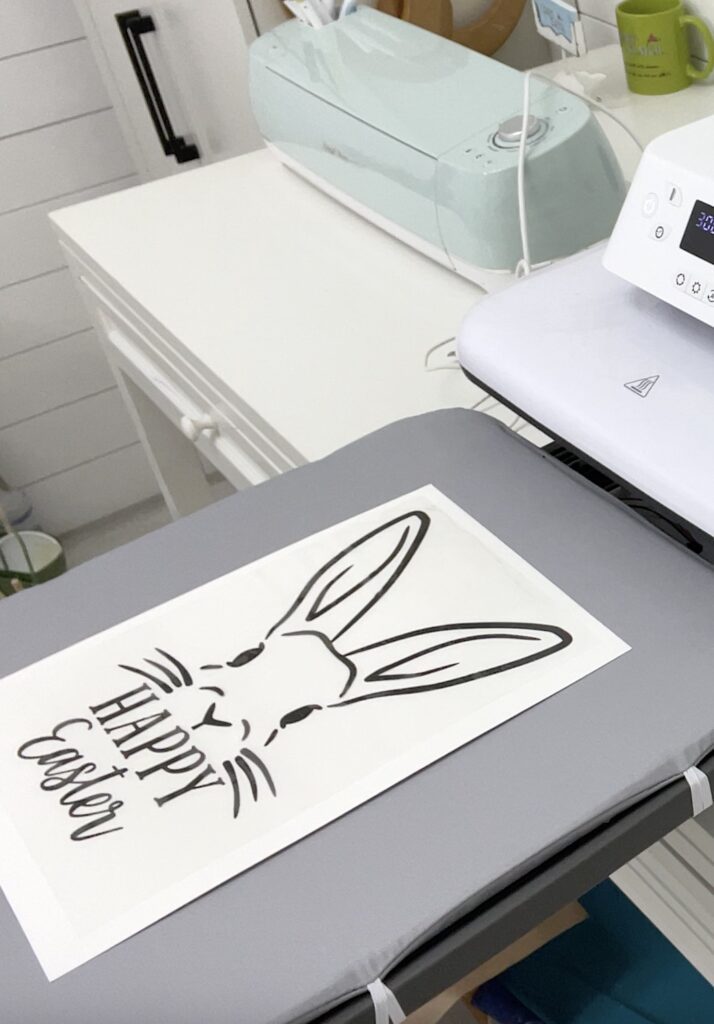
It was nice and warm and ready for my heat transfer vinyl Easter bunny!
I did the black first. I put on the black outline (plastic side up), added the teflon sheet (it came with the heat press), and used the default settings.
Worked like a charm!
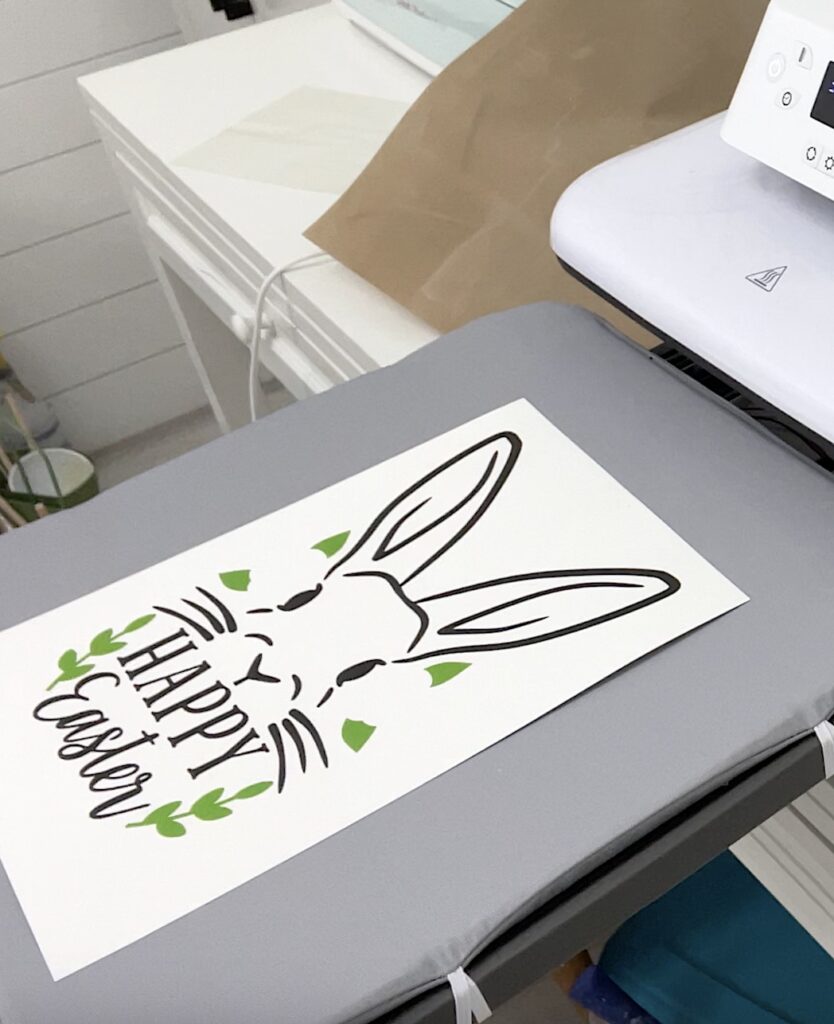
Then, I repeated the process with the green leaves…
and the pink flowers…
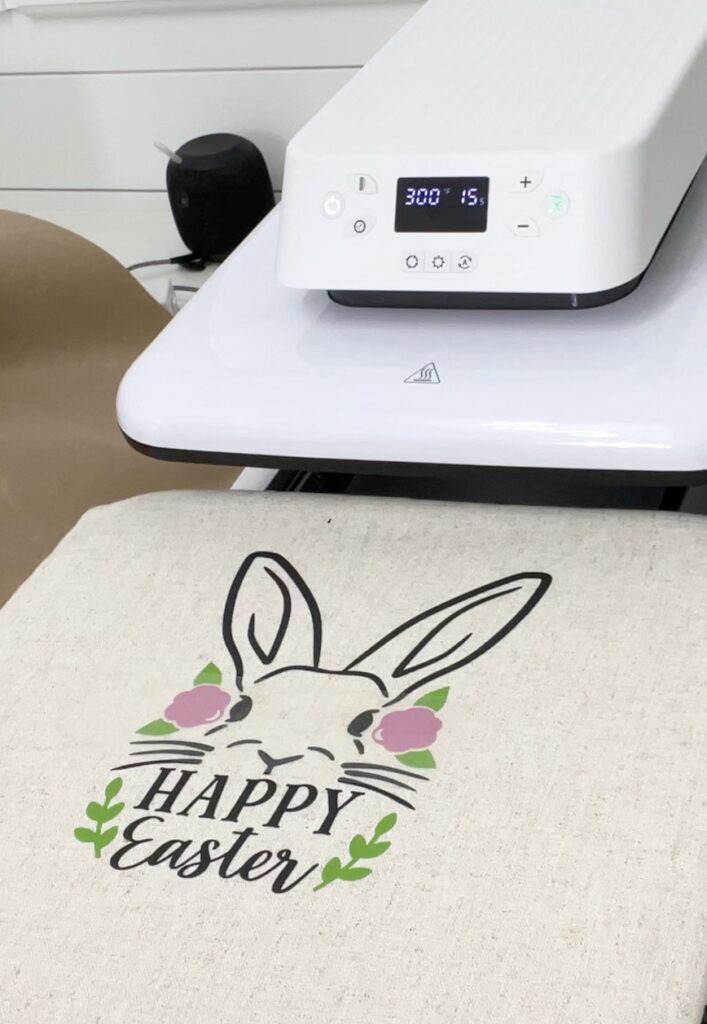
No scarring, scorching, burning, or holes!
The auto heat press was effortless! Don’t be surprised if you find my iron out at the curb!
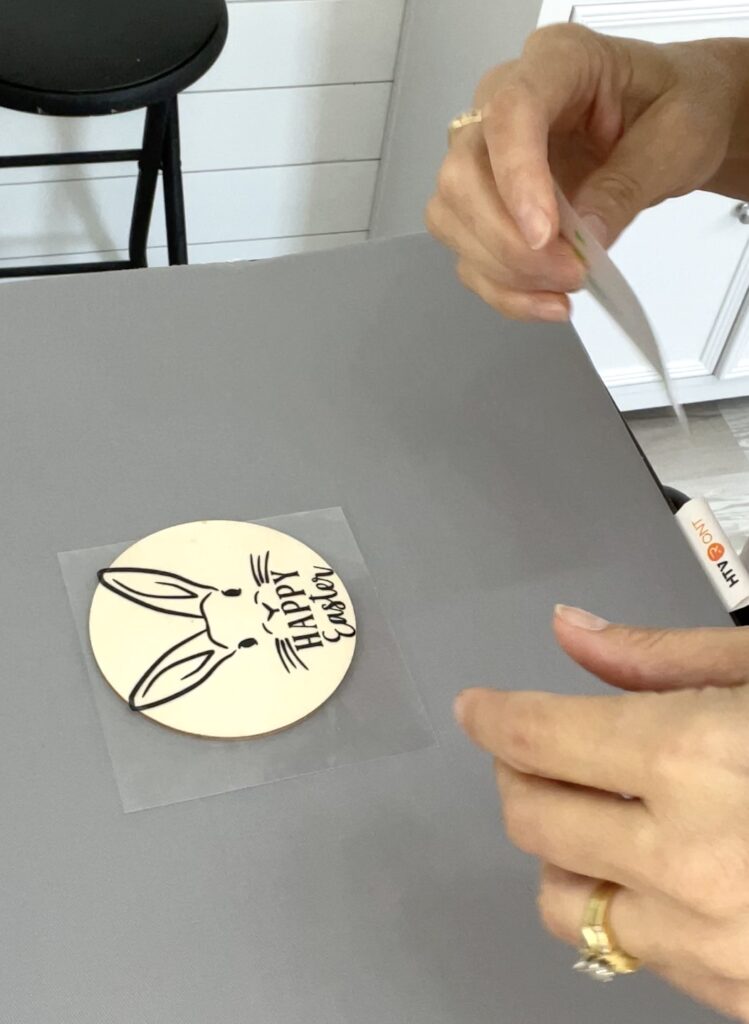
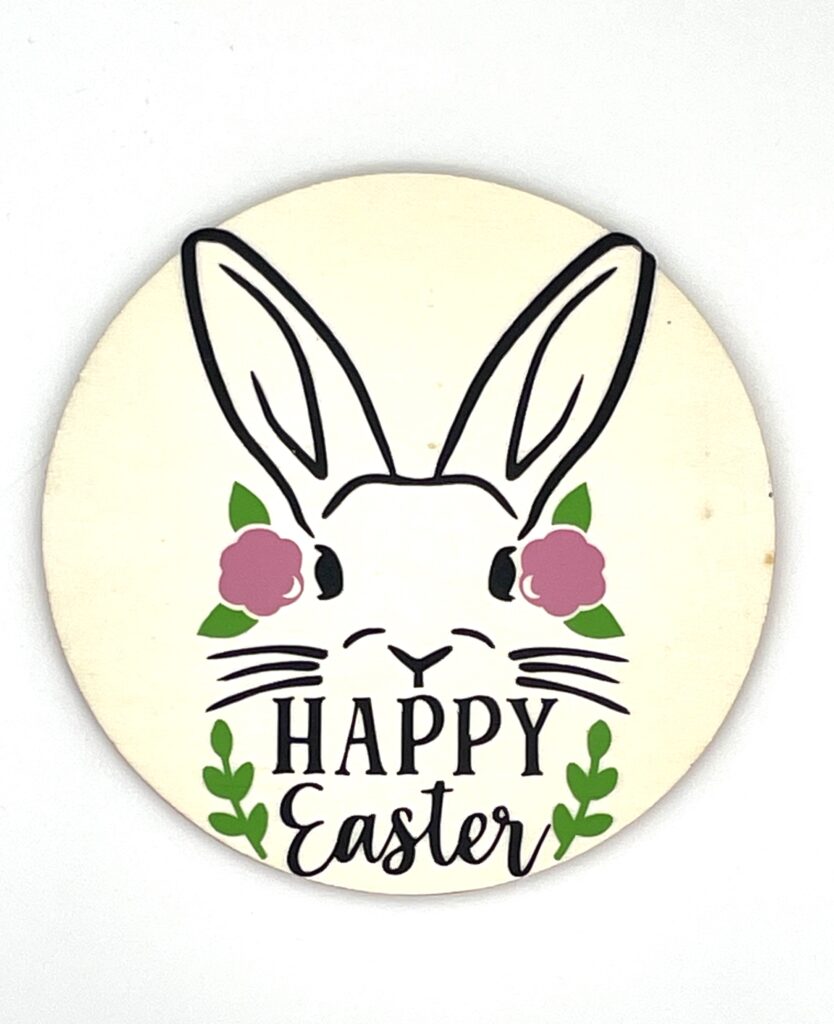
Project #2: Wood Coasters
I don’t know about you, but ironing heat transfer vinyl onto wood does not seem like a thing…or at least it didn’t!
I love making coasters and I had these 3.5″ wood rounds. They were pretty thin and I’ve used them for different projects in the past.
I resized my image to be approximately 2.5″w x 3″h. It could have gone just a hair (or should I say hare) smaller, to take into account the width of the ears.
I repeated the process with my HTVRONT auto heat press,
The black…
green…

pink…
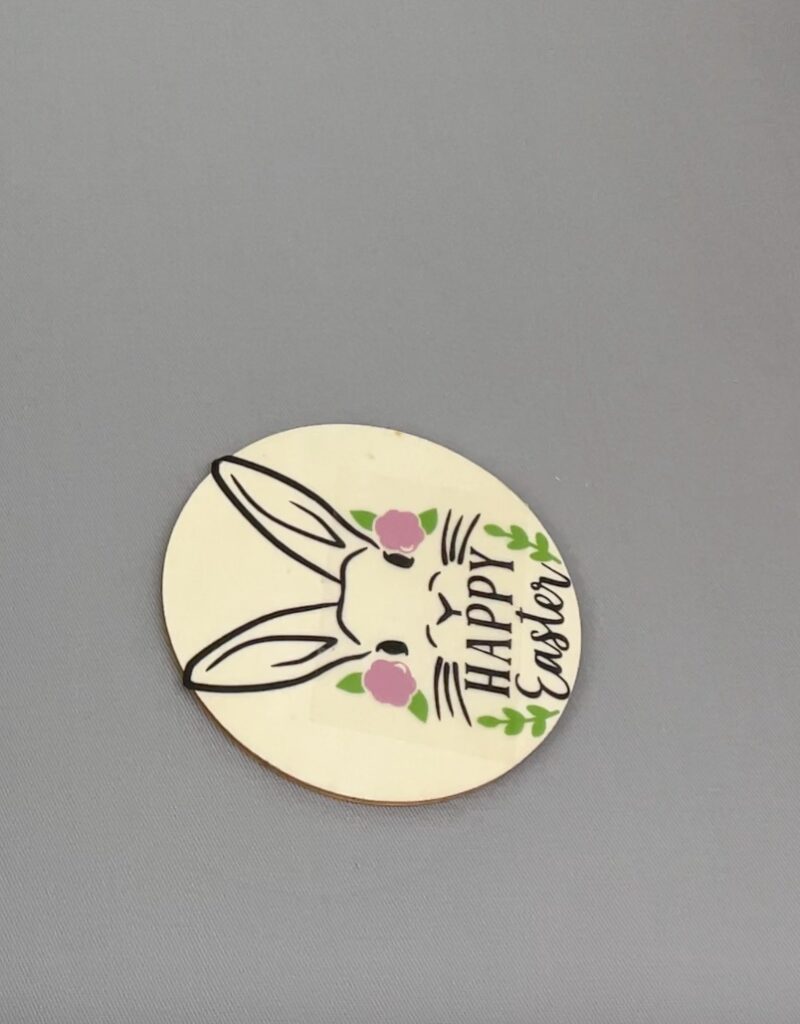
Again, I used the default settings and it turned out…PERFECT-O!
Now, you can use a clear spray sealer, if you use them as coasters, but after I made them (and loved them), I thought…I’m going to make little Easter gift tags. I will do the bunny on the one side and the name on the back. Drill a hole, add a ribbon and you have a gift tag…or an Easter ornament!
Hello, new tradition!
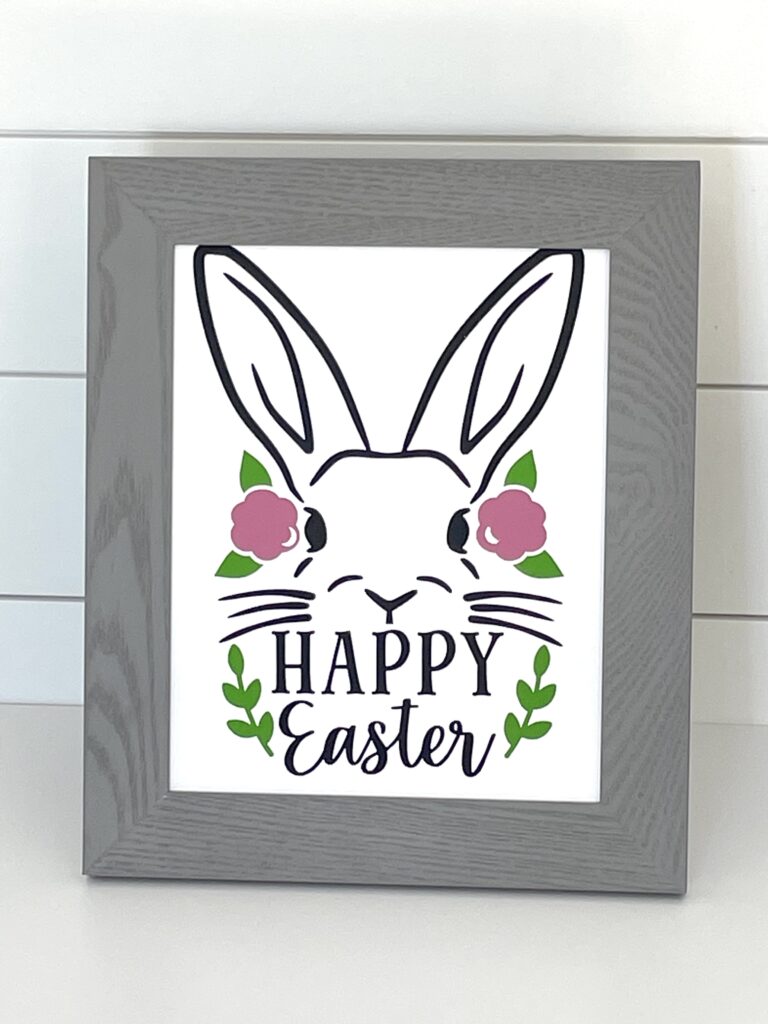
Project #3: Easter Art
For this, I used plain printer cardstock. Nothing special at all…but it will be!
I had two concerns going in:
- Will the paper burst into flames?
- If the paper doesn’t burst into flames, will it get scorched and discolored?
I double-checked…paper ignites at 480°F…phew…and the scorching/discoloration…well, that remained to be seen.
I did the same process as before (FYI: I used the teflon paper on all projects):
The black…
green…
pink…
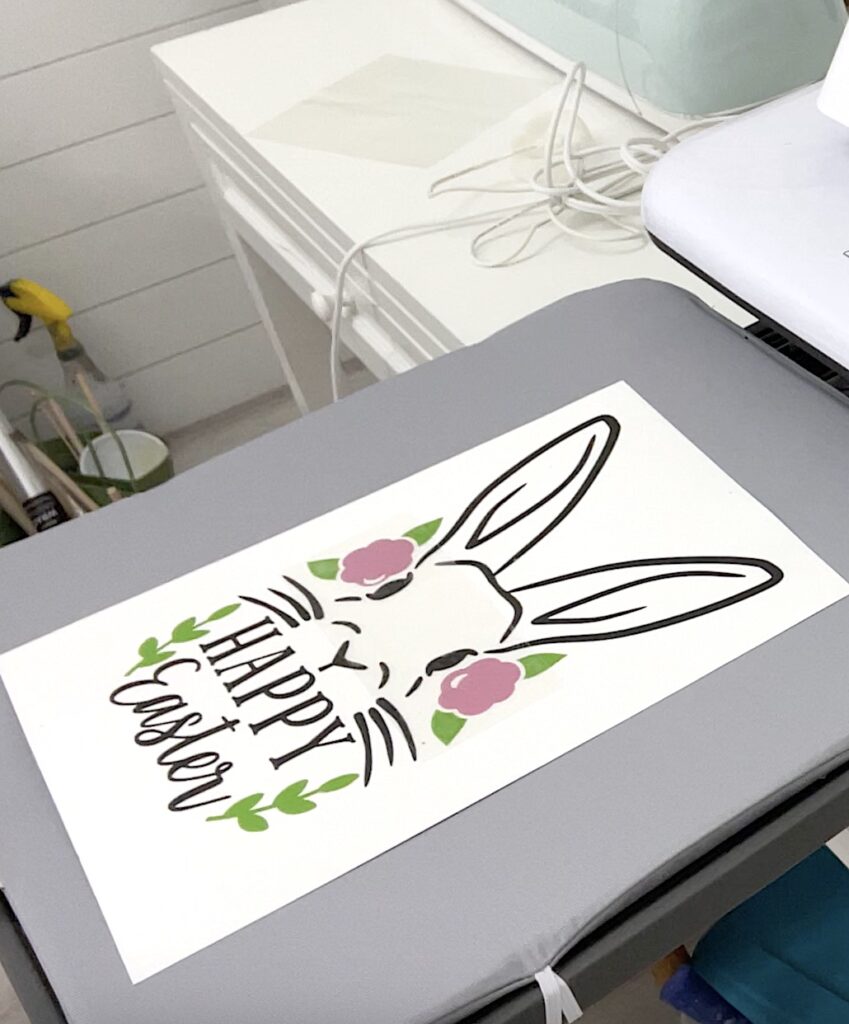
I could not have planned it better!
I hugged my HTVRONT auto heat press…Special note: I did wait until it cooled down.
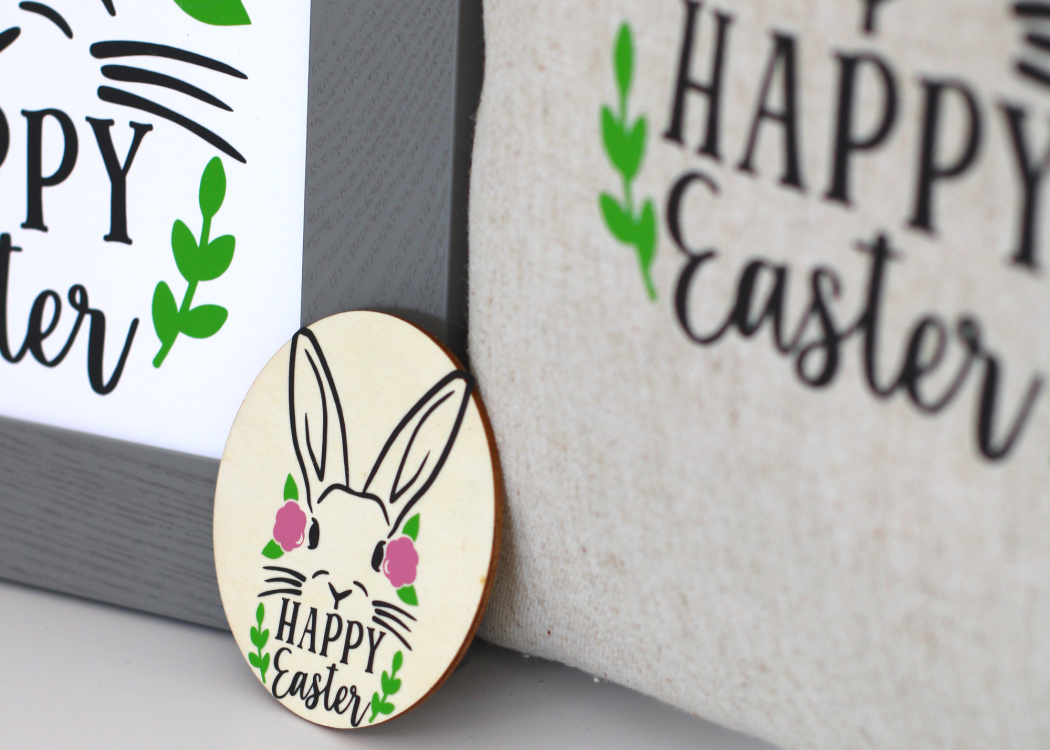
Here are the final projects!
PILLOW
COASTER
ART
THE SET
(Be sure to PIN IT for later!)
More Easter Projects!
If you are looking for more Easter inspiration, check out these projects!
Thanks for stopping by! Remember: Life’s too short not to shimmer, so grab your glue gun and your glitter!™ Stay safe!
Mona
LOVE this tutorial, Mona! We will be featuring you starting Wednesday at the Creative Crafts Linky Party! Pinned and shared
Creatively, Beth
Thank you so much, Beth! I’m honored and will be sharing your party! ❤️