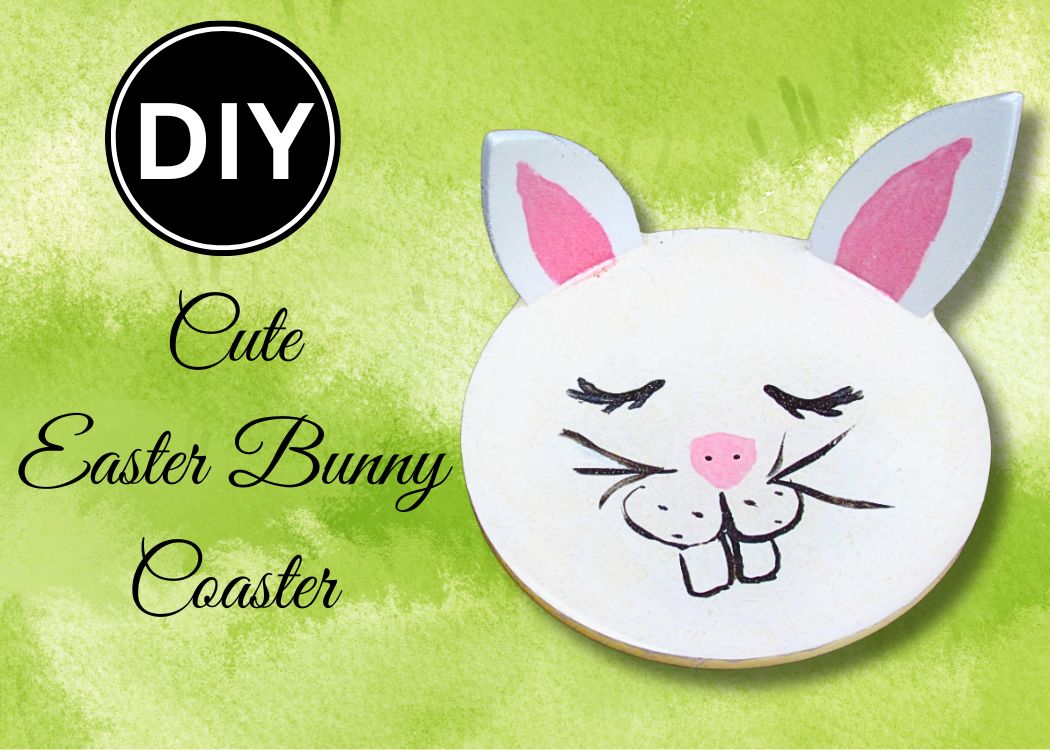
Create an adorable Easter Bunny resin coaster with this easy DIY tutorial! Learn step-by-step how to make this cute bunny decoration using resin and paint.
This idea just popped into my head. I thought how cute it would be to try to make an Easter Bunny coaster that was 3D-ish.
Easter Bunny Resin Coaster Video Tutorial
Here is a quick video tutorial so you can see exactly how I made it.
Supplies You Will Need
*Disclosure: This blog uses affiliate links from Amazon and other retailers. I earn a small amount from qualifying purchases at no additional cost to you.
- Resin
- When deciding on which resin to use for your coasters, you need to keep in mind whether you want it just for cold cups or for hot ones as well.
- If only for cold drinks, you can be flexible and use whatever brand you like:
- If you want it to work for both hot and cold drinks, you need to look for a heat-resistant resin, like these:
- Stone Coat (Quick coat)
- Stone Coat (Heat resistant)
- FX Poxy ~ According to the manufacturer, this one is heat resistant to 500° F.
Easter Bunny Coaster Directions
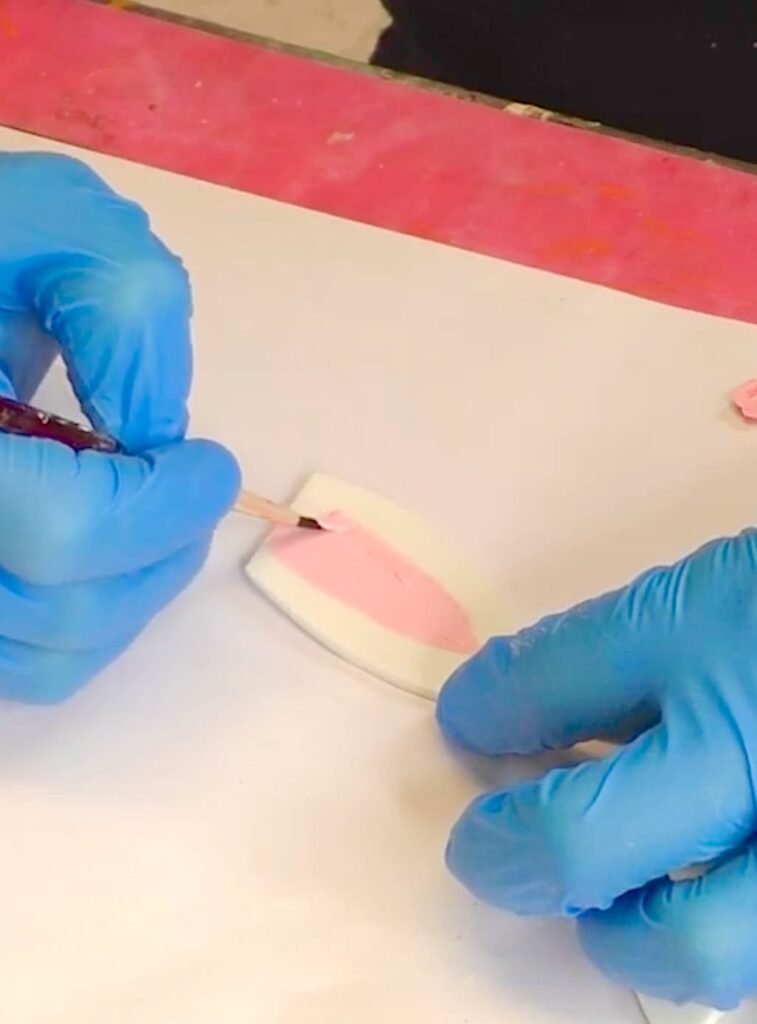
Step 1: Create the Bunny Ears
Cut out bunny ears from white craft foam. If the edges are rough, smooth them with fine sandpaper or an emery board. Then, paint the inner ears using pink multi-surface paint.
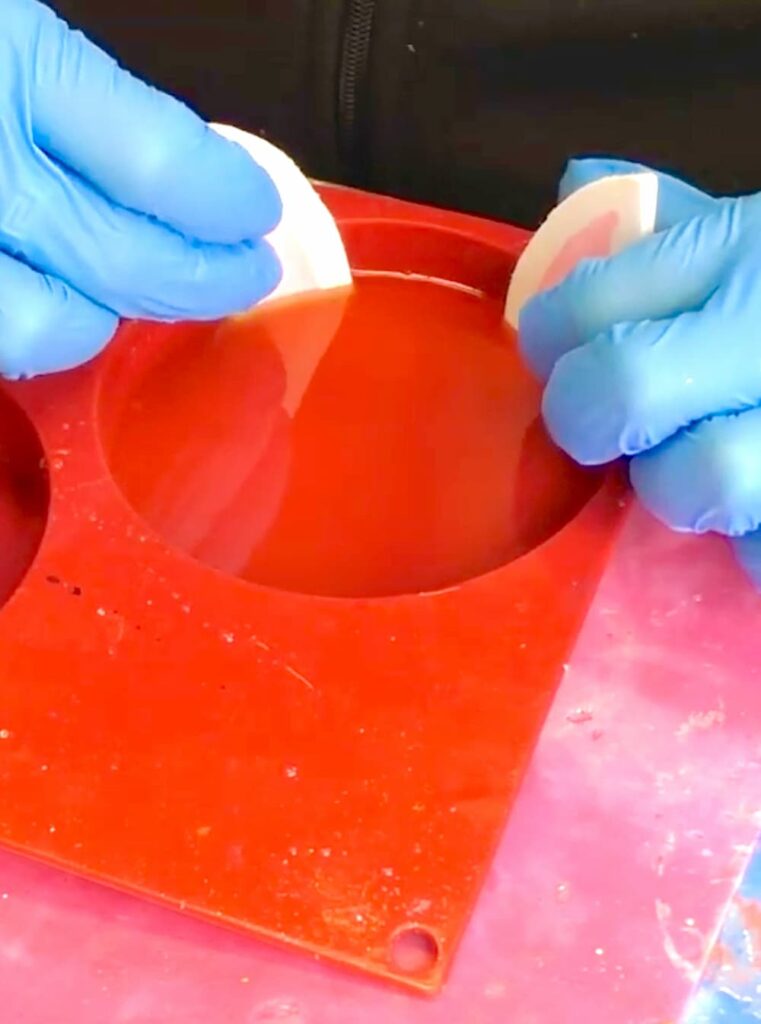
Step 2: Cast the First Layer of Resin
Mix fast-curing resin that cures white. Place the bunny ears into the resin and hold them in place. The quick-curing resin helps set them fast, so you don’t have to hold them for hours!
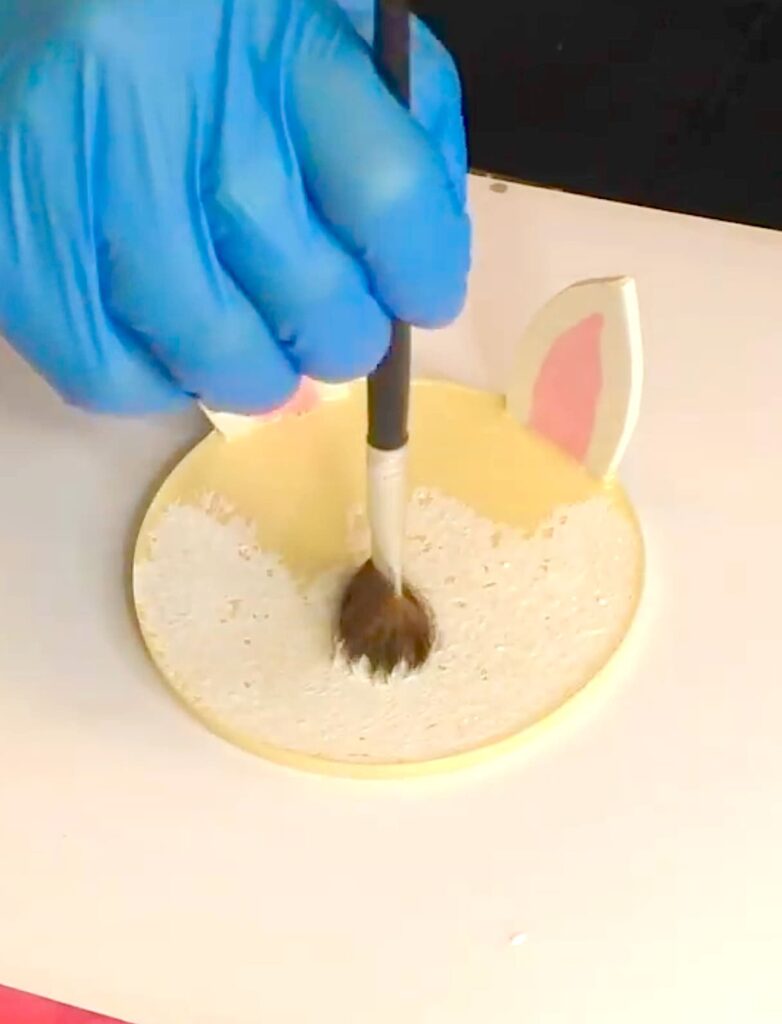
Step 3: Remove from Mold and Add Texture
After about 15 minutes, remove the piece from the mold. It may not be fully cured, but it should be firm enough to handle. If the resin isn’t completely white, use white acrylic paint to pounce over the surface. This not only corrects the color but also gives it a cute, furry texture.
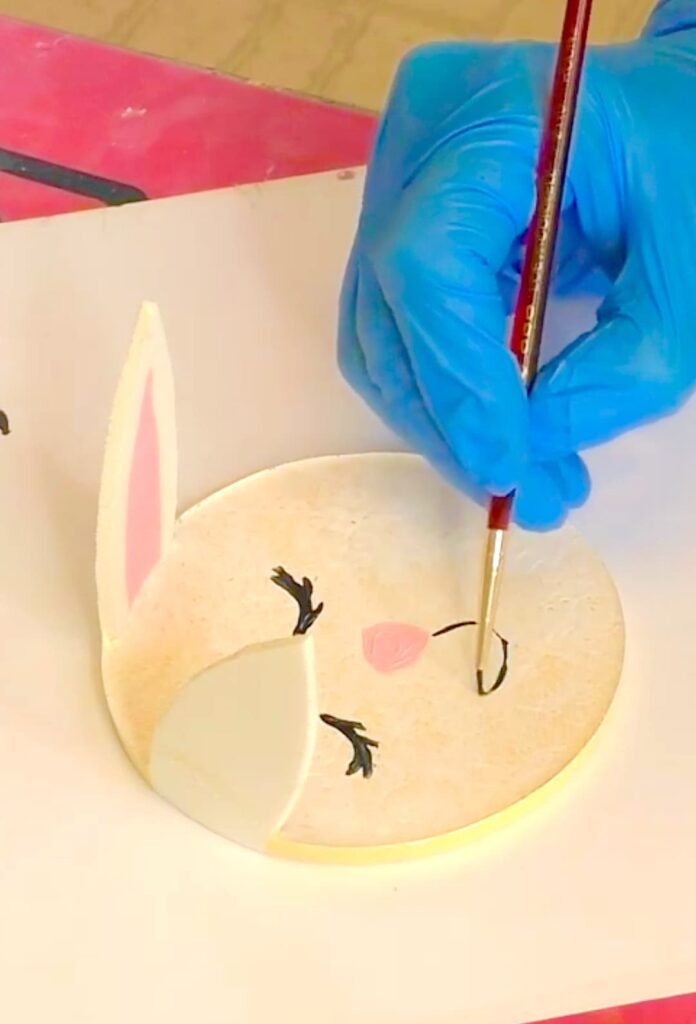
Step 4: Paint the Bunny’s Face
Once the paint is dry, use black and pink acrylic paint to add the bunny’s face. Let it dry completely before moving on.
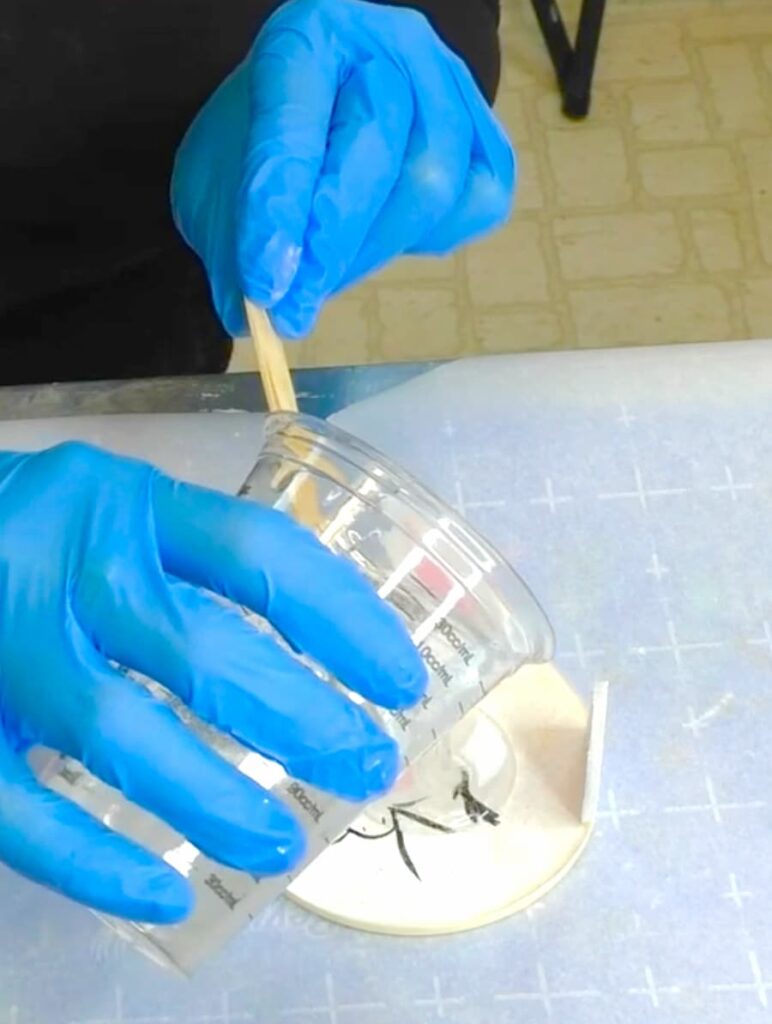
Step 5: Seal with Clear Resin
Mix clear resin and pour it over the bunny, carefully guiding it to the edges. Use a lighter to pop any bubbles, but be careful not to get too close to the ears as they might melt. Let it cure for at least 12 hours.
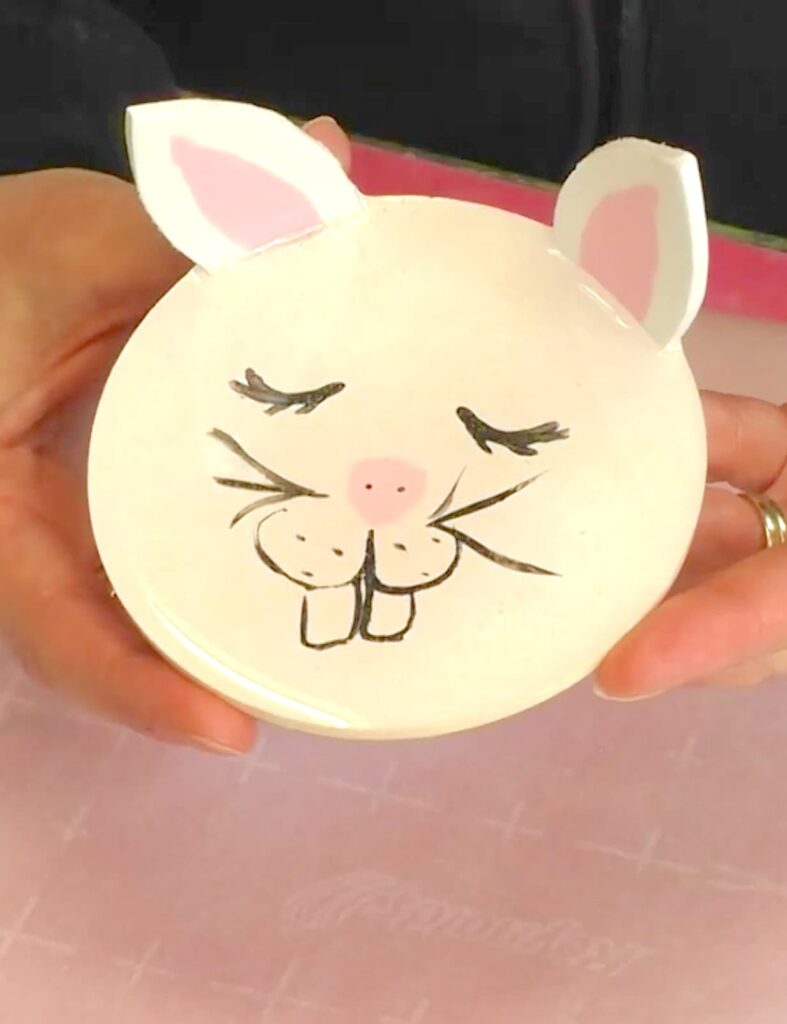
That’s it! Now you have an adorable Easter Bunny resin coaster ready to display.
More Fun Easter Crafts
- How to Make a Bunny Craft
- Easter Eggshell Resin Coasters
- Easter Craft | Easy Chick Coasters [Video Tutorial]
- Easy Easter Bunny Art DIY
Be sure to follow me on Instagram!
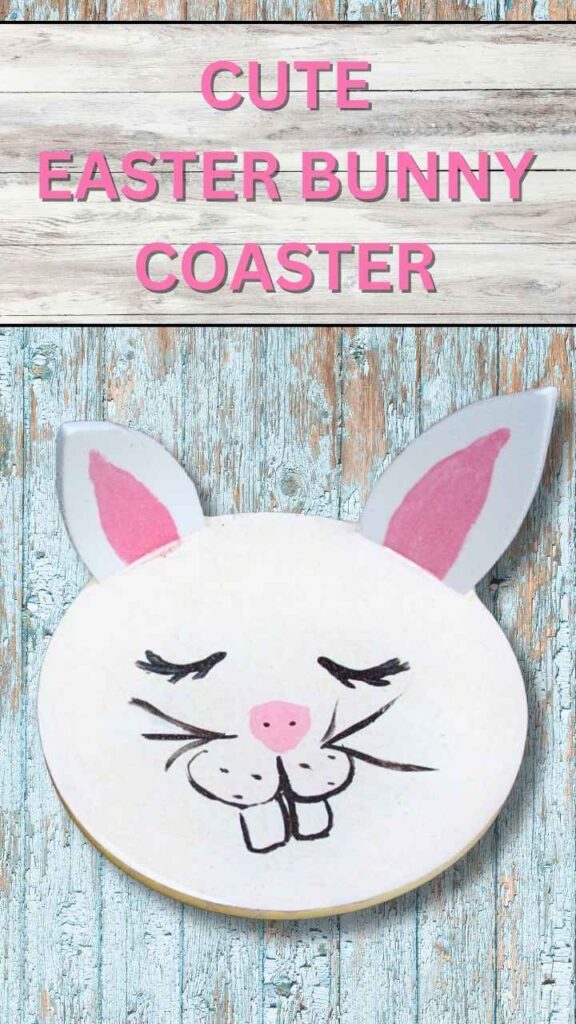
Pin It for later!
Thanks for stopping by! Remember: Life’s too short not to shimmer, so grab your glue gun and your glitter!™
Mona