I posted the video for this craft prior to Father’s Day, but fell behind and didn’t get around to the blog post in time. So, here it is, better late than never! Also, birthdays and other gift-giving holidays come about throughout the year!
Supplies You Will Need
*This blog uses affiliate links. As an Amazon Associate I earn from qualifying purchases, at no additional cost to you.
- Letter stamps: https://amzn.to/2PRLMkt
- Miscellaneous screws, nails, nuts, bolts, whatever
- Pigment powder: https://amzn.to/2LvWJcW
- Permanent stamping ink: https://amzn.to/2Lucktg
- Key chain blank: https://amzn.to/2LwjJIz
Here is the Video Tutorial
Directions
1. Take your clay and prep it according to the package directions.
2. Once properly mixed/blended, roll it into a ball.
3. Squeeze the ball onto parchment paper, so it won’t stick
**By the way, you should always be wearing gloves when working with the clay.
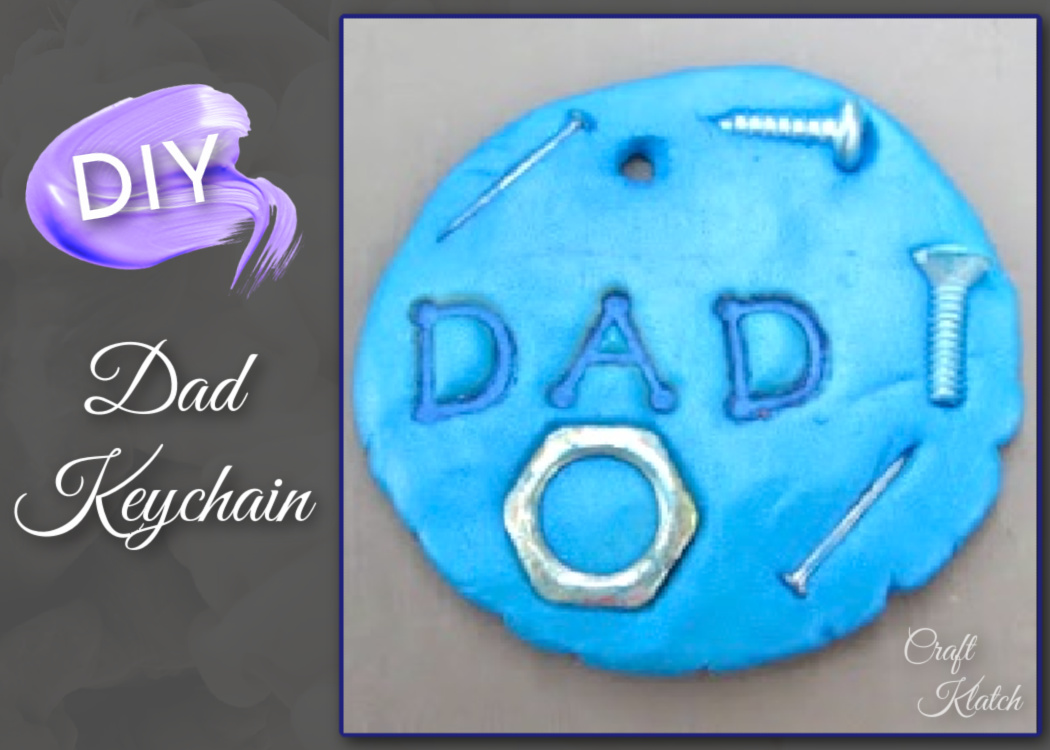
4. Press the screws and whatnots into the clay, making sure to leave enough room for you to stamp.
5. Brush the entire thing with pigment powder, front and back.
6. Ink your stamps and stamp DAD into the clay.
7. Take a skewer or needle tool and create a hole in the top.
8. Allow to sit at least 12 hours before handling.
That’s it! Now you can attach a key chain ring, or use it as an ornament, or a bookmark (just attach a ribbon).
Be sure to PIN IT for later!
Other Related Crafts You Will Love!
- Golf Ball Keychain
- Mom Charm DIY
- Beer and Fishing Coaster
- 30 Father’s Day Crafts
- Beer Bottle Cap Keychain
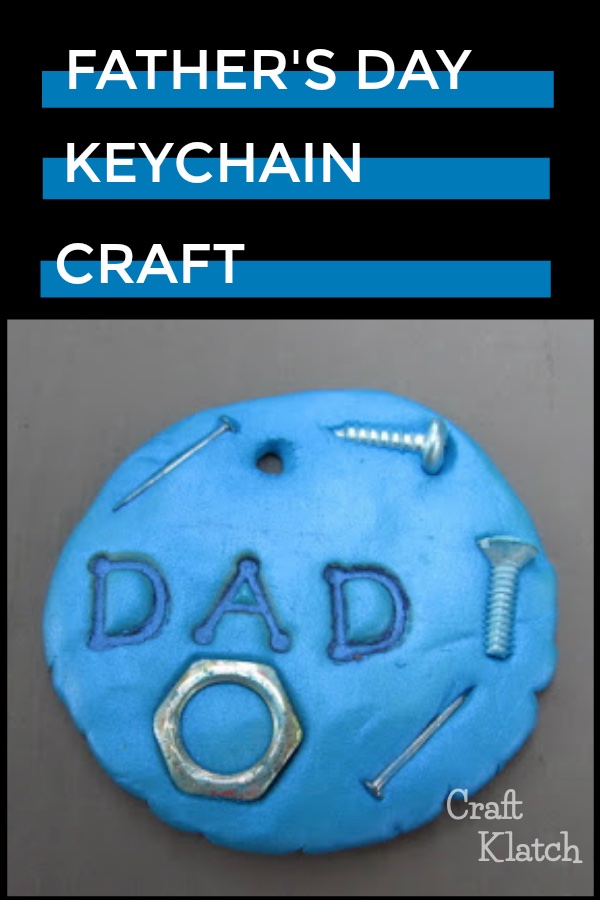
Dad Keychains

Thanks for stopping by! Remember: Life’s too short not to shimmer, so grab your glue gun and your glitter!™ Stay safe!
Mona