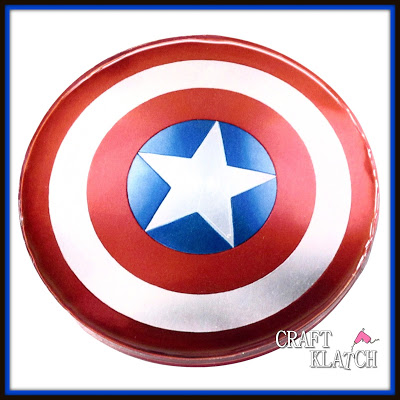
Who loves Captain America? Who is your favorite superhero? My niece loves Captain America, so I suspect she will steal this one.

You will need:
Coaster mold: https://amzn.to/23L46dn
Mod Podge: https://amzn.to/221uYGH
Red pigment: https://amzn.to/1OlL8Ir
Resin: https://amzn.to/1OqewIo
See how easy it is in this video tutorial:
Directions:
1. Mix one ounce of resin, according to the package directions.
2. Mix in one or two drops of the pigment and mix well.
3. Pour into the coaster mold and pop bubbles with your lighter.
4. Let sit for a minimum of 12 hours.
5. Print out the Captain America shield and size it to be just under four inches. FYI: I used a laser printer and card stock.
6. Cut it out with your scissors.
7. Using a red permanent marker, color just the edge of the image.
8. Using the Super Gloss Mod Podge, paint a layer on the dried resin and on the back of the image. Put it on the resin, paint more Mod Podge on top and use a finger (with Mod Podge on it) and rub it along the image. This will insure the image is flattened and no bubbles are underneath.
9. Allow to dry and do it one or two more times. Allowing to 100% dry after the final layer. Also, be sure you have the edges sealed.
10. Mix one ounce of resin and pour it over the image.
11. Pop bubbles with lighter and allow to cure a minimum of 12 hours.
That’s it! No you can unmold it! Whoohoo!
Thanks for stopping by! Remember: Life’s too short not to shimmer, so grab your glue gun and your glitter! Stay safe!!
Mona
