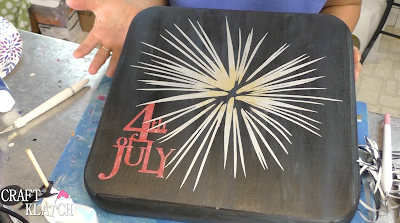
Learn how to make a 4th of July Sign using a Cricut cutting machine! Cricut crafts are easy and fun! It makes it an easy Fourth of July craft!
You will need:
Tray: I bought mine at Hobby Lobby, but there are a bunch of great alternatives available:
https://amzn.to/2W8EBXJ
https://amzn.to/2W8d2xL
https://amzn.to/2T4xfTe
https://amzn.to/2T1oDg2
https://amzn.to/2T1pwoS
https://amzn.to/2TaGNfC
Silver paint: https://amzn.to/2YfaFK3
Gold paint: https://amzn.to/2NgEt8i
Blue paint: https://amzn.to/2FyRTGo
Black paint: https://amzn.to/2RGsCPs
Red paint: https://amzn.to/2XzixZH
Cricut on Amazon: https://amzn.to/2GV6zki
Cricut from Cricut: https://shrsl.com/1kzdi
Removable vinyl: https://amzn.to/2Tf4p1A
Transfer tape: https://amzn.to/2Y49FJ9
Fireworks image (royalty free): https://www.clker.com/clipart-black-and-white-fireworks.html
Here is a video tutorial, so you can see exactly how I made it!
Directions:
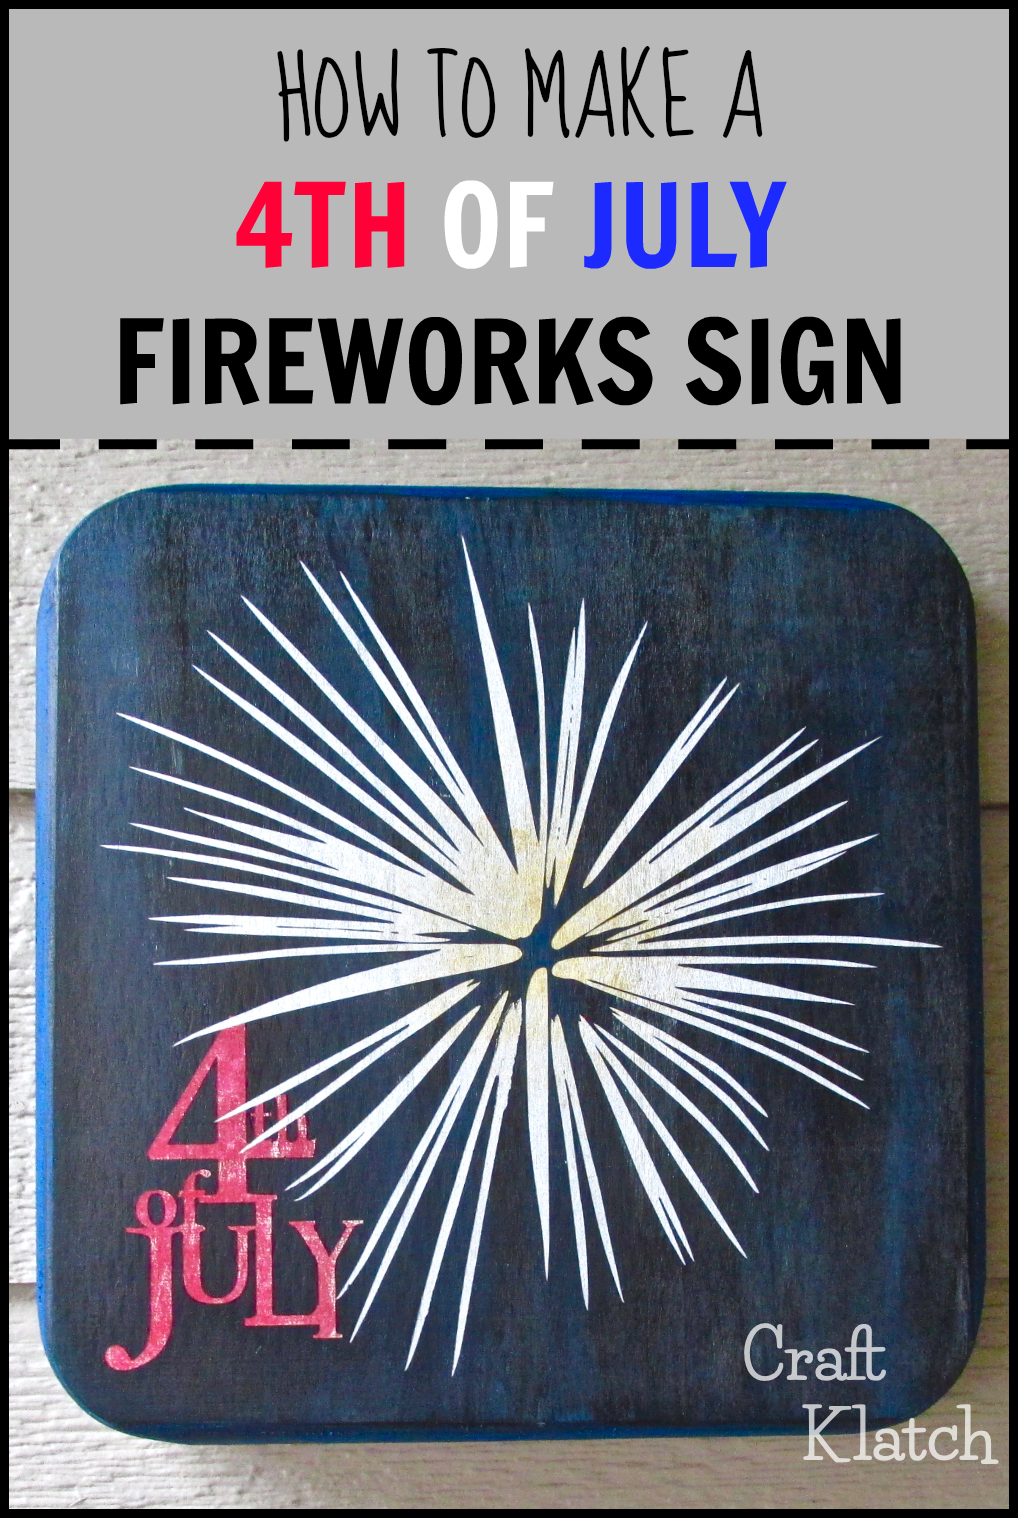
I had an unfinished tray and turned it into a 4th of July sign!
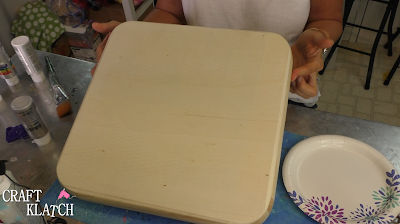
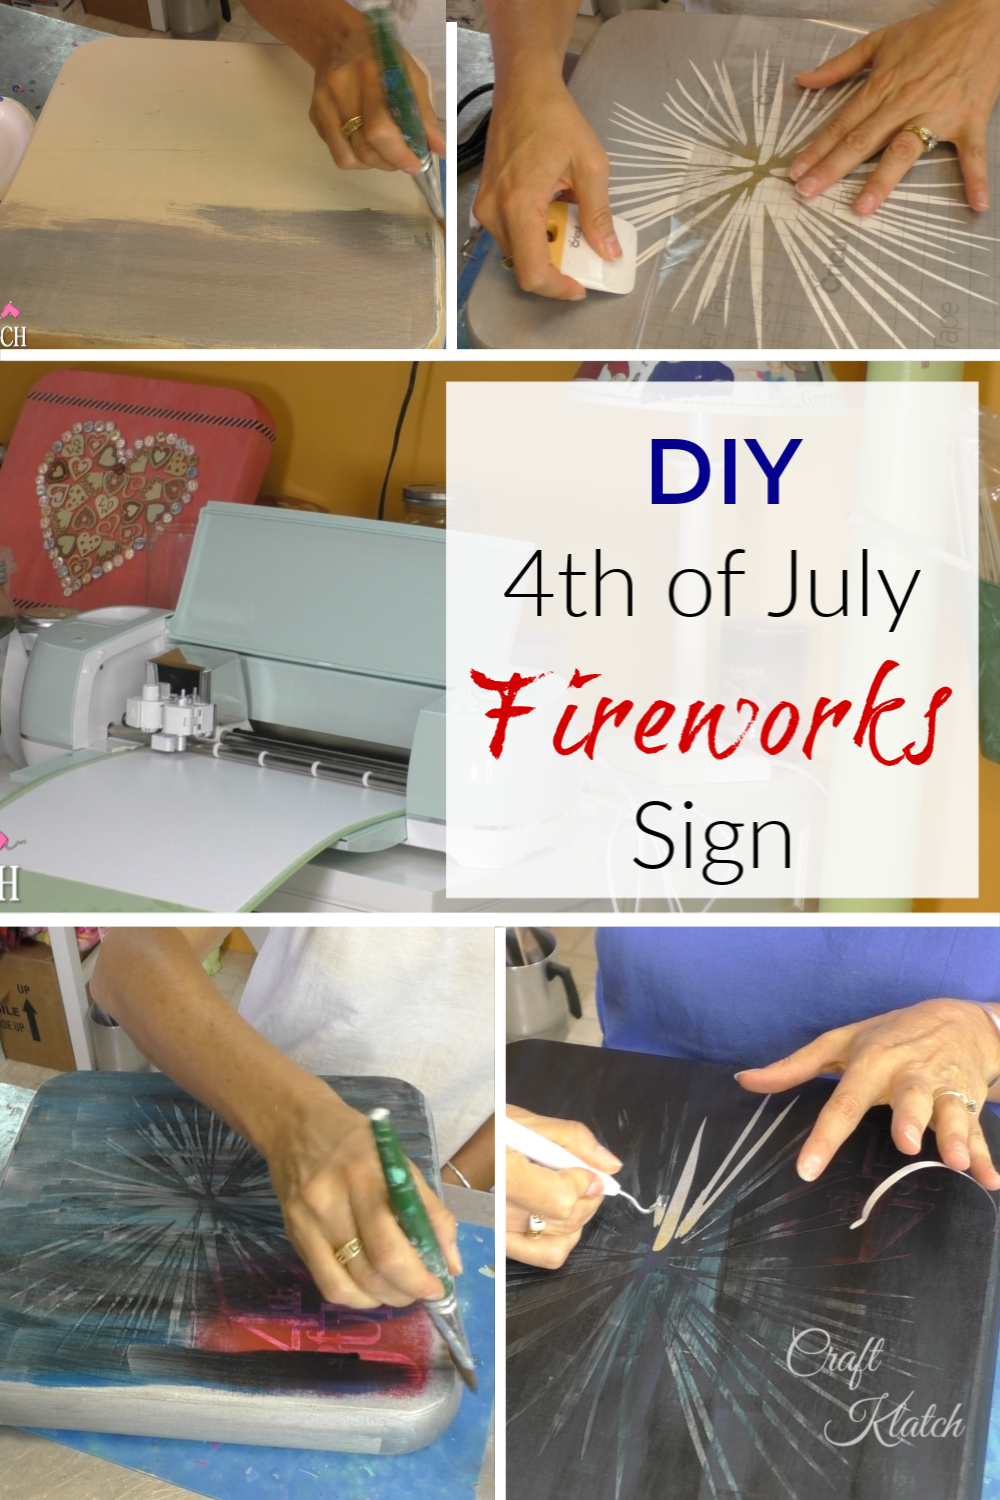
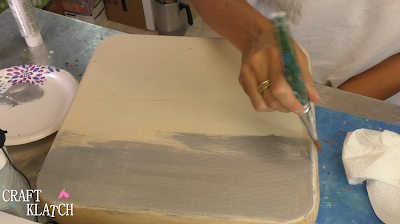
1. I painted the tray silver – it took two coats.
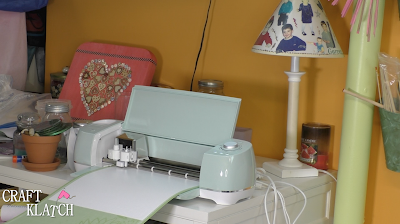
2. I cut a firework out of vinyl, with my Cricut machine. You can find the firework image HERE. I also cut out the words “4th of July”.
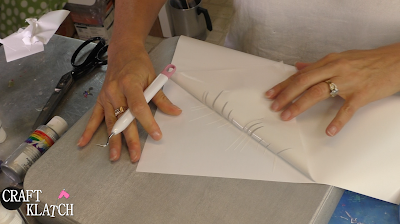
3. I peeled the excess vinyl off.
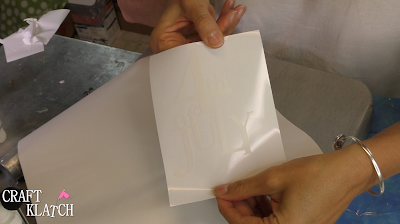
4. I placed it on the tray, just to get an idea of placement.
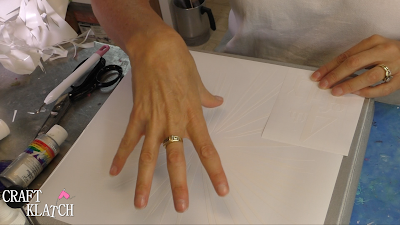
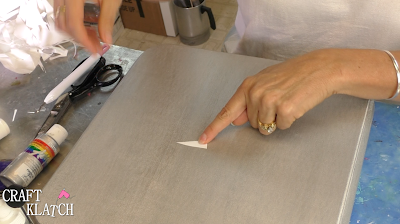
5. I put my finger in the middle of the firework…
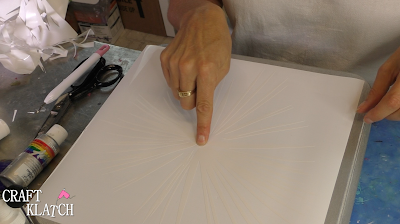
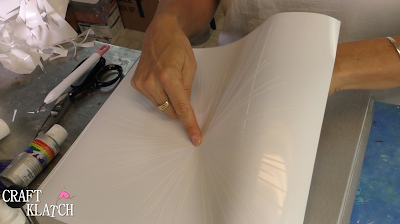
…and put a piece of paper in the spot, so I could remember where it was.
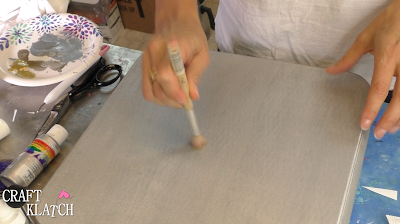
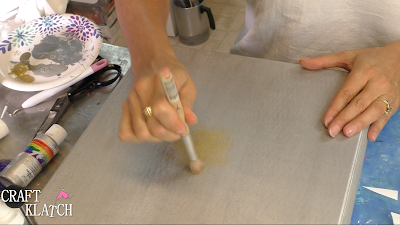
6. I used a stencil brush and painted some gold where I had the paper marking it.
7. I added transfer tape to my images.
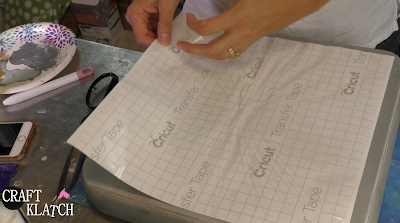
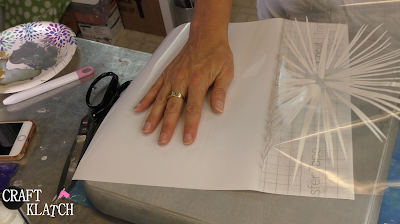
8. I placed the firework image, with the gold in the middle of the image.
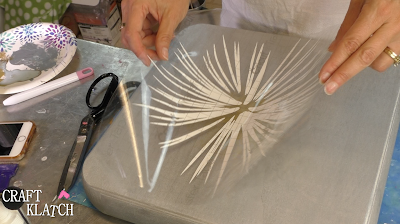
9. I placed it down and burnished it with my scraper tool.
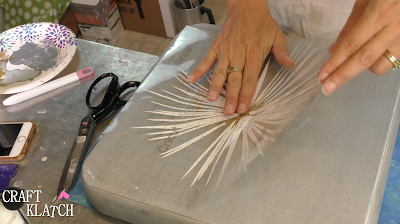
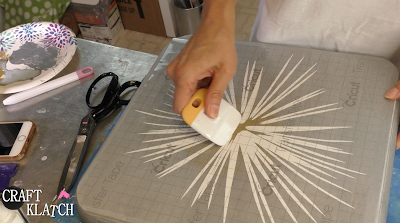
10. I peeled the transfer tape off.
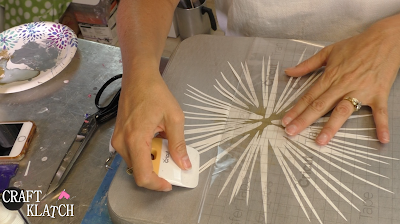
11. I then burnished the vinyl down again, to make sure all of the edges are well adhered.
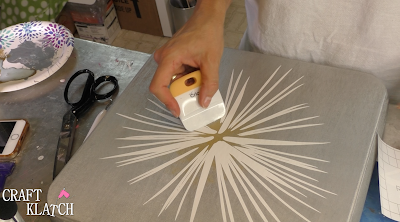
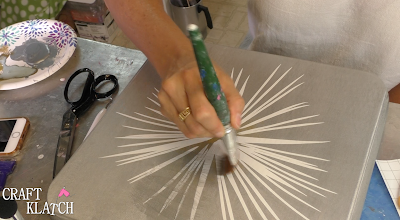
12. I painted over the vinyl, with the silver paint. I painted in all directions, to make sure the edges were sealed with the silver paint and the final color would not seep through.
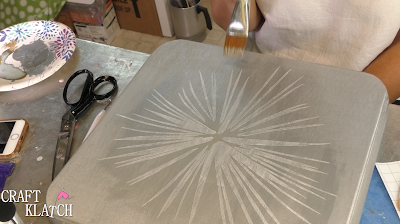
13. Once dry, I decided on a placement for the 4th of July words and painted it red, where they would be.
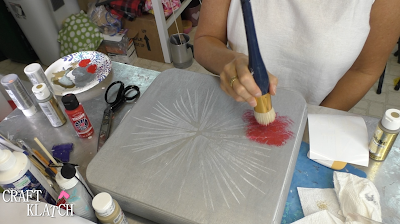
14. Once dry, place the “4th of July” words onto the red.
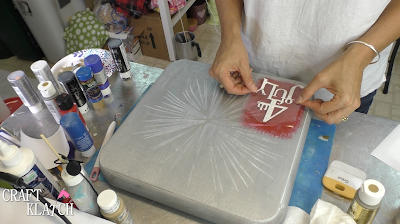
15. I burnished it down.
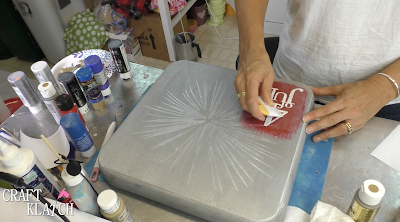
16. I removed the transfer tape.
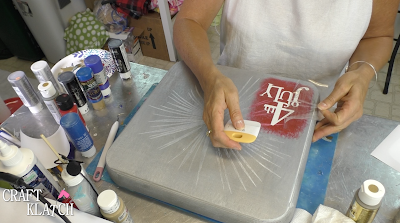
17. I went over it with the red paint.
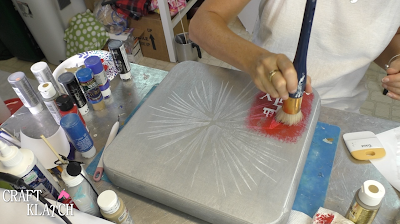
18. Once dry, I painted everything with a combination of black and blue acrylic paint. It took two coats.
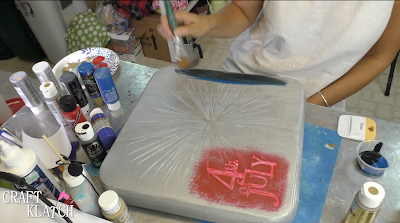
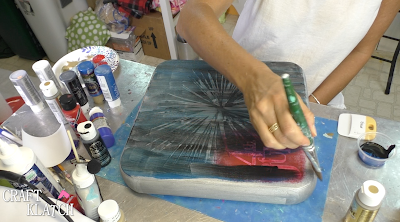
19. Once dry, I removed the vinyl.
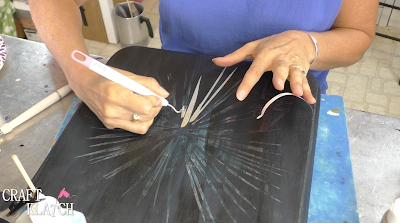
That’s it! Now you have a cool sign for the 4th of July! If you want to put it outside, you can seal it with an outdoor sealer.
Remember: Life’s too short not to shimmer, so grab your glue gun and your glitter!™ Stay safe!
Mona
