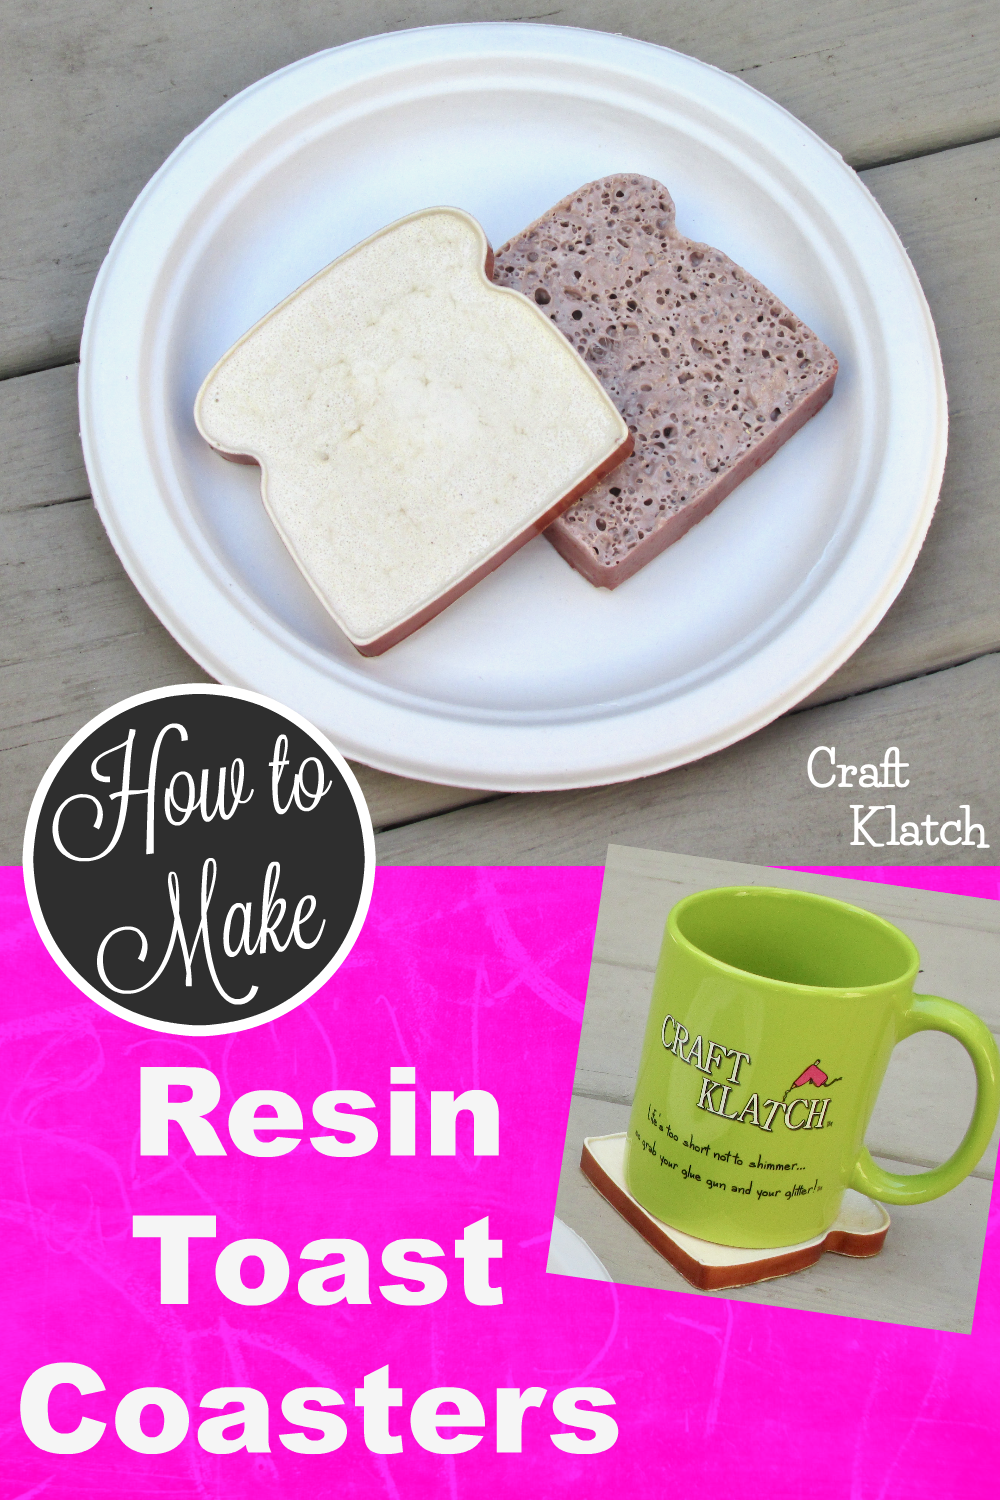
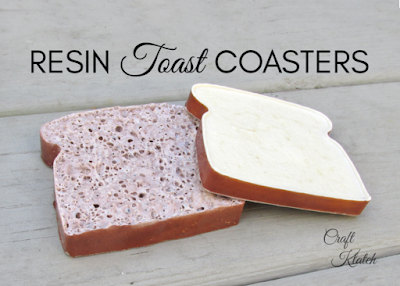
Learn how to create resin art in the form of toast! It’s a fun and funky resin craft idea for you home decor! It’s the perfect coaster to accompany your morning coffee!
You will need:
*Disclosure: This blog uses affiliate links from Amazon and other retailers. I earn a small amount from qualifying purchases at no additional cost to you.
- Resin
- Unicorn Spit
- Parchment paper
- Pigment powder
- Hot glue
- Toast mold
- The one I have is currently out of stock, but I found the set listed above, with other fun shapes!
Video Tutorial
Here is the video tutorial, so you can see exactly how I made them:

1. I used copper pigment powder and brushed it onto the inside of the mold.


2. I tapped out any loose pigment powder and put it back into the container.


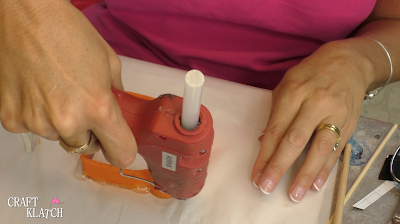
3. I worked on parchment paper because very little wants to stick to parchment paper, with the exception of hot glue. Works like a charm. I ran a bead around the mold and then ran a second bead, just to make sure it is well sealed.


4. I mixed my fast curing resin (2 ounces), which cures white. If ever adding color, keep in mind that it cures white and will lighten any color you add.

5. I add a squirt of Unicorn Spit and mix well.

6. I poured the resin into the mold.

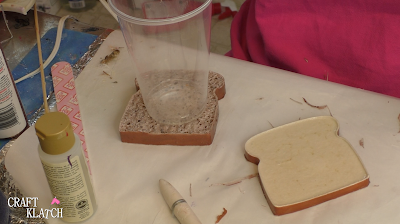
7. I let it cure. It cures in about 15 minutes. I wanted some texture on the bread, so that’s why I added the Unicorn Spit because it makes this resin bubble like crazy.


8. As it was curing, I carefully ran my stir stick over the resin, to help pop some of the surface bubbles.

9. Once cured, I removed it from the mold. The hot glue and resin easily release from the parchment paper.


***I should have brushed the pigment powder to the top of the mold. I wasn’t thinking about how the bubbles expand the resin. My bad. Lesson learned.

10. So I did it again, but this time with only two drops of Unicorn spit in the resin.

11. I poured it into the mold.

12. There were minimal bubbles while curing.
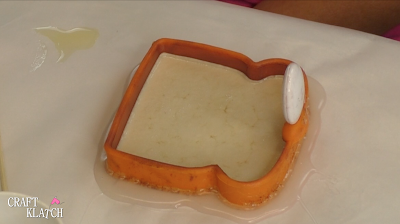
13. Once cured, I remove it from the mold. A little bit of resin seeped under the edge of the mold. No biggie. I took my craft knife and tripped it off and used a file to give it a little smoothing.


That’s it! Now I have what looks like what toast and white bread.

Surprisingly, the bubbly wheat toast is still level and cups stand steady. Yay!
Here are a couple of related resin food projects that you might like and the crater coaster that inspired the texture:
That’s it! Thanks for stopping by!
