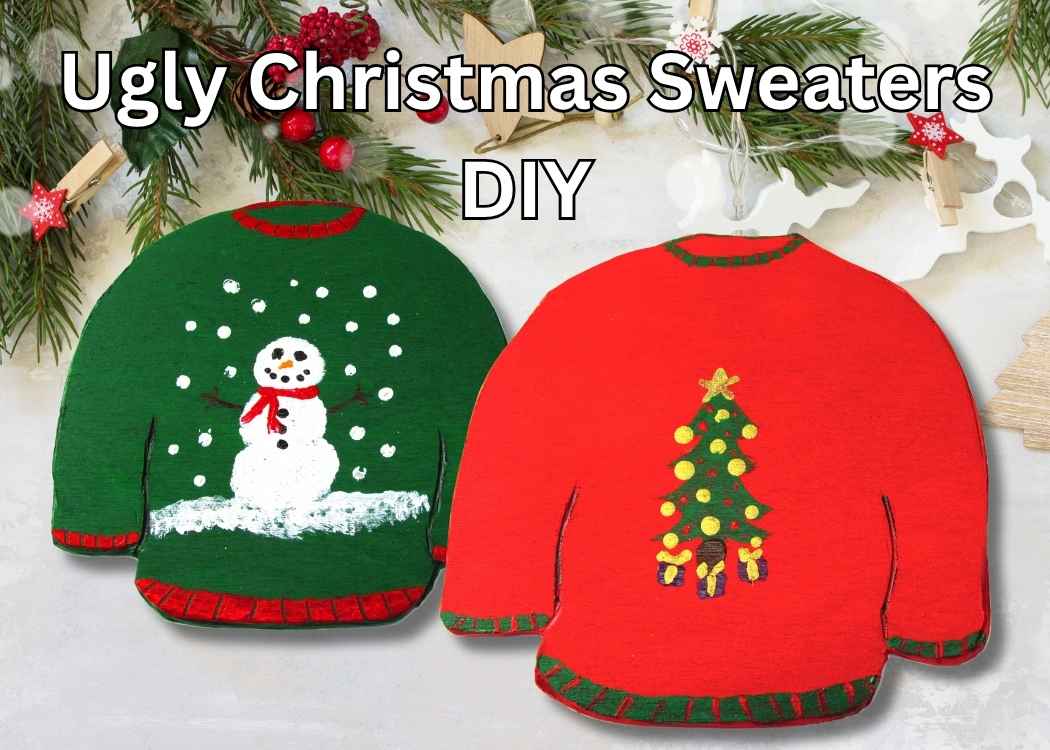
Make your holidays festive with this Ugly Christmas Sweaters DIY! Create cute handmade sweater crafts from wood or cork — fun for all ages!
What says Christmas more than an ugly Christmas sweater? This ugly Christmas sweaters DIY project is fun, festive, and easy to personalize.
Whether you go traditional, cute, or completely over the top, this craft is sure to bring some holiday cheer to your home.
Find more of my Christmas coasters HERE!
Here is the Ugly Christmas Sweaters DIY Video Tutorial
You can see exactly how I made them in the video tutorial! I’ll show you how to make them from scratch, but know that there are premade alternatives that make this project so much easier to do and prep for.
Be sure to follow me on YouTube for the latest videos!
Supplies You Will Need for the Ugly Christmas Sweaters
*This blog uses affiliate links. As an Amazon Associate I earn from qualifying purchases, at no additional cost to you.
- Wood – I used 1/8″ birch plywood – using cork is an option as well
- Precut options – wish they were available when I made these!!
- Saw for wood or scissors for cork
- Acrylic paints
- Satin Mod Podge
- Paint brushes
How to Make Ugly Christmas Sweaters DIY
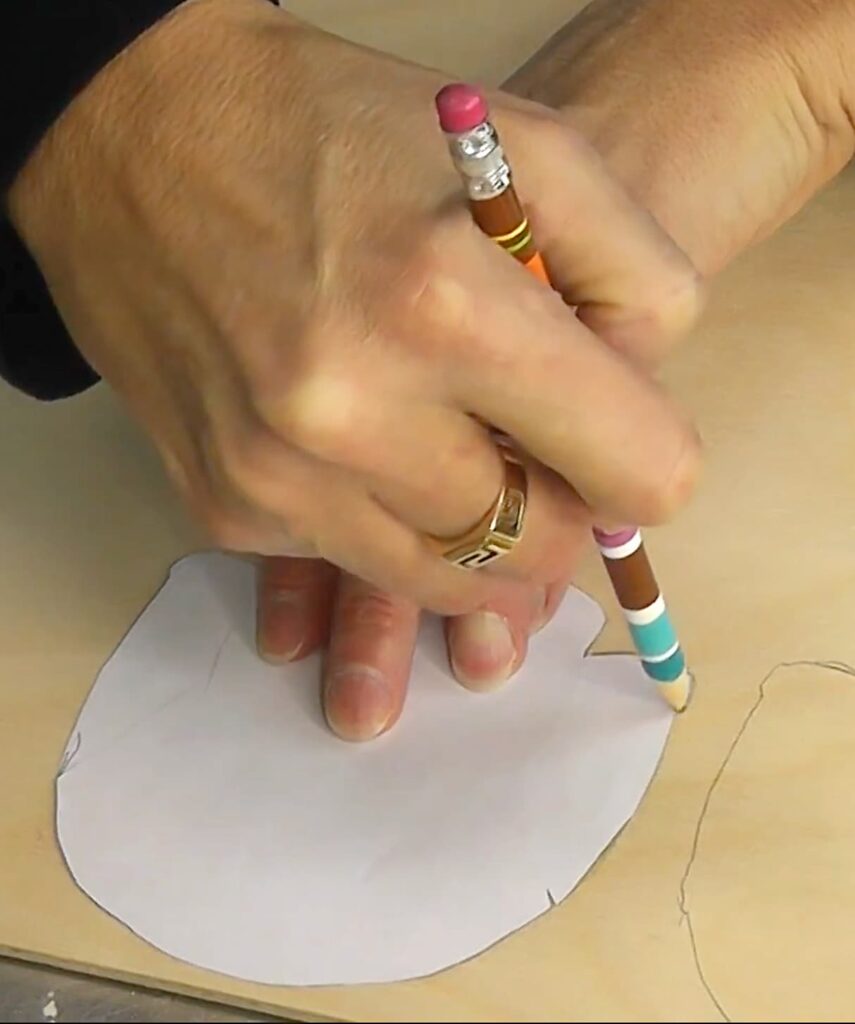
Step 1: Create Your Template
Draw a sweater shape on a piece of paper to use as a pattern. Then, trace and cut it out of wood or cork.
If using wood, you’ll need a scroll saw or a laser engraver! I didn’t have a laser engraver when I did these, but I would use one if I were going to make this today.
Otherwise, cork is a great alternative! You can use scissors instead of a saw. I made these Pilgrim Coasters out of cork.
Step 2: Paint the Base Colors
Paint one sweater red and the other green. Those were the colors I chose, but really…the sky is the limit.
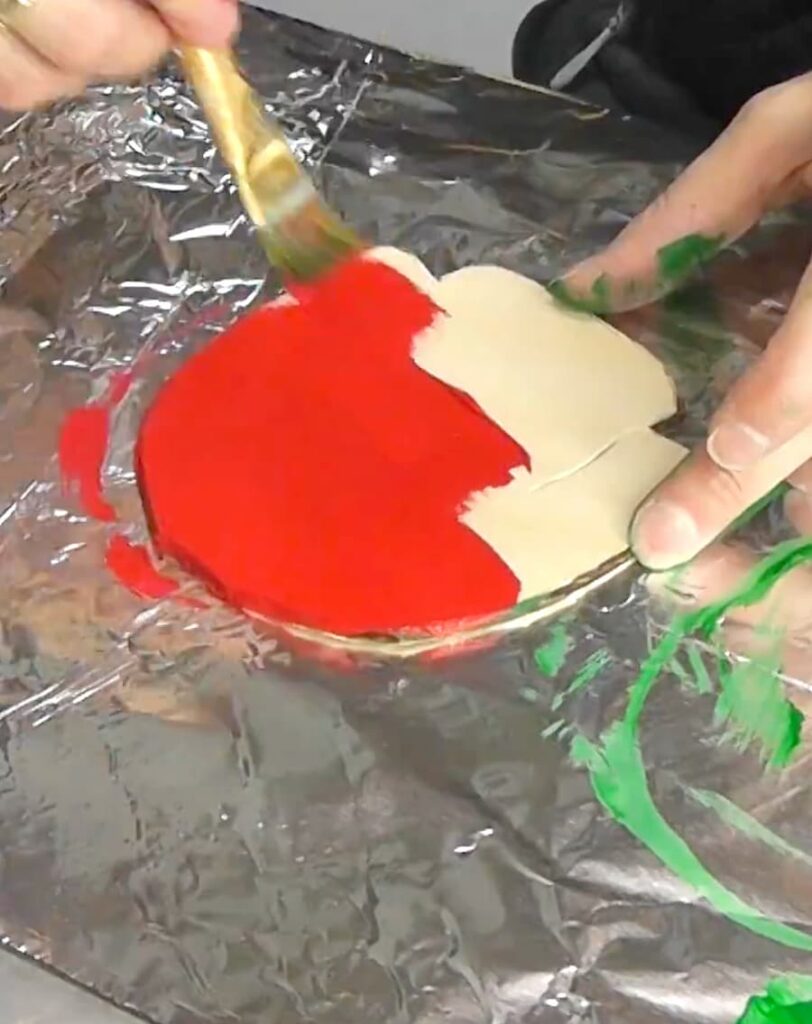
Once dry, add the trim in the opposite color for contrast.
You’ll likely need two coats for full coverage.
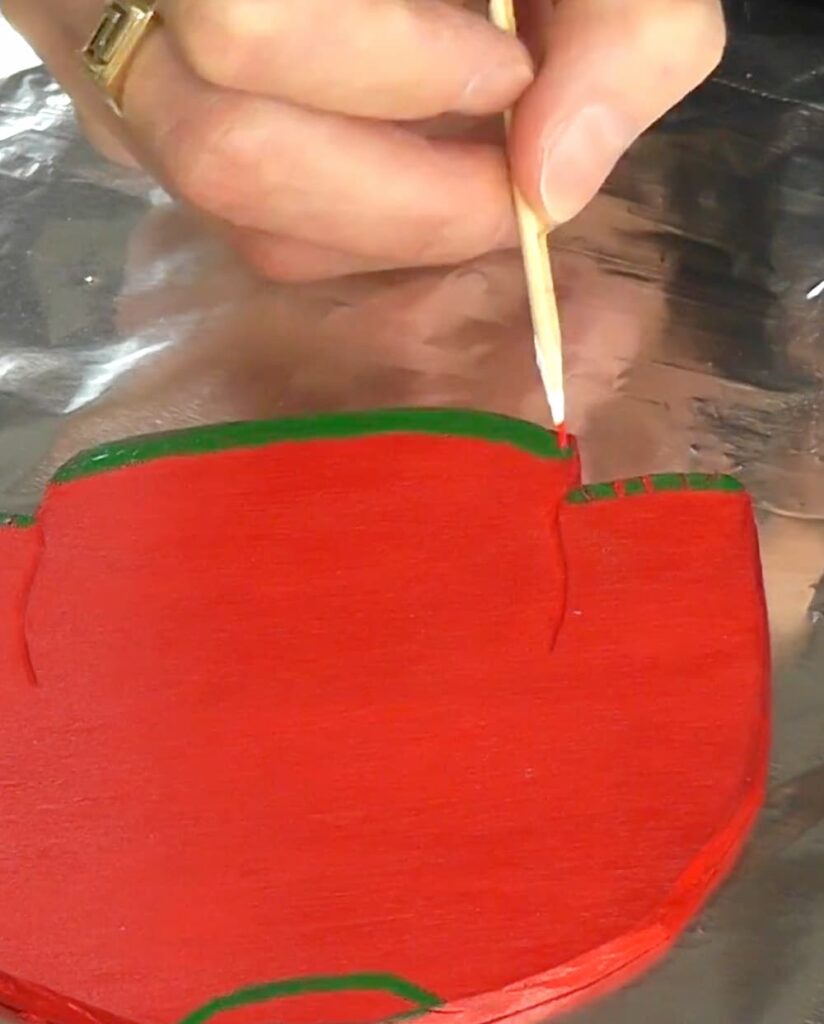
Step 3: Add a Ribbed Texture
To give the ugly Christmas sweaters DIY a realistic knit look, take a wooden skewer and gently scrape lines into the paint along the trim. This simple touch makes it extra cute and detailed.
Step 4: Add Your Design
Once the paint is dry, it’s time to decorate!
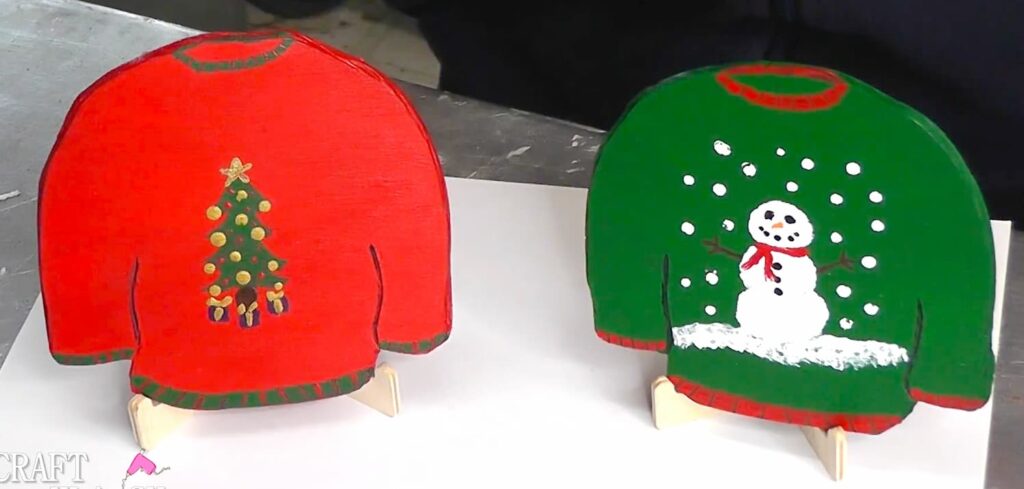
On the green sweater, I painted a cheerful snowman with snowflakes falling.
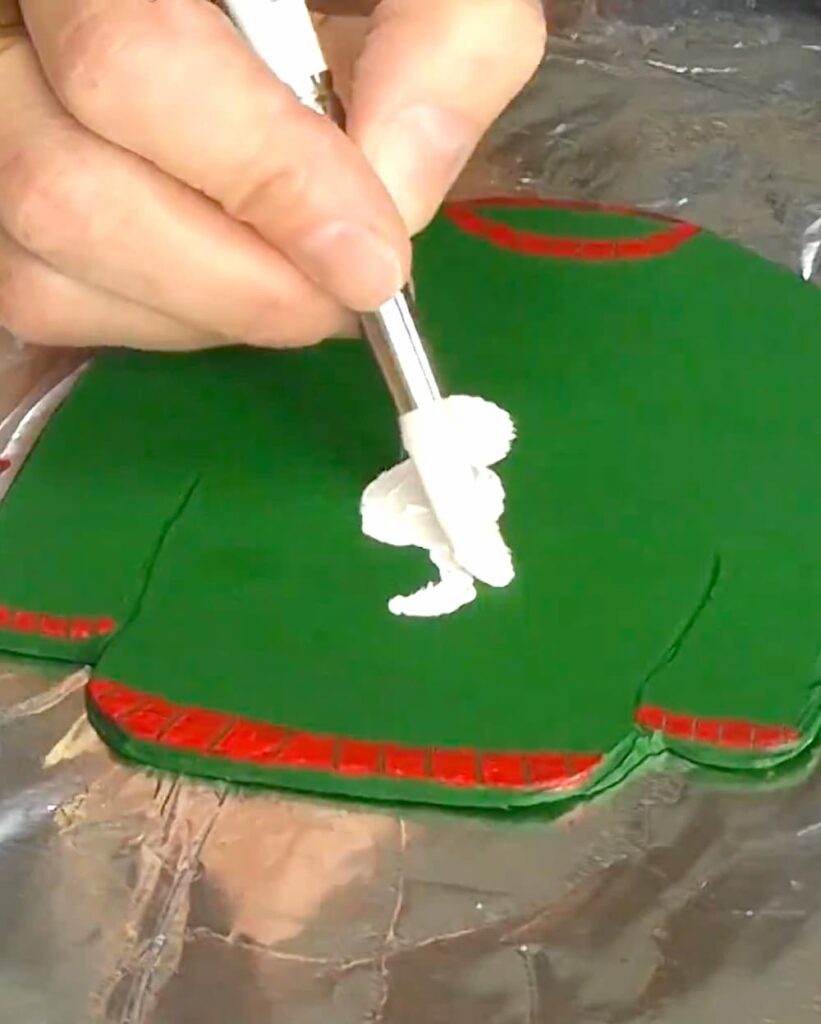
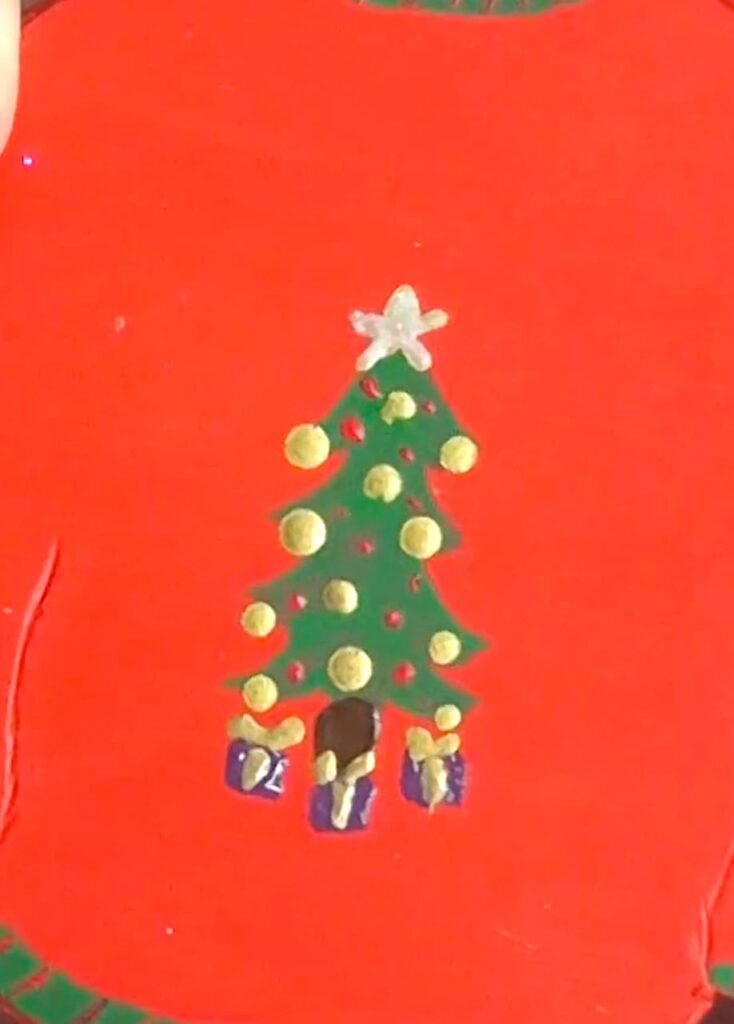
On the red sweater, I created a Christmas tree with presents underneath.
If painting isn’t your thing, you can always use stickers, stencils, or even decoupage images for a cute, ugly sweater look.
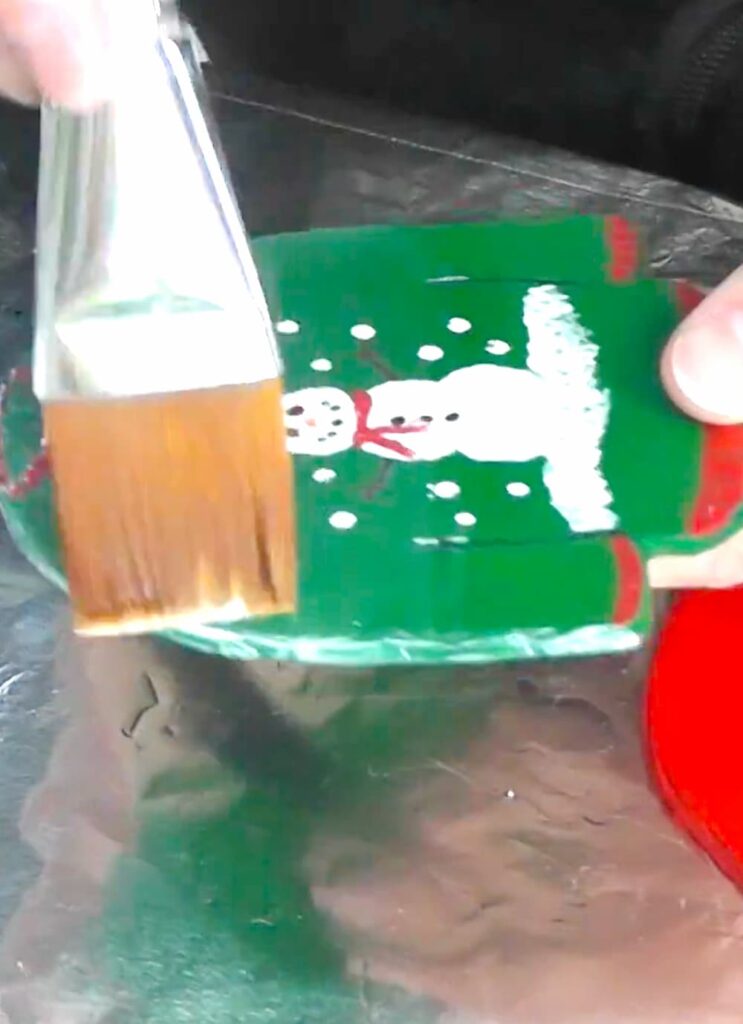
Step 5: Seal the Design
After everything has dried, seal your sweaters with satin Mod Podge (or your favorite sealer). This protects your design and gives it a nice finish.
Fun for All Ages
This ugly Christmas sweaters DIY project is great for all ages. If you’re working with kids, you can pre-cut the shapes or use cork instead of wood to make it safer and easier. It’s a great way to spend a cozy afternoon crafting together.
Not Enough Time to Craft?
Try these cute ugly sweater craft kit alternatives! So fun!

In case you don’t have time to make ugly Christmas coasters, but still want to add the ugly Christmas sweater to your holiday decor, here are some alternatives:

Thanks for stopping by! Remember: Life’s too short not to shimmer, so grab your glue gun and your glitter!™ Stay safe!
Merry Christmas, Happy Hanukkah, Happy New Year, Happy Everything!
Mona
If you need an actual ugly Christmas sweater, you are in luck: