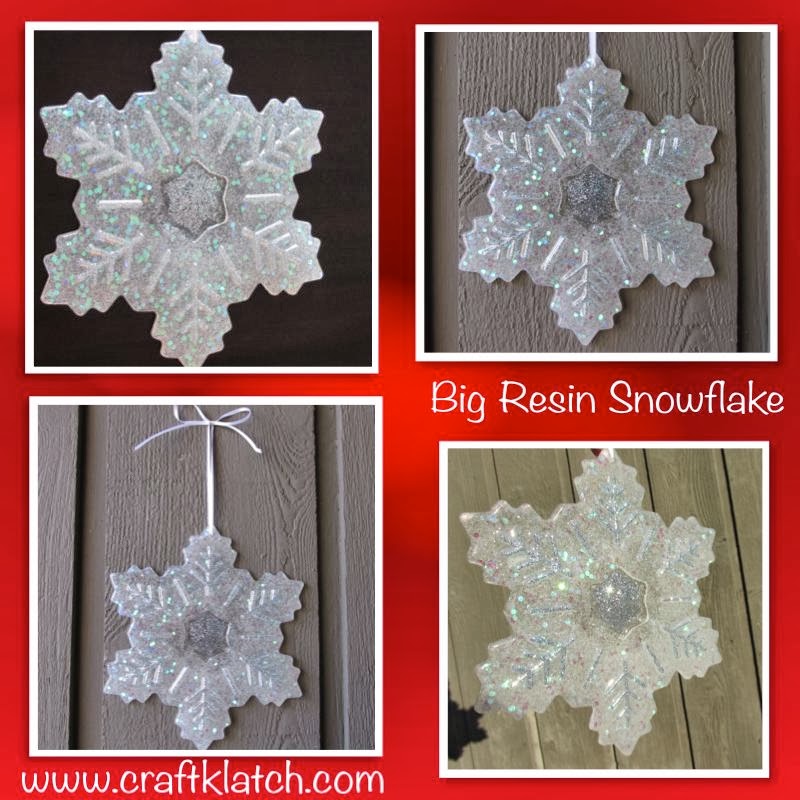
This is my last wintery project because I’ve about had enough of winter and the cold!

You will need:
– Resin snowflake mold – I found mine on Amazon – I believe it’s a cake mold
– Resin – I use Easy Cast – for more info on Easy Cast go to www.eti-usa.com
– Glitter – colors I used – white, silver and blue
Here is the video tutorial:
Directions:
1. Mix a small amount of resin. I mixed silver, white and icy blue glitter with the resin. I used a skewer stick to put the mixture into the recessed areas of the snowflake.
2. Allow to cure for 12 hours.
3. Mix more resin. This time I mixed white glitter and iridescent dots.
4. Pour into the mold and make sure it spreads to all the corners.
5. Allow to cure for at least 12 hours.
6. Unmold. Depending on your mold, you can be done. My mold had a matte finish on the inside so when I unmolded it, it had a frosted look. I wanted it to shine.
7. Putting the snowflake on something to raise it and working over parchment paper, I painted a thin coat of resin over then whole front of the snowflake and let it cure for 12 hours.
8. Using a rotary tool, I drilled a small hole into the snowflake to be able to hang it.
That’s it! Thanks for stopping by and Happy Crafting!
Mona
