Make a cute Easter carrot decoration using a toilet paper roll, twine, and paint for a fun and easy upcycled spring craft.
This project required me to make it to the recycling bin before the garbage man got to it!
Greg and I have a never-ending battle of who will win the toilet paper roll challenge. His challenge is to get to the curb and be picked up before I know what happened.
My challenge is to quietly and discreetly hoard them before he notices.
It keeps our marriage fresh when we keep each other on our toes.
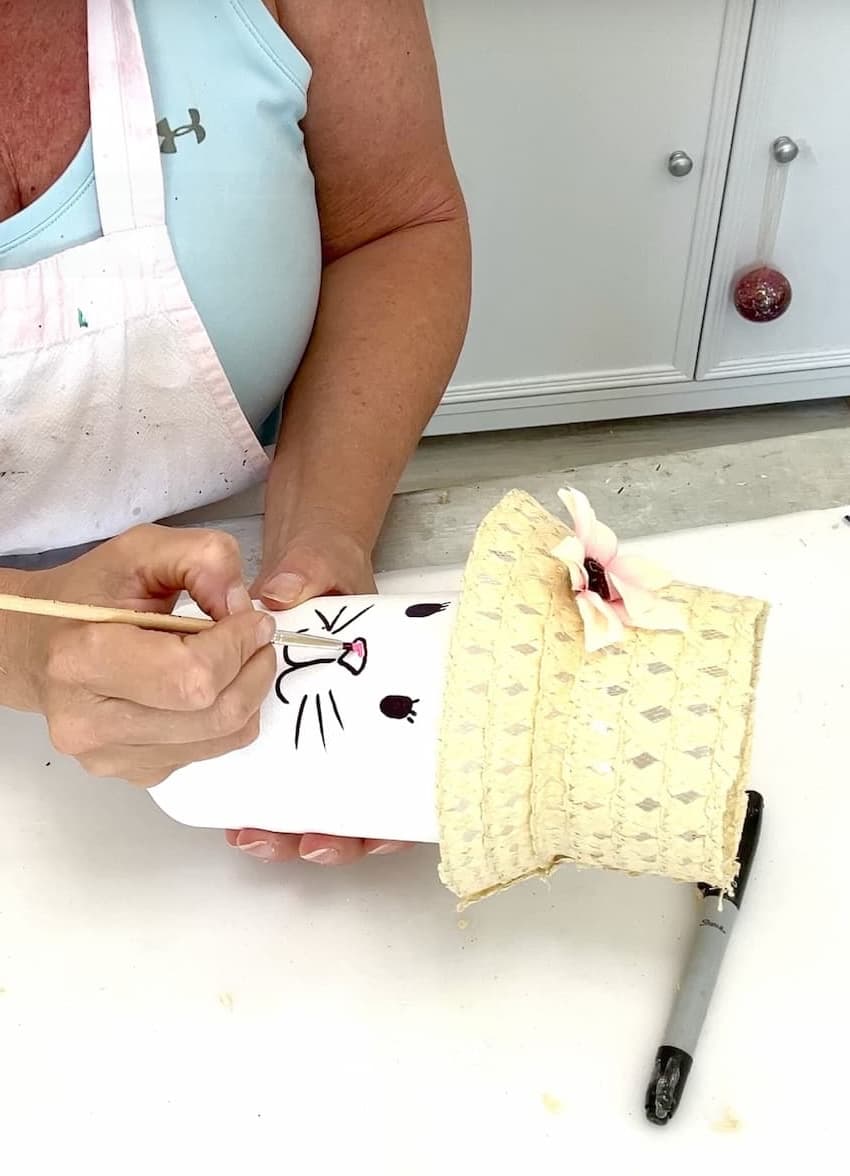
If you caught the Easter Bunny I made out of the toilet paper roll, this Easter carrot and the bunny go hand in hand.
The best part is that you probably have everything you need around the house.
Be sure to follow me on Instagram!
Supplies You Will Need
*Disclosure: This blog uses affiliate links from Amazon and other retailers. I earn a small amount from qualifying purchases at no additional cost to you.
- 1 Empty toilet paper roll
- Natural twine (any thin rope, thick thread, or yarn will do)
- Hot glue gun
- Scissors
- Orange paint
- Green faux floral pick or grass for the carrot top (get creative here!)
- Paintbrush
🎥 Easter Carrot Video Tutorial
Want to see how it all comes together? Watch the full step-by-step tutorial here:
Sometimes it’s just easier to follow along when you can see it. I walk you through each step and share a variation.
Directions on How to Make the Easter Carrot
Step 1: Cut and Shape the Cone
Carrots are shaped like cones, so that’s what we have to do to the toilet paper roll.
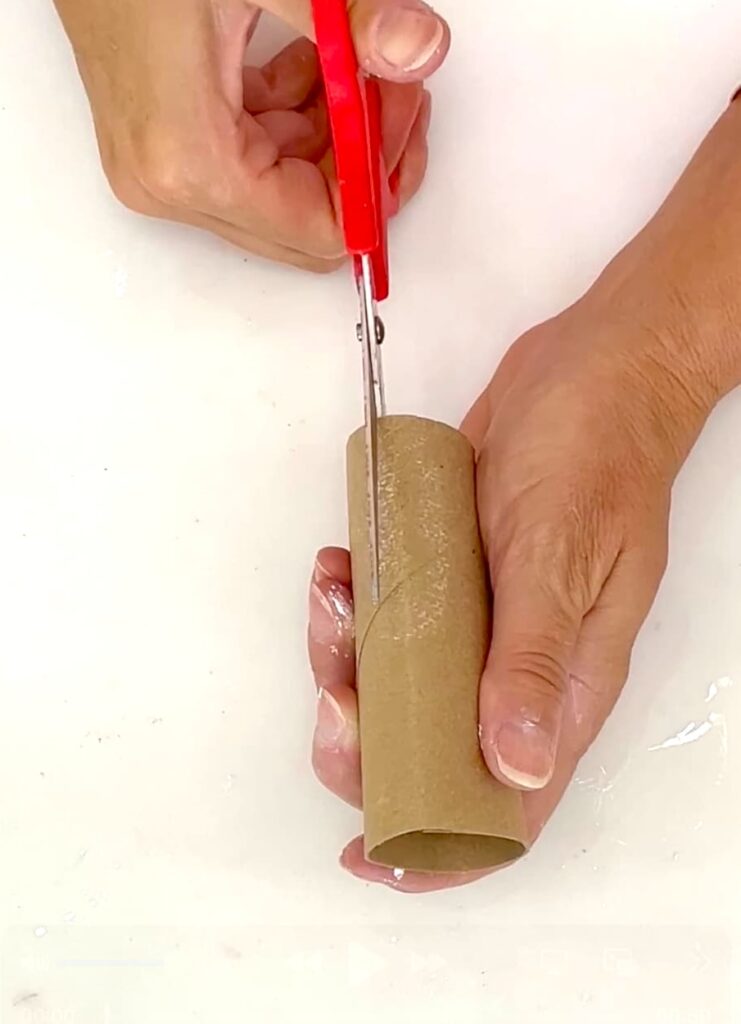
Start by cutting a straight slit down the side of your toilet paper roll. This will allow you to roll it into a cone shape.

Roll it up tightly to form a cone, and once you like the shape, add a dab of hot glue to hold it in place. This will become the base of your carrot.
Step 2: Wrap It In Twine
Grab your twine and begin wrapping it around the cone. Attach it at the pointy end with a bit of hot glue and wrap it all the way to the other end.

Every few rows, add a little hot glue to help keep the twine secure and in place.
Press each row of twine snuggly against the last one so there aren’t any gaps.
Keep going around and around until you reach the top.
Step 3: Tidy the Top of the Easter Carrot
Once you reach the top of the cone, you might notice a little corner sticking up – that’s okay! Just press the edges sticking up down into the cone and add a little extra twine and glue to give it a neat finish.

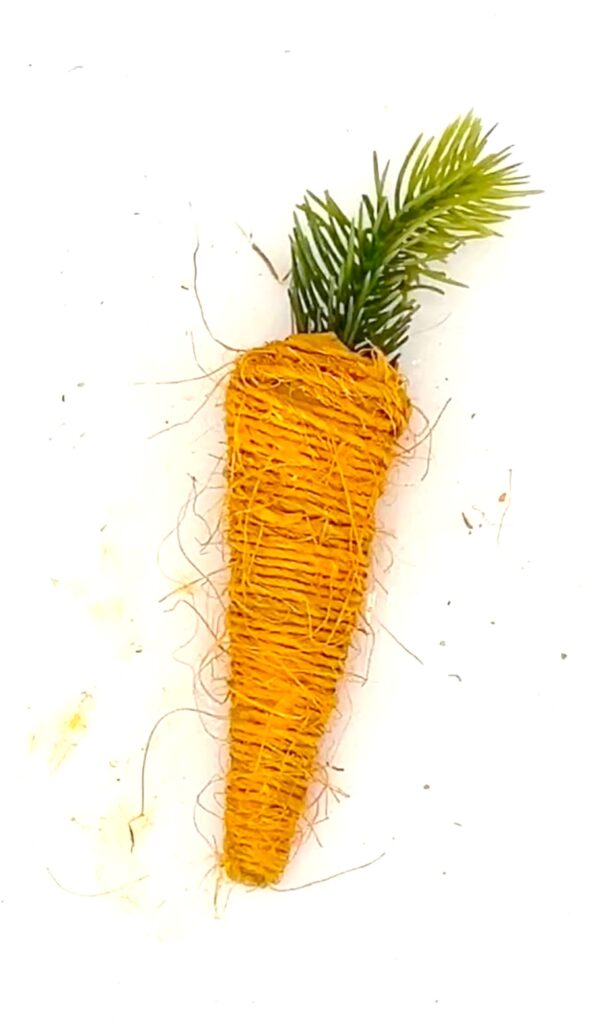
Step 4: Paint It Orange
Time to give your carrot its signature color! Use orange paint to cover the twine-wrapped cone completely.
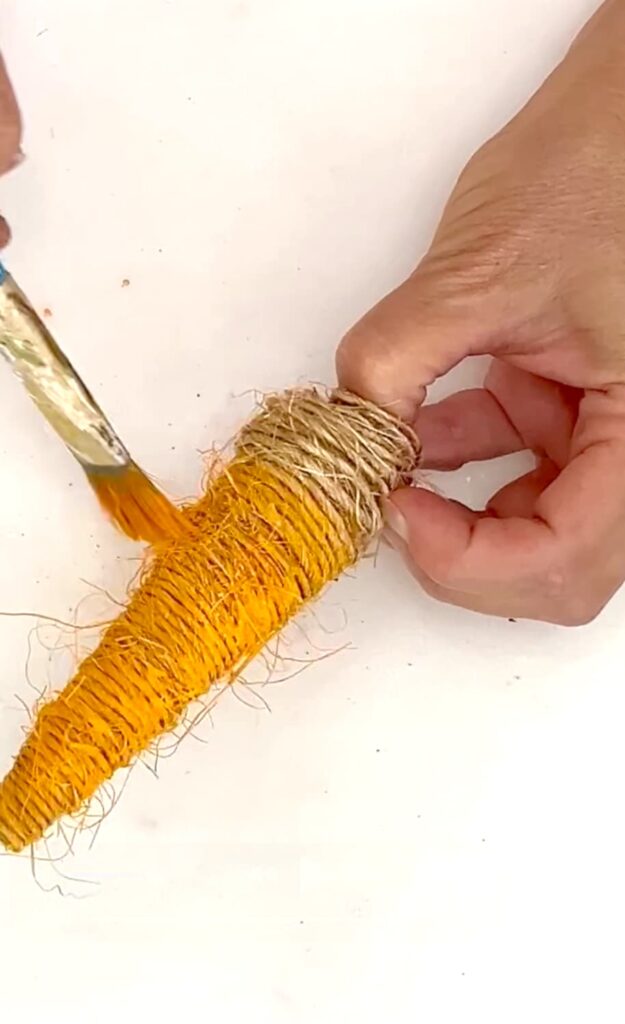
Let it dry before moving to the next step.
Step 5: Add the Carrot Top
Now for the finishing touch! I used the fern-like greenery from a Christmas poinsettia pick for one version, and a grass pick for the other. Both worked great!
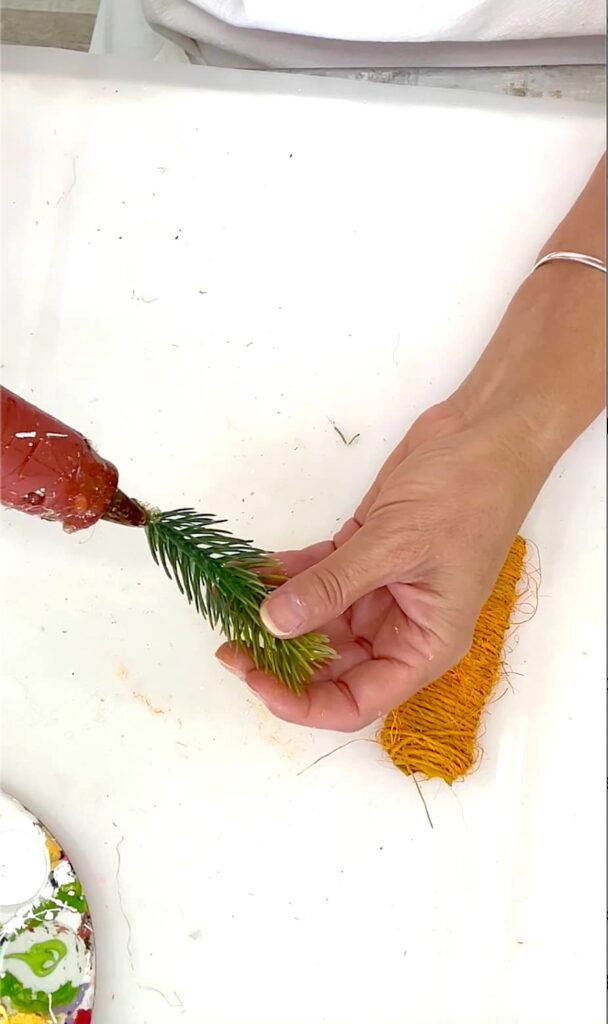
The one with the grass, reminds me of a Bugs Bunny carrot.
Make a Bunch!
These carrots look adorable on their own, but even cuter in groups. Make a few in different shades of orange or try wrapping one with rafia or burlap for a slightly different texture.

Display Ideas for the Easter Carrots
Are you thinking what you might use these carrots for?
How about:
- Nestled in an Easter basket
- In a dough bowl or centerpiece with moss and eggs
- On a tiered tray
- As part of a spring mantel display

More Easter Projects
- Easy Easter Chick Craft Tutorial
- How to Make a Bunny Vase Craft
- Easter Craft | Easy Chick Coasters [Video Tutorial]
- DIY Easter Coaster – Another Coaster Friday
This is such a simple project, but it adds so much personality to your Easter decor. Plus, it’s a fun way to upcycle something you were probably about to toss!
Happy Easter!
Remember: Life’s too short not to shimmer, so grab your glue gun and your glitter!
Mona