Discover how to create stunning flower pot art with a Dollar Tree makeover! Learn how to transform inexpensive candleholders and posts into chic garden decor with this step-by-step guide and video tutorial.
I was at Dollar Tree and saw these pots. I’ve been thinking of doing a little three-dimensional flower pot art to add to my garden.
These pots are perfect!
Creating chic and stylish garden decor doesn’t have to be expensive or complicated. With a few simple supplies from the dollar store, you can transform ordinary flower pots into stunning pieces for your garden.
This project focuses on turning candleholder sticks and flower pots into eye-catching planters. Let’s dive into this fun and budget-friendly DIY flower pot art makeover!
Flower Pot Art Dollar Tree Makeover Video Tutorial
Here is a quick video tutorial, so you can see exactly how I made them:
Materials you will need:
*Disclosure: This blog uses affiliate links from Amazon and other retailers. I earn a small amount from qualifying purchases at no additional cost to you.
Flower Pot Art Step-by-Step Tutorial
I found these inexpensive, plastic pots and candlesticks at the dollar store. I thought I could combine them and give them a fun look!

Step 1: Gather Supplies for Your Dollar Tree Makeover
- Visit your local dollar store and look for inexpensive flower pots and candleholder sticks. While you are there, keep an eye out for some decorative items, like plastic bugs for bugs or foam shapes to help create your flower pot art!
I had these foam dragonflies on hand, from many years ago. If you cannot find them, just buy some plastic bugs to stick on the pots. They’ll look great!
In my case, these foam dragonflies were flat, I had to use a heat gun and put them on the side of a mug to give them a curve, so I could get them to stick to the side of the pot.
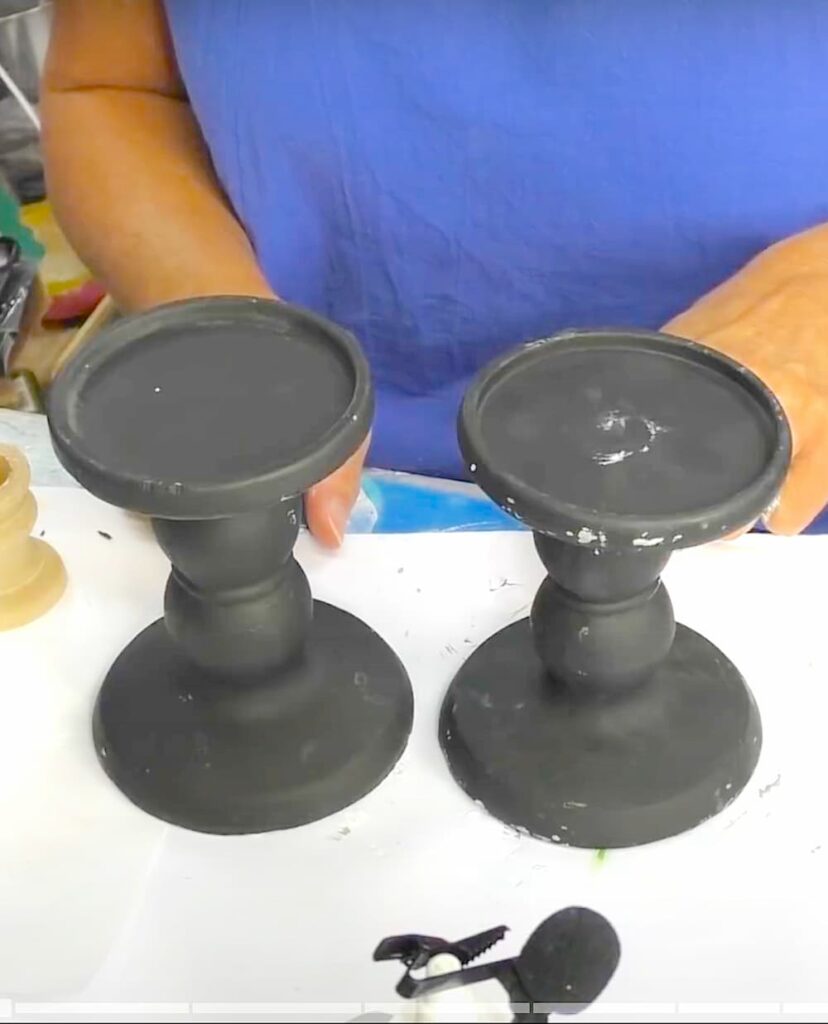
Step 2: Prepare Your Candleholder Sticks
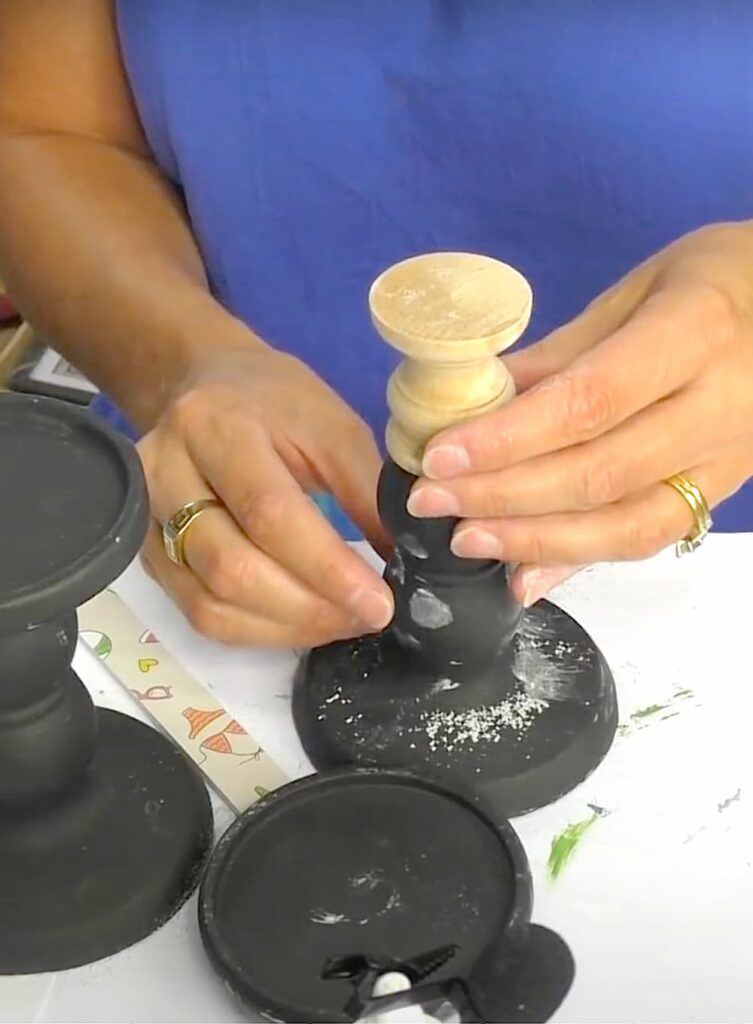
- I accidentally broke a candleholder stick. It broke clean enough to where I could alter it for the better. I took the opportunity to make it taller, so the candle holders would have varying heights.
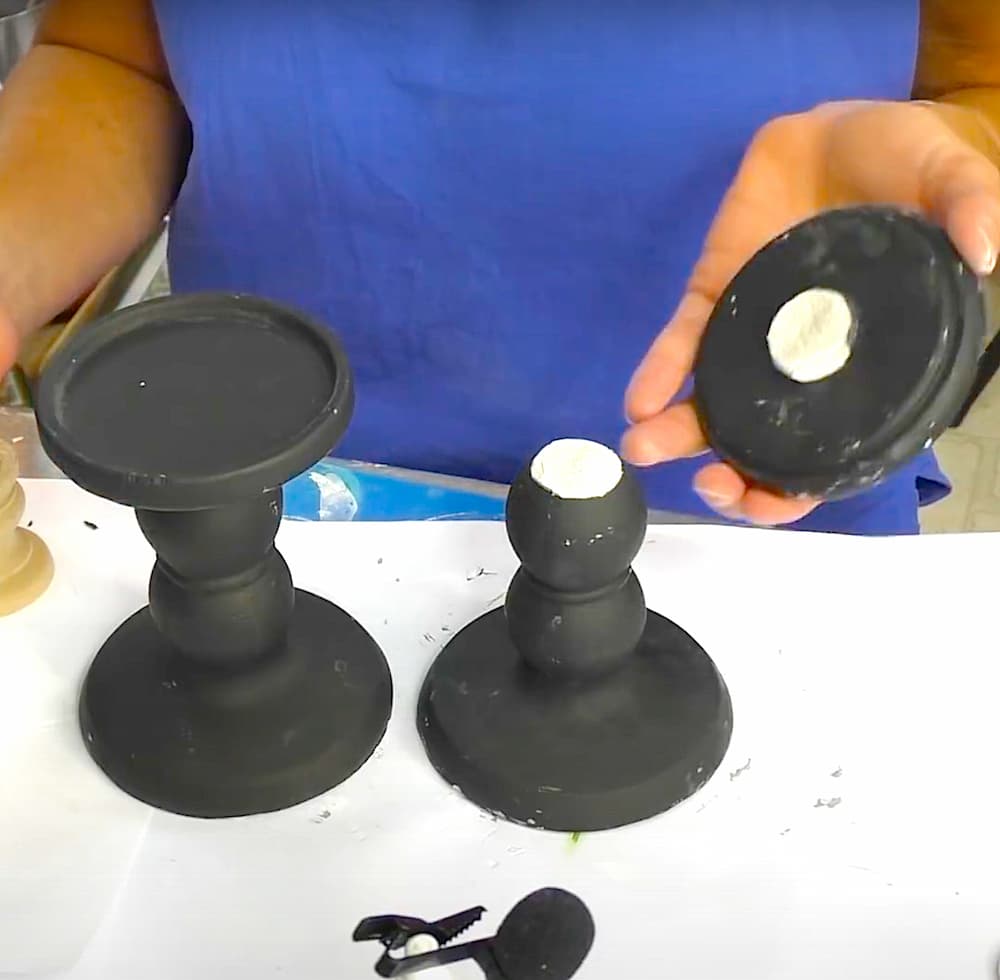
- I took a short wooden candleholder stick and used it as an extension. I painted it black and let it dry before gluing it between the two pieces of the broken candleholder. The extra height made the Dollar Tree makeover more visually interesting!
Total Win!
Step 3: Decorate the Flower Pots
- Use foam or plastic bugs to add decorative elements to the pots. If you can find foam dragonflies, use them. If you can’t, then use plastic bugs…they don’t have to be dragonflies. Just glue them right onto the side of the pots.

TIP: If you are using foam pieces, seal them before spray painting, with acrylic paint. If you are using plastic pieces, go ahead and spray paint them.
Step 4: Assemble the Planters for Your Dollar Tree Makeover
Before you assemble:
- To ensure proper drainage for your plants, drill a couple of small holes near the bottom of each flower pot. This step is essential for preventing water from accumulating and harming your plants. Also, make sure where you drill won’t be covered by the candleholder base.

- Using strong adhesive, blue each flower pot to the top of a candleholder stick. Make sure the to center the pots and press them firmly until the glue sets.
Step 5: Spray Paint the Planters
- Once the glue is completely dry, spray paint the planters a fresh blue color.
Okay, I did blue…you do whatever color goes with your decor.
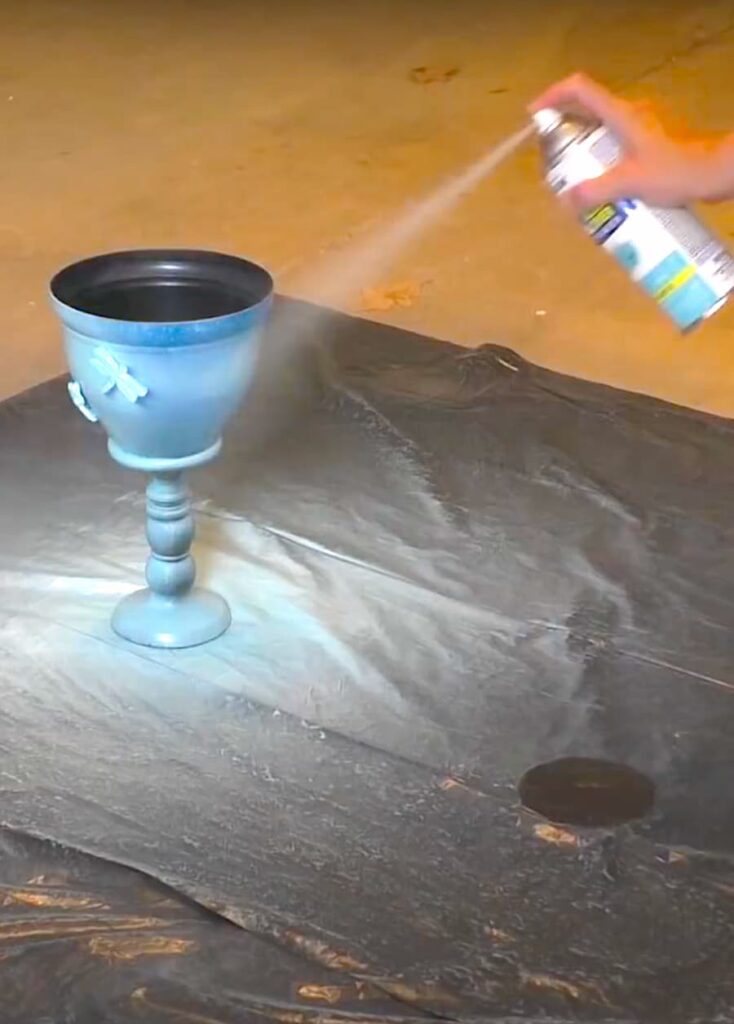
Just make sure you use a spray paint that is for outdoors and can be used on plastic.
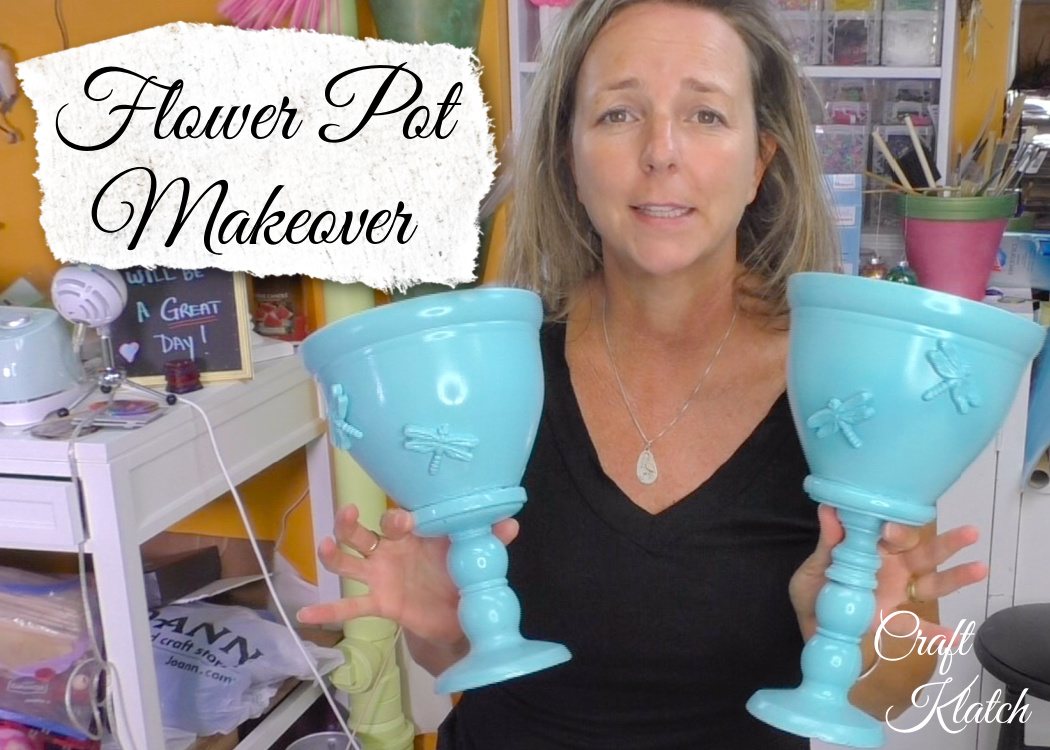
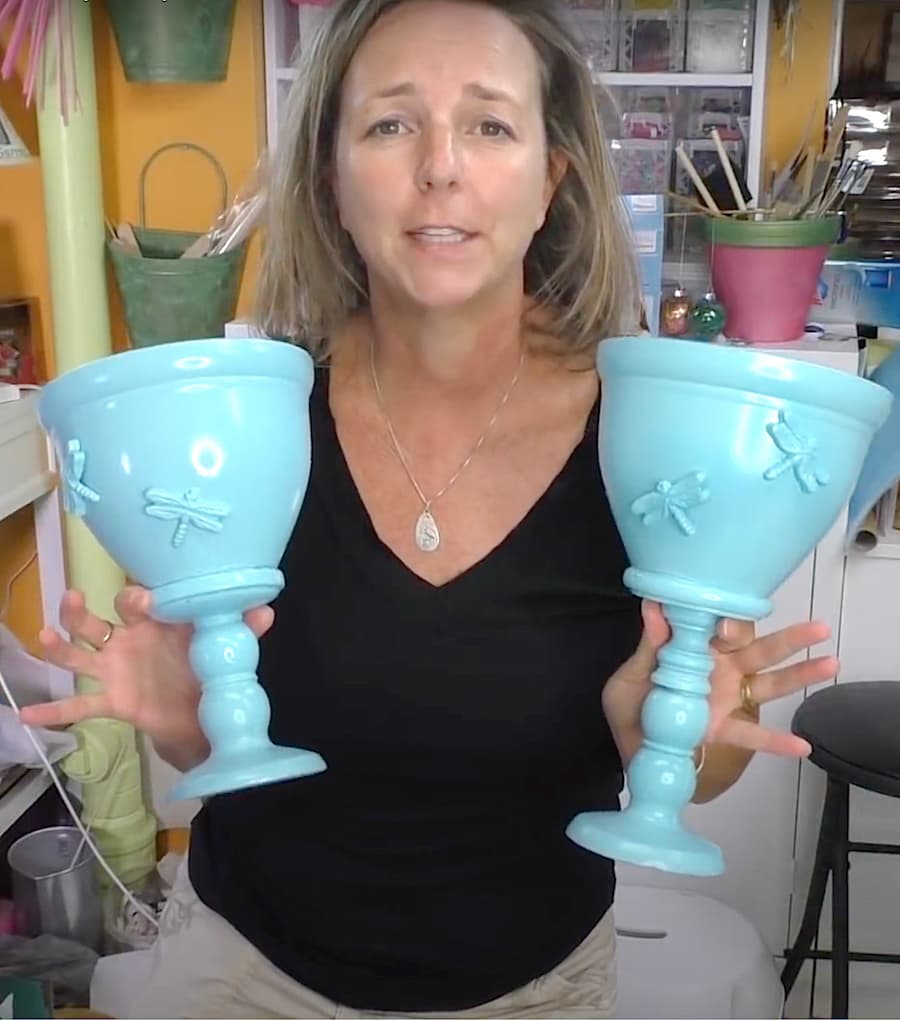
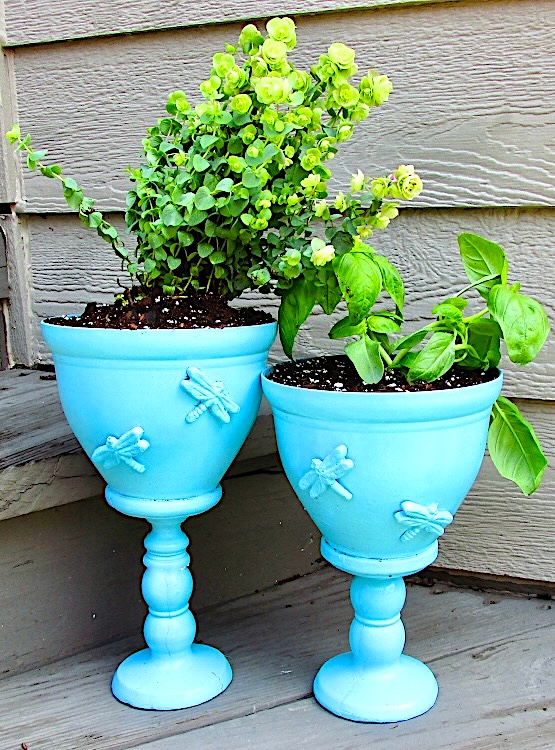
Once painted, you have these great-looking pots!
Fill them with flowers or herbs and brighten up your garden!
Other Garden Decor Projects
- 5 Recycled Garden Decor Projects
- 5 Pool Noodle Crafts That Will Amaze You!
- Heart Stepping Stone
- 7 Tips for Growing Hostas in Your Garden
- Outdoor Cat Tree DIY
That’s it! Thanks for stopping by! Remember: Life’s too short not to shimmer, so grab your glue gun and your glitter!™ Stay safe!
Mona
Too cute! I love the 3D dragonflies!
Beautiful! Did you use a sealant on the outside over the final paint and/or inside to keep it from bubbling from condensation