Easy Resin Christmas Ornaments Craft Tutorial

Remember to stay up on the latest, be sure to SUBSCRIBE to my YouTube Channel!  
You can click right HERE!


Here are some easy resin ornaments!


The links below contain affiliate links that support this blog and channel, at no additional cost to you.

You will need:

–  Silicone mold :  https://amzn.to/2V05hcy
–  Acrylic paint:  https://amzn.to/2AfIcKf
–  Red glitter:  https://amzn.to/2Sd1OWl
–  Green glitter:  https://amzn.to/2SiYusO
–  Pink glitter:  https://amzn.to/2RiqnDW
–  Blue glitter:  https://amzn.to/2V5sF8B
–  Paint brushes:  https://amzn.to/2BCT3Oa
–  Skewer sticks:  https://amzn.to/2LyCVSu 
–  Triple Thick (optional):  https://amzn.to/2Gy409s  
–  Resin (use whatever resin brand you like):
Clear Cast:  http://amzn.to/2z4rxGw
FX Poxy:  http://amzn.to/2AF3Pkk ~ According to the manufacturer, this one is heat resistant to 500 degrees F and is UV resistant.

Here is the video tutorial:


Directions:

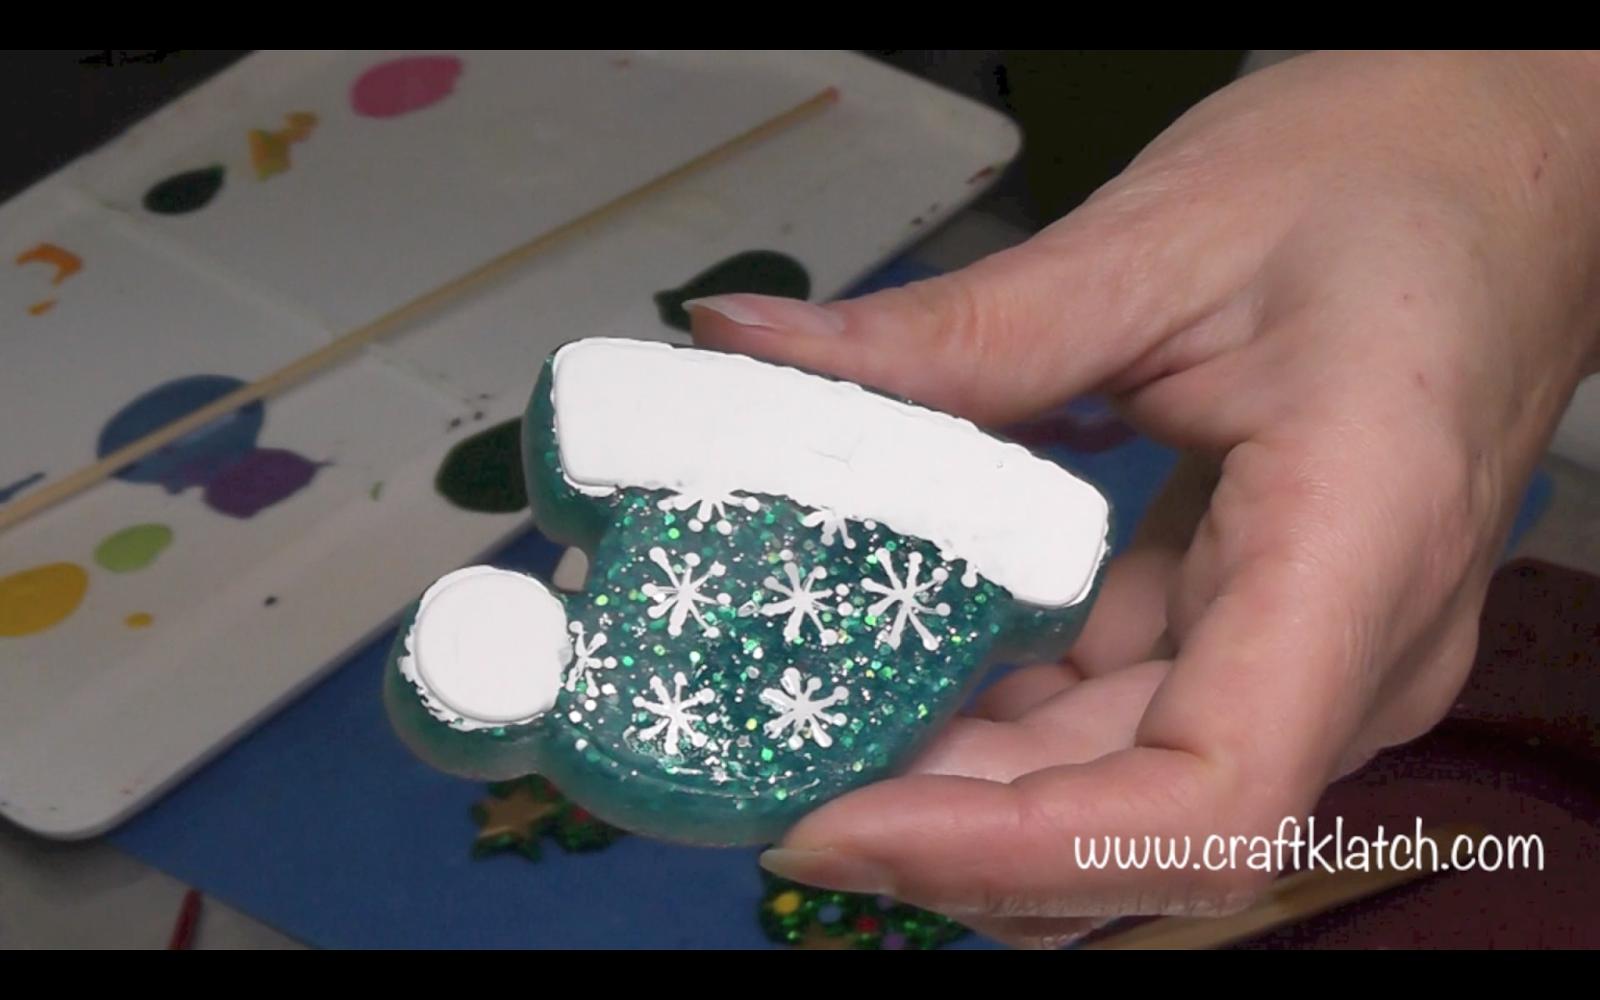
1.  Using acrylic paint, paint it directly on the mold.  I used the back of a skewer stick to make the ornaments for the dots.  I used a paint brush to paint the star, the stem, the pom poms on the hats and the bands.  Allow to completely dry.

2.  Mix your resin, according to the package directions.  Divide into different cups and mix in different colors of glitter.  Pour into molds.  You can make them as thin or as thick as you like.  Allow to cure.  

3.  Unmold.  

4.  The mold I used has a matte finish, so they come out with a matte finish, rather than a shiny finish.  You can leave it matte, or you can shine it up.  I used Triple Thick to shine it up, but you can also brush on a thin layer of resin and let it cure.  


5.  To turn it into an ornament, you can drill a hole into it at add a ribbon.  Easy peasy!!


That’s it!  Thanks for stopping by and Happy Holidays and Remember:  Life’s too short not to shimmer, so grab your glue gun and your glitter!™  Stay safe!


Mona


Leave a Comment