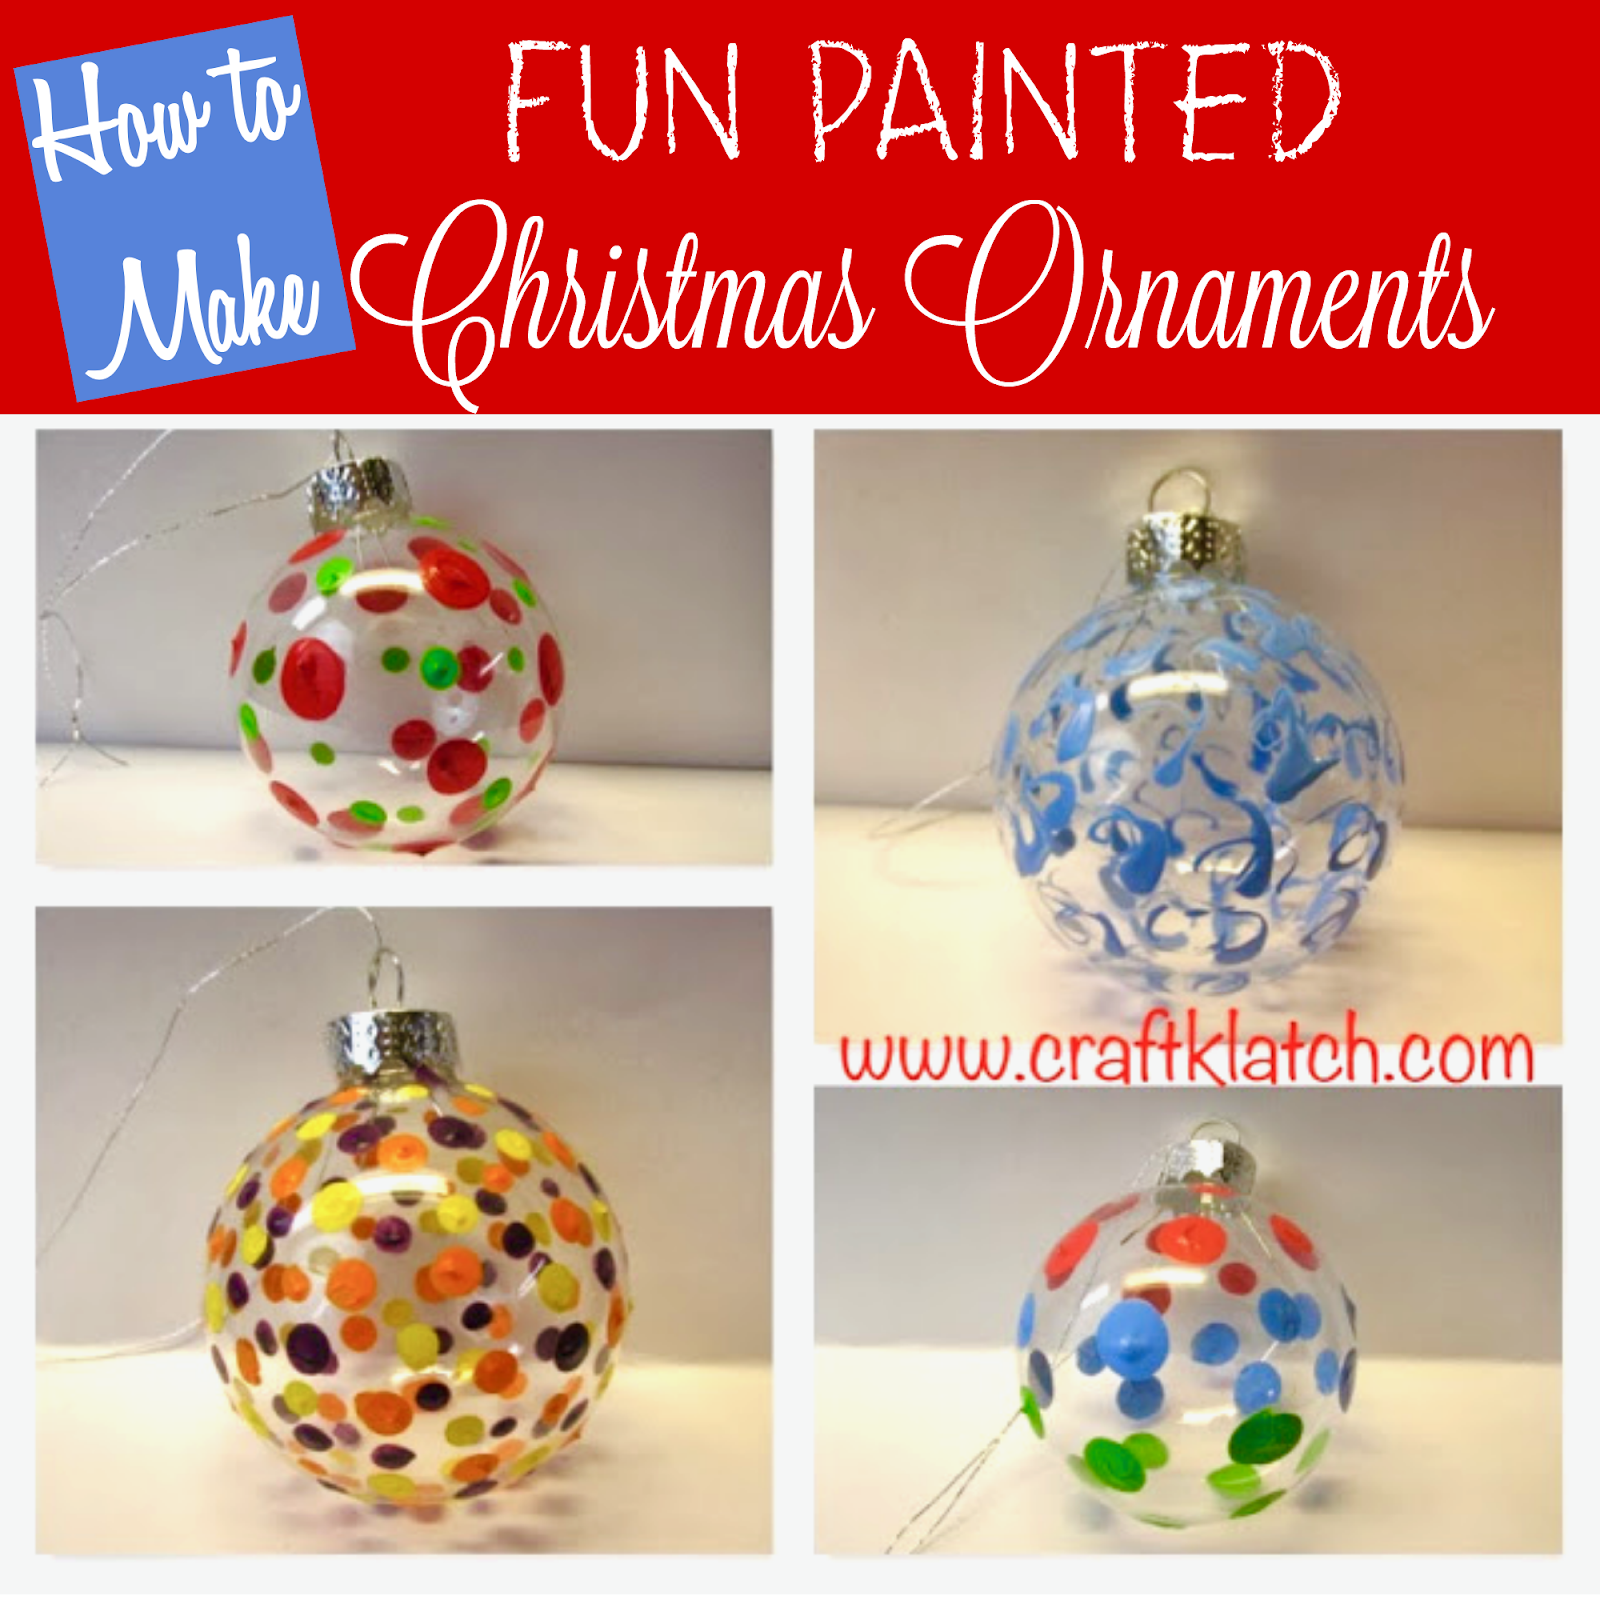
This is a fun and EASY Christmas craft! This is a great project for kids and adults alike to unleash their creativity! Update your Christmas decor with fun painted Christmas ornaments! Check out this craft tutorial!

**This post contains affiliate links, which means if you make a purchase from my link I may make a small commission at no cost to you. It’s an easy and no cost way to support my channel and this blog!
You will need:
– Clear glass ornaments – mine are from Oriental Trading, but you can find them on Amazon too: https://amzn.to/34MjNcQ
– Glass paint – the paint I used is a multi-surface paint and can be used on a number of different surfaces, including glass: https://amzn.to/306GqKk
– Dowels, skewer sticks, ends of paint brushes, or anything to make a polka dot: https://amzn.to/301yIQZ
Here is the video tutorial:
Directions:
1. Clean the outsides of the ornaments, with a glass cleaner or rubbing alcohol and remove the caps. The caps pull right out.
2. Find out a good way to make a drying stand for them. I used an old cardboard box, upside down and poked holes into the bottom. I inserted dowel rods that fit into the openings of the ornaments (when the caps are off). You can do the same with dowel rods and styrofoam.
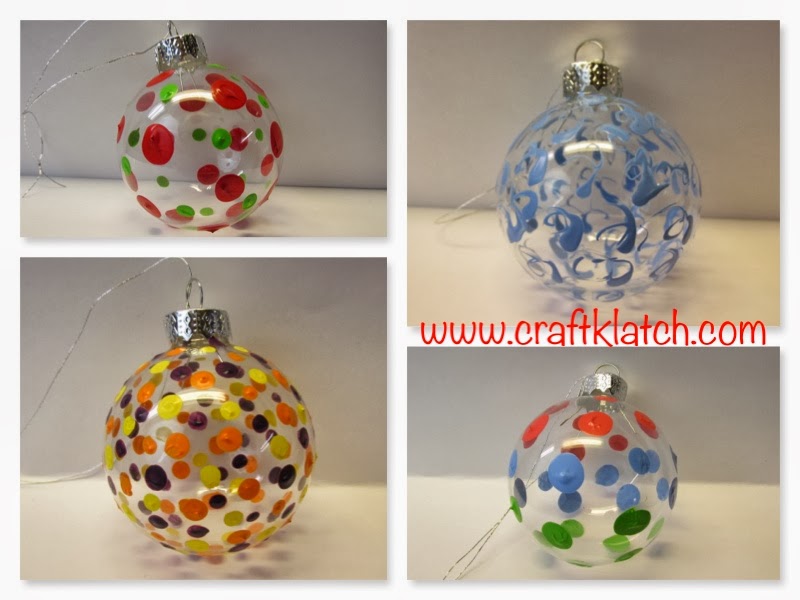
3. Take an ornament and begin putting dots of varying sizes and colors all around it. This is where your creativity takes over.
4. The blue one I did, I used the pointy end of a skewer stick to draw swirls all around.
5. Let everything dry. With this particular paint, you can let it dry for 20 days and it will be permanent on the glass, or you could bake it. It’s up to you.
That’s it! You can now go decorate your tree, or hang them from light fixtures, curtain rods, etc.!
Thanks for stopping by! Happy Crafting and Happy Holidays!
Mona

