To stay up on the latest, be sure to SUBSCRIBE to the Craft Klatch YouTube Channel HERE!
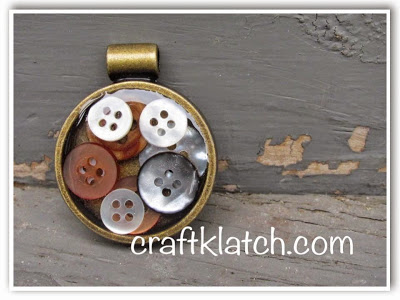
I love the vintage look of this pendant. All those buttons I bought at the garage/estate sale last summer have been coming in handy!

You will need:
– Bezel
– Resin – I used Easy Cast
– Buttons
Here are some similar items available through Amazon, incase you want to give it a try:
Here is the video tutorial:
Directions:
1. Prepare your resin according to the package directions. You will only need a very small amount of resin for this project. I made more than I needed and used the remaining in another project.
2. Dip your buttons, one by one in the resin and let them drain a little. I used tweezers to do this. Once I was finished with the tweezers, I immediately cleaned them off with rubbing alcohol.
3. Place the buttons in the bezel. After the first layer, I used my lighter to remove any bubbles, then I repeated the process with the second layer.
4. Allow to cure. Within the first hour or so of curing, make sure you go back several times to see if any bubbles are rising to the surface.
That’s it! Add a cord and you have a nice new necklace! Thanks for stopping by and Happy Crafting!
Mona
